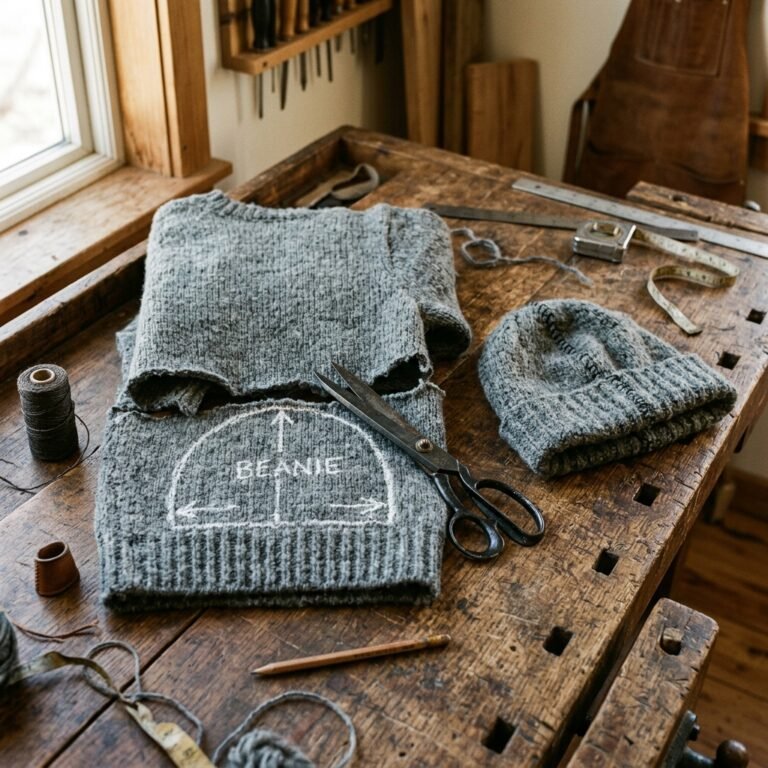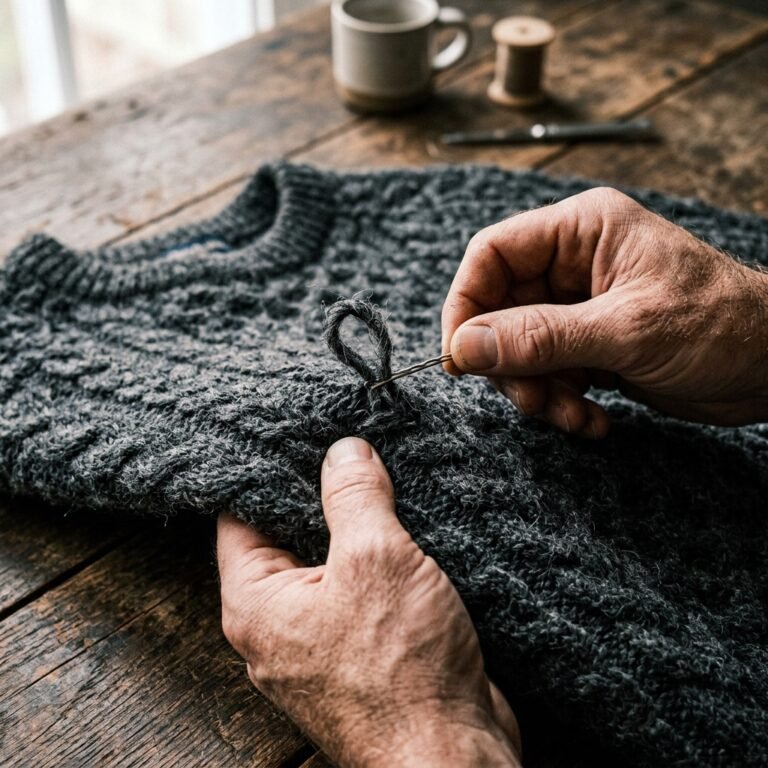

The Heartbreak of the ‘Crotch Blow-Out’ and How to Defeat It
We have all been there. It is the peak of winter, the temperature has plummeted to a bone-chilling 15 degrees, and you reach for your most trusted, cozy, fleece-lined leggings—only to discover a gaping hole along the inner seam or a snag on the knee. In our modern ‘fast fashion’ culture, the instinct is to toss them into the bin and head to the nearest big-box store to drop another $30 to $50 on a replacement pair. But as a resourceful, budget-savvy crafter, you know better. Those leggings aren’t trash; they are a 2-minute project away from being good as new.
Repairing fleece-lined leggings presents a unique challenge: the fabric is thick, stretchy, and usually composed of a polyester-spandex blend that can be finicky under a standard sewing machine. However, using the ‘Grandma-approved’ secret of Invisible Mending (specifically the Ladder Stitch), you can close that gap so perfectly that even you will forget where the hole was. This guide is designed for the rugged DIYer who values quality over consumption. We are going to save your gear, save your money, and keep you warm without spending a single cent extra.
Budget Mantra: A stitch in time doesn’t just save nine; it saves your hard-earned cash and keeps quality gear out of the landfill.
The Essential Minimalist Mending Kit
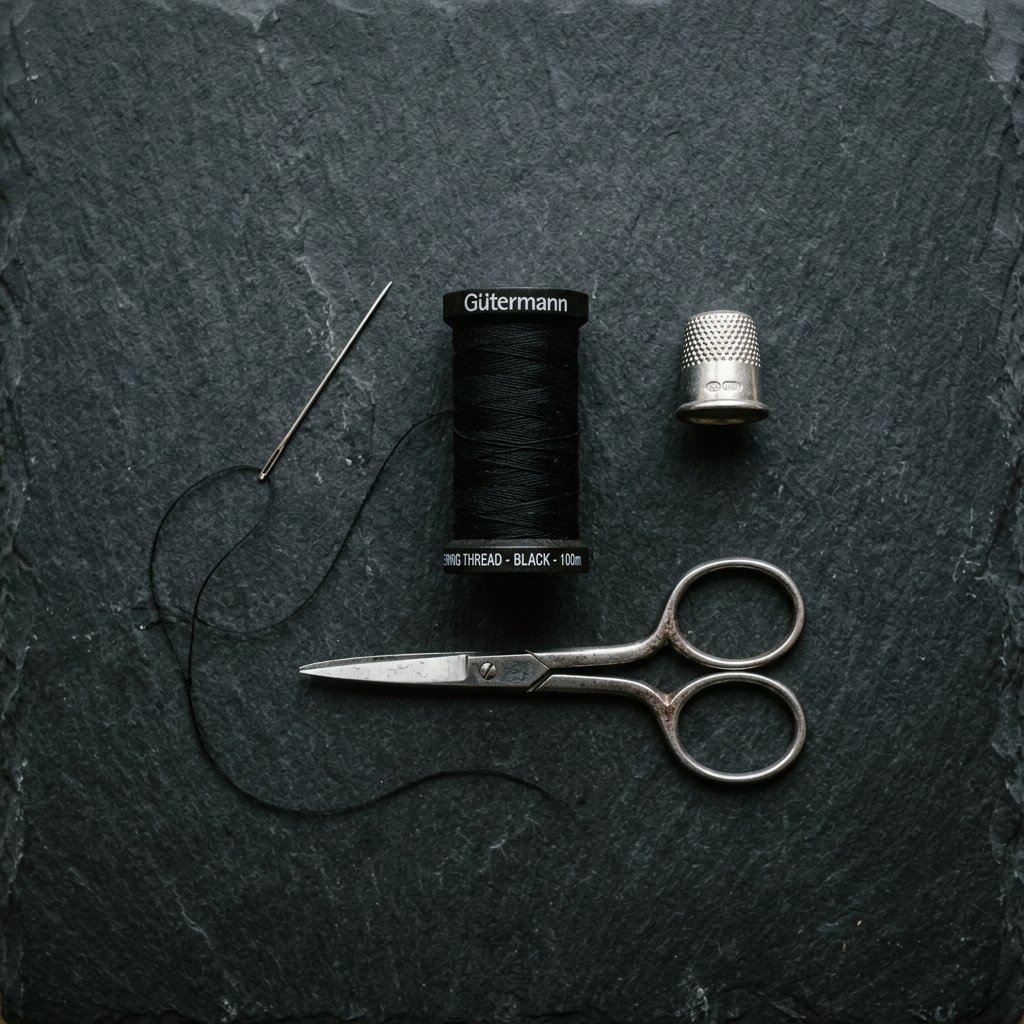
Before we dive into the tactical execution of the repair, we need to gather our tools. The beauty of this repair is that it requires absolutely zero heavy machinery. You do not need a $200 sewing machine to achieve a professional result. In fact, for stretchy, thick fabrics like fleece-lined leggings, hand-sewing is often superior because it allows you to control the tension of every single loop.
Materials Needed & Estimated Cost
| Item | Requirement | Estimated Cost |
|---|---|---|
| Hand-Sewing Needle | Fine to Medium point | $0.10 (or free from a kit) |
| Polyester Thread | Match the fabric color exactly | $0.50 per spool |
| Sharp Scissors | Small snips or fabric shears | $0.00 (already owned) |
| Thimble (Optional) | For pushing through thick fleece | $0.25 |
| TOTAL COST | Professional Repair | UNDER $1.00 |
When selecting your thread, always opt for 100% Polyester. Unlike cotton thread, polyester has a slight ‘give’ and incredible durability, making it perfect for the high-stress seams of leggings. If your leggings are black, use black thread; if they are charcoal, don’t settle for black—find that matching grey to ensure the repair remains truly invisible.
The 2-Minute Invisible Ladder Stitch Masterclass
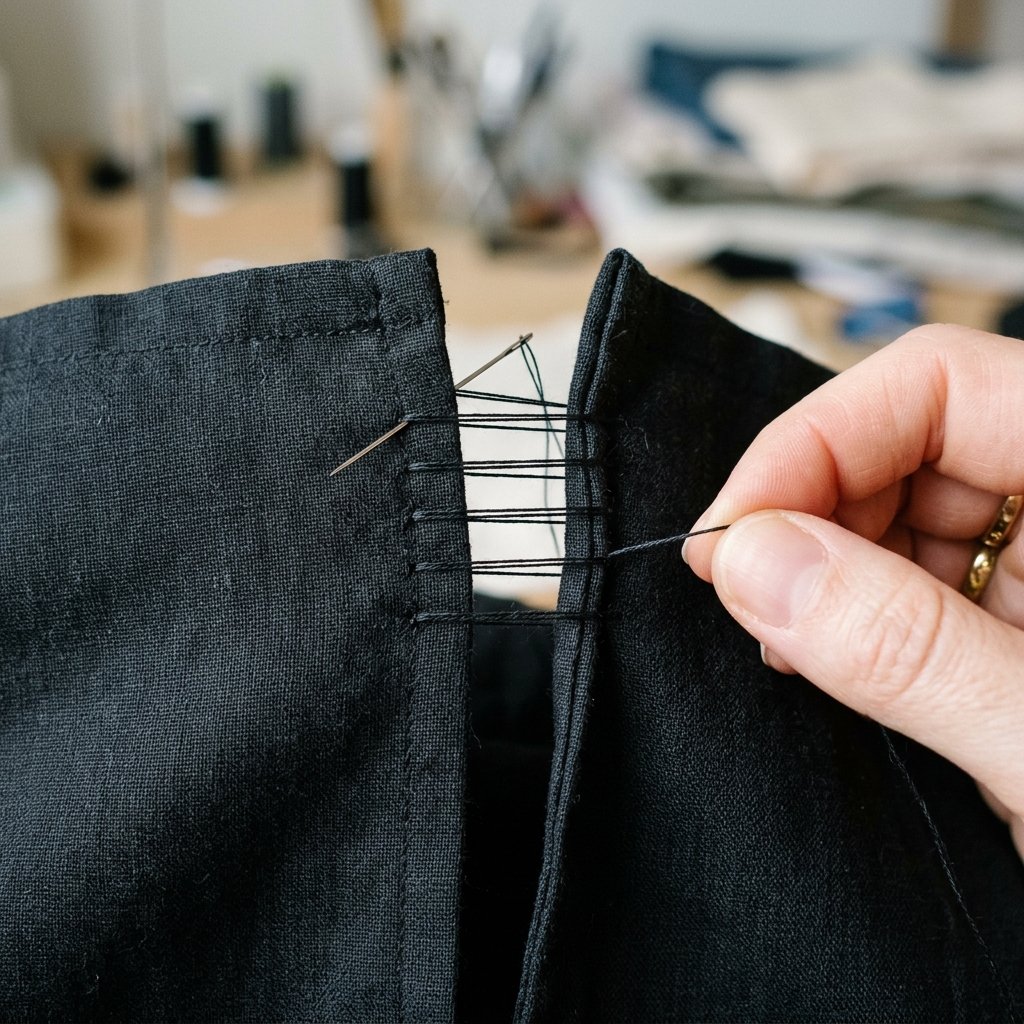
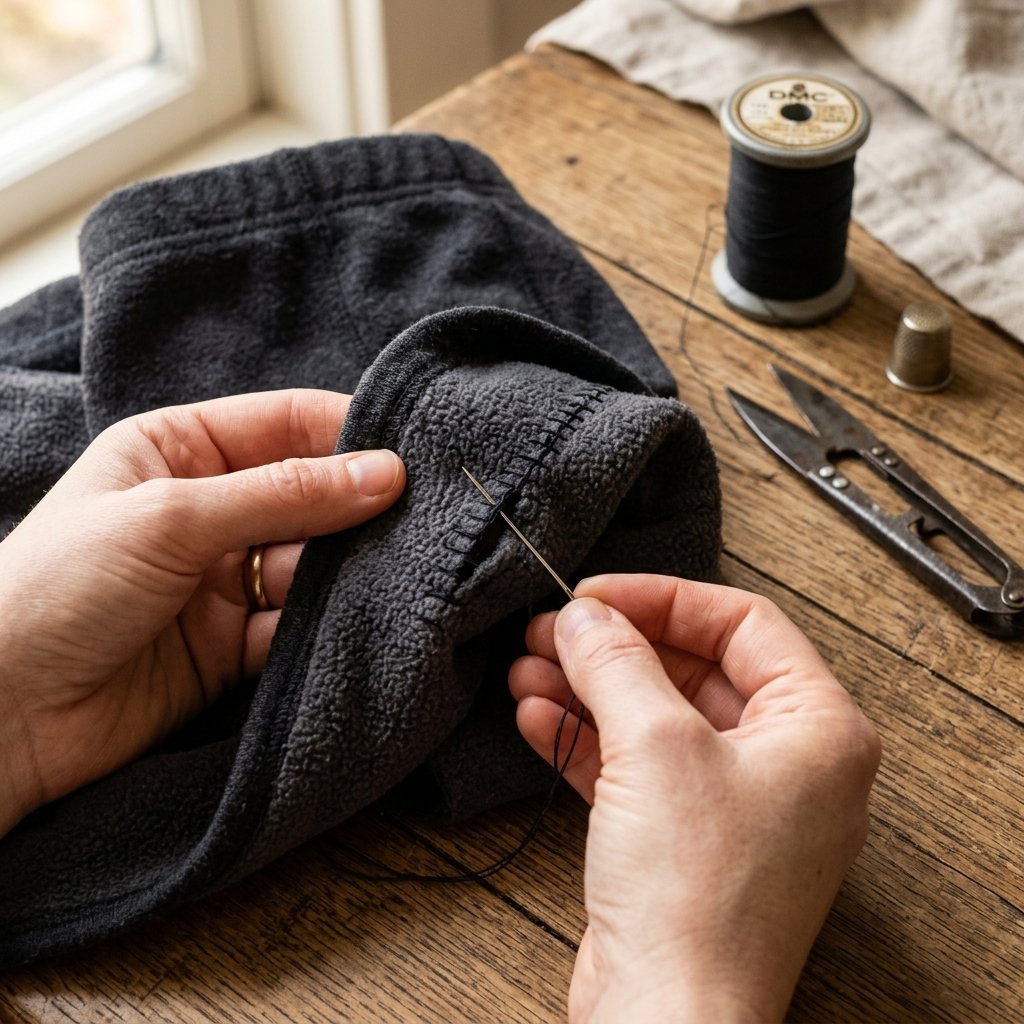
The Ladder Stitch (also known as the Slip Stitch) is the holy grail of invisible mending. It allows you to join two pieces of fabric from the ‘right side’ (the outside) without any thread showing once the repair is tightened. This is particularly effective for fleece-lined items because the plush interior hides the internal knots perfectly.
Step-by-Step Tactical Execution
- Thread the Needle: Cut a length of thread approximately 18 inches long. Double-thread the needle and tie a sturdy knot at the end. Doubling the thread provides the 2x strength needed for leggings that endure constant stretching.
- The Anchor: Insert the needle from the inside of the tear, about 1/8th of an inch behind the start of the hole. This hides your knot inside the fleece lining.
- The Rung: Move to the opposite side of the tear. Insert the needle and skim it through the very edge of the fabric for about 2-3 millimeters, then pull it out. This creates your first ‘rung’ of the ladder.
- The Switch: Cross back over to the original side and repeat the process, keeping your stitches parallel and even.
- The Magic Pull: After every 4 or 5 rungs, gently pull the thread taut. You will see the two edges of the fabric zip together perfectly, burying the thread inside the seam.
- The Lock: Once the hole is closed, sew a small ‘figure-eight’ knot at the end and bury the needle back into the fleece lining for 1 inch before cutting the thread. This prevents the repair from ever unraveling.
The Secret Formula: Small Stitches + High Tension = Invisible Strength.
Troubleshooting High-Tension Tears: Crotch and Knee Reinforcements
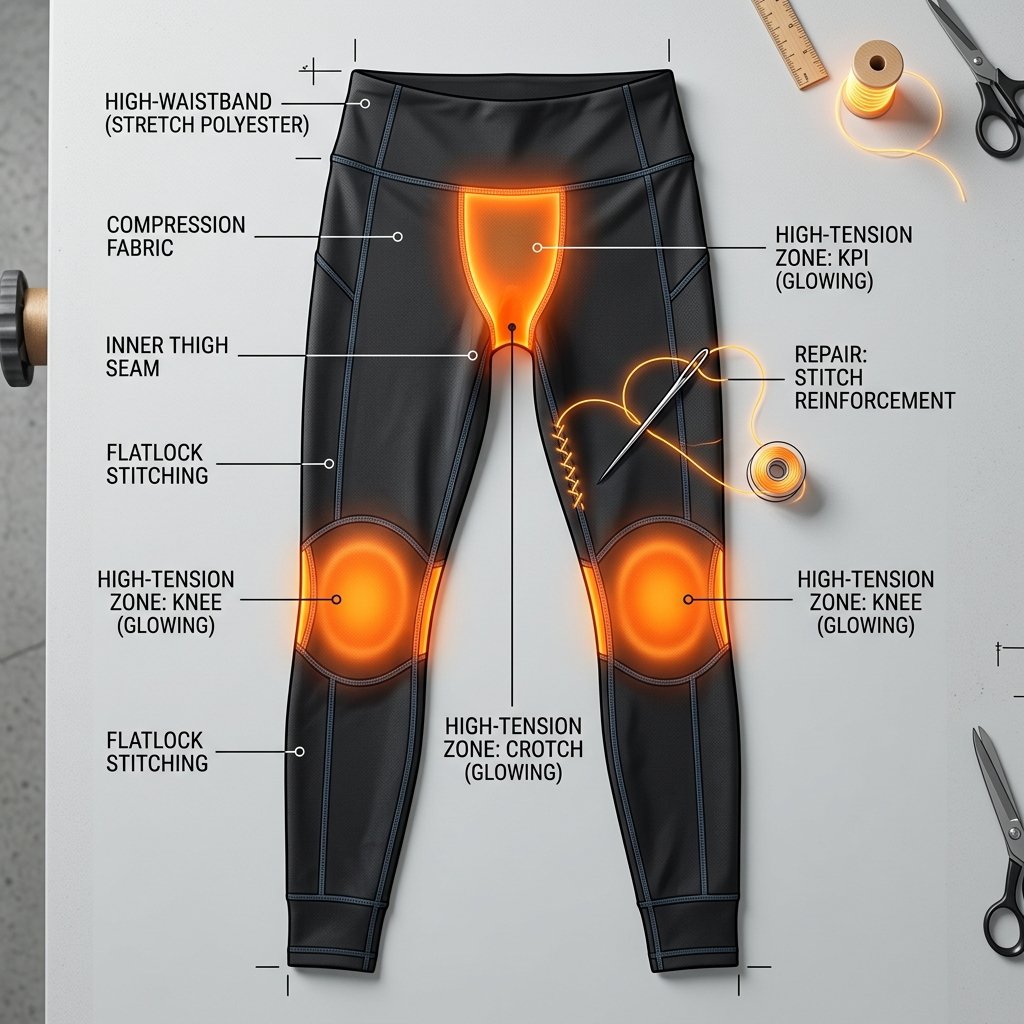
Not all tears are created equal. A snag on the calf is easy, but a ‘blow-out’ in the crotch or a hole in the knee requires a more rugged approach. These areas are high-tension zones, meaning the fabric is pulled in multiple directions simultaneously during movement.
Problem vs. Tailoring Solution Guide
| Tear Location | Primary Stressor | Recommended Stitch Solution |
|---|---|---|
| Inner Thigh / Crotch | Friction & Lateral Stretch | Double-Threaded Ladder Stitch with 1/4 inch overlap |
| Knee Snag | Vertical Flexion | Reinforced Darning under the Ladder Stitch |
| Waistband Seam | Constant Compression | Backstitch for maximum structural integrity |
| Ankle Hem | Abrasion | Whipstitch to prevent fraying |
For these high-stress repairs, I recommend adding a ‘bridge’ of stitches. Instead of just closing the hole, start your mending 1/2 inch before the hole begins and continue it 1/2 inch past where it ends. This redistributes the tension to the healthy fabric, ensuring your 2-minute repair lasts for the rest of the season.
Fabric Compatibility and Long-Term Maintenance

Fleece-lined leggings are usually a blend of Polyester, Nylon, and Spandex. This synthetic cocktail is what makes them warm and stretchy, but it also means they are sensitive to heat. To ensure your repair holds up, you must adjust your laundry routine.
- Wash Cold: High heat can degrade the polyester thread and the spandex fibers, causing your repair to ‘pucker.’
- Air Dry: The friction of a tumble dryer is the enemy of hand-mended seams. Hang your leggings to dry to maintain the integrity of the stitch.
- Avoid Fabric Softeners: These chemicals coat the fibers and can make the ‘grip’ of your ladder stitch slip over time.
By following these simple maintenance steps, you aren’t just repairing a garment; you are practicing Sustainable Stewardship. You are choosing to be a producer and a fixer rather than just a consumer.
The Economics of DIY: Store-Bought vs. Zero-Budget Repair

Let’s talk numbers. As a budget-savvy DIYer, you know that frugality is about the ‘long game.’ When you repair rather than replace, you are essentially paying yourself a high hourly wage for your skills.
| Action | Cost | Time Investment | Value Retained |
|---|---|---|---|
| Buy New Brand Name Leggings | $45.00 | 1 Hour (Shopping/Shipping) | $45.00 |
| Buy Cheap Disposable Leggings | $12.00 | 30 Minutes | $0.00 (Will rip again) |
| DIY Invisible Repair | $0.05 | 2 Minutes | $45.00 |
If it takes you 2 minutes to save $45, your effective hourly rate is $1,350 per hour. That is the power of a needle and thread. It is the ultimate ‘life hack’ for the modern household.
Conclusion
Victory Over the Trash Bin
You have done it. In the time it takes to brew a cup of coffee, you have rescued a piece of clothing from the landfill and kept $40 or more in your pocket. The invisible ladder stitch is more than just a sewing technique; it is a tool of empowerment. It proves that we do not have to be beholden to the ‘disposable’ nature of modern fashion. With a little bit of resourcefulness and a few cents worth of thread, you can maintain a high-quality wardrobe on a shoestring budget. So, the next time you find a hole in your favorite fleece-lined gear, don’t get frustrated. Get your needle. You’ve got this!

Makenzie is the founder and lead writer at MoneyHackTips.com — a personal finance blog dedicated to delivering street-smart financial wisdom for real people on real budgets. With 300+ published articles covering everything from debt management to investing fundamentals, Makenzie’s mission is to make every dollar work harder. When not writing about money hacks, Makenzie is testing frugal living strategies, optimizing side hustles, and helping readers build financial freedom from scratch.