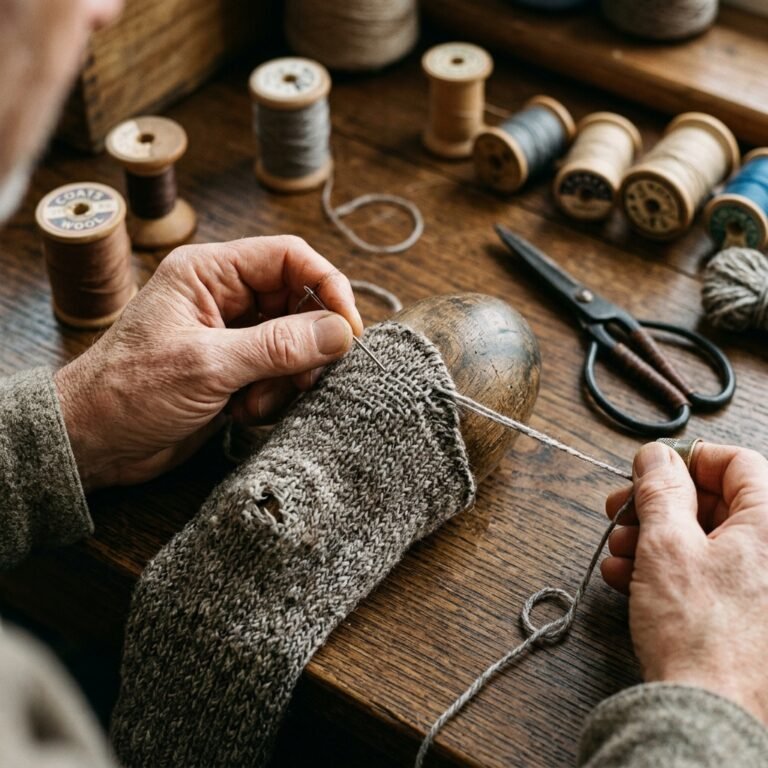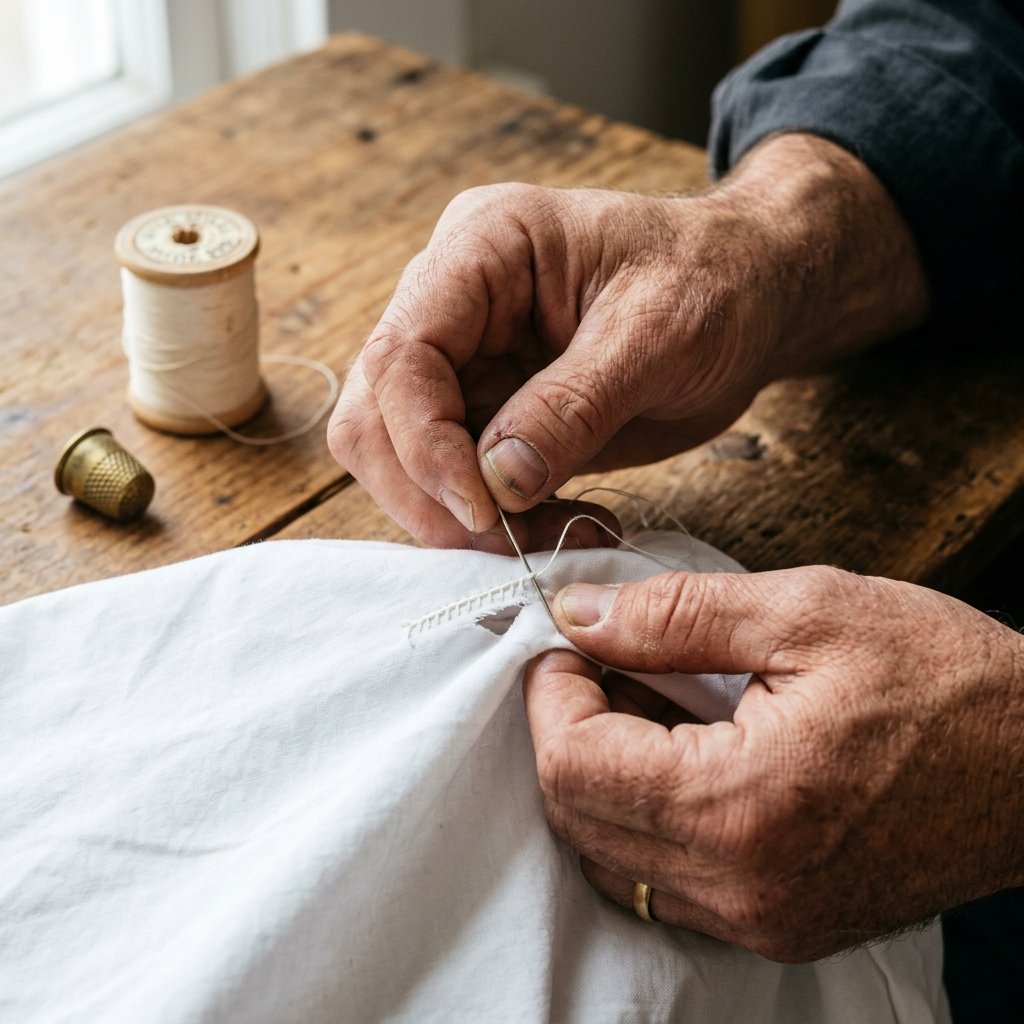

We have all been there. You are making the bed, pulling that crisp, high-thread-count fitted sheet tightly over the mattress corner, and suddenly—RIIIIP. A jagged tear appears right in the middle of your favorite, perfectly worn-in Egyptian cotton sheet. Your first instinct? Toss it in the rag bin and head to the store to drop $80 to $150 on a replacement set. But hold on! Before you surrender your hard-earned cash and add another textile to the landfill, let us channel our inner resourceful craftsman. You do not need to throw away high-quality linens just because of a minor structural failure. In fact, you can execute a tactical, nearly invisible repair in under 5 minutes.
Welcome to the ultimate frugal masterclass in textile resurrection. Mending is not just a lost art reserved for grandmothers; it is a highly practical, budget-savvy skill that extends the lifespan of your investments. Whether you are a handy parent trying to stretch the household budget, a rugged DIYer who prefers fixing over buying, or someone who appreciates the masculine elegance of a well-maintained home, learning to hand-mend is an essential life skill.
“Use it up, wear it out, make it do, or do without. A repaired item carries the honorable scars of a life well-lived.”
In this comprehensive guide, we are going to break down the anatomy of a tear, equip you with a minimalist mending arsenal, and teach you the grandmother-approved secret to the invisible stitch. By the time you finish reading, you will be able to salvage your favorite bedding with the precision of a master tailor—all for roughly $0.10 worth of thread.
The Economics of Mending: Why Your Sheets Are Worth Saving
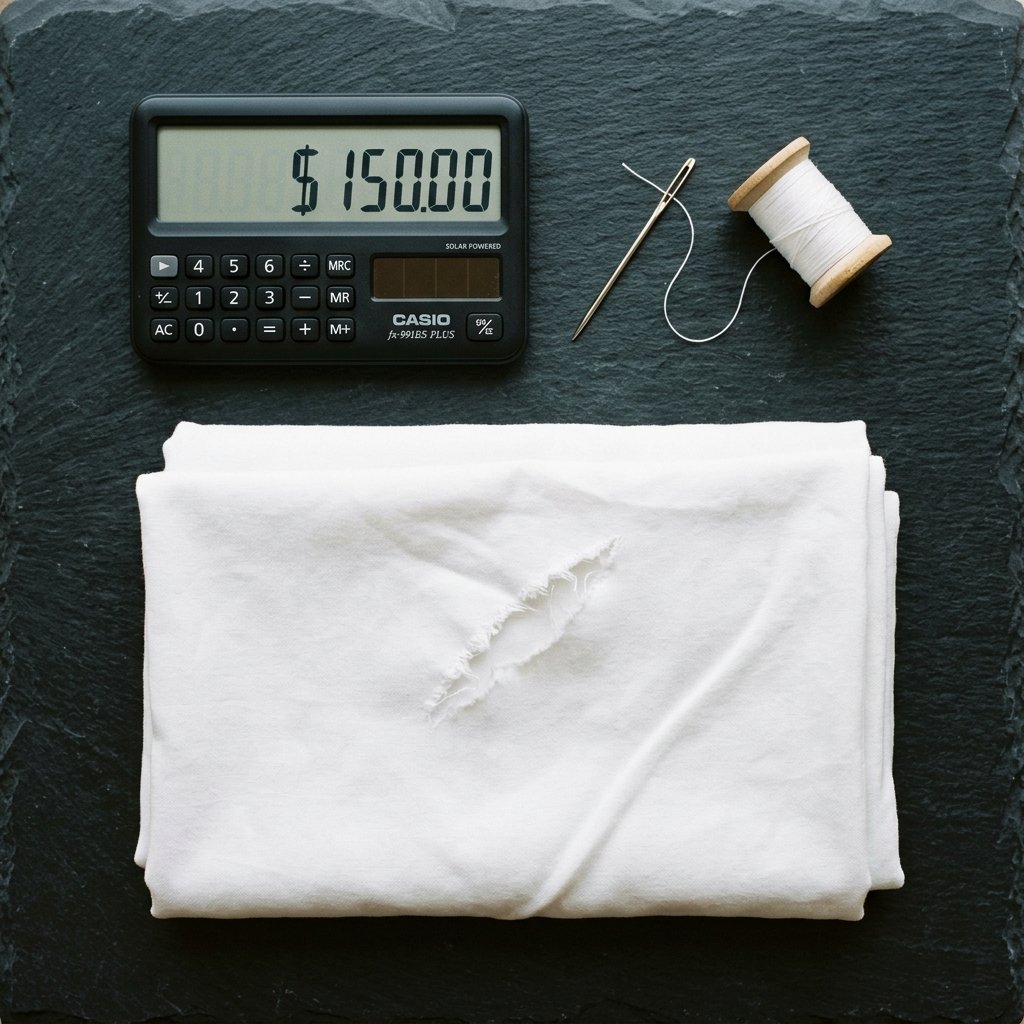
Let us talk numbers. High-quality bedding is an investment. When you purchase 100% long-staple cotton, percale, or pure European linen, you are paying for durability, breathability, and comfort. Throwing away a perfectly good sheet because of a two-inch snag is the equivalent of throwing away a luxury car because of a flat tire. By taking exactly 5 minutes to deploy a simple hand-sewing technique, you are actively paying yourself an exceptionally high hourly rate.
The True Cost of Replacement
When you replace a fitted sheet, you often have to buy an entire set because finding a standalone match is nearly impossible. This means a single tear can cost you upwards of $100. Contrast that with the cost of a spool of high-quality polyester-core thread (around $3 for 250 yards) and a basic hand needle. A single repair uses perhaps 12 inches of thread, bringing your material cost to mere fractions of a penny.
| Action | Estimated Time | Financial Cost | Environmental Impact |
|---|---|---|---|
| Buying a New Sheet Set | 45 minutes (shopping/shipping) | $80 – $200+ | High (Resource extraction, shipping, landfill waste) |
| Ignoring the Tear | 0 minutes | $0 (Initially) | High (Tear expands, sheet becomes unusable quickly) |
| The 5-Minute Invisible Mend | 5 minutes | $0.10 (Thread/Interfacing) | Zero (Extends product lifecycle indefinitely) |
Beyond the financial savings, there is a profound satisfaction in repairing your own gear. It is a rugged, self-reliant practice. You are taking control of your belongings, reducing waste, and mastering a practical skill that translates to fixing tents, backpacks, and clothing.
The Mender’s Arsenal: Gathering Your 5-Minute Toolkit
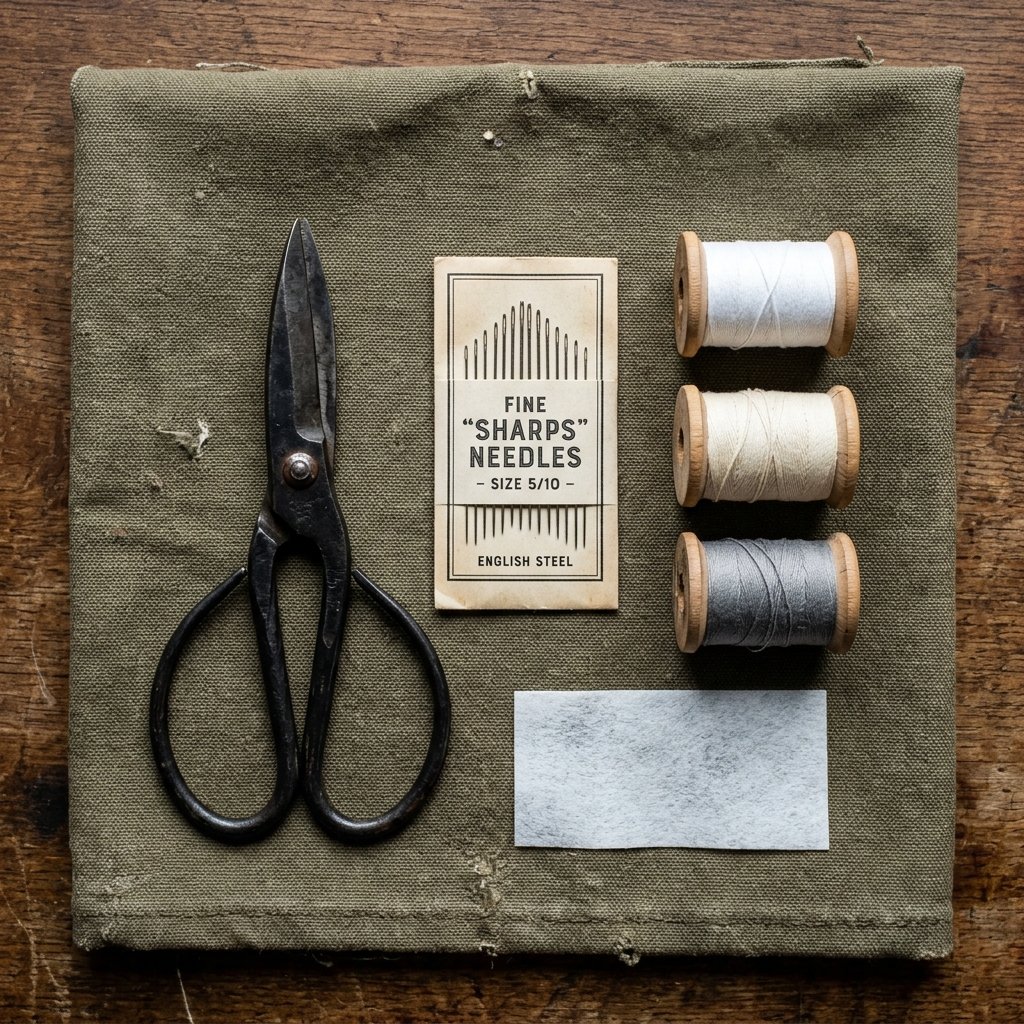
To execute a flawless, invisible repair, you do not need a heavy-duty sewing machine or a dedicated craft room. You only need a few high-quality, inexpensive tools. Think of this as your tactical mending kit. Keeping these items in a small tin or jar means you are always ready to deploy a fix the moment a tear happens.
Essential Tools for the Job
- Fine Hand-Sewing Needles: Look for needles labeled ‘Sharps’ in sizes 8, 9, or 10. A fine needle prevents you from punching massive, visible holes in your tightly woven sheets.
- High-Quality Thread: Do not use cheap, decades-old thread from a hotel sewing kit; it will snap under pressure. Opt for a high-quality all-purpose polyester or a cotton-wrapped polyester core thread. It provides the strength of synthetic fibers with the matte finish of cotton.
- Small, Sharp Scissors: Thread snips or small embroidery scissors are crucial for cutting clean thread ends, making threading the needle infinitely easier.
- Fusible Interfacing (The Secret Weapon): For exceptionally thin sheets or high-tension areas (like the corners of a fitted sheet), a tiny scrap of lightweight, iron-on fusible interfacing applied to the back of the tear provides invisible structural reinforcement.
- An Iron: Pressing the fabric flat before you stitch is the difference between a messy, puckered scar and a truly invisible mend.
| Fabric Type | Recommended Thread | Needle Size | Iron Heat Setting |
|---|---|---|---|
| Cotton Percale / Sateen | All-Purpose Polyester or 100% Cotton | Sharps Size 9 | High (Cotton setting) |
| Linen | Cotton-wrapped Poly or 100% Cotton | Sharps Size 8 | High (Linen setting with steam) |
| Microfiber / Synthetic | 100% Polyester | Sharps Size 10 (Very fine) | Low (Synthetic setting) |
| Flannel | All-Purpose Polyester | Sharps Size 8 | Medium (Wool/Blend setting) |
Safety Note: Always ensure your iron is set to the correct temperature for your specific fabric to avoid scorching. When working with fine needles, ensure you have adequate lighting to prevent eye strain and accidental finger pricks.
Anatomy of a Tear: Prepping the Battlefield

Not all tears are created equal. Before you thread your needle, you must assess the damage. Rushing into a repair without proper preparation will result in a lumpy, uncomfortable seam that you will feel every time you roll over in bed. The goal is a flat, seamless integration.
Identifying the Tear Type
There are generally three types of sheet casualties:
- The Clean Slit: A straight line, usually caused by a sharp toenail, a pet’s claw, or catching on a mattress spring. This is the easiest to fix and perfect for the 5-minute invisible mend.
- The L-Shaped Tear: A snag that pulled in two directions. This requires a bit more patience and pivoting at the corner, but uses the exact same technique.
- The Blowout (Thinning Fabric): A ragged hole where the fabric has worn completely thin from friction. This cannot simply be pulled together, as the surrounding fabric is too weak. It requires a patch or darning (which we will cover in the advanced section).
Preparation Steps (Do Not Skip!)
First, trim away any loose, frayed threads from the edges of the tear using your sharp snips. You want clean, defined edges. Next, heat up your iron. Place the torn section of the sheet on an ironing board and carefully push the edges of the tear together so they meet perfectly flush. Press the area flat.
“A well-pressed tear is a half-mended tear. Heat memory in the fabric fibers will hold the edges together while you stitch, acting as a third hand.”
If the tear is in a high-stress area, cut a small piece of lightweight fusible interfacing (about 1/2 inch larger than the tear on all sides). Place it adhesive-side down on the wrong side (the back) of the sheet, directly over the pushed-together tear. Press with the iron for 10 to 15 seconds until bonded. This creates a bridge holding the tear closed, meaning your stitches only have to provide secondary support.
The Magic Technique: The Invisible Ladder Stitch
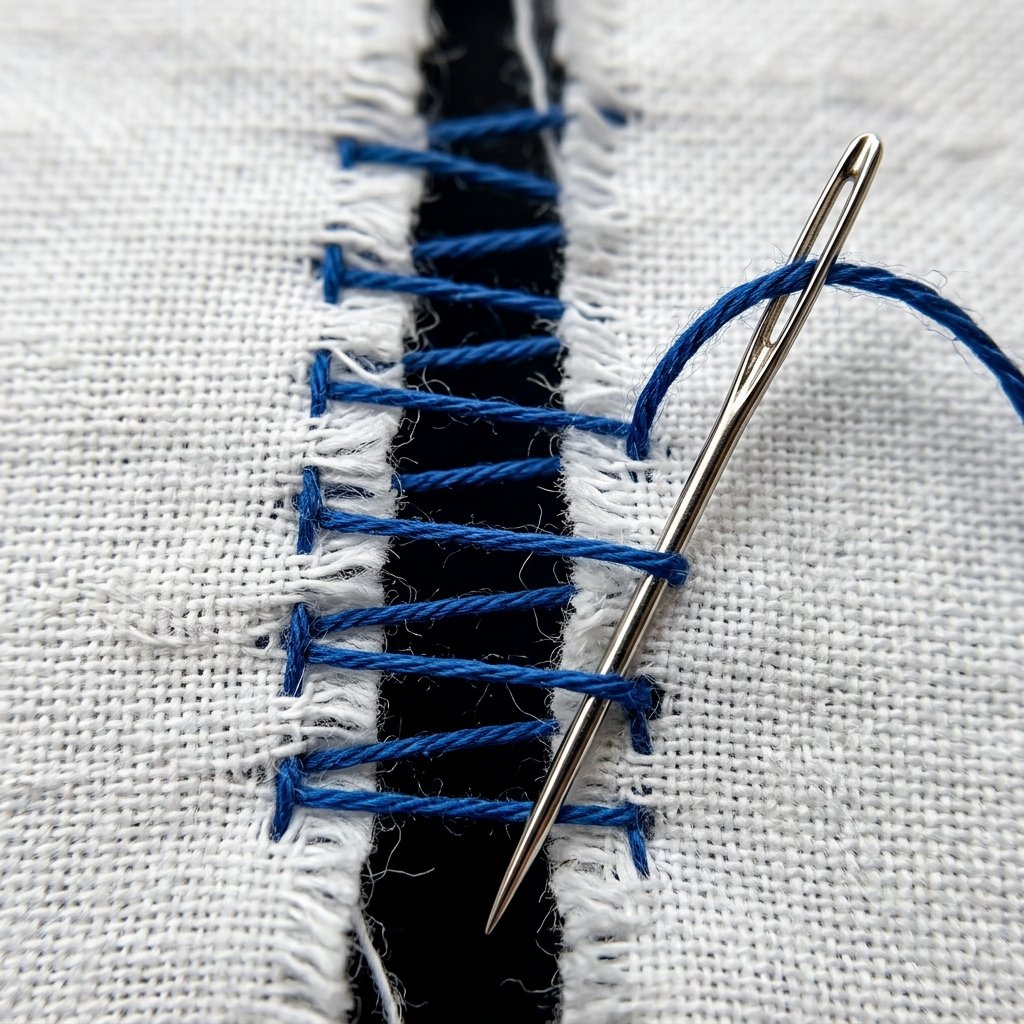
Here is where the magic happens. The secret to an invisible mend is a technique known as the Ladder Stitch (also called a slip stitch or blind stitch). Unlike a standard whipstitch that loops over the top of the fabric and leaves an ugly, raised scar, the ladder stitch hides the thread entirely within the fold of the fabric edge.
Step-by-Step 5-Minute Execution
Thread your needle with about 18 inches of thread (any longer and it will tangle). Tie a small, secure knot at the end. Now, follow these precise steps:
- Anchor the Thread: Start about 1/4 inch before the actual tear begins. Insert your needle from the wrong side (back) of the fabric to the right side (front), hiding the knot on the underside.
- Take the First Bite: Look at the two edges of the tear. Insert your needle directly into the crease of the top edge, sliding the needle inside the fabric channel for about 1/8 inch (2-3 millimeters), then bring the needle out.
- Cross the Chasm: Pull the thread through. Now, go directly across the tear to the bottom edge. Insert the needle into the crease of the bottom edge, sliding it inside the fabric for another 1/8 inch, and bring it out.
- Build the Ladder: Repeat this process, moving back and forth across the tear. Your stitches will look like the rungs of a ladder spanning the gap. Keep your stitches small and perfectly parallel.
- The Magic Pull: After you have sewn about an inch of “ladder rungs,” gently pull the thread tight. Watch in amazement as the two edges slide together perfectly, hiding the thread completely inside the fabric.
- Finish Strong: Continue until you are 1/4 inch past the end of the tear. Pull the thread taut (but not so tight that the fabric puckers). Push the needle through to the back of the fabric.
To secure the mend, take a tiny stitch on the backside, loop the thread around the needle twice, and pull tight to create a flush knot. Snip the excess thread. Run your iron over the repaired area one last time with a burst of steam. The result? A perfectly smooth, incredibly strong, and virtually invisible repair.
Advanced Tactics: Darning, Patching, and Upcycling
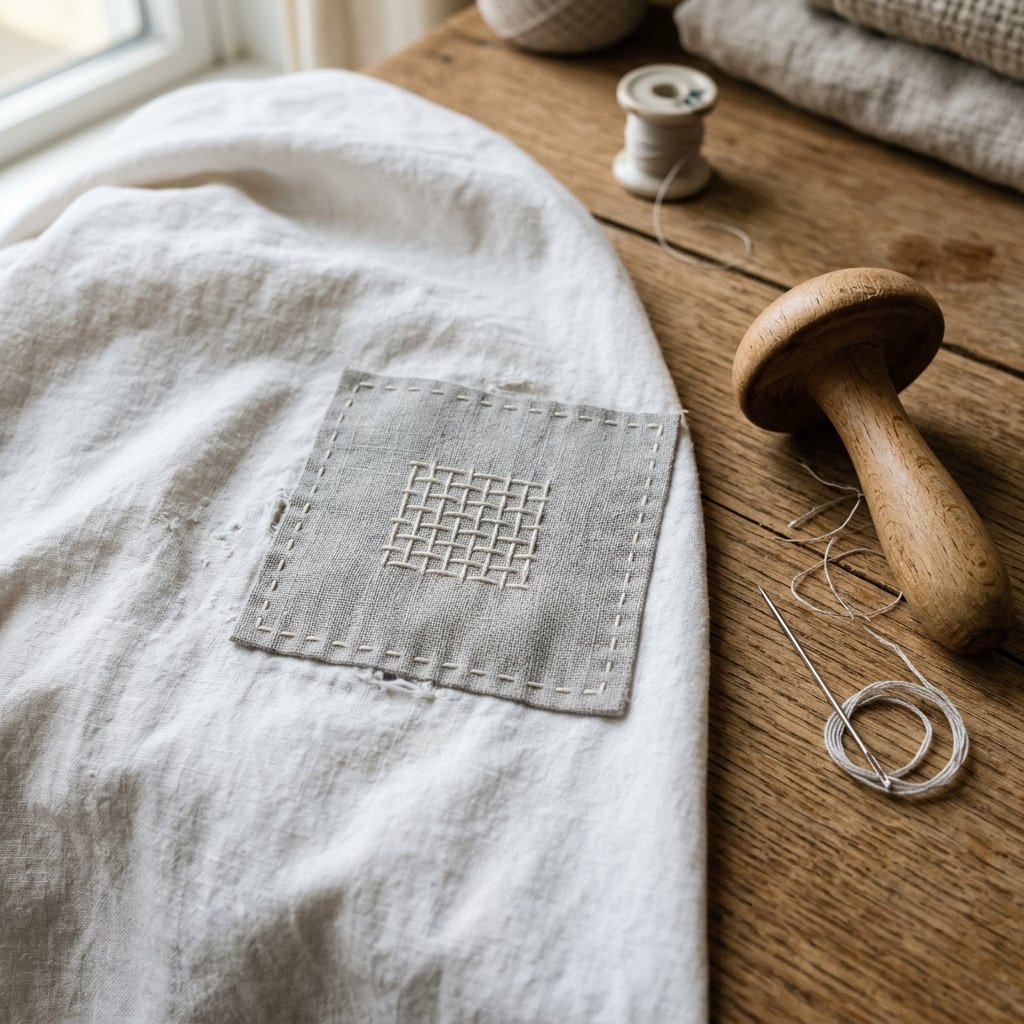
The ladder stitch is your go-to for clean slits, but what if your favorite flannel winter sheet has a massive, frayed hole from years of heavy use? When the fabric is structurally compromised, pulling the edges together will only cause a new tear right next to the old one. In these cases, we must pivot from a simple mend to a reinforcement strategy.
The Art of Darning
Darning is essentially weaving new fabric directly over a hole using just a needle and thread. It is a rugged, old-school technique used by soldiers and pioneers to save wool socks and heavy blankets. To darn a sheet, you will stretch the torn area tightly over a darning mushroom (or a tennis ball/lightbulb in a pinch). You then run long, straight stitches vertically across the hole, anchoring them in the strong fabric on either side. Once the vertical threads are established, you weave your needle horizontally over and under the vertical threads, creating a new, woven patch of thread that fills the void.
Strategic Patching
If darning sounds too tedious, patching is a fantastic, crafty alternative. Cut a square of scrap fabric (perhaps from an old pillowcase that matches) that is at least 1 inch larger than the hole on all sides. Turn the edges of the patch under by 1/4 inch and press them with an iron. Pin the patch over the hole on the right side of the sheet, and use a simple running stitch or a blanket stitch to secure it. While not invisible, a neatly applied patch adds a charming, rustic, heirloom quality to your bedding. It shows that the item is loved and cared for.
| Damage Type | Best Repair Method | Estimated Time | Visibility Level |
|---|---|---|---|
| Clean Slit / Tear | Ladder Stitch | 5 Minutes | Invisible |
| Small Worn Hole | Hand Darning | 15 Minutes | Visible (Blends if thread matches) |
| Large Frayed Hole | Fabric Patch | 20 Minutes | Highly Visible (Rustic aesthetic) |
When to Call It Quits: The Upcycling Pivot
Even the most budget-savvy DIYer must admit when a sheet is beyond saving. If the fabric is so thin that it tears like wet paper when you pinch it, it is time to retire it from the bed. But do not toss it! A king-size sheet is a massive yardage of usable material. Cut it into large squares to use as heavy-duty drop cloths for your next painting project. Cut it into smaller rectangles, hem the edges, and you have a lifetime supply of lint-free shop rags for checking the oil or polishing boots. You can even cut the fabric into long, continuous strips and braid them into a rugged, washable rag rug for the garage or mudroom.
Conclusion: Master Your Gear, Save Your Cash

Mending a torn bed sheet is not just about saving $100—though keeping that cash in your wallet is certainly a massive perk. It is about shifting your mindset from a passive consumer to an active, resourceful caretaker of your belongings. By mastering the 5-minute invisible ladder stitch, you are reclaiming a vital piece of self-reliance. You are proving that with a tiny needle, a scrap of thread, and a few minutes of focused effort, you can reverse damage, extend the life of your investments, and keep perfectly good textiles out of the local landfill.
Next time you hear that dreaded ripping sound while making the bed, do not panic. Do not reach for the trash can. Reach for your tactical mending kit. Press the fabric, thread your needle, and build that ladder. You will sleep infinitely better knowing you fixed it yourself, saved your hard-earned money, and preserved a little piece of everyday craftsmanship.
Conclusion
Mending a torn bed sheet is not just about saving $100—though keeping that cash in your wallet is certainly a massive perk. It is about shifting your mindset from a passive consumer to an active, resourceful caretaker of your belongings. By mastering the 5-minute invisible ladder stitch, you are reclaiming a vital piece of self-reliance. You are proving that with a tiny needle, a scrap of thread, and a few minutes of focused effort, you can reverse damage, extend the life of your investments, and keep perfectly good textiles out of the local landfill.
Next time you hear that dreaded ripping sound while making the bed, do not panic. Do not reach for the trash can. Reach for your tactical mending kit. Press the fabric, thread your needle, and build that ladder. You will sleep infinitely better knowing you fixed it yourself, saved your hard-earned money, and preserved a little piece of everyday craftsmanship.

Makenzie is the founder and lead writer at MoneyHackTips.com — a personal finance blog dedicated to delivering street-smart financial wisdom for real people on real budgets. With 300+ published articles covering everything from debt management to investing fundamentals, Makenzie’s mission is to make every dollar work harder. When not writing about money hacks, Makenzie is testing frugal living strategies, optimizing side hustles, and helping readers build financial freedom from scratch.