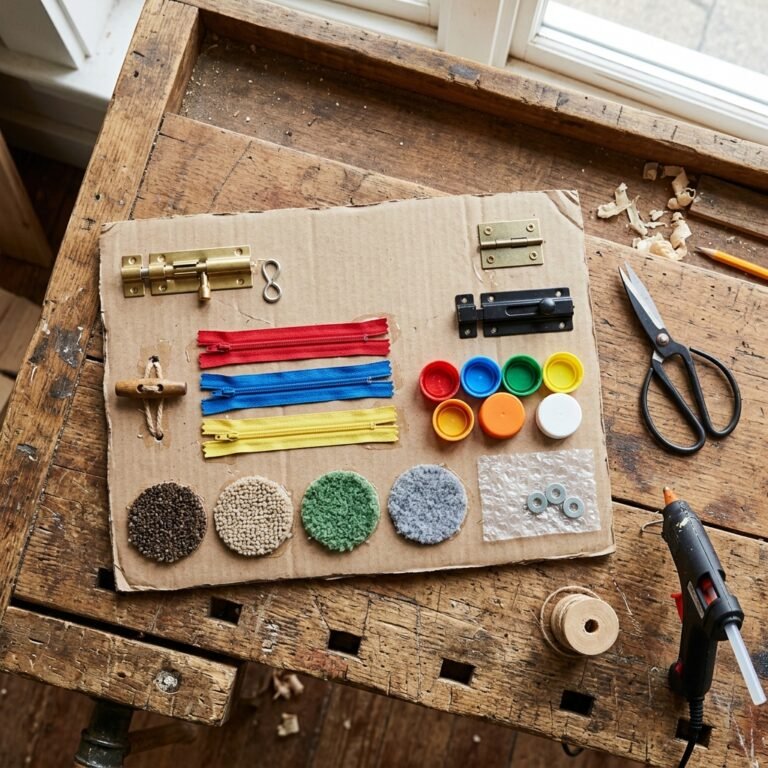
The Art of the Cardboard Renaissance
We’ve all been there: a mountain of shipping boxes cluttering the hallway after a week of online deliveries. While most see recycling, a true frugal DIYer sees a goldmine of structural potential. Today, we are reclaiming that ‘waste’ and turning it into a high-octane, physics-based challenge that rivals any plastic toy found on a big-box shelf. The Cardboard Magnetic Maze is a masterclass in resourceful engineering. It requires zero electricity, costs exactly $0 if you scavenge correctly, and can be assembled in the time it takes to brew a pot of coffee. This isn’t just a toy; it’s a testament to the rugged, practical elegance of hand-made play. By using the hidden power of magnetism, we’re going to create a labyrinth that defies gravity and keeps both kids and adults engaged in a battle of fine motor skills and patience. Let’s stop throwing away our best building materials and start crafting a legacy of upcycled fun.
Scavenging the Workshop: The Essential Zero-Cost Supply List

Before we start cutting, we need to gather our materials. The beauty of this project lies in its simplicity. You don’t need a 3D printer or a CNC machine; you need the contents of your recycling bin and a few basic fasteners. When selecting your cardboard, look for double-wall corrugated board for the base to prevent warping, and single-wall thin cardboard (like a cereal box) for the internal maze walls. This combination ensures a sturdy foundation with flexible, easy-to-cut obstacles.
The Material Breakdown
| Material | Source | Estimated Cost |
|---|---|---|
| Base Cardboard | Shipping Box | $0.00 |
| Maze Walls | Cereal or Cracker Box | $0.00 |
| Neodymium Magnets | Old Hardware or Craft Kit | $0.00 – $1.50 |
| Steel Ball Bearing | Old Fidget Spinner or Hardware Store | $0.00 – $0.50 |
| Hot Glue / School Glue | Craft Drawer | $0.10 |
| Total Investment | Recycling Bin | Under $2.00 |
The Budget Guru’s Mantra: ‘If it can be glued, it can be renewed. Never buy what you can build from a box.’
When sourcing your magnets, the strength is key. A 10mm x 3mm neodymium magnet is the gold standard here. It provides enough ‘pull’ to work through 1/8 inch of cardboard without losing its grip on the ball bearing. If you don’t have a ball bearing, a small steel hex nut or even a large paperclip folded into a ball can work in a pinch, though the roll of a sphere is much more satisfying for gameplay.
Blueprints and Labyrinths: Designing Your Magnetic Challenge
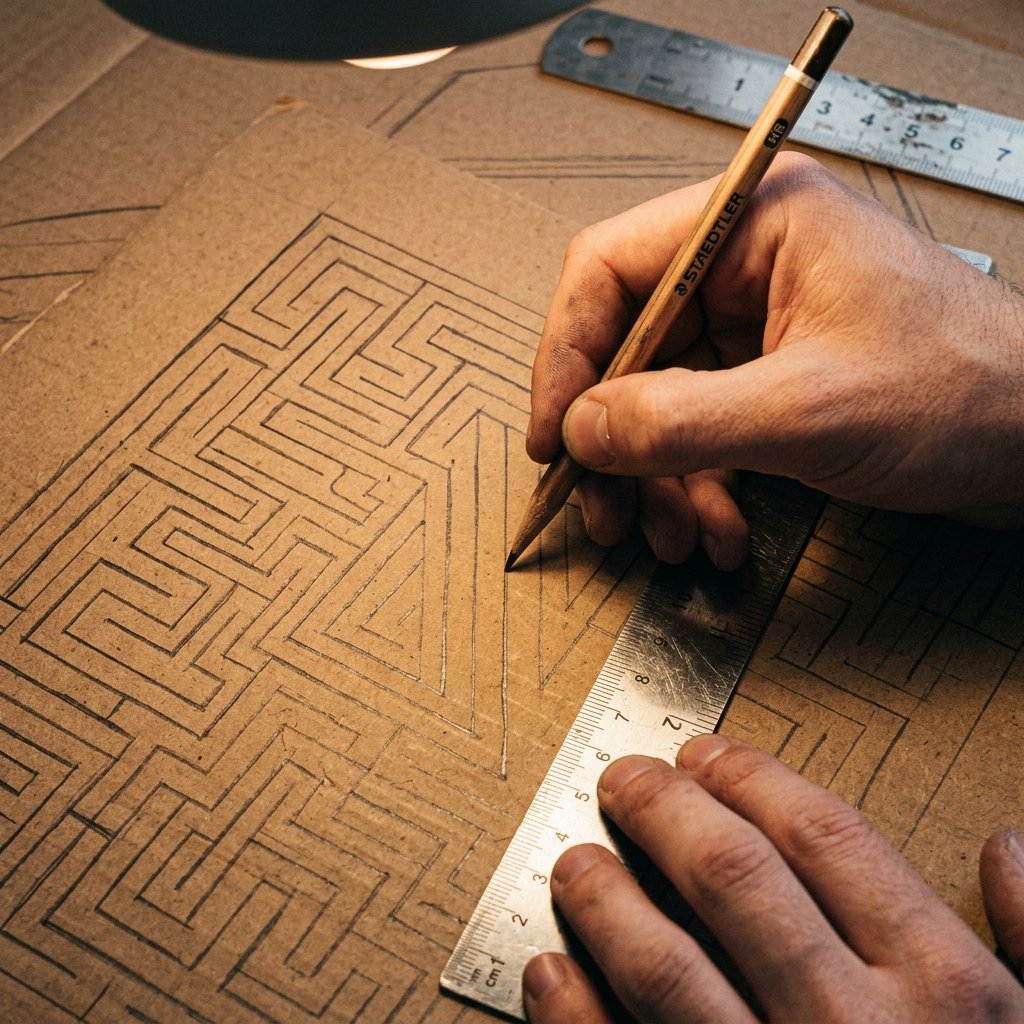
The secret to an addictive maze is the balance between flow and frustration. You want a path that feels achievable but contains enough ‘traps’ to keep the player on their toes. Start by sketching your design directly onto the base cardboard with a pencil. Avoid permanent markers at this stage; you’ll want to erase and adjust as you visualize the ball’s movement.
Maze Design Principles
- The Bottleneck: Create narrow passages that are only 2mm wider than your ball bearing to test the player’s steady hand.
- The Dead End: Incorporate at least three false paths that lead to a ‘trap’—a hole cut through the cardboard or a ‘sticky’ patch of un-dried glue.
- The Gravity Well: Slightly indent the cardboard in certain areas to create ‘hills’ that the magnet must work harder to pull the ball over.
For a masculine-elegant aesthetic, consider a geometric, minimalist layout. Think of it as an architectural floor plan rather than a random scribble. Use a ruler to ensure your walls are 90-degree angles. This precision not only looks better but makes the physics of the ball movement more predictable and satisfying.
The 15-Minute Build: Rapid Construction Techniques
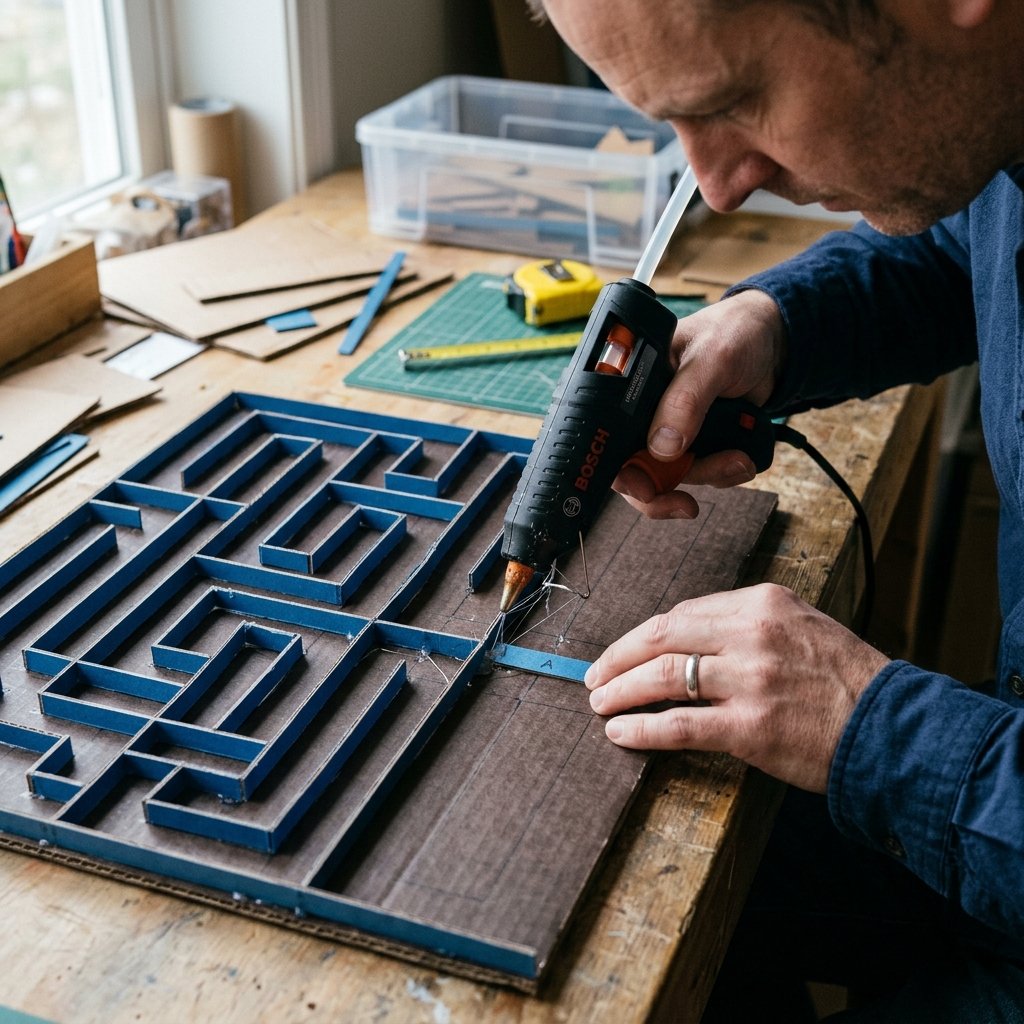
Time is of the essence. We want to move from ‘trash’ to ‘treasure’ in under 15 minutes. Follow these steps for a high-speed, high-quality build. Using a hot glue gun is recommended for its 30-second dry time, allowing you to build vertically without waiting.
Step-by-Step Assembly
- Cut the Base: Trim your heavy corrugated cardboard into a 10×10 inch square.
- Prepare the Walls: Cut the thin cereal box cardboard into strips 0.5 inches wide. You will need about 20 strips of varying lengths.
- The Glue Phase: Apply a thin bead of glue to the edge of a strip and press it firmly onto your pencil lines.
Pro Tip: Hold the strip for 5 seconds to ensure it stands perfectly vertical.
- Create the Wand: Glue your magnet to the end of a popsicle stick or a scrap piece of wood. This is your ‘controller.’
- The Finish Line: Cut a small hole at the end of the maze. This is the ‘goal.’ If the ball falls through, you win!
Safety is paramount when working with small parts.
Safety Note: Neodymium magnets are powerful and can be dangerous if swallowed. Ensure the magnet is securely glued to the wand and never leave small children unattended with the ball bearing.
Speed vs. Quality Comparison
| Task | Speed Method | Pro-Crafter Method |
|---|---|---|
| Cutting | Utility Knife (2 mins) | Precision Scalpel (5 mins) |
| Gluing | Hot Glue (5 mins) | Wood Glue & Clamps (2 hours) |
| Decorating | Markers (3 mins) | Acrylic Paint (1 hour) |
Level Up: Adding Hazards, Traps, and Themes
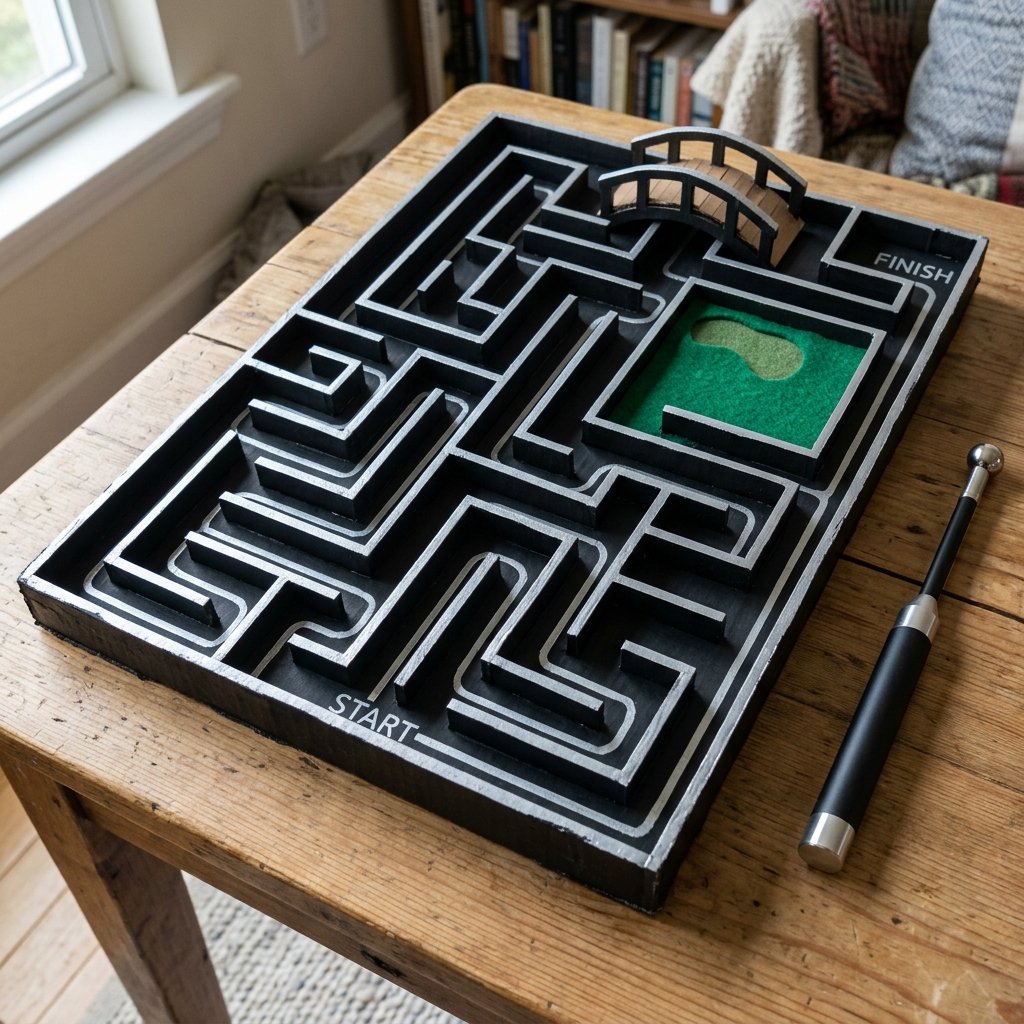
Once you’ve mastered the basic build, it’s time to add some crafty expertise. A plain cardboard maze is fun, but a themed ‘Gauntlet’ is legendary. You can transform this into a Father’s Day gift or a birthday present by adding personalized elements.
Advanced Obstacles
- The Bridge: Glue a second layer of cardboard over a section of the maze. The player must navigate the ball ‘underground’ where they can’t see it, relying entirely on the tactile feel of the magnet.
- The Sand Trap: Glue a small patch of felt or sandpaper in a corridor. This increases friction, requiring the player to pull harder with the magnet.
- The Spinner: Use a toothpick and a small cardboard ‘propeller’ that the ball must push through to pass.
For a Dollar Tree upgrade, grab a pack of neon electrical tape. Use the tape to color-code the ‘safe zones’ and ‘danger zones.’ This adds a high-end, ‘industrial’ look for only $1.25. If you are gifting this, a quick coat of matte black spray paint followed by a silver metallic marker for the maze lines creates a stunning, sophisticated finish that hides the fact that the project started in a dumpster.
The Physics of Fun: Magnetism and Fine Motor Mastery
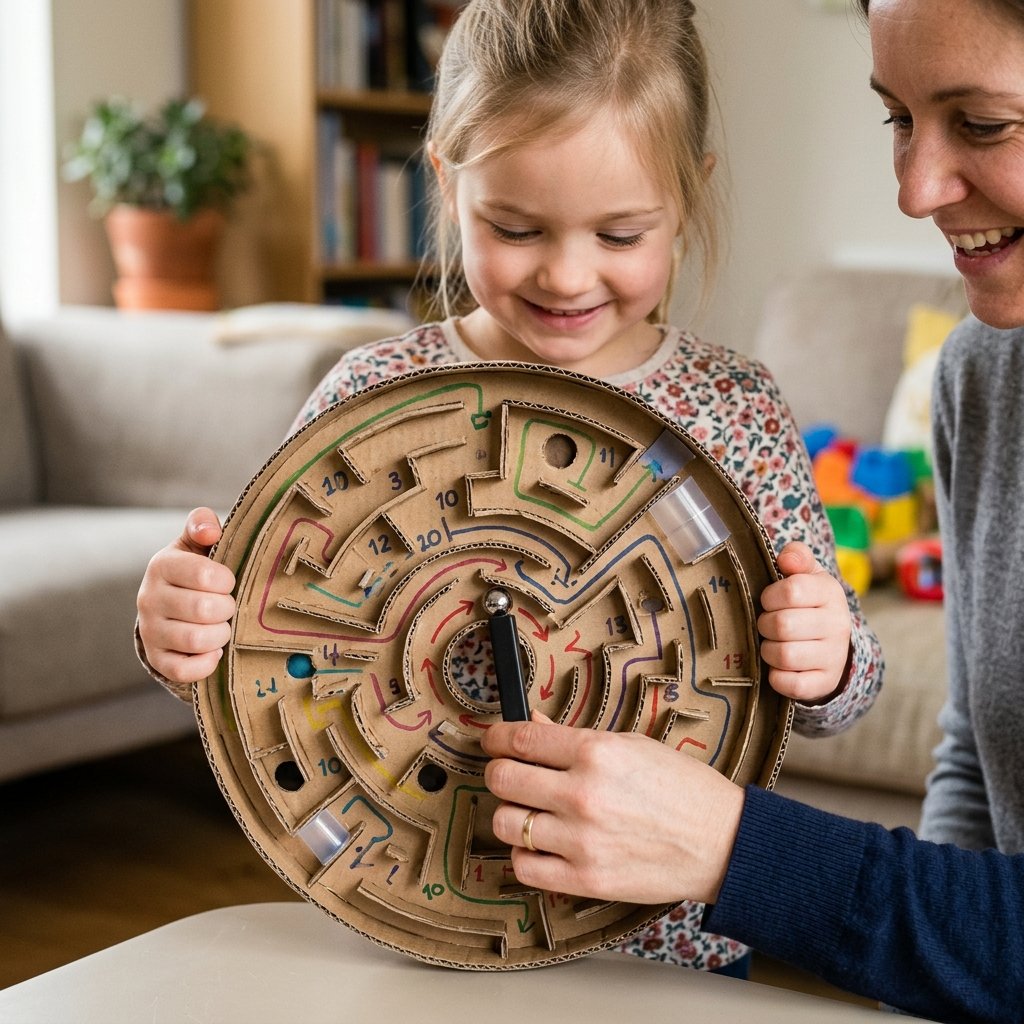
Why does this work so well? It’s all about the inverse-square law of magnetism. As the distance between the magnet (under the board) and the ball (on top) increases, the force drops off significantly. This creates a ‘sweet spot’ where the player must maintain a consistent distance to keep the ball moving.
Skill Development Matrix
| Skill Category | Benefit | Difficulty Level |
|---|---|---|
| Fine Motor | Steady hand-eye coordination | Medium |
| Spatial Reasoning | Pathfinding and planning | High |
| Physics Intuition | Understanding magnetic pull | Low |
| Patience | Managing ‘resets’ from traps | Extreme |
This project is a fantastic way for handy parents to introduce basic STEM concepts without a screen in sight. It encourages kids to think like engineers—testing, failing, and iterating on their designs. When the ball drops into that final hole, the dopamine hit is real, and the best part is knowing it cost absolutely nothing but a few minutes of your time.
Conclusion
The Legacy of the Labyrinth
In a world of disposable plastic and expensive gadgets, the Cardboard Magnetic Maze stands as a beacon of resourceful creativity. We’ve taken the most humble of materials—discarded packaging—and engineered a high-engagement experience in less than 15 minutes. This project proves that you don’t need a massive budget to create meaningful, ‘insanely fun’ moments. Whether you’re a frugal DIYer looking for a rainy-day activity or a crafty gift-giver wanting to impress with a handmade treasure, this maze is your new secret weapon. So, next time that delivery truck pulls up, don’t just see a box. See a labyrinth waiting to be born. Stay crafty, stay budget-savvy, and keep building.

Makenzie is the founder and lead writer at MoneyHackTips.com — a personal finance blog dedicated to delivering street-smart financial wisdom for real people on real budgets. With 300+ published articles covering everything from debt management to investing fundamentals, Makenzie’s mission is to make every dollar work harder. When not writing about money hacks, Makenzie is testing frugal living strategies, optimizing side hustles, and helping readers build financial freedom from scratch.