
The $100 Secret Your Recycling Bin is Hiding
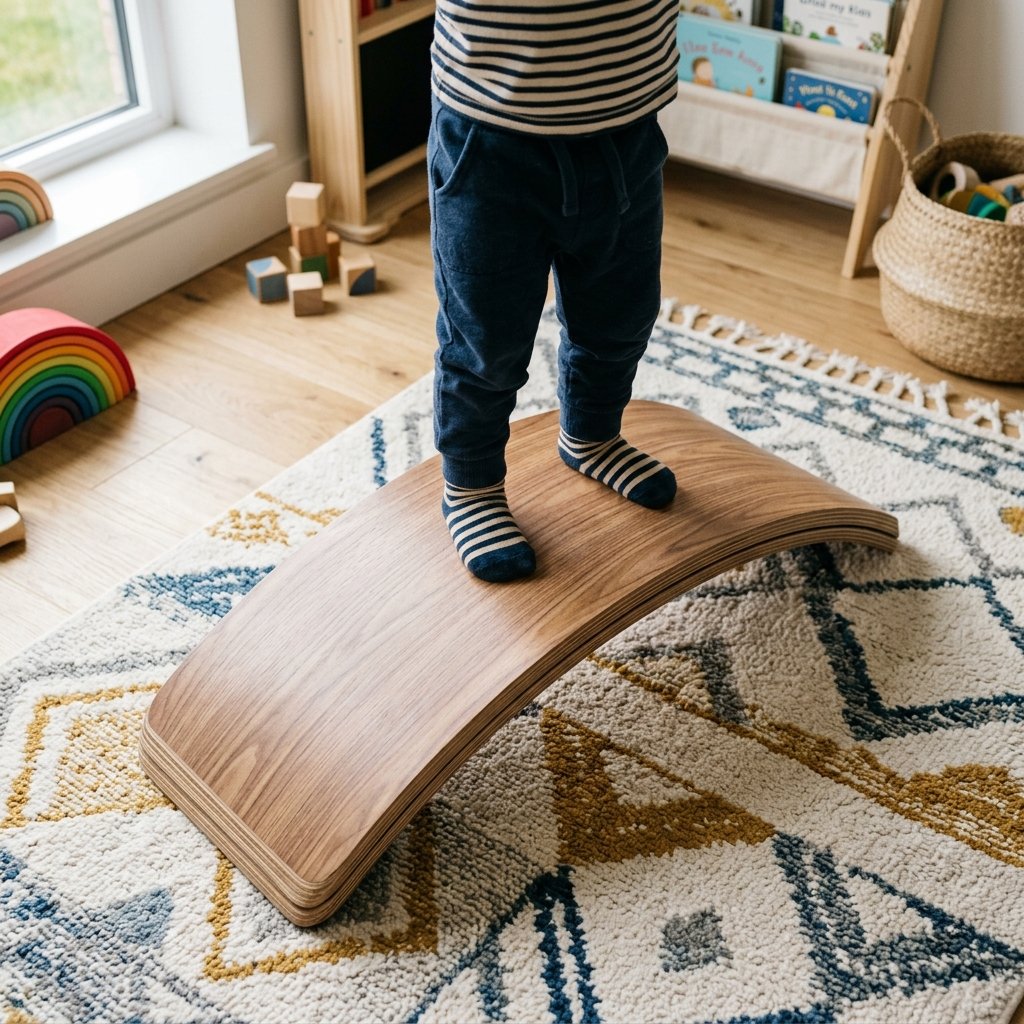
If you have ever browsed high-end toy catalogs, you have likely seen those beautiful, minimalist wooden balance boards. They are staples in Montessori and Waldorf classrooms, praised for developing a child’s core strength, coordination, and spatial awareness. The only problem? They often carry a price tag ranging from $80 to $150. As a resourceful DIYer, you know there is a better way. We are not just talking about a flimsy piece of paper; we are talking about engineering a super-sturdy, multi-layered laminate structure using nothing but the cardboard boxes currently sitting in your garage. This project is the ultimate ‘trash-to-treasure’ win, combining rugged practicality with a masculine-elegant finish that looks right at home in any living room. By the time we are done, you will have a piece of kinetic furniture that can support the weight of a toddler (and then some) for the grand total of $0 to $5.
The Physics of Strength: Why Cardboard is the Secret MVP
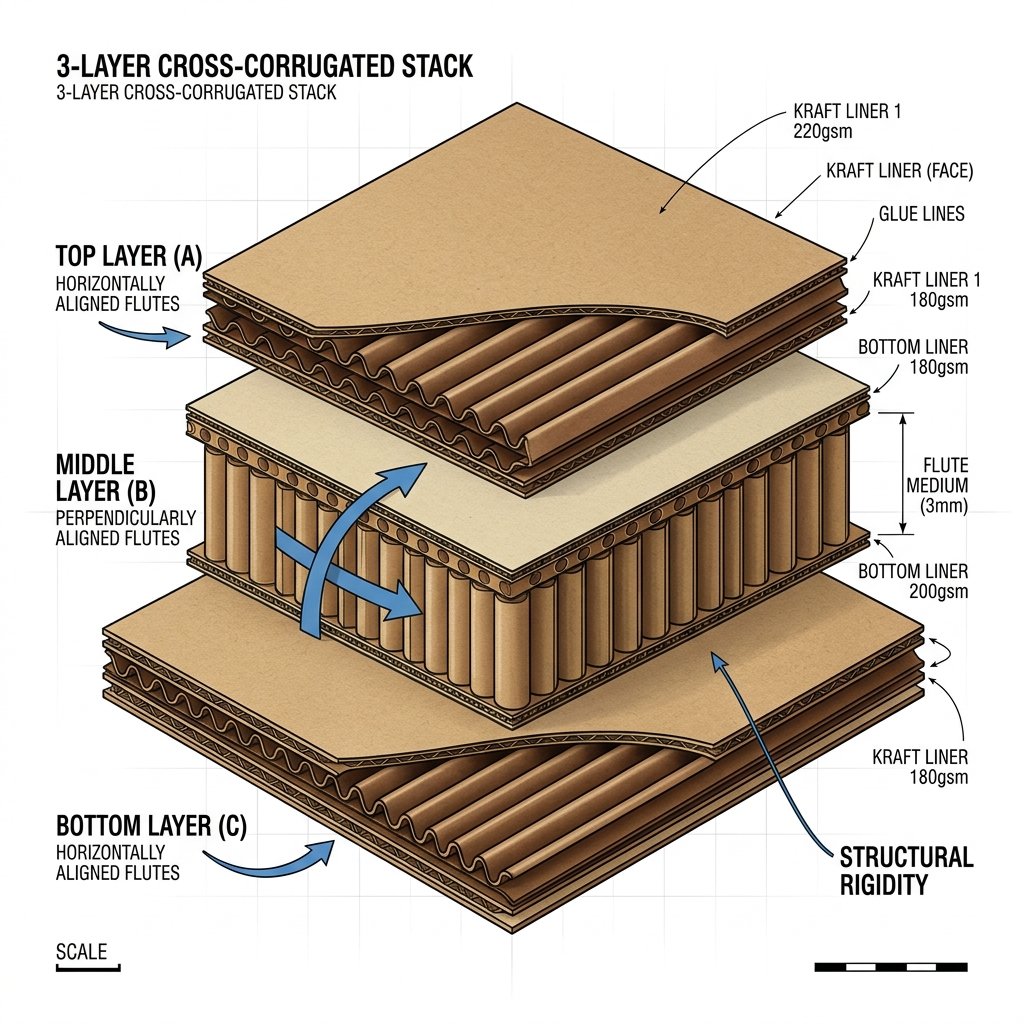
To build a balance board that actually lasts, we have to think like engineers. Cardboard is essentially a sandwich of paper; when you layer it and bond those layers together with the right grain orientation, it becomes incredibly rigid. This process is called lamination, and it is the same principle used to make high-end plywood. The secret to our ‘Super Sturdy’ claim lies in alternating the ‘grain’ (the direction of the internal fluting) of each layer.
Master’s Mantra: Strength is not found in the thickness of a single sheet, but in the bond of many layers working in opposition.
By rotating every second layer of cardboard by 90 degrees, we create a cross-grain lattice that prevents the board from snapping or flattening out under pressure. This is a clever, budget-savvy way to achieve professional-grade durability without a single trip to the lumber yard.
The Trash-to-Treasure Inventory & Budget Breakdown

Before we start cutting, let us look at the massive savings you are about to secure. Most of these items are already in your ‘junk drawer’ or recycling bin. If you had to buy everything brand new, you would still be spending less than 10% of the cost of a store-bought Wobbel board.
| Material/Tool | Store-Bought Cost | DIY Upcycled Cost |
|---|---|---|
| Balance Board Base | $120.00 | $0.00 (Double-walled shipping boxes) |
| Adhesive | Included | $3.50 (PVA Wood Glue or White Glue) |
| Finish (Felt/Paint) | Included | $1.25 (Dollar Tree Contact Paper) |
| Total Investment | $120.00 | $4.75 |
You will need at least 10 to 15 large sheets of clean, dry cardboard. Look for ‘double-wall’ boxes (the ones used for heavy appliances) as they offer superior density. You will also need a sharp utility knife, a bottle of wood glue, and a heavy weight—like a stack of old encyclopedias or a few bricks—to act as your ‘press’ during the drying phase.
The Blueprint: Drafting the Perfect Curvature
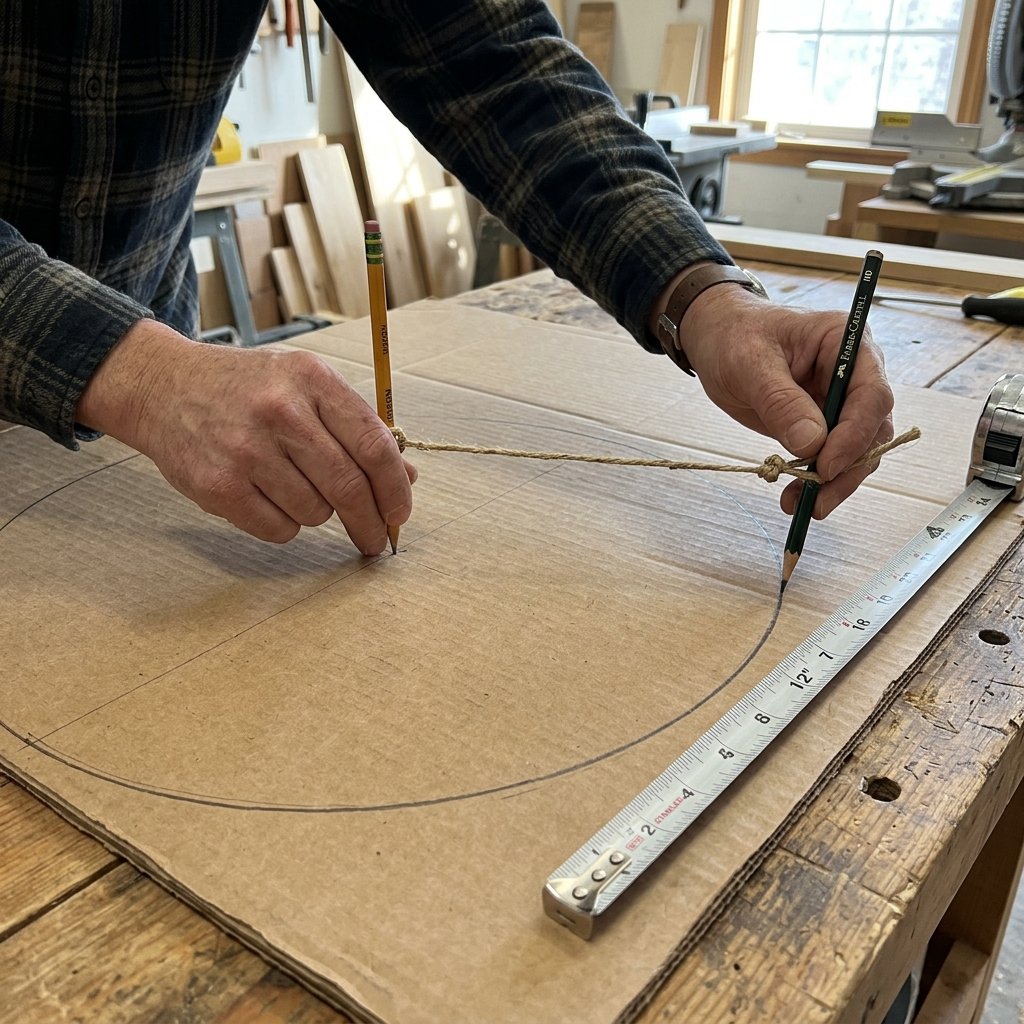
The arc of your balance board determines how much it will ‘wobble.’ For a toddler, you want a gentle curve that is safe but challenging. A standard length is 32 inches (81 cm) with a width of 11 inches (28 cm).
Creating Your Master Template
- Find a large piece of cardboard and mark two points 32 inches apart.
- Use a piece of string and a pencil to draw a shallow arc connecting these points. The ‘rise’ in the center should be approximately 6 to 7 inches.
- Cut this shape out carefully. This is now your Master Template.
- Trace this template onto your cardboard sheets until you have 12 to 15 identical pieces.
Safety Note: Always cut away from your body and ensure your utility knife blade is fresh. A dull blade is a dangerous blade because it requires more force and is more likely to slip.
Lamination Masterclass: Building the Wood-Block Core
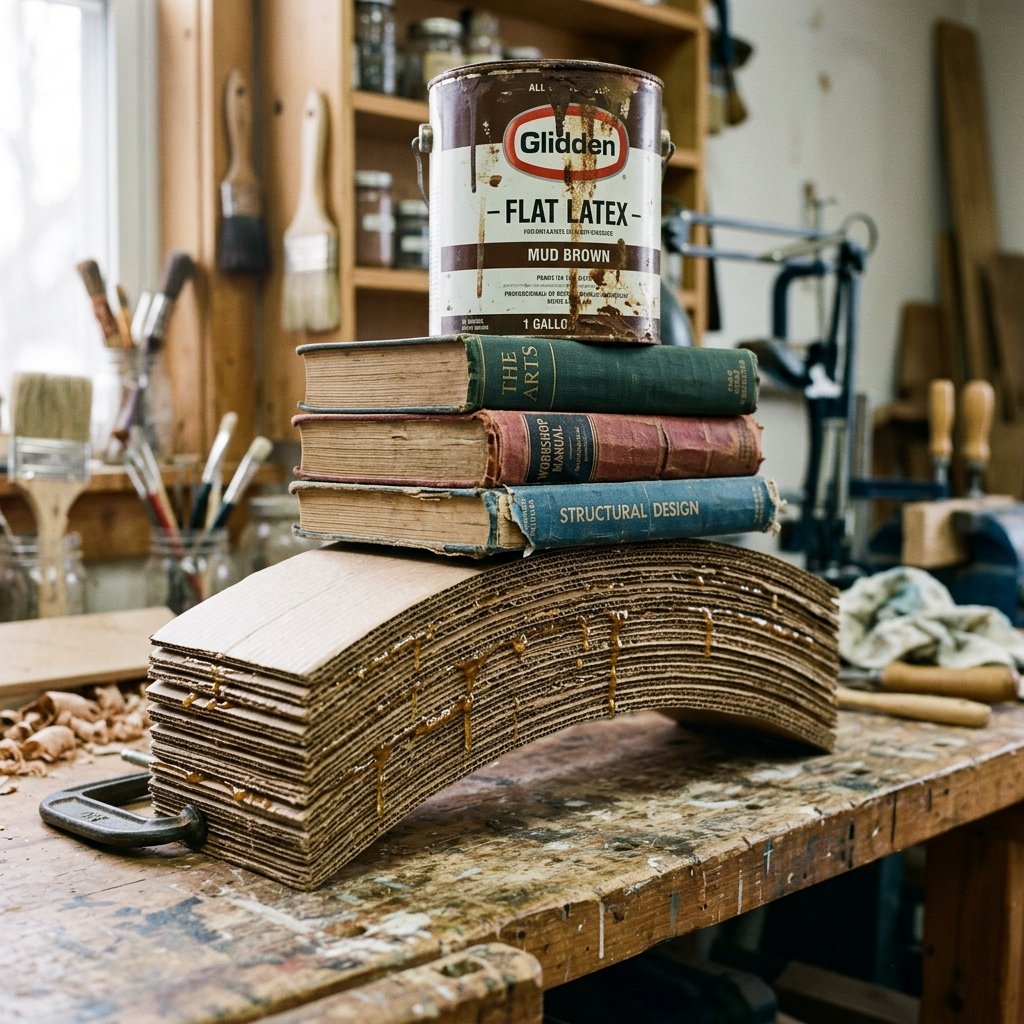
This is where the magic happens. We are going to transform these individual cutouts into a solid, monolithic piece of ‘cardboard-plywood.’ This process takes about 20 minutes of active work and 24 hours of drying time.
The Step-by-Step Glue-Up
- Lay your first cardboard arc flat on a protected surface.
- Apply a generous amount of wood glue. Use a scrap piece of cardboard to spread the glue into a thin, even layer covering 100% of the surface.
- Place the second layer on top, ensuring the internal corrugation runs perpendicular to the first layer.
- Repeat this process until all 15 layers are stacked.
- The Press: This is crucial. Place your stack on a curved surface (like the side of a large bucket or a DIY wooden jig) or simply lay it flat and put 50+ lbs of weight on top. The goal is to compress the layers so the glue penetrates the fibers.
By using 15 layers, your board will be approximately 1 inch thick, which is the sweet spot for structural integrity and weight-bearing capacity.
Rugged Aesthetics: Finishing Your Masterpiece
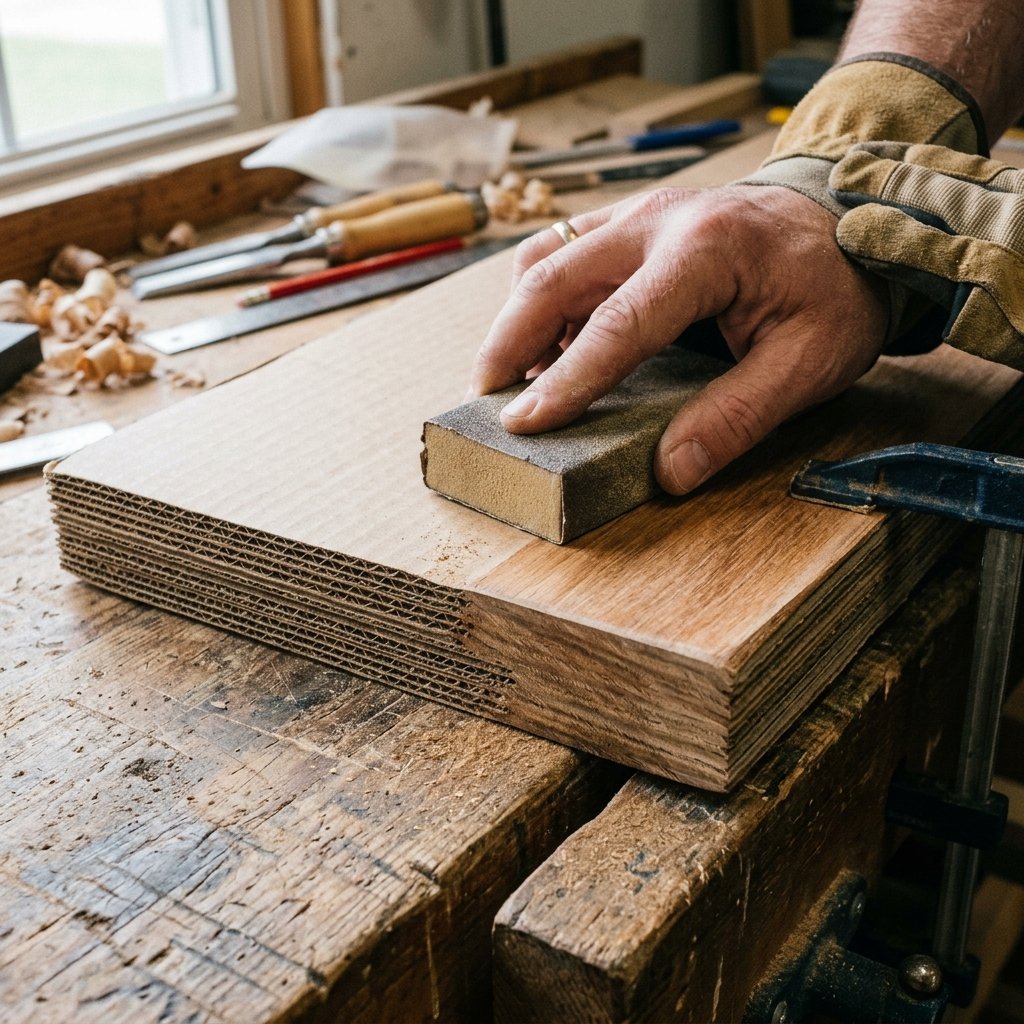
Once the glue is dry, your board will feel surprisingly heavy and rock-solid. Now, we want to move away from the ‘trash’ look and toward a ‘treasure’ aesthetic. A masculine-elegant finish makes this toy a permanent fixture in your home rather than something you want to hide when guests arrive.
Refining the Edges
- Use a piece of 120-grit sandpaper to smooth the edges of the cardboard. Sand until the layers look like a single, solid piece of wood.
- Wipe away the dust with a damp cloth.
The High-End Dupe
To get that Pottery Barn look on a Dollar Tree budget, use wood-grain contact paper. Apply it slowly, smoothing out bubbles with a credit card. If you prefer a more tactile feel, glue a piece of $1.00 craft felt to the bottom ‘curved’ side. This protects your floors and provides a pop of color. The result is a board that looks like it cost $100 but was made for the price of a cup of coffee.
Safety First: Testing and Playtime Guidelines
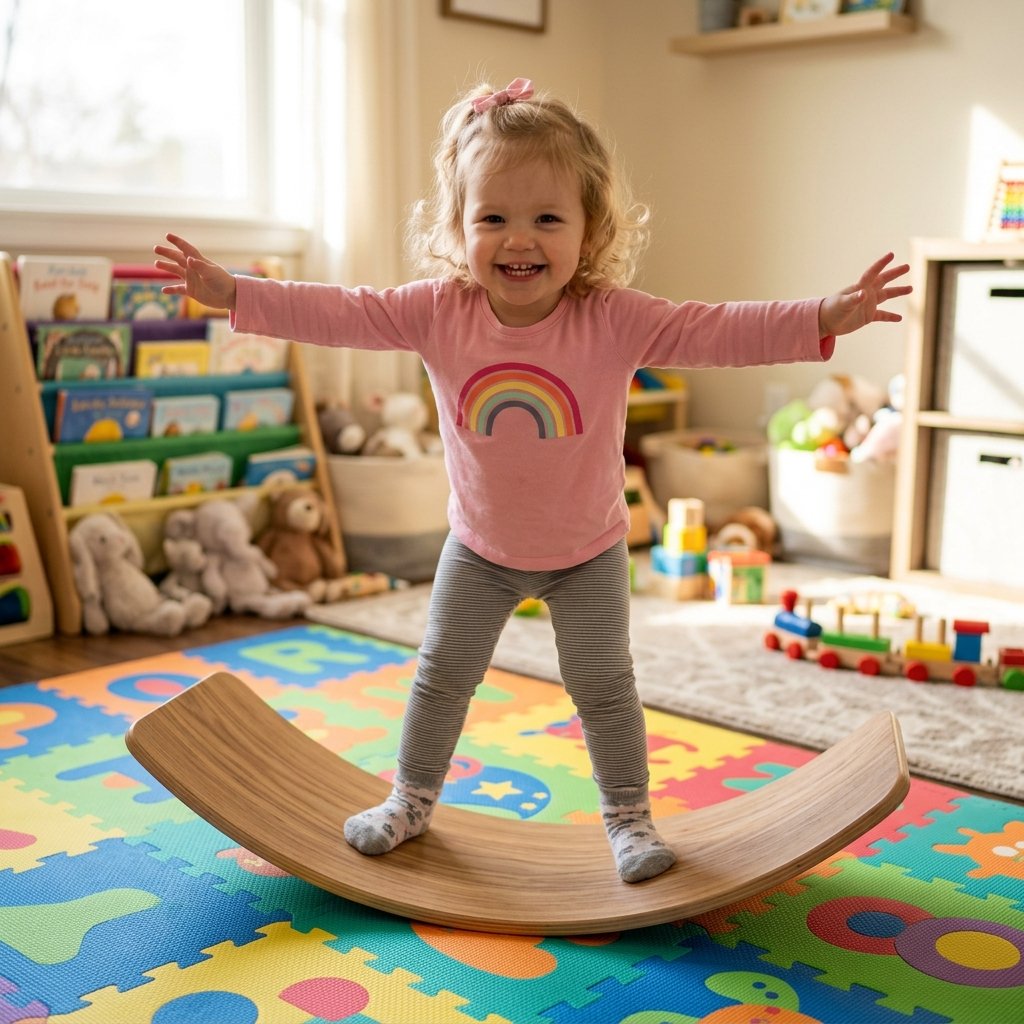
Before handing the board over to your toddler, you must perform a stress test. Place the board on the floor and stand on it yourself (slowly). A well-glued 15-layer board should easily support 150-200 lbs without buckling. If it creaks, add more weight and let it dry for another 12 hours.
Pro-Parent Tip: Start with the board on a carpeted surface or a yoga mat. This provides more friction and prevents the board from sliding out from under the child as they learn to balance.
Encourage your child to use it as a bridge for cars, a slide for stuffed animals, or a rocking cradle before they attempt to stand on it. This builds their confidence and teaches them the physics of the object through open-ended play.
Conclusion
The Ultimate DIY Victory
Congratulations! You have just successfully engineered a high-end developmental toy from materials that most people throw away. By following this guide, you have saved over $100, diverted waste from the landfill, and provided your child with a tool that will grow their physical capabilities for years to come. This project proves that being a ‘frugal guru’ isn’t just about saving pennies; it is about having the cleverness and craftiness to create a high-quality life for your family using the resources already at your fingertips. Now, sit back, relax, and watch your little one master the art of balance on their brand-new, super-sturdy cardboard board. Happy crafting!

Makenzie is the founder and lead writer at MoneyHackTips.com — a personal finance blog dedicated to delivering street-smart financial wisdom for real people on real budgets. With 300+ published articles covering everything from debt management to investing fundamentals, Makenzie’s mission is to make every dollar work harder. When not writing about money hacks, Makenzie is testing frugal living strategies, optimizing side hustles, and helping readers build financial freedom from scratch.