
The Secret to High-End Curb Appeal on a Frugal Budget
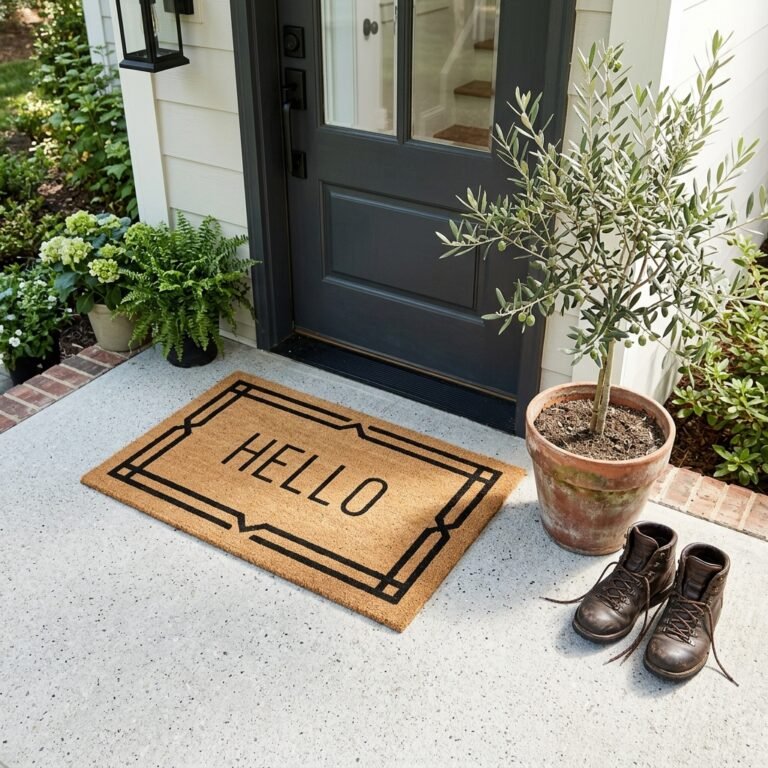
Let us talk about the front of your house. It is the first thing guests see, the first thing you see when you pull into the driveway after a long day, and the absolute easiest place to bleed money if you are not careful. If you have ever shopped for modern, masculine-elegant house number signs at high-end retailers or custom craft shops, you know the sticker shock is real. You are easily looking at $50 to $150 for a piece of wood and some metal digits. As resourceful, budget-savvy upcyclers, we simply refuse to pay that.
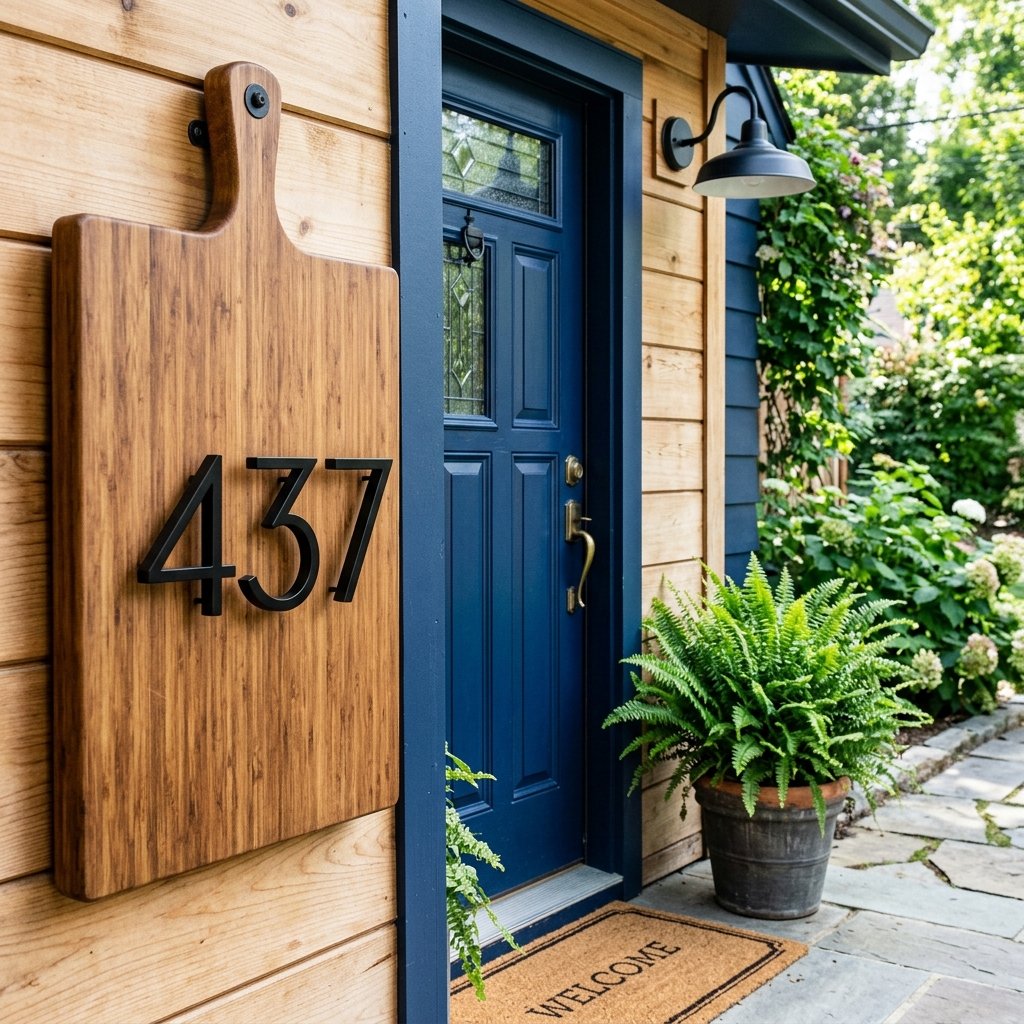
Welcome to the ultimate trash-to-treasure porch makeover. Today, we are taking a humble, $1.25 bamboo cutting board from the kitchen aisle of Dollar Tree and transforming it into a rugged, weather-proof, sophisticated house number sign that looks like it came straight out of an expensive architectural catalog. This project is the perfect weekend afternoon craft for handy parents, frugal DIYers, and anyone looking to add a touch of custom, practical elegance to their exterior without breaking the bank.
Curb appeal does not require a contractor’s budget; it only requires a crafter’s vision and a willingness to look at everyday objects differently.
With just $5, roughly 60 minutes of hands-on time, and a little bit of elbow grease, you are going to craft a piece that commands attention. Grab your sandpaper, raid your scrap wood stain pile, and let us get to work building a masterpiece.
Section 1: Sourcing the Materials and Budget Breakdown
The Humble Bamboo Cutting Board
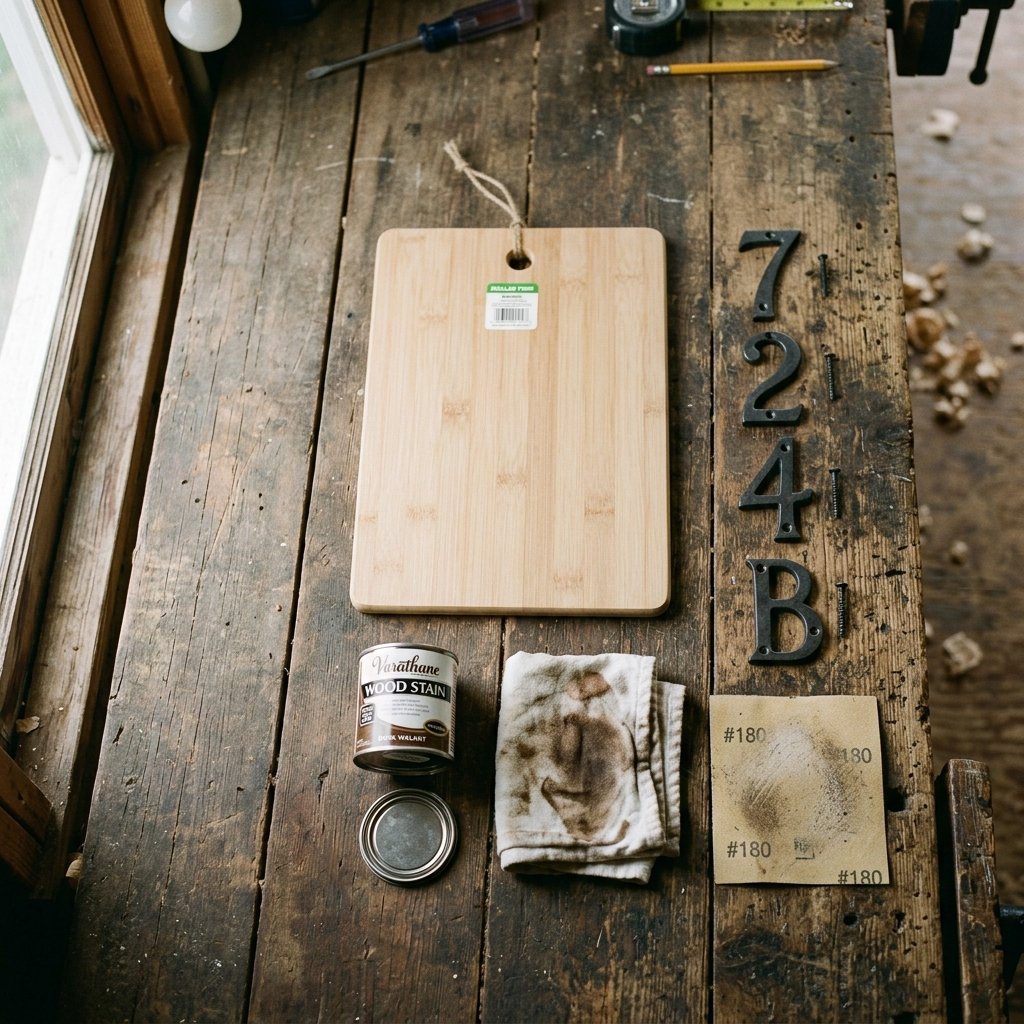
The star of this show is the Dollar Tree bamboo cutting board. Bamboo is naturally durable, surprisingly weather-resistant when treated correctly, and possesses a beautiful, tight grain that takes stain and oil incredibly well. Measuring just right for a standard 3-to-4 digit house number vertical or horizontal stack, it is the ultimate blank canvas.
Gathering Your Arsenal
To keep this project under our strict $5 limit, we are going to rely on a mix of clever dollar-store finds and items you likely already have in your workshop or craft stash. If you are a true frugal DIYer, you never throw away half-empty cans of wood stain or spare screws!
- The Canvas: One Dollar Tree bamboo cutting board ($1.25).
- The Numbers: Floating metal house numbers (hardware store) or heavy-duty plastic/wood numbers painted to look like metal. For the ultra-budget approach, Dollar Tree often sells metal or wooden numbers for $1.25 per pack.
- The Finish: Leftover wood stain (Dark Walnut or Ebony look fantastic for that rugged, masculine vibe) or a simple DIY tea/coffee stain.
- The Sealant: Exterior grade polyurethane or clear spray enamel (use from your stash, or grab a small bottle for a few dollars).
- Mounting Hardware: D-rings, sawtooth hangers, or heavy-duty exterior mounting tape.
| Material / Component | High-End Store Cost | Our Clever DIY Cost |
|---|---|---|
| Wood Backing / Plaque | $25.00 – $45.00 | $1.25 (DT Bamboo Board) |
| House Numbers (3-4 digits) | $20.00 – $60.00 | $2.50 (DT or Salvaged) |
| Stain & Exterior Sealant | $15.00 – $20.00 | $0.00 (Workshop Stash) |
| Mounting Hardware | $5.00 – $10.00 | $1.25 (DT Hardware Kit) |
| Total Estimated Cost | $65.00 – $135.00 | $5.00 |
Safety Note: When working with chemical wood stains and exterior sealants, always work in a well-ventilated area—preferably outside or in an open garage—and wear protective gloves to keep your hands clean.
Section 2: Prepping and Staining Your Wooden Canvas
Sanding the Factory Finish
Dollar Tree cutting boards often come with a very thin, food-safe mineral oil or wax coating. To get our rugged, masculine-elegant stain to penetrate the bamboo fibers properly, we need to scuff that finish off. Spend about 5 minutes with a medium-grit sandpaper (around 120-grit). Sand in the direction of the bamboo grain until the surface feels slightly dull and porous to the touch. Wipe away all dust with a damp cloth or tack cloth.
Applying the Stain
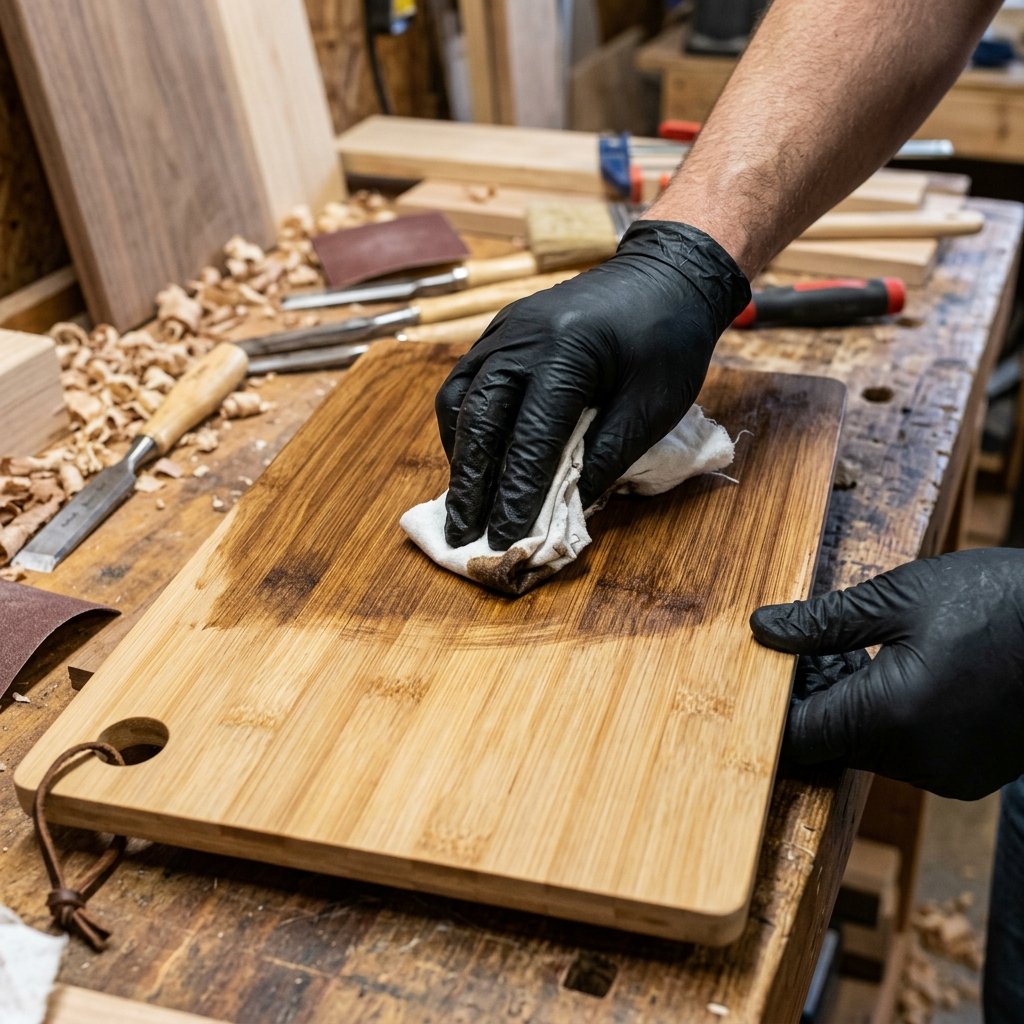
Bamboo is technically a grass, not a wood, so it absorbs stain a bit differently. It tends to highlight the nodes and grain beautifully. For a modern, high-end look, a dark walnut or true black stain works wonders against bright metal numbers.
- Put on your protective gloves and stir your stain thoroughly.
- Dip a clean, lint-free rag or a cheap foam brush into the stain.
- Wipe the stain evenly across the bamboo board, following the grain.
- Let it sit for 3 to 5 minutes to absorb, then wipe off any excess with a clean rag. For a darker finish, repeat this process after 30 minutes.
- Do not forget to stain the edges and the back! Protecting the back is just as important for outdoor durability.
The Frugal Crafter’s Alternative: Shou Sugi Ban
If you don’t have stain on hand but have a small butane craft torch, you can use the Japanese technique of Shou Sugi Ban (wood burning). Lightly scorch the surface of the bamboo board to bring out the grain and give it a rich, charred, weather-resistant finish. It costs absolutely nothing and adds an incredibly rugged, custom look to your curb appeal project.
Section 3: Designing and Mounting the Numbers
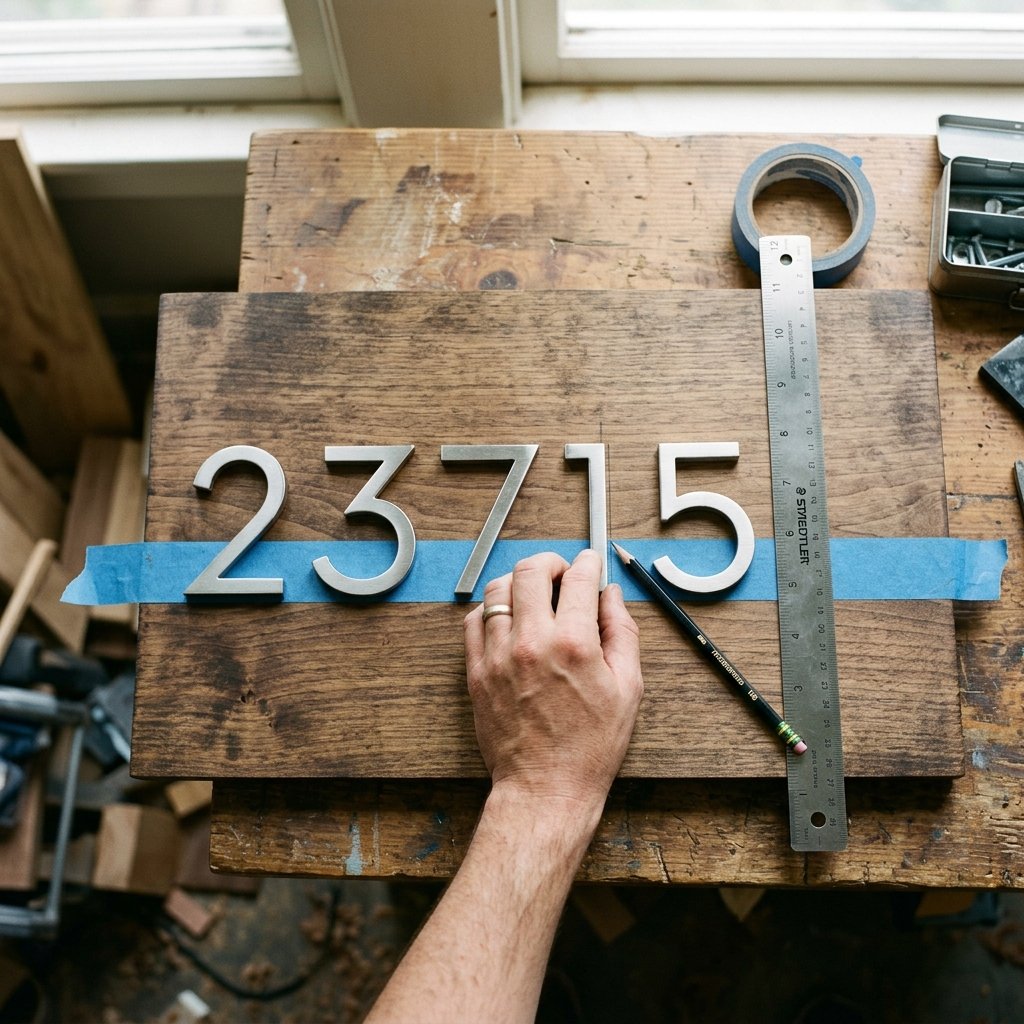
The Math of Perfect Placement
Nothing ruins a high-end dupe faster than crooked or off-center numbers. Take 10 minutes to plan your layout before making any permanent attachments. You can orient your board vertically (great for narrow porch columns) or horizontally (ideal for above a mailbox or beside the door).
- Use a ruler or tape measure to find the exact center of your board both vertically and horizontally. Mark it lightly with a pencil.
- Lay your numbers out on the board. If you have an odd number of digits (like 3 or 5), center the middle digit directly on your center mark. If you have an even number (like 4), split the center line between the two middle digits.
- Use strips of painter’s tape to create a straight baseline for your numbers to rest against. This ensures they do not drift up or down as you attach them.
Attaching the Digits
If you splurged slightly on floating metal hardware store numbers, they usually come with templates and small screws or posts. Pre-drill tiny pilot holes into the bamboo to prevent splitting, then secure the numbers.
If you are using the ultra-budget Dollar Tree wooden or plastic numbers, paint them first! A coat of matte black or metallic gold spray paint will instantly elevate them. Once dry, attach them to the board using a heavy-duty, outdoor-rated construction adhesive or E6000 glue. Apply pressure and let them cure for at least 24 hours before moving to the next step.
Makers Mantra: Measure twice, glue once. A few extra minutes spent aligning your numbers will make the difference between a project that looks homemade and one that looks handmade.
Section 4: Weatherproofing for the Elements
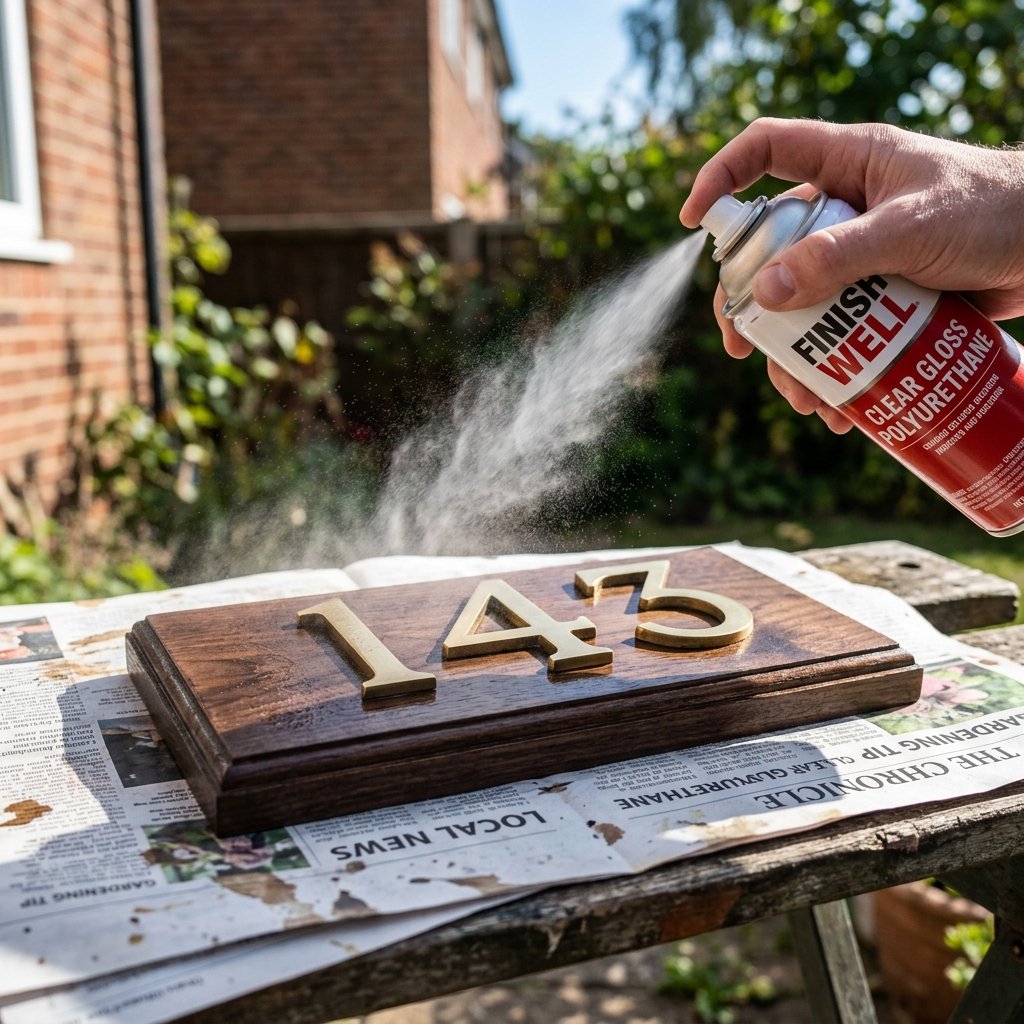
Sealing the Deal
Since this piece will live outside, battling UV rays, rain, and temperature shifts, weatherproofing is non-negotiable. Skipping this step will result in a warped, peeling sign within a single season. We want our $5 investment to last for years.
The Polyurethane Shield
You need an exterior-grade clear coat. Spar urethane or a UV-resistant clear acrylic spray are your best bets. Spar urethane contains special oils that allow it to expand and contract with the wood as temperatures change, preventing cracking.
- Ensure your stain and glued numbers are 100% dry and cured.
- Move to a dust-free, well-ventilated area.
- Apply a thin, even coat of your chosen sealer over the entire front, sides, and back of the board.
- Allow it to dry completely (usually 2 to 4 hours depending on humidity).
- Lightly sand the surface with fine-grit paper (220-grit), wipe away the dust, and apply a second coat. Three coats will provide maximum, rugged protection.
By sealing the entire board—including the back—you prevent moisture from seeping into the bamboo fibers and causing rot or warping. This is a classic handy-parent trick for making cheap materials survive the great outdoors.
Section 5: Mounting and Displaying Your Masterpiece
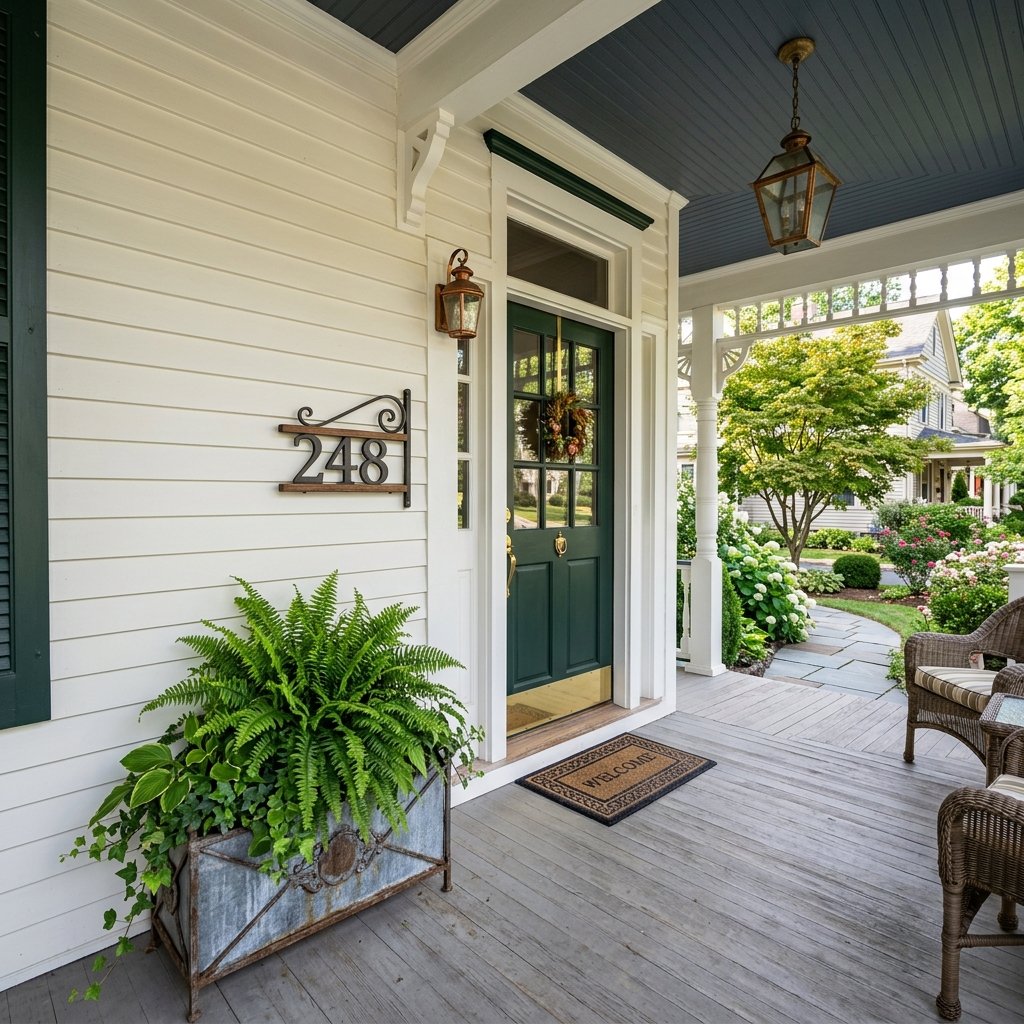
Choosing the Right Hardware
How you hang your new high-end dupe depends entirely on your home’s exterior. You do not want to drill unnecessary holes into expensive siding or brick if you can avoid it.
- For Wood or Hardie Board Siding: Attach two heavy-duty D-ring hangers to the back of the cutting board. Measure the distance between them, transfer that measurement to your siding, and drive in two exterior-grade screws.
- For Vinyl Siding: Do not drill! Purchase cheap vinyl siding hooks. They slip right into the seams of the siding and can easily hold the weight of a bamboo board.
- For Brick or Stone: Brick clips are a frugal DIYer’s best friend. They grip the mortar without requiring any drilling. Alternatively, you can use masonry anchors if you want a permanent fixture.
- For Glass or Metal Doors: Heavy-duty, exterior-rated double-sided mounting tape (like 3M VHB) is incredibly strong and weather-resistant.
Styling the Porch
Your new sign is going to look fantastic, but to really maximize that curb appeal, frame it well. Consider placing a tall, inexpensive galvanized bucket planter (another great Dollar Tree upcycle!) beneath it, filled with hardy ferns or faux greenery. Ensure your porch light is clean and functional so your beautiful new numbers are visible at night.
Conclusion
Final Thoughts: Maximum Impact, Minimum Spend
And there you have it! For a grand total of around $5, a little bit of workshop scavenging, and less than an afternoon of your time, you have completely upgraded your home’s exterior. You took a basic kitchen item and, through the magic of resourceful crafting and a rugged, practical approach, engineered a piece of high-end home decor.
This Dollar Tree cutting board house number sign proves that you do not need to spend a fortune to have a home that looks completely custom and beautifully curated. Whether you are a frugal DIYer looking to spruce up your own space, or a handy upcycler making a thoughtful, practical housewarming gift for a friend, this project is a guaranteed winner. Now step back, admire your handiwork from the curb, and enjoy the satisfaction of knowing exactly how much money you saved!

Makenzie is the founder and lead writer at MoneyHackTips.com — a personal finance blog dedicated to delivering street-smart financial wisdom for real people on real budgets. With 300+ published articles covering everything from debt management to investing fundamentals, Makenzie’s mission is to make every dollar work harder. When not writing about money hacks, Makenzie is testing frugal living strategies, optimizing side hustles, and helping readers build financial freedom from scratch.