
Unlock Independence Without the Hefty Price Tag
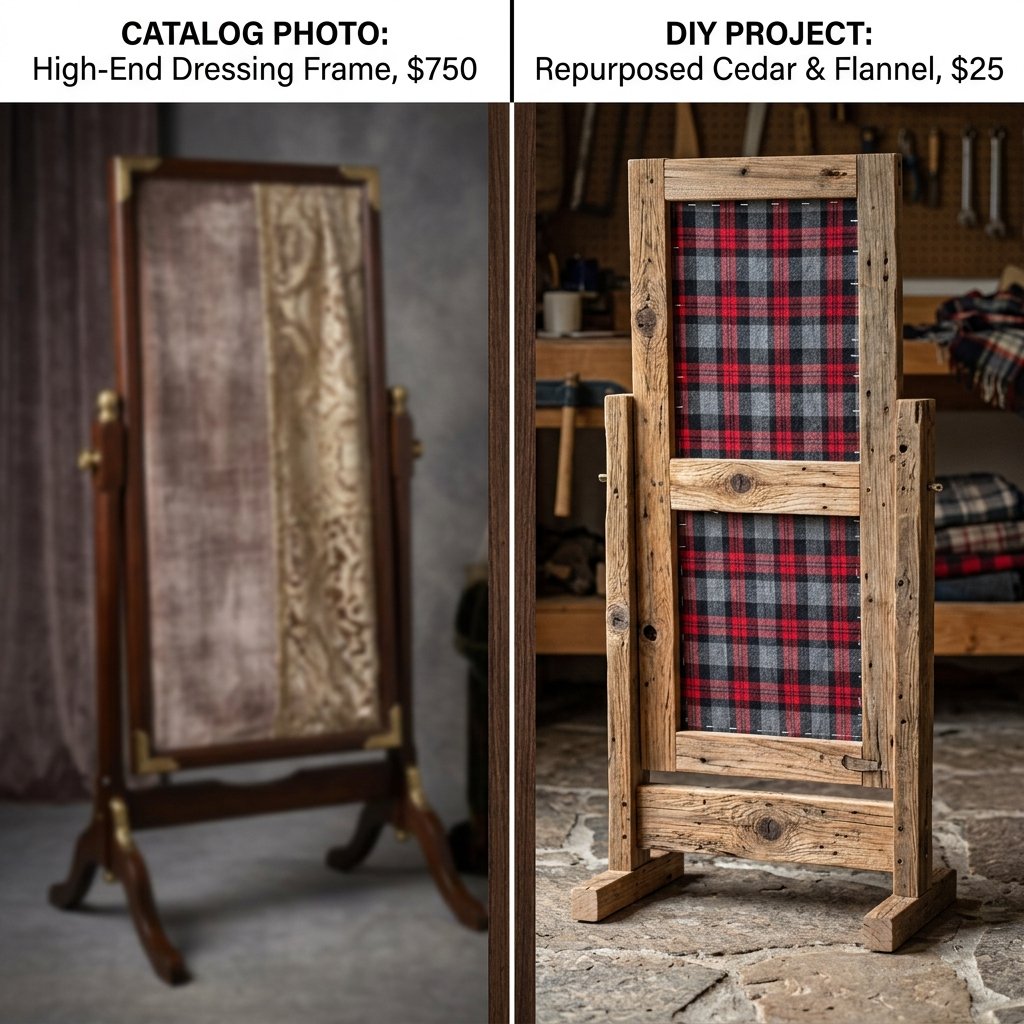
If you have ever browsed a high-end educational catalog, you have likely seen Montessori dressing frames retailing for $20 to $40 per frame. For a full set of eight, you are looking at a $300 investment. But here is the secret: Maria Montessori originally designed these tools to be simple, practical, and accessible. As a resourceful DIYer, you do not need a massive budget to give your child the gift of self-reliance. By scavenging scrap wood from your garage and upcycling outgrown clothing, you can create a professional-grade set of dressing frames for under $10 total.
In this guide, we are going to channel our inner master-craftsman and frugal guru to build rugged, beautiful, and highly functional frames. These aren’t just toys; they are the keys to your child’s ‘I can do it myself!’ moment. Whether you are a handy dad with a spare afternoon or a budget-savvy mom looking to repurpose those stained-but-sturdy denim scraps, this tutorial will walk you through every cut, staple, and stitch.
The Budget Breakdown: Store-Bought vs. Trash-to-Treasure DIY
Why DIY is the Clever Choice
When we talk about being budget-savvy, we are looking at the ‘cost-per-use.’ Dressing frames are essential for fine motor development, but their utility window is specific. Spending hundreds of dollars on something your child will master in six months is not practical. By using materials you already own, you preserve your family budget for long-term needs while still providing top-tier educational materials.
| Material Item | Store-Bought Cost | DIY Upcycled Cost |
|---|---|---|
| Set of 6 Frames | $180.00 | $0.00 (Scrap Wood) |
| Fabric Panels | Included | $0.00 (Old Shirts/Pants) |
| Hardware (Zippers/Buttons) | Included | $2.50 (Thrifted or Salvaged) |
| Total Investment | $180.00+ | $2.50 – $10.00 |
The goal of the dressing frame is not the frame itself, but the concentration and coordination the child develops while working with it. A frame made of scrap wood teaches the same lesson as one made of mahogany.
The Scavenger Hunt: Gathering Your Materials
Sourcing the ‘Rugged’ Essentials
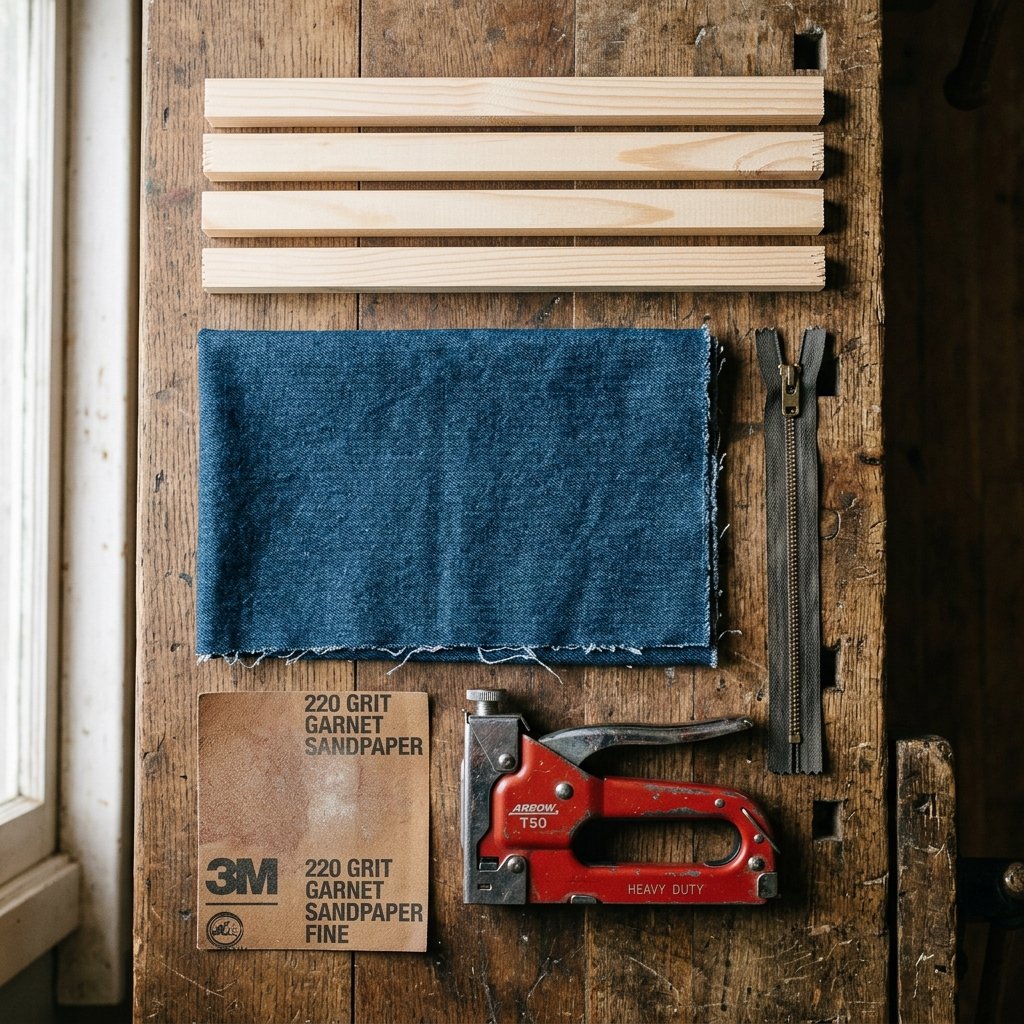
To build a set of frames that can withstand the enthusiastic tugging of a three-year-old, you need sturdy materials. Look for the following in your workshop or local thrift store:
- The Frames: 1×2 pine furring strips or scrap plywood. You will need four pieces per frame, roughly 10 inches long each.
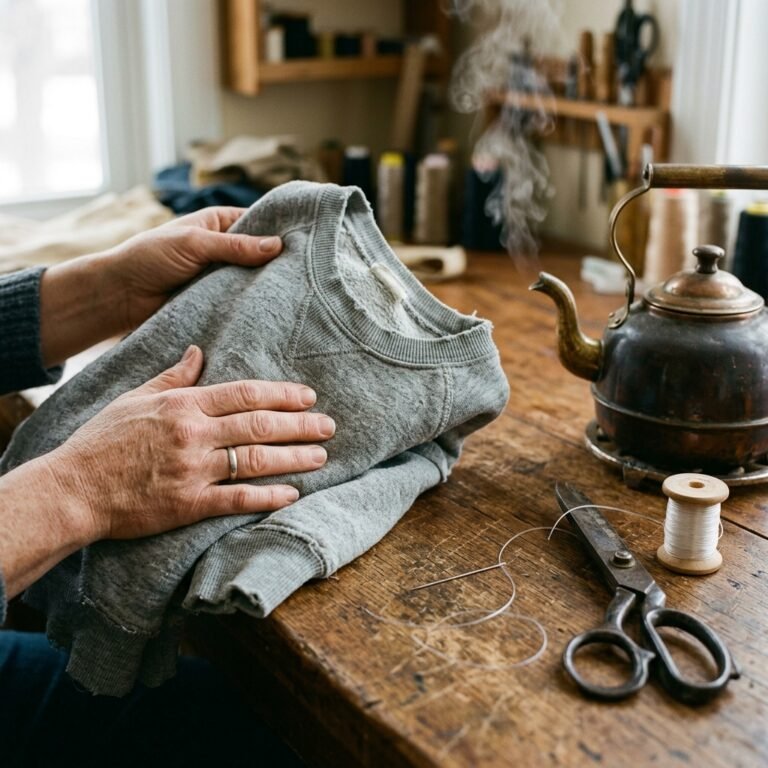
- The Fabric: Use ‘non-stretch’ fabrics for beginners. Old denim jeans, corduroy trousers, or heavy flannel shirts are perfect. Avoid jersey or spandex as they frustrate early learners.
- The Closures: Check your ‘button jar’ or harvest zippers and buckles from bags and coats that are headed for the rag bin.
- Tools: A hand saw, wood glue, a staple gun (or small upholstery tacks), and sandpaper.
Safety First: The Craftsman’s Note
Always ensure that any wood used is sanded to a buttery-smooth finish to prevent splinters. If using old hardware, check for sharp edges or rust. Your child’s safety is the priority in every DIY build.
Step-by-Step Construction: Building the Frame
1. Cutting and Prepping the Wood
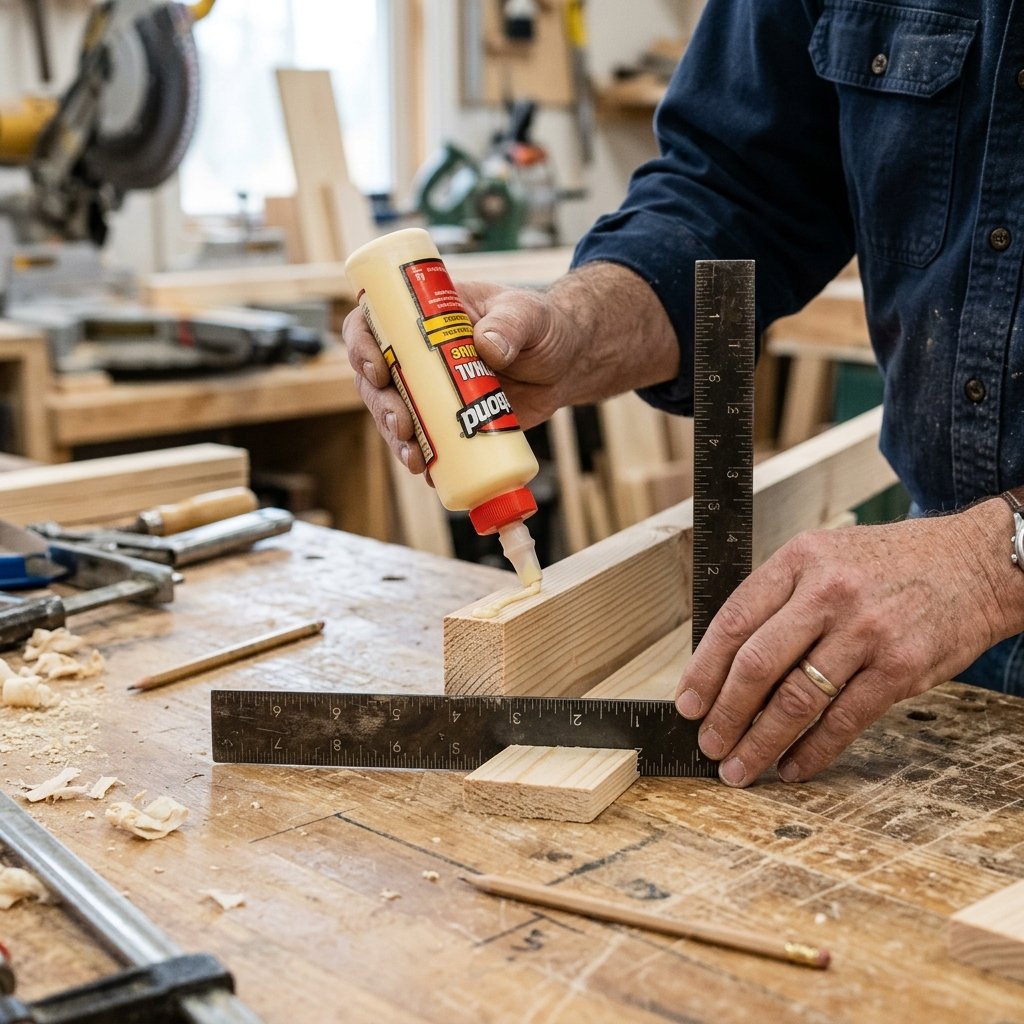
We want a square frame that is easy for small hands to hold. Measure and cut your wood into 10-inch lengths. For a set of six frames, you will need 24 pieces. Once cut, sand every edge thoroughly. A clever trick is to slightly round the corners to make them more ‘child-friendly’ and elegant.
2. The ‘Butt Joint’ Assembly
You don’t need fancy joinery here. A simple butt joint with wood glue and a single finishing nail or screw at each corner is plenty strong. Ensure the frame is square by checking it against the corner of your workbench. Let the glue dry for at least 2 hours before proceeding.
3. Preparing the Fabric Panels
This is where your upcycling skills shine. You need two rectangular panels for each frame. Each panel should be 5 inches wide by 9 inches long. This allows for a 1-inch overlap in the center where the closures (buttons, snaps, etc.) will live.
- Cut your fabric from the flat areas of old clothing (backs of shirts or legs of pants).
- Hem the ‘inner’ edges where the closures will be attached to prevent fraying.
- Attach your buttons, zippers, or velcro to these inner edges before mounting the fabric to the wood.
The Master’s Touch: Mounting the Fabric
Securing the Panels for Longevity
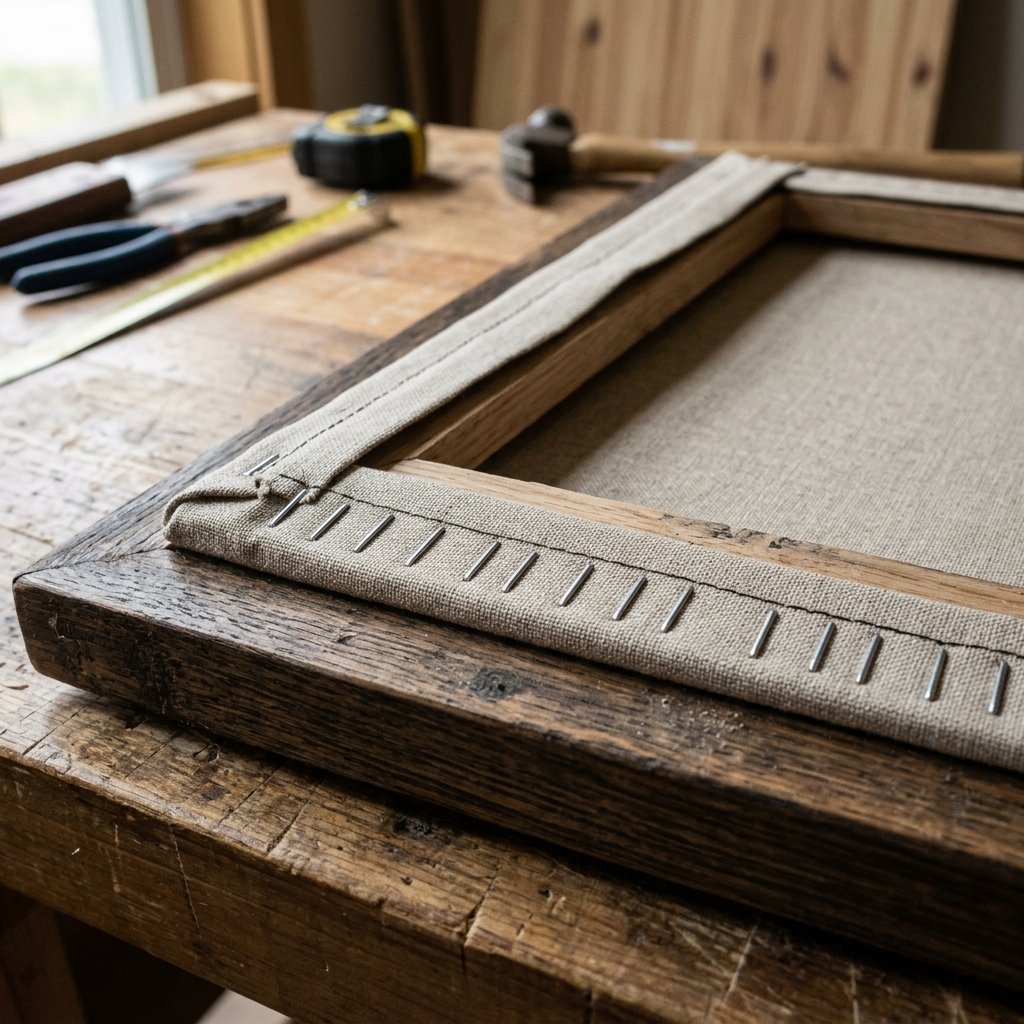
To make these look like high-end ‘Pottery Barn’ replicas, we want the fabric to be taut but not over-stretched. We will use the ‘wrap-around’ method.
- Step A: Lay your completed fabric closure (already buttoned or zipped) face down on the table.
- Step B: Place your wooden frame on top of the fabric.
- Step C: Pull the outer edge of the left fabric panel over the wooden side rail and staple it to the back of the wood. Space your staples about 2 inches apart.
- Step D: Repeat for the right side.
Pro Tip: If you want a truly ‘masculine-elegant’ finish, cover your staples with a thin strip of twill tape or ribbon glued over the top. It hides the hardware and looks like a professional upholstery job.
| Closure Type | Difficulty Level | Best Fabric Pair |
|---|
Customizing the Skill Set: Beyond Buttons
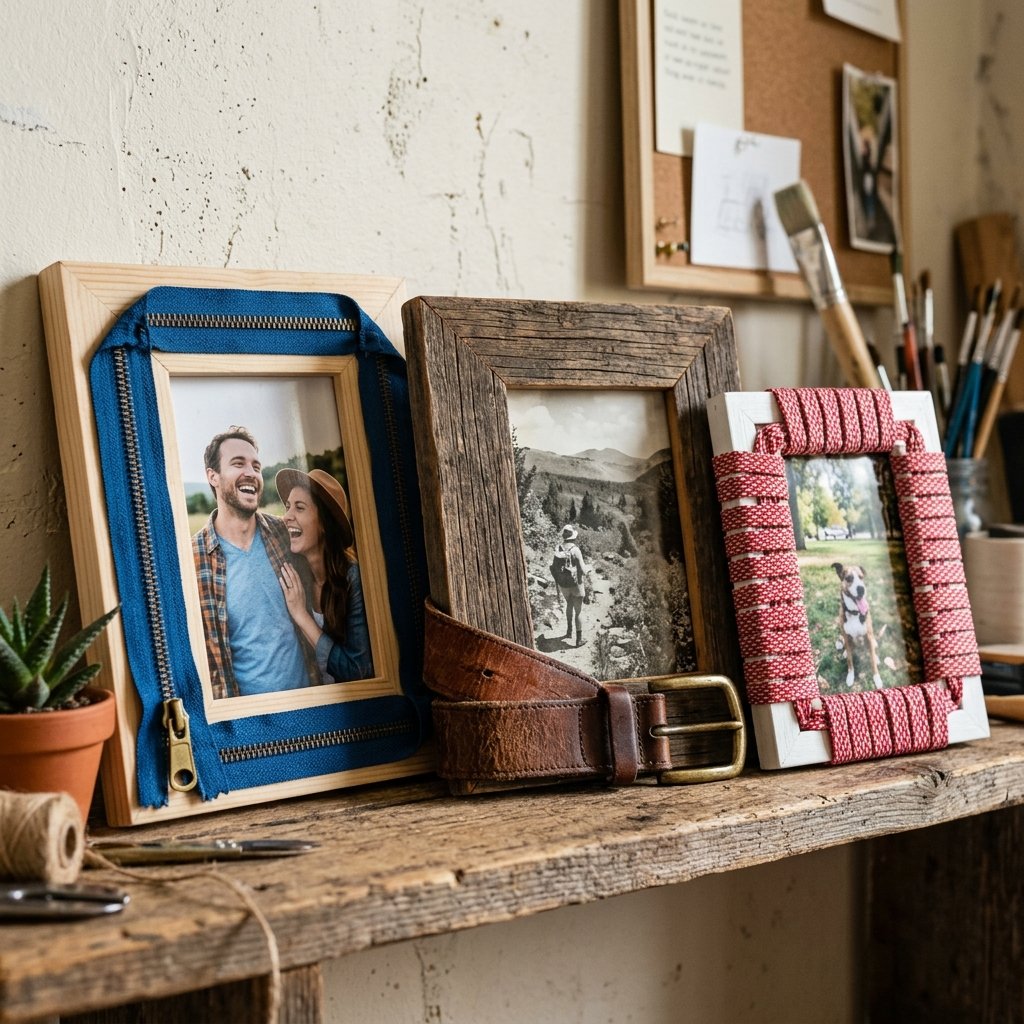
Creating a Progression of Difficulty
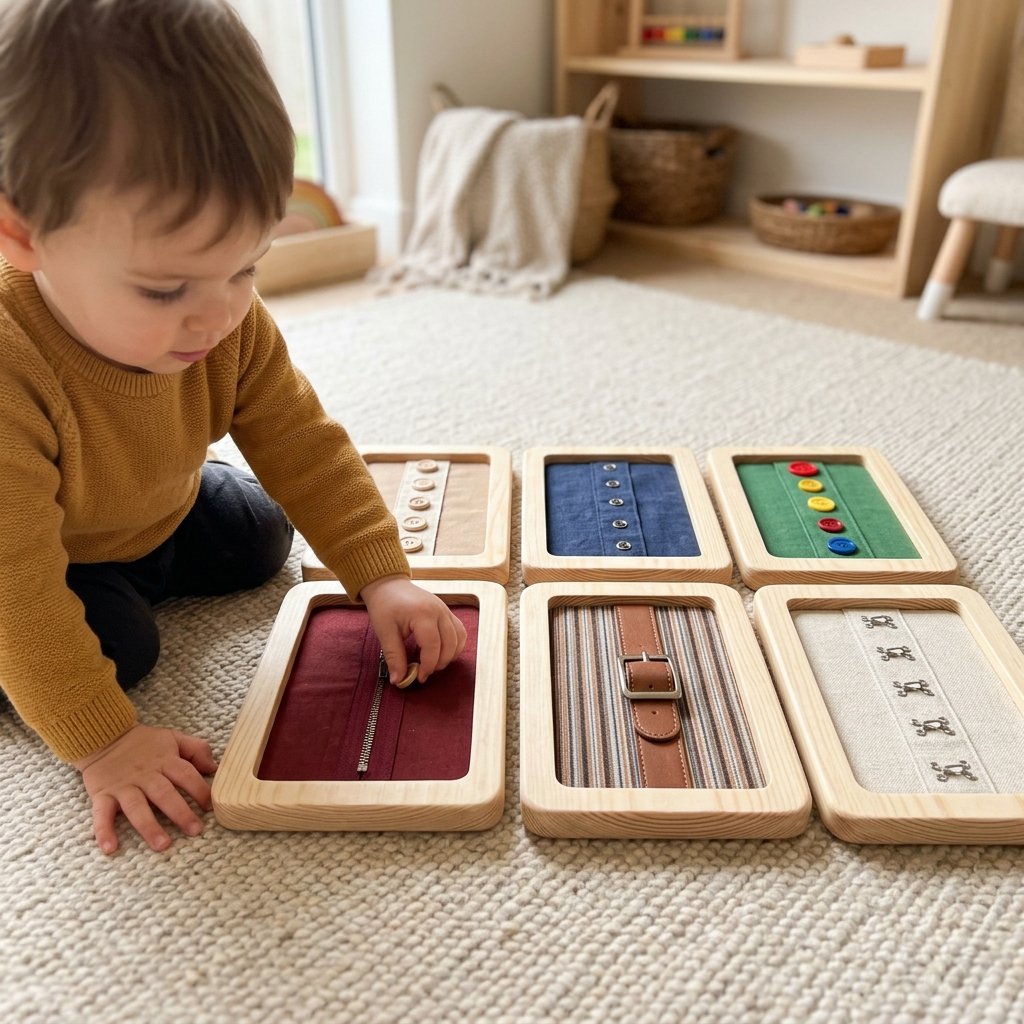
A true Montessori environment offers a ‘path of progression.’ Don’t give your child the hardest frame first. Start with Velcro or Large Buttons and move toward complex tasks like Shoe Lacing or Safety Pins.
The Upcycled Buckle Frame
One of the most ‘rugged’ and satisfying frames to make uses an old leather belt. Cut two sections of the belt—one with the buckle and one with the holes. Screw the leather directly into the wooden frame using small washers to prevent the leather from tearing. This provides a wonderful tactile experience and a ‘click’ sound that kids love.
The Bow-Tying Frame
Don’t buy expensive ribbon. Use two different colors of flat shoelaces. Using two colors (e.g., red for the left lace, blue for the right) helps the child visually track the ‘loop, swoop, and pull’ process. It is a clever, budget-savvy way to teach a difficult skill.
The secret to success is ‘Isolation of Difficulty.’ Each frame should only teach ONE skill. Don’t put a zipper and a button on the same frame; it confuses the learning process.
Conclusion
A Legacy of Learning on a Shoestring Budget
By following this tutorial, you haven’t just built a set of wooden frames; you have built a bridge to your child’s independence. For the cost of a cup of coffee and some afternoon ‘shop time,’ you’ve created a resource that rivals any high-end educational supplier. These DIY Montessori Dressing Frames are rugged enough to be passed down to siblings or gifted to friends, making you the ultimate ‘Trash-to-Treasure’ guru in your community.
Remember, the beauty of DIY is in the customization. Use fabrics that your child recognizes—perhaps an old shirt of yours that they always admired. This emotional connection makes the learning process even more special. Now, grab that staple gun, raid the scrap bin, and start building. Your child’s ‘I did it!’ smile is worth every second of the effort.

Makenzie is the founder and lead writer at MoneyHackTips.com — a personal finance blog dedicated to delivering street-smart financial wisdom for real people on real budgets. With 300+ published articles covering everything from debt management to investing fundamentals, Makenzie’s mission is to make every dollar work harder. When not writing about money hacks, Makenzie is testing frugal living strategies, optimizing side hustles, and helping readers build financial freedom from scratch.