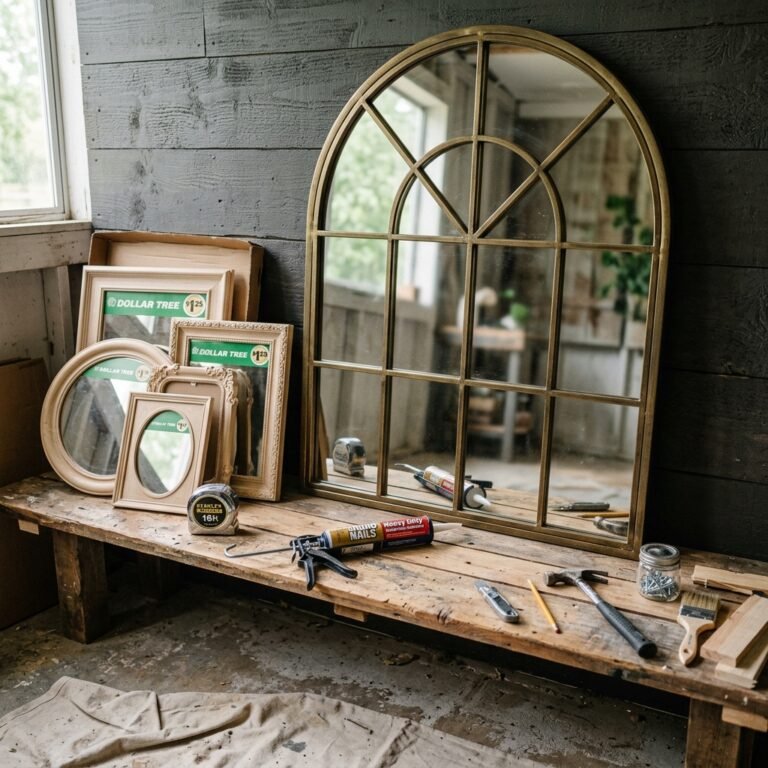

We have all seen them—the humble, wire-mesh trash cans sitting in the aisles of the local dollar store. They are utilitarian, unremarkable, and certainly don’t scream ‘luxury.’ But to the resourceful DIYer, those $2 skeletons are the perfect foundation for a high-end piece of outdoor furniture. Why shell out $120 or $200 at a boutique home goods store for a ‘industrial chic’ side table when you can craft one yourself for the price of a latte?
In this guide, we are going to dive deep into the world of ‘Trash-to-Treasure’ upcycling. We aren’t just slapping some paint on a bin; we are going to use advanced texturing techniques, rugged woodcrafting, and weatherproofing secrets to create a piece that is masculine-elegant, durable, and indistinguishable from a designer find. Grab your tools, and let’s turn some literal trash into a backyard masterpiece.
The Blueprint: Why This Project is a Budget Game-Changer
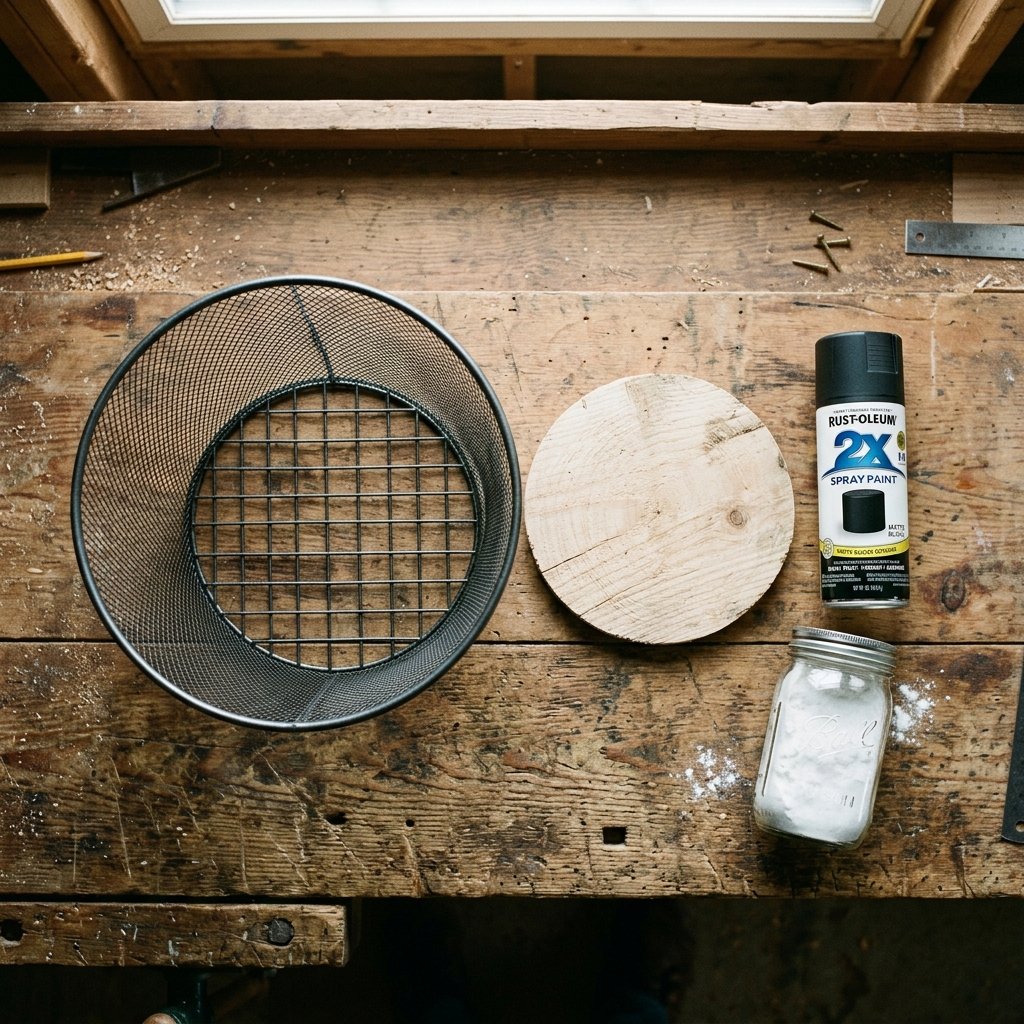
The secret to high-end design isn’t the price tag; it’s the texture and silhouette. By inverting a wire trash can, you create a tapered, modern pedestal base that mimics the geometric designs found in high-end outdoor furniture collections. This project is perfect for handy parents and frugal crafters because it requires minimal specialized tools but yields maximum visual impact.
Budget Breakdown: DIY vs. Retail
| Item | Retail Price (Boutique) | DIY Cost (Estimated) |
|---|---|---|
| Table Base (Metal) | $85.00 | $2.00 |
| Wood Table Top | $45.00 | $5.00 (Scrap or Pine) |
| Custom Finish/Paint | Included | $4.00 |
| Weatherproofing | Included | $2.00 |
| Total | $130.00 | $13.00 |
By following this method, you are looking at a 90% savings. That is money that can go back into your garden, your grill, or your next big project.
Gathering Your Supplies: The Rugged Material List

To achieve that luxury aesthetic, we need to choose materials that look substantial. A flimsy table is a dead giveaway of its budget origins. We want weight, texture, and durability.
- The Base: A standard wire mesh trash can (round or square, depending on your style).
- The Top: A pre-cut wood circle (found at craft stores) or a reclaimed piece of 1-inch thick pine.
- The Texture Secret: Flat black spray paint and baking soda (to create a ‘faux stone’ or ‘cast iron’ look).
- The Hardware: E6000 industrial adhesive or small cable ties for a more ‘industrial’ look.
- The Weight: A few heavy stones or a small bag of sand to place inside the base for stability.
Budget Mantra: “Luxury isn’t about what you spend; it’s about the care you take in the finish.”
Step-By-Step Construction: From Bin to Bistro Table
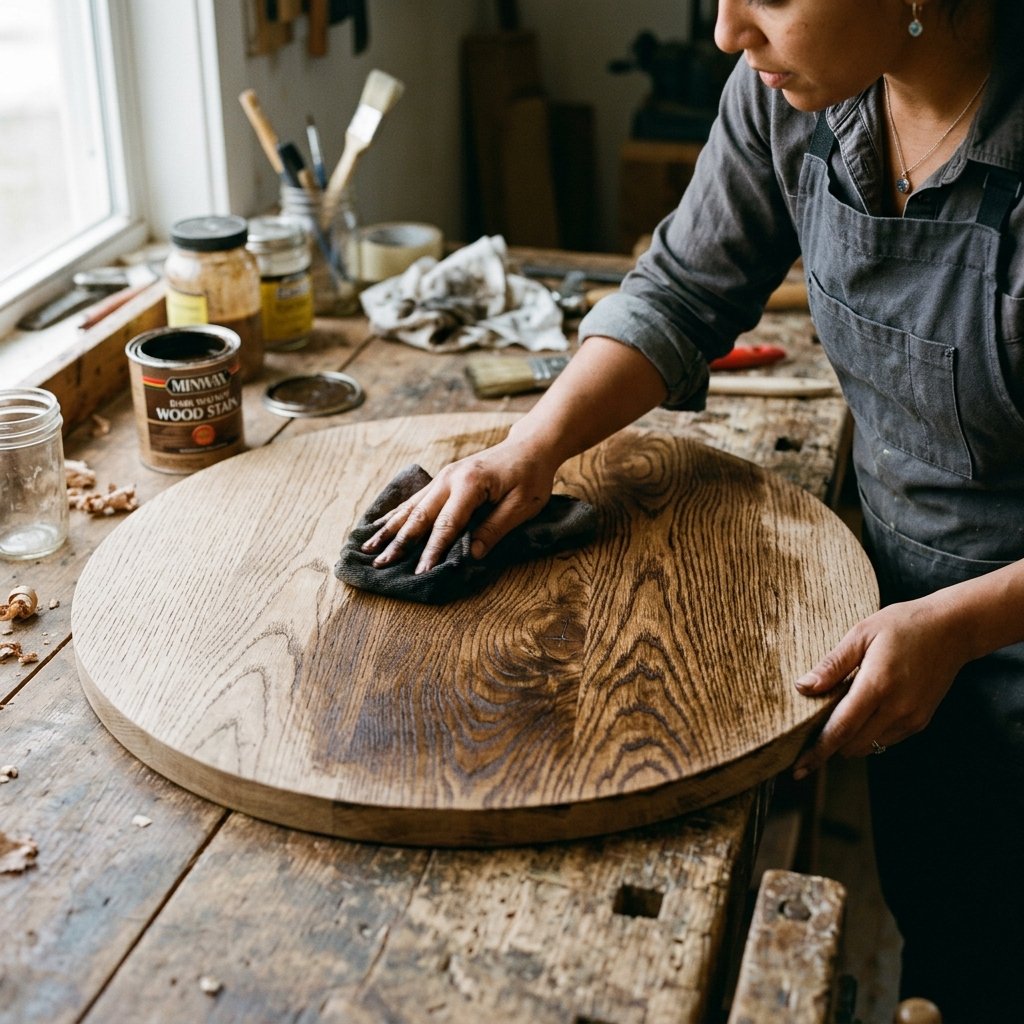
Follow these steps carefully to ensure your table is both beautiful and functional. The goal is to hide the ‘mesh’ look and create a solid-looking pedestal.
1. Prep the Base
Clean the trash can thoroughly to remove any factory oils. If you are using a wire mesh can, you can choose to leave the mesh visible for a ‘modern industrial’ vibe, or wrap it in inexpensive jute rope for a coastal look. For our luxury stone version, we will be painting it directly.
2. Create the Faux-Stone Finish
This is where the magic happens. Mix your flat black or charcoal paint with baking soda until it reaches a thick, paste-like consistency. Apply this with a sponge or a coarse brush. This creates a rugged, pitted texture that looks like heavy cast iron or volcanic stone.
3. Prepare the Wood Top
- Sand the wood circle starting with 80-grit and finishing with 220-grit for a buttery smooth surface.
- Apply a dark walnut or weathered gray stain to give it a masculine-elegant appeal.
- Seal the wood with at least three coats of exterior-grade polyurethane to protect it from rain and UV rays.
4. Assembly
Invert the trash can so the wide opening is on the ground. Place your weight (stones or sandbag) inside the ‘bottom’ (which is now the top) of the can. Apply a generous bead of E6000 adhesive to the rim and center the wood top. Let it cure for 24 hours.
The ‘Stone’ Secret: Mastering the Baking Soda Paint Trick
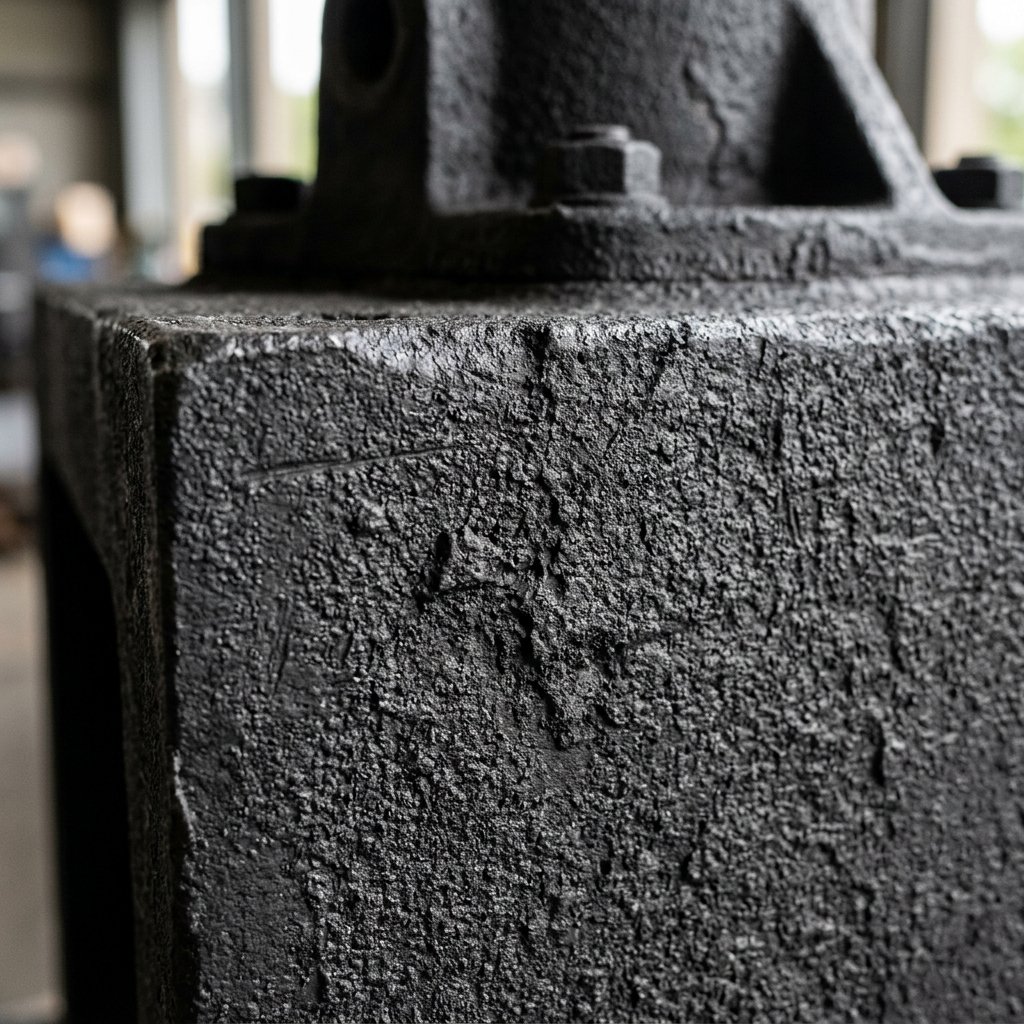
If you want your table to look like it was carved from a single block of stone, the paint-to-baking-soda ratio is critical. This technique is a favorite among Dollar Tree interior designers because it masks the cheap plastic or thin metal of budget items.
| Desired Look | Paint Type | Baking Soda Ratio |
|---|---|---|
| Smooth Ceramic | Satin Finish | 1 part soda to 4 parts paint |
| Textured Sandstone | Matte Finish | 1 part soda to 2 parts paint |
| Rugged Cast Iron | Flat Black | 1 part soda to 1 part paint |
Pro Tip: Apply the mixture in a ‘stippling’ motion (dabbing up and down) rather than long strokes to maximize the 3D texture.
Weatherproofing & Durability for the Outdoors
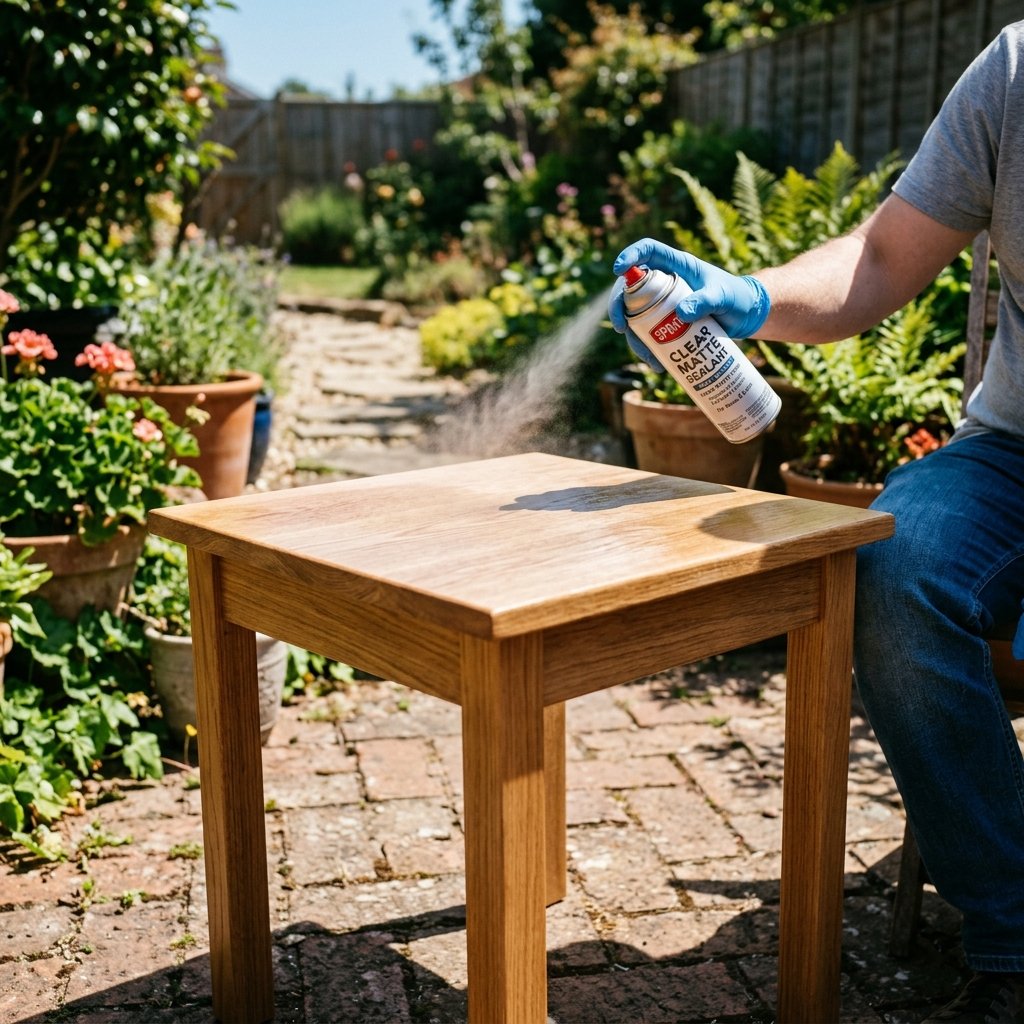
Since this is an outdoor piece, we must ensure it can handle the elements. A $2 trash can is usually made of thin steel or plastic. If it’s metal, it will rust if not sealed properly.
Protection Checklist:
- Rust Prevention: Ensure your base coat is a ‘Rust-Oleum’ style primer if the can is metal.
- UV Protection: Use a clear matte sealer over your faux-stone finish to prevent the sun from fading the deep charcoal color.
- Moisture Barrier: Pay extra attention to the edges of the wood top; this is where water usually seeps in and causes warping.
By spending an extra $5 on a high-quality sealer, you extend the life of your table from one season to five or more. That is budget-savvy thinking at its best.
Conclusion
There you have it—a stunning, luxury outdoor side table that started its life as a humble $2 bin. This project proves that with a little bit of resourceful creativity and some rugged elbow grease, you can furnish your home with pieces that reflect your style without draining your bank account. Whether you’re hosting a summer BBQ or just enjoying a quiet morning coffee on the porch, this table stands as a testament to your crafty expertise. Now, go forth and find your next ‘trash’ treasure!

Makenzie is the founder and lead writer at MoneyHackTips.com — a personal finance blog dedicated to delivering street-smart financial wisdom for real people on real budgets. With 300+ published articles covering everything from debt management to investing fundamentals, Makenzie’s mission is to make every dollar work harder. When not writing about money hacks, Makenzie is testing frugal living strategies, optimizing side hustles, and helping readers build financial freedom from scratch.