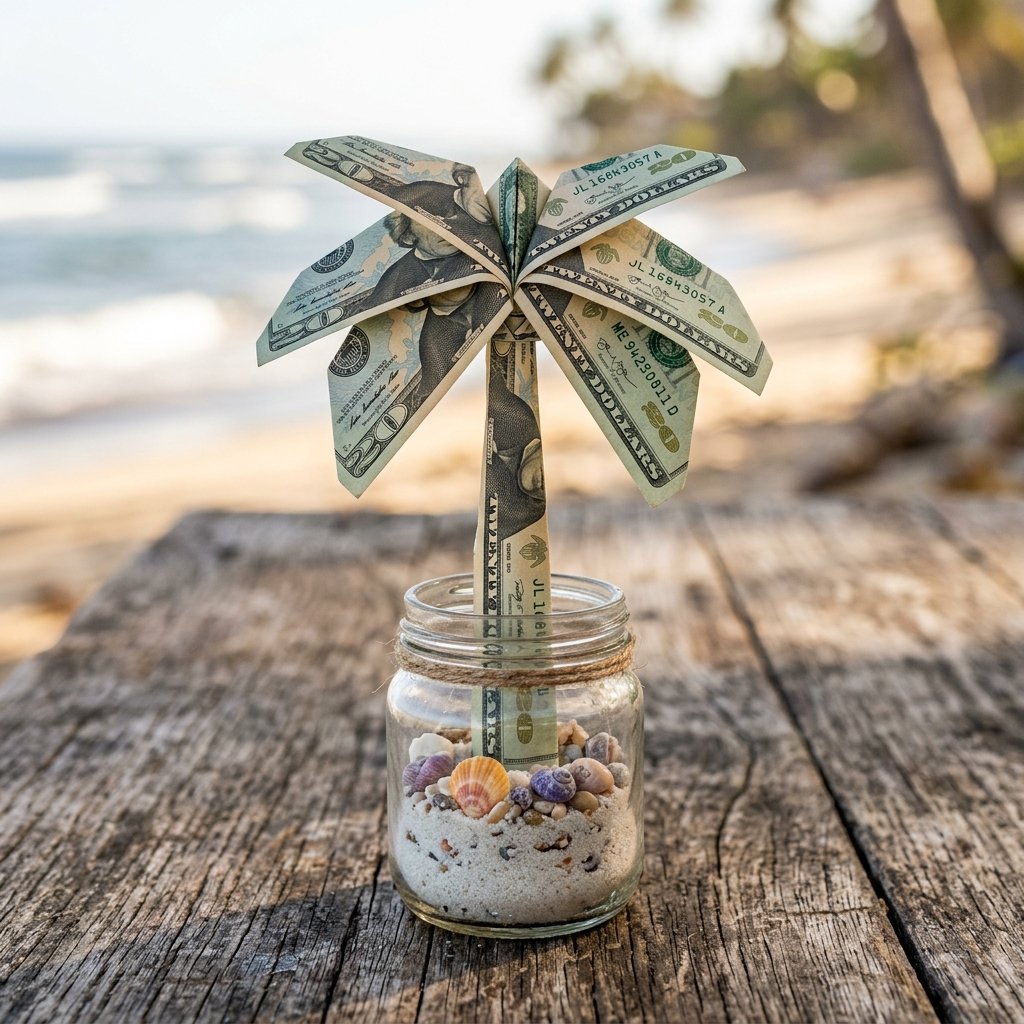

Let’s be honest: sliding a few twenty-dollar bills into a generic store-bought card feels a bit… uninspired. You’re a resourceful DIYer, a person who values the craft as much as the gift itself. When it comes to contributing to a loved one’s vacation fund, whether it’s for a honeymoon, a milestone birthday, or a hard-earned retirement, the presentation should reflect the excitement of the destination. Enter the Money Origami Palm Tree. This isn’t just about the cash; it’s about the cleverness and effort you put into making that currency come alive.
In this guide, we are going to master the precision folds required to turn flat legal tender into a three-dimensional tropical escape. We’ll cover everything from selecting the crispest bills to the final assembly that will leave your recipient in awe. This is budget-savvy gifting at its finest—adding immense perceived value without spending a single penny more than the gift amount itself. Prepare to channel your inner origami expert and create a gift that will be talked about long after the vacation photos have been posted.
Strategic Currency Selection: The Denomination Matrix
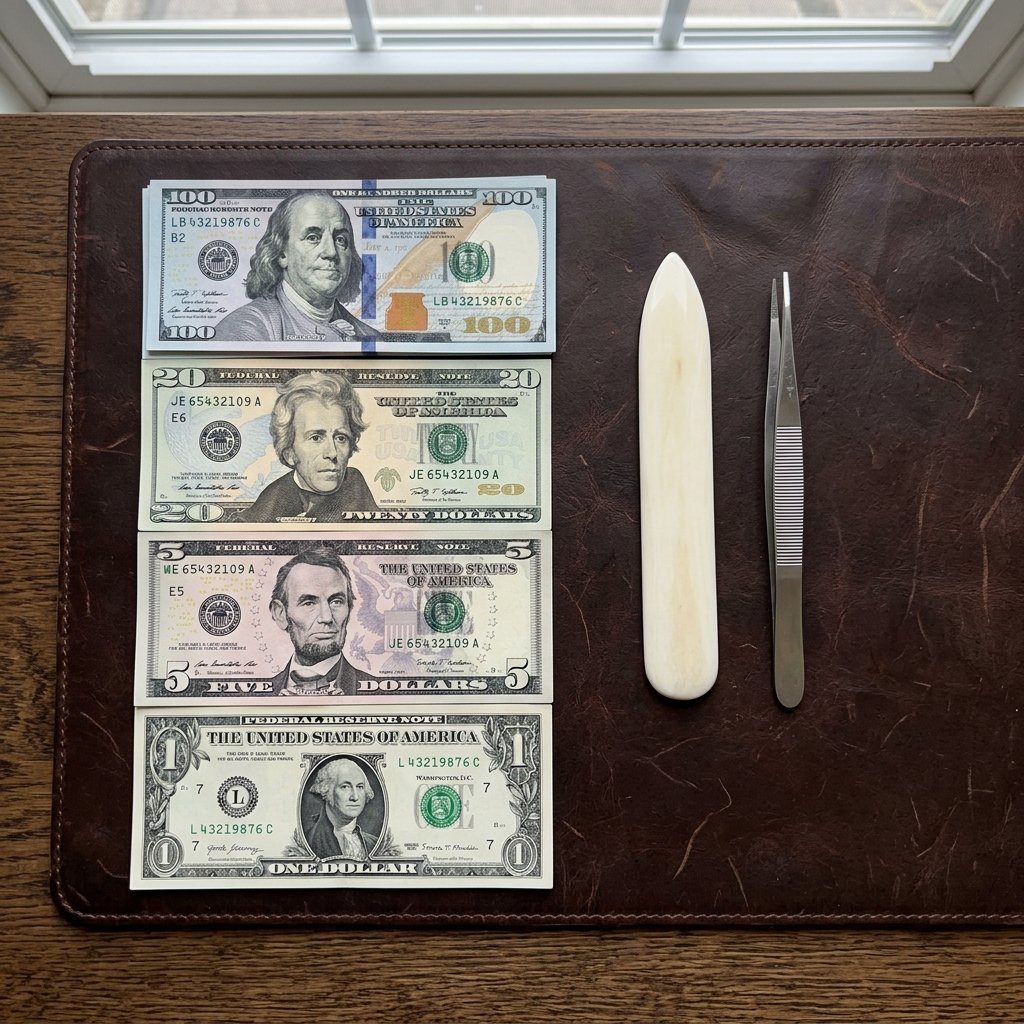
Before you make your first crease, you need to select your material. Not all bills are created equal when it comes to money origami. For a palm tree, the color and ‘crispness’ of the bill are your primary concerns. A limp, over-circulated bill won’t hold the sharp angles needed for the fronds, and the tree will likely sag under its own weight. I always recommend visiting your local bank and requesting uncirculated bills. They feel like cardstock and respond beautifully to the pressure of a bone folder or a thumbnail.
While any denomination works, the visual impact varies. A green-heavy bill like the $1 or $20 lends itself naturally to the foliage, while the $100 bill adds a level of prestige to the ‘trunk.’ Below is a matrix to help you decide which bills to use for your tropical masterpiece.
| Bill Denomination | Visual Impact | Best Use Case |
|---|---|---|
| $1 Bill | Classic Greenery | Practicing folds or creating a lush ‘forest’ of small trees. |
| $5 Bill | Subtle Purple Hues | Adding color variety to the palm fronds. |
| $20 Bill | Deep Green Contrast | The gold standard for realistic-looking palm leaves. |
| $100 Bill | High Prestige | The main trunk for a significant, high-value vacation gift. |
The secret to a rugged, professional-looking fold is the ‘Snap Test.’ If the bill doesn’t snap when you flick it, it’s too soft. Always aim for that fresh-from-the-mint stiffness.
The Essential Toolkit for the Crafty Giver
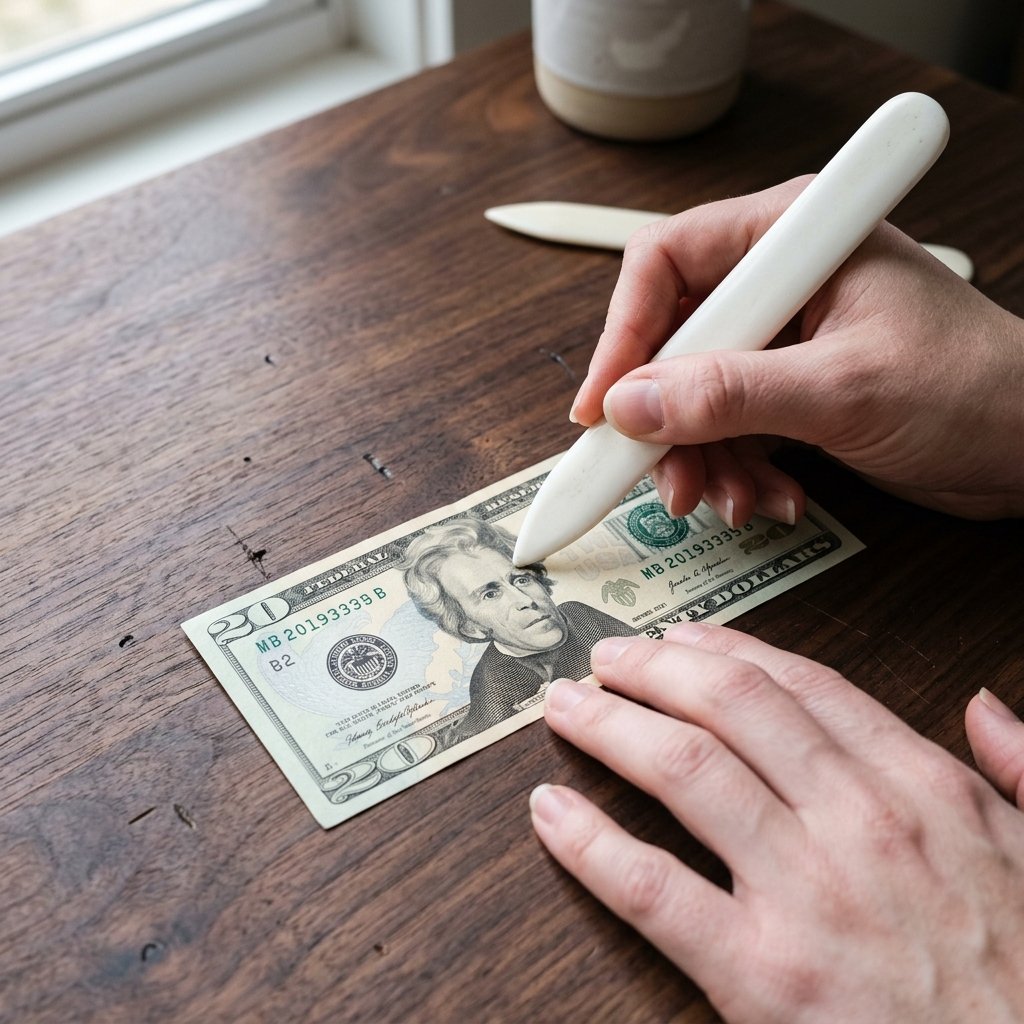
You don’t need a workshop full of tools to pull this off, but a few practical items will elevate your work from ‘amateur’ to ‘expert.’ Precision is the name of the game here. Because we are working with the fixed dimensions of a US bill (6.14 x 2.61 inches), every millimeter counts. If your folds are off by even a fraction, the palm tree will look lopsided.
- Crisp Bills: At least two bills per tree (one for the trunk, one for the fronds).
- A Bone Folder: Or a clean credit card to burnish the edges for razor-sharp creases.
- Tweezers: For the small, intricate tucks at the top of the trunk.
- A Flat Surface: Avoid working on your lap; a hard desk or kitchen counter is mandatory.
- Small Paperclip: To temporarily hold the fronds in place while you assemble the base.
By using these simple tools, you ensure that the masculine-elegant aesthetic of the gift remains intact. No messy tape, no damaging glue—just pure, resourceful engineering.
Step-by-Step Guide: Folding the Palm Trunk
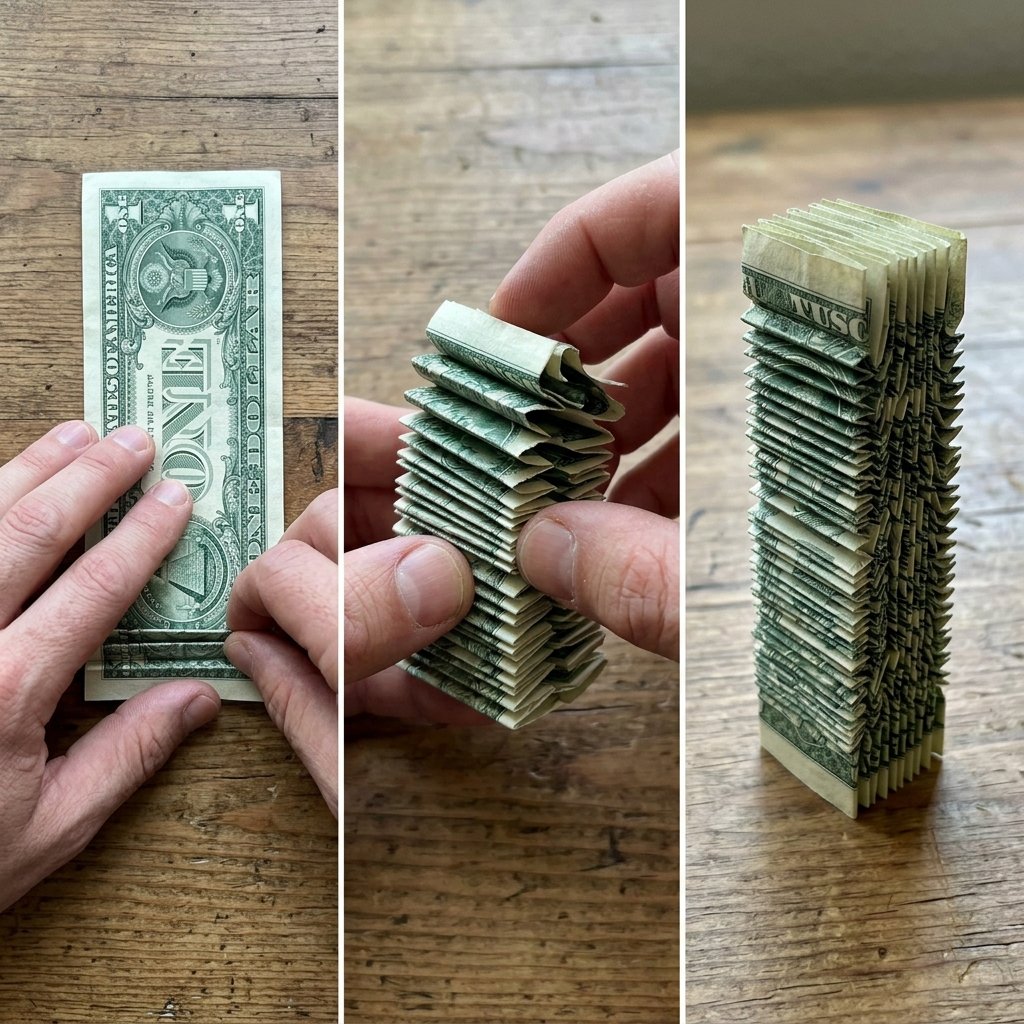
The trunk provides the structural integrity of your money origami. It needs to be sturdy enough to support the weight of the fronds while maintaining a tapered, organic look. We will use a long-edge folding technique to create a thick, ribbed texture that mimics the bark of a real palm.
- Place the bill face down horizontally. Fold the bill in half lengthwise and crease sharply, then unfold.
- Fold the top and bottom edges to meet the center crease. This is called a cupboard fold.
- Fold the bill in half lengthwise again so you have a long, thin strip of four layers.
- Starting from one end, make a series of accordion folds (zig-zag) about 1/4 inch wide. Continue this for about 3/4 of the bill’s length.
- Leave the final 1/4 of the bill flat; this will be the ‘base’ that sits in your display or tucks into the fronds.
- Gently pull the accordion folds slightly apart to give the trunk its height and texture.
Mantra: ‘Fold with intent, crease with conviction.’ A weak fold leads to a weak tree. Press hard and keep your lines parallel.
Step-by-Step Guide: Crafting the Tropical Fronds
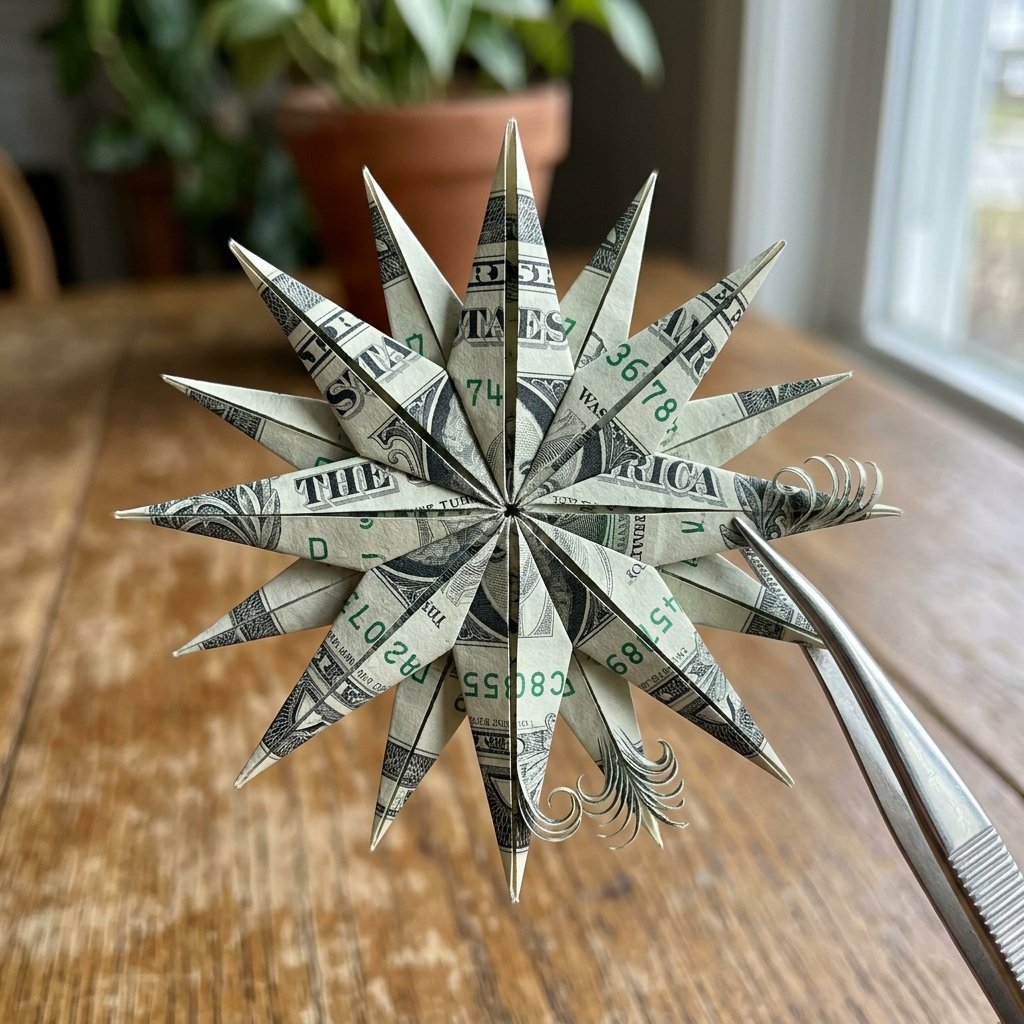
The fronds are where the creative flair truly shines. This requires a bit more finesse than the trunk. We want to create a starburst effect that captures the breezy essence of the islands. For this, we will use a second bill, preferably a $20 for that rich green color.
- Fold the bill in half widthwise (short end to short end) and crease, then unfold.
- Fold each side into the center crease to create a square-ish shape.
- Perform a waterbomb base fold by folding the corners diagonally and collapsing the sides inward. This creates a triangular shape with four ‘flaps.’
- On each flap, perform a squash fold to widen the ‘leaf.’
- Use your fingernail or a pen barrel to gently curl the tips of each leaf outward. This adds a realistic, rugged elegance to the foliage.
- Insert the top of your accordion-folded trunk into the center of the frond assembly. If the bill is crisp enough, the friction alone will hold it together.
| Step Phase | Difficulty (1-10) | Time Estimate |
|---|---|---|
| Trunk Accordion | 3 | 2 Minutes |
| Frond Base Fold | 7 | 5 Minutes |
| Squash Folds | 8 | 4 Minutes |
| Final Assembly | 4 | 2 Minutes |
The Grand Reveal: Presentation & Display Ideas
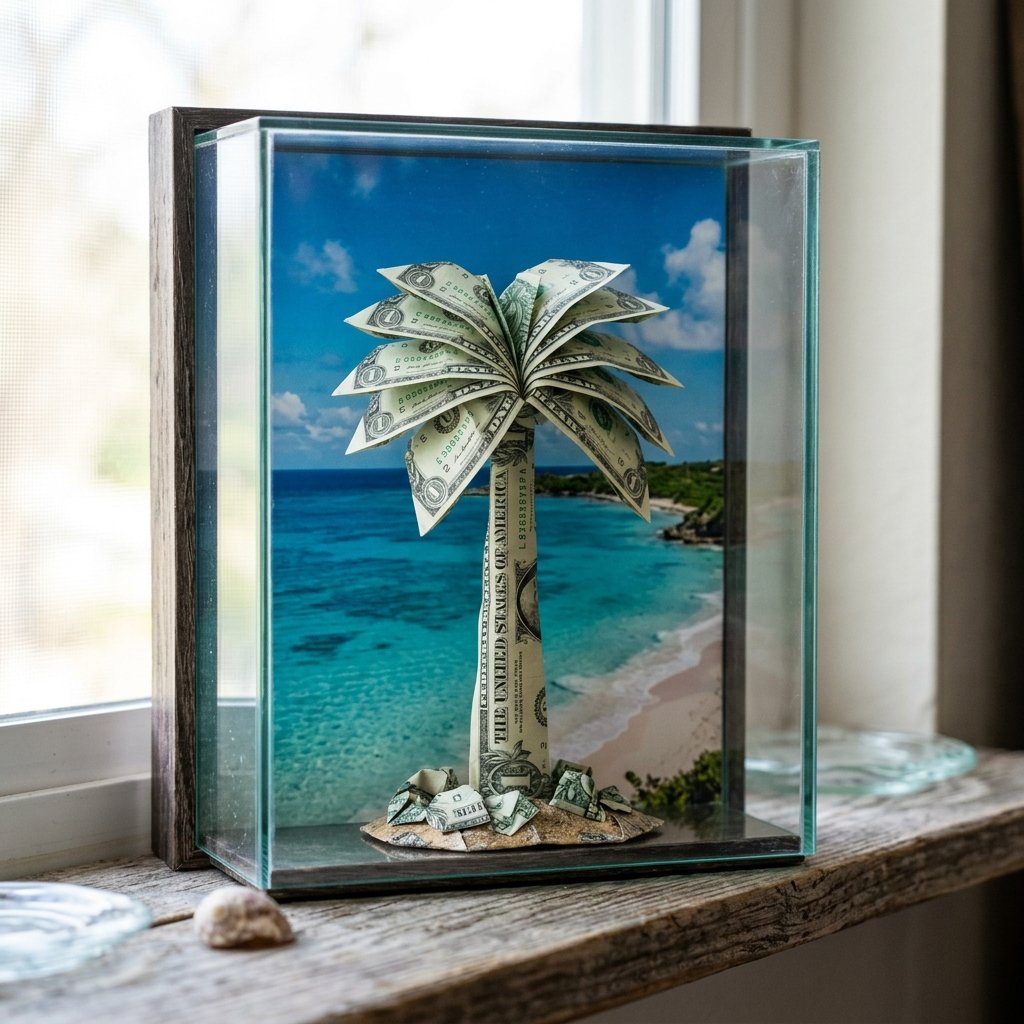
Now that you’ve mastered the money origami palm tree, don’t just hand it over. As a crafty gift-giver, the presentation is your victory lap. Since this is a vacation fund, the display should evoke the destination. You want the recipient to feel the ‘sand between their toes’ the moment they see it.
- The Beach Jar: Fill a small mason jar with $1 worth of white craft sand. Stick the palm tree in the center and add a few tiny seashells. It’s a Dollar Tree hack that looks like a high-end boutique item.
- The Shadow Box: Secure the tree inside a small shadow box with a printed background of a tropical sunset. This turns the gift into a piece of temporary home decor.
- The ‘Message in a Bottle’: Roll up additional bills into tiny scrolls and place them around the base of the tree inside a large glass bottle.
These methods ensure the cash remains pristine and spendable while providing a ‘wow’ factor that a flat envelope simply cannot compete with. It’s the ultimate budget-savvy move: using resourcefulness to create a memory.
Conclusion
Folding a money origami palm tree is more than just a clever way to give cash; it’s a testament to your resourcefulness and your desire to make a moment special. By taking the time to master these precision folds, you’ve transformed a simple transaction into a thoughtful, hand-crafted experience. Whether it’s for a wedding, a graduation, or a ‘just because’ vacation surprise, this tropical tribute stands tall as a symbol of adventure. Remember, the best gifts aren’t just about the value inside the folds, but the crafty expertise and heart that went into creating them. Now, go grab some crisp bills and start folding your way to the ultimate vacation fund surprise!

Makenzie is the founder and lead writer at MoneyHackTips.com — a personal finance blog dedicated to delivering street-smart financial wisdom for real people on real budgets. With 300+ published articles covering everything from debt management to investing fundamentals, Makenzie’s mission is to make every dollar work harder. When not writing about money hacks, Makenzie is testing frugal living strategies, optimizing side hustles, and helping readers build financial freedom from scratch.