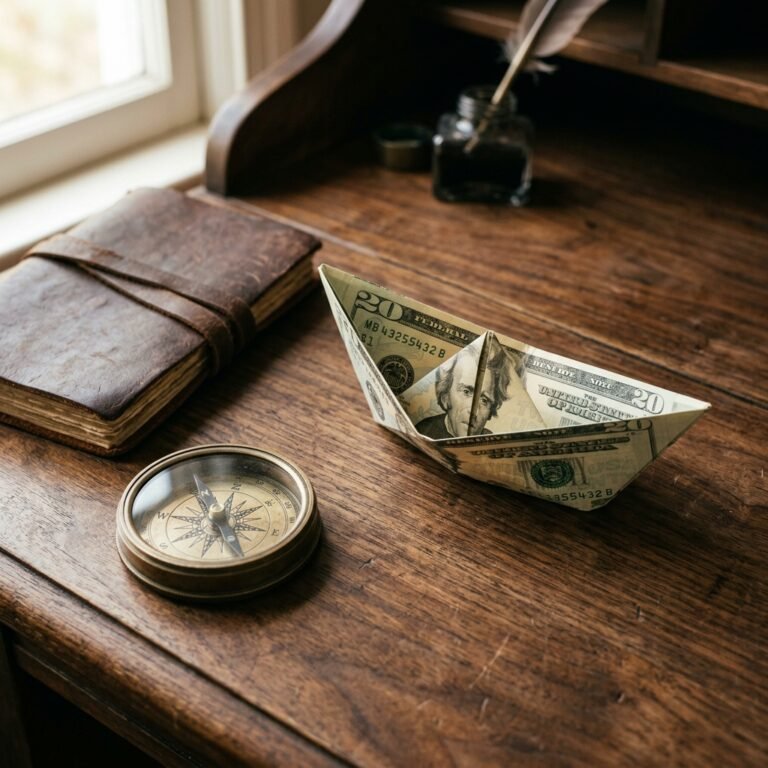

The Art of the Financial Gesture
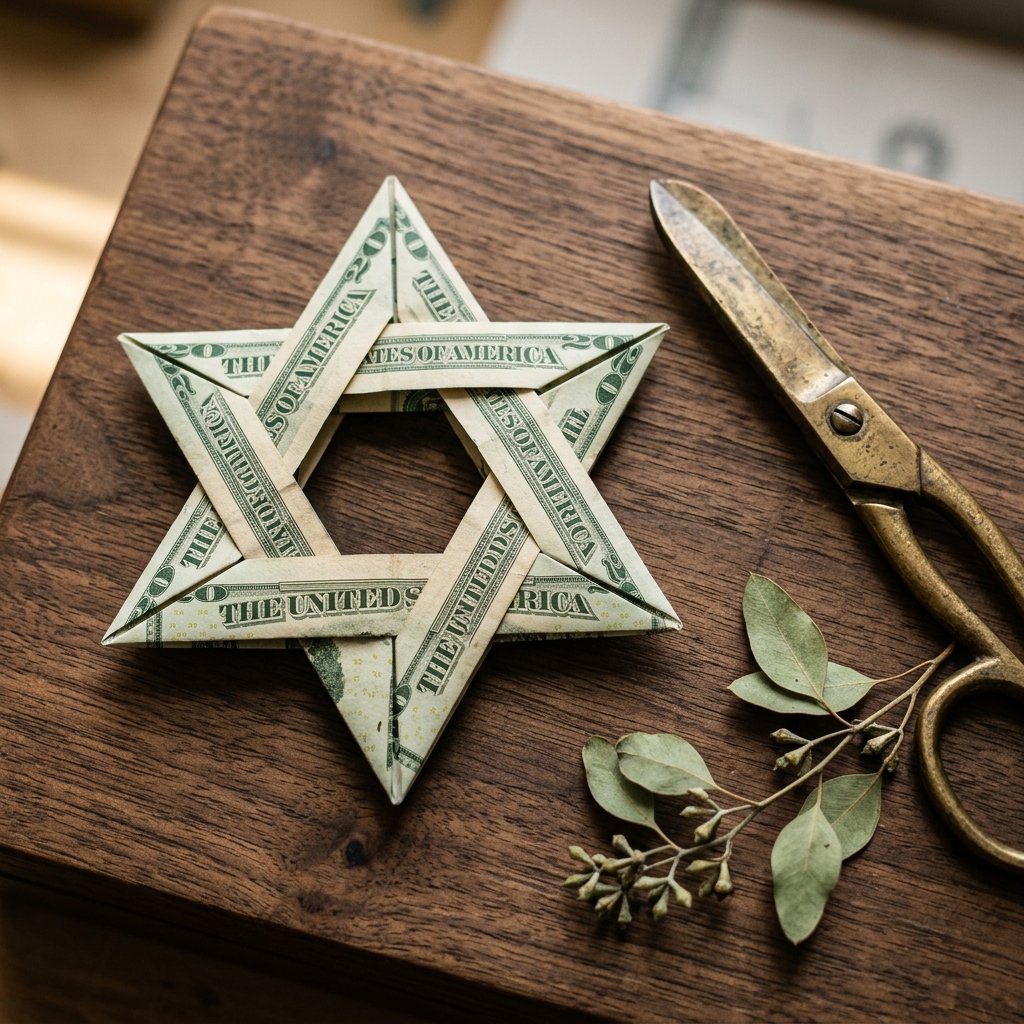
Let’s be honest: giving cash can sometimes feel like a last-minute cop-out. We’ve all been there, standing in the greeting card aisle, staring at a $7 piece of cardstock that will likely end up in the recycling bin by Tuesday. But as a resourceful DIYer, you know that the presentation is where the magic happens. What if you could take that same $20 or $100 and transform it into a geometric masterpiece that commands respect? Enter the Money Origami Star of David.
This isn’t just about folding paper; it’s about rugged precision and crafty expertise. Whether you’re celebrating a Bar Mitzvah, a Hanukkah gathering, or simply want to give a gift that symbolizes wisdom and protection, this six-pointed star turns a cold transaction into a heartfelt, memorable experience. Best of all? The ‘wrapping paper’ is literally built into the gift, making this a 100% zero-waste and budget-savvy solution for the modern gift-giver. In this guide, we’re going to master the folds that turn a flat bill into a three-dimensional symbol of excellence.
“True craftsmanship isn’t about the cost of the materials, but the intention behind every crease and corner.”
Selecting Your Canvas: The Bill Denomination Matrix
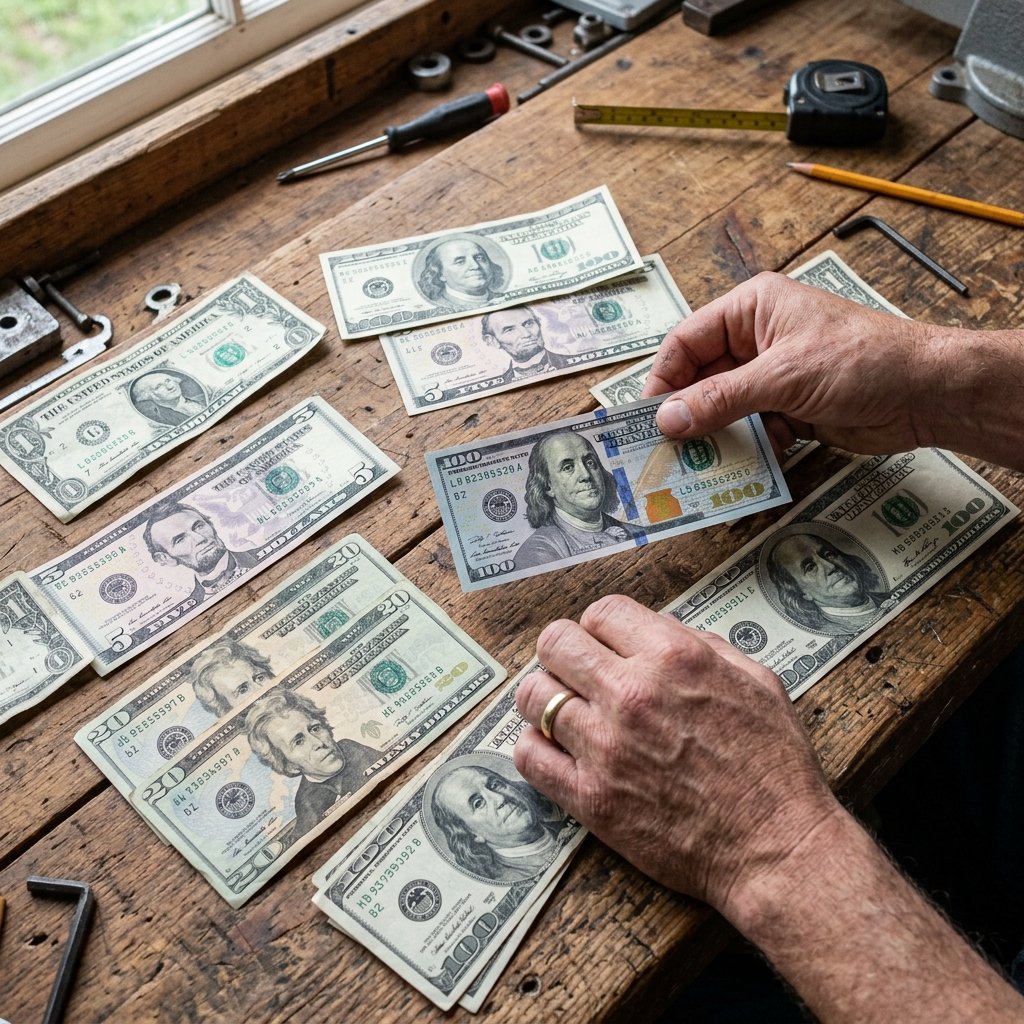
Before we dive into the first fold, we need to talk about your materials. Not all bills are created equal in the world of origami. For a Star of David that looks crisp and holds its shape, you want currency that hasn’t been through the laundry ten times. A crisp, uncirculated bill is your best friend here. If you only have limp bills on hand, a quick trick is to place them under a thin cloth and give them a 5-second press with a clothes iron on low heat (no steam!) to stiffen the fibers.
Why Denomination Matters
The color and ink patterns of different denominations will drastically change the final look of your star. A $1 bill offers that classic, rugged green aesthetic, while a $100 bill provides the security-ribbon blue that adds a touch of high-end elegance.
| Bill Value | Color Palette | Symbolic Vibe | Visual Impact Score |
|---|---|---|---|
| $1 | Deep Green & Cream | Traditional / Vintage | 7/10 |
| $5 | Purple & Grey | Modern / Subtle | 6/10 |
| $20 | Green & Peach | Classic / Bold | 9/10 |
| $100 | Teal & Gold Ribbon | Premium / Executive | 10/10 |
Regardless of the value, the process remains the same. You are turning a 2.61 by 6.14 inch rectangle into a symmetrical hexagram. Let’s get our hands dirty.
The Blueprint: Step-by-Step Folding Instructions
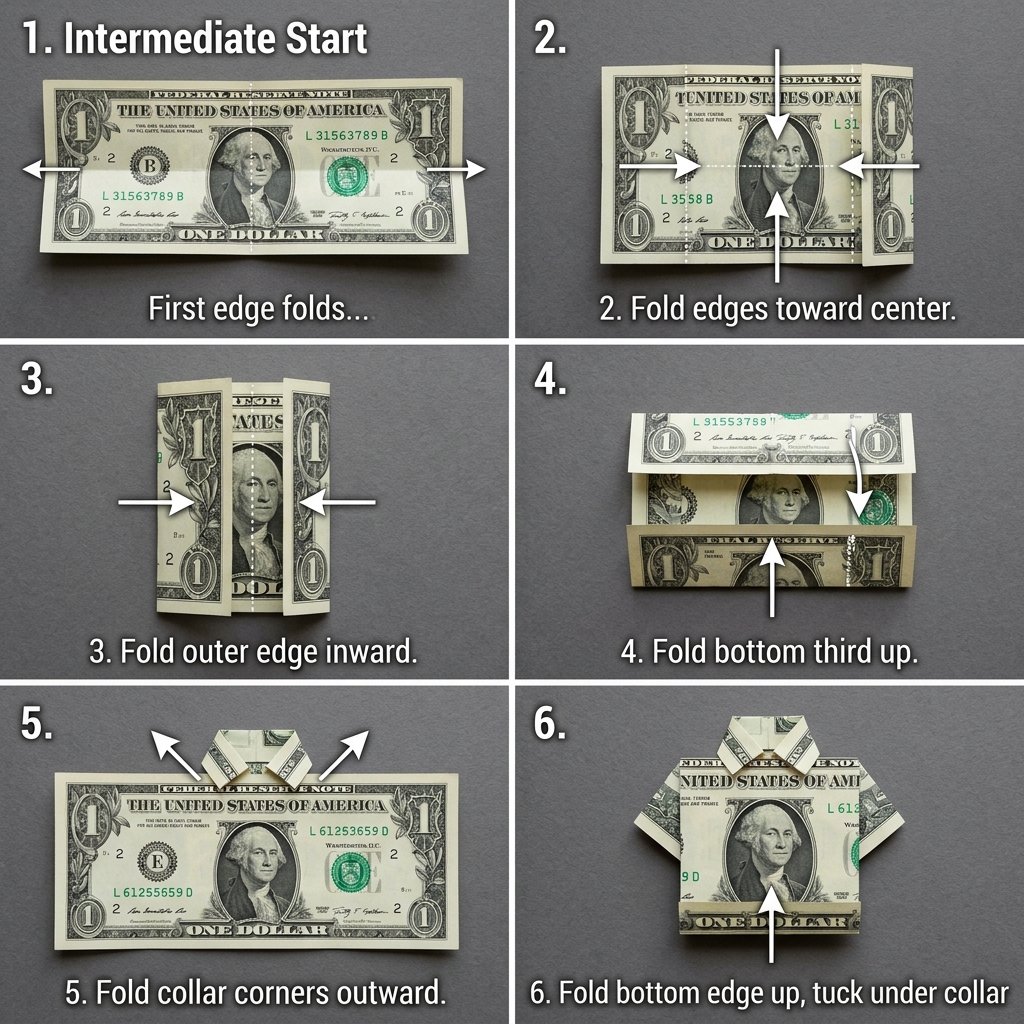
Precision is key. We are going to use a series of ‘pre-creases’ to ensure the final star is symmetrical. Grab your bill and follow these steps closely. If you have a bone folder or even the back of a metal spoon, use it to sharpen every fold. Dull folds lead to a floppy star.
- The Center Line: Lay the bill flat, face up. Fold it in half lengthwise (hot dog style), crease it firmly, and then unfold. This gives you a horizontal axis.
- The Vertical Divide: Fold the bill in half widthwise (hamburger style), crease, and unfold. You now have a crosshair in the center.
- The Corner Tucks: Fold all four corners inward so the edges meet the horizontal center line. This should create a shape that looks like a long hexagon or a stretched diamond.
- The Triangle Formation: This is the ‘clever’ part. You need to fold the outer edges toward the center vertical line, but allow the underlying flaps to pop out, creating two overlapping triangles.
- Locking the Points: Carefully tuck the overlapping paper segments into the folds of the opposing triangle. This creates the interlocking effect of the Star of David.
- The Final Sharpen: Go over every edge with your thumbnail or a spoon. A professional-grade origami piece should feel almost like a coin—stiff and structural.
“Fold with the confidence of a master tailor. Every millimeter counts when you’re turning currency into couture.”
Pro-Tips for the Rugged Perfectionist

Handling ‘Tired’ Currency
If you are working with a bill that has seen better days, don’t panic. You can add a tiny bit of spray starch to the bill before folding to give it that ‘new money’ snap. Just be sure to let it dry completely (about 2 minutes) before you start. This is a classic trick used by professional paper artists to ensure their structures don’t collapse under their own weight.
The ‘Invisible’ Lock
Sometimes the center of the star wants to pop open. Instead of using tape (which ruins the gift and the bill), use a small paperclip hidden on the back, or better yet, a tiny dab of repositionable glue (the kind used for scrapbooking). This keeps the star flat and gift-ready while allowing the recipient to easily unfold their cash when they’re ready to spend it.
- Time Investment: 10 minutes for your first try; 3 minutes once you’ve mastered the muscle memory.
- Savings: $5-$10 on expensive gift boxes and ribbons.
- Skill Level: Intermediate Crafty Expert.
Presentation: From Paper Fold to Luxury Gift
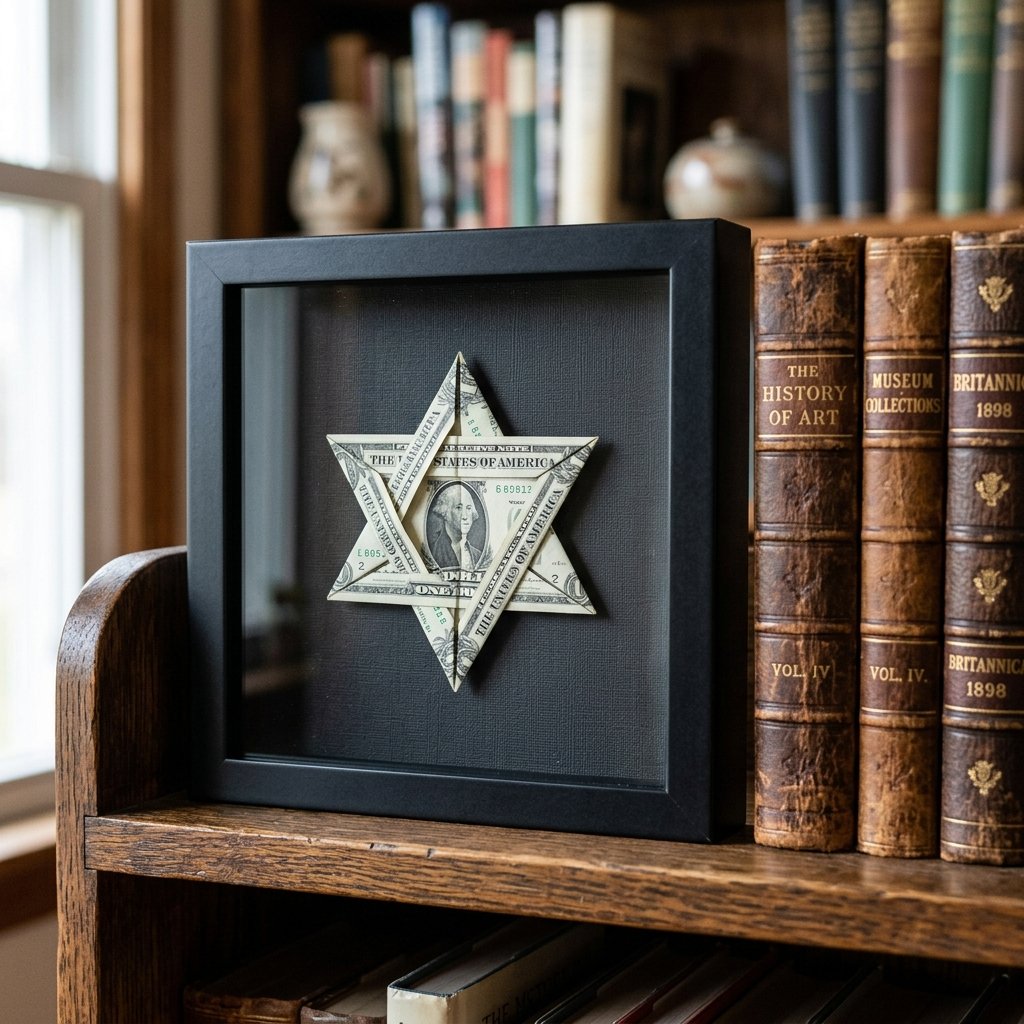
You’ve done the hard work of folding; now don’t just hand it over like a loose nickel. As a masculine-elegant stylist, you know the frame is just as important as the art. For a truly unforgettable gift, consider these budget-savvy presentation ideas:
The Shadow Box Trick
Buy a small $1.25 shadow box from the dollar store. Mount the star in the center using a small piece of double-sided foam tape. The 3D effect of the star against a dark velvet or linen background makes it look like a $50 museum piece.
The ‘Floating’ Card
If you’re attaching the star to a card, don’t just glue it flat. Use a small spring or a folded piece of cardstock to ‘float’ the star 1/4 inch off the surface. It adds a dynamic, architectural feel that screams ‘custom made.’
| Presentation Method | Estimated Cost | Effort Level | Visual Wow Factor |
|---|---|---|---|
| Plain Envelope | $0.10 | Low | ★☆☆☆☆ |
| Handmade Card | $0.50 | Medium | ★★★☆☆ |
| Dollar Tree Shadow Box | $1.25 | High | ★★★★★ |
| Origami Box (from scrap paper) | $0.00 | Very High | ★★★★☆ |
Conclusion
The Gift That Keeps on Giving
By taking the time to master the Money Origami Star of David, you’ve proven that you don’t need a massive budget to give a high-impact gift. You’ve traded a few minutes of your time for a lifetime of ‘remember when you gave me that amazing folded star?’ stories. This is the essence of being a resourceful, clever, and budget-savvy crafter: taking what you have and making it extraordinary.
Now, go forth and fold! Whether it’s for a holiday, a graduation, or a ‘just because’ moment, your gifts are about to become the highlight of every celebration. Remember, the value is in the bill, but the treasure is in the technique.

Makenzie is the founder and lead writer at MoneyHackTips.com — a personal finance blog dedicated to delivering street-smart financial wisdom for real people on real budgets. With 300+ published articles covering everything from debt management to investing fundamentals, Makenzie’s mission is to make every dollar work harder. When not writing about money hacks, Makenzie is testing frugal living strategies, optimizing side hustles, and helping readers build financial freedom from scratch.