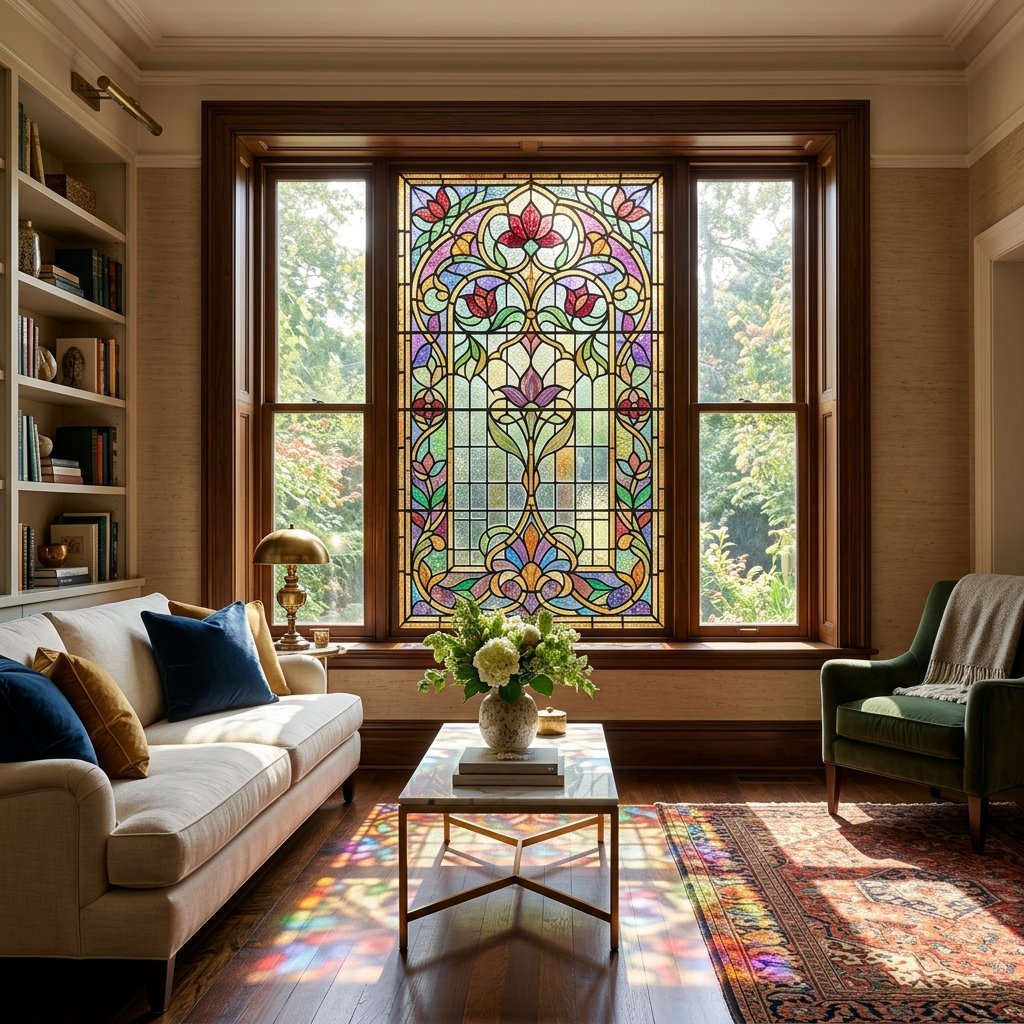

We have all been there: staring at a plain, uninspired window that offers zero privacy and even less personality. You want the timeless elegance of a Victorian manor or the sleek, Art Deco vibes of a boutique hotel, but your bank account is screaming ‘budget apartment.’ Real stained glass can cost upwards of $500 to $1,000 per panel, making it a distant dream for the average frugal decorator. But what if I told you that for the price of a latte, you could transform that boring glass into a museum-quality masterpiece? Using nothing but a few choice items from the Dollar Tree, we are going to hack our way to high-end luxury. This isn’t just a craft; it’s an architectural upgrade that adds character, privacy, and a ruggedly elegant glow to any room in your house.
The $5 Inventory: Sourcing Your Materials Like a Pro
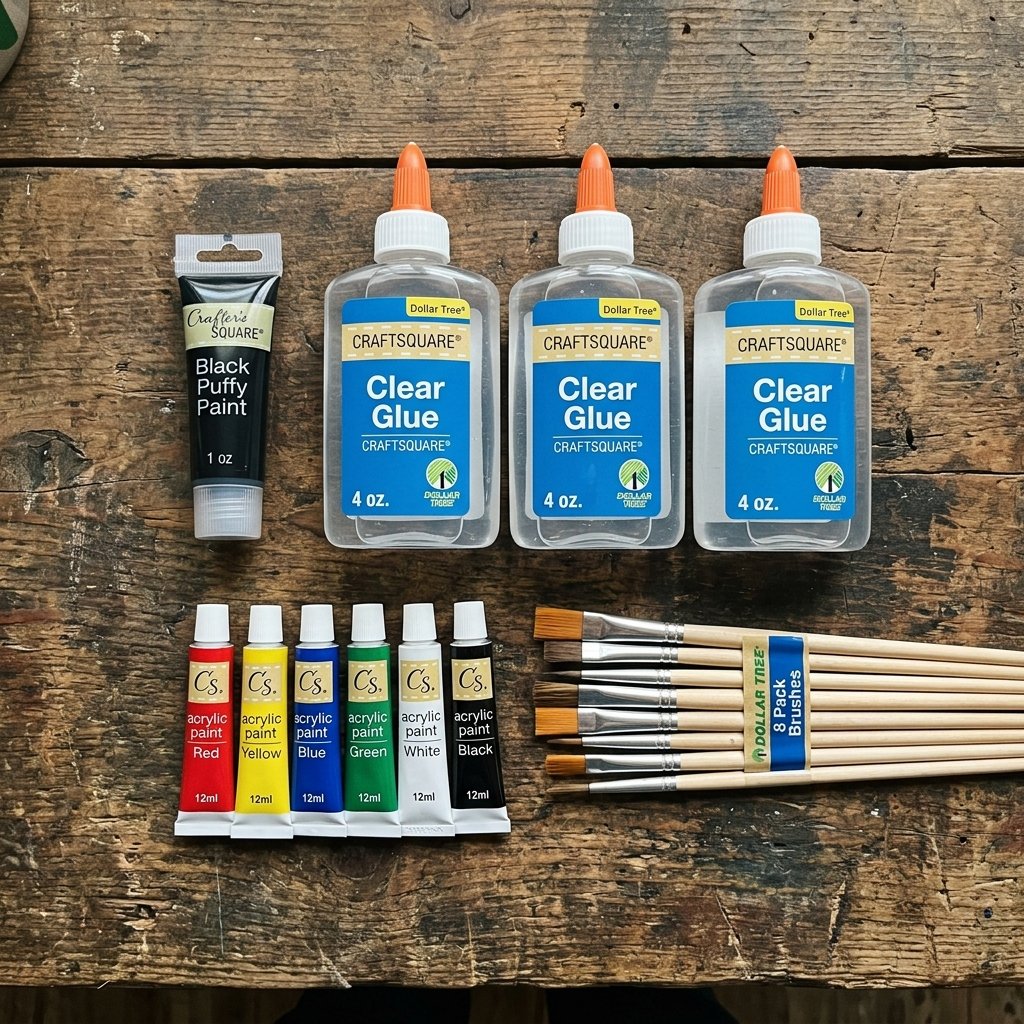
Success in the DIY world isn’t about how much you spend; it’s about how resourcefully you shop. To achieve a convincing stained glass look, we need materials that mimic the texture of lead and the translucency of colored glass. At the Dollar Tree, your mission is simple. You are looking for clear adhesives and pigments that play well with light. Here is the exact breakdown of what you need to grab from the aisles.
| Item Name | Purpose | Cost |
|---|---|---|
| Clear School Glue (2-pack) | The base for our translucent ‘glass’ paint. | $1.25 |
| Black Puffy Paint (3D Fabric Paint) | Acts as the raised ‘lead’ lining or solder. | $1.25 |
| Acrylic Paint Set (Primary Colors) | Tints the glue to create vibrant shades. | $1.25 |
| Cheap Synthetic Brushes | For applying the color wash. | $1.25 |
| Toothpicks/Skewer | For popping bubbles and precision edges. | $0.00 (Pantry Item) |
By keeping your total investment at exactly $5.00, you are saving over 99% compared to buying a custom-leaded glass insert. This is the ultimate win for the budget-savvy homeowner who refuses to sacrifice style for savings.
The Blueprint: Drafting Your Masterpiece Pattern
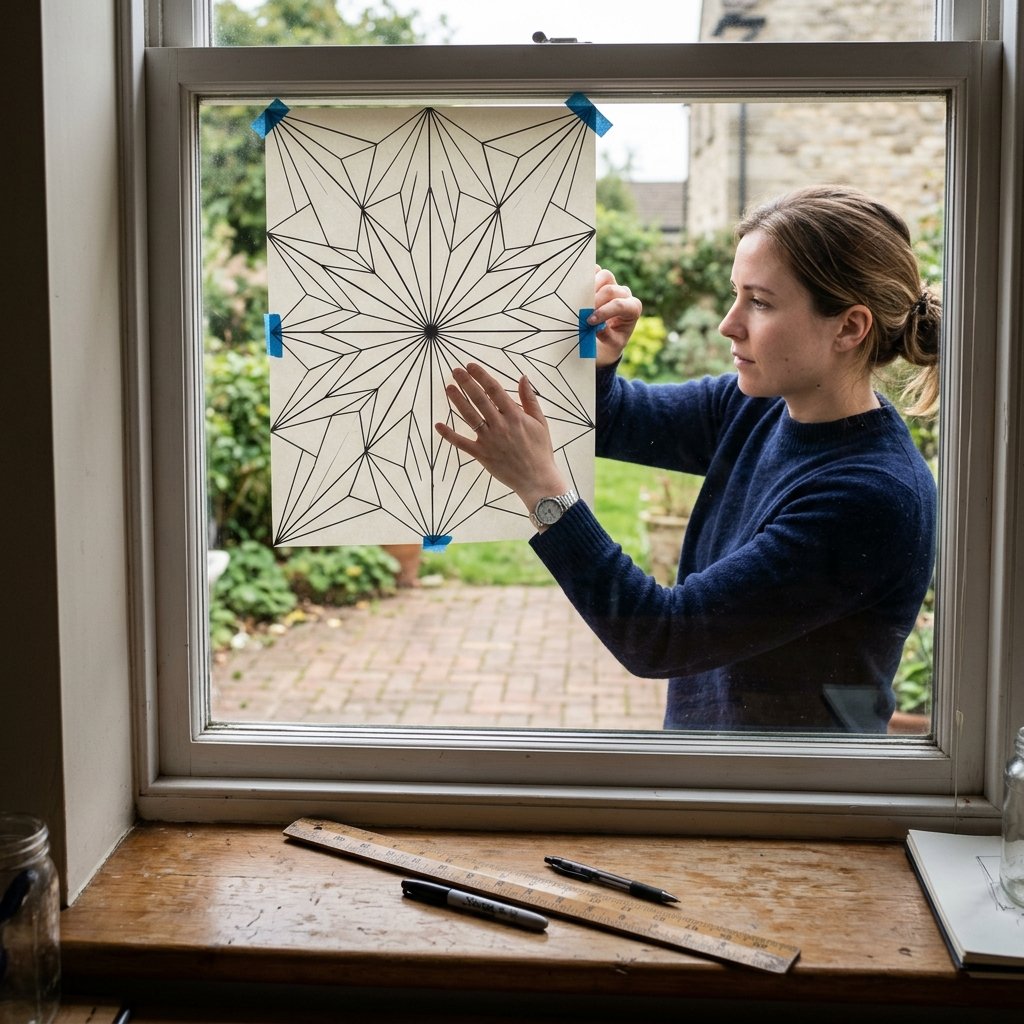
Before you touch the glass, you need a plan. A rugged, masculine-elegant design relies on clean lines and geometric symmetry. Whether you want a classic Frank Lloyd Wright inspired grid or a more organic floral motif, the secret is in the template. You don’t need to be an artist; you just need to be a clever copier.
- Measure Your Pane: Use a tape measure to get the exact dimensions of the window glass.
- The Paper Template: Cut a piece of parchment paper or thin wrapping paper to the exact size of your window.
- Draw Your Design: Use a thick black marker to draw your pattern on the paper. Pro Tip: Keep your ‘glass’ segments at least 2 inches wide to make the painting process easier.
- Tape to the Outside: Go outside (or have a helper) and tape the paper to the exterior of the window, facing inward. This gives you a perfect guide to trace on the inside glass.
‘The secret to a high-end look is intentionality. Even the simplest grid pattern, when executed with straight lines, looks like a million bucks.’
The Foundation: Mastering the Faux Lead Line
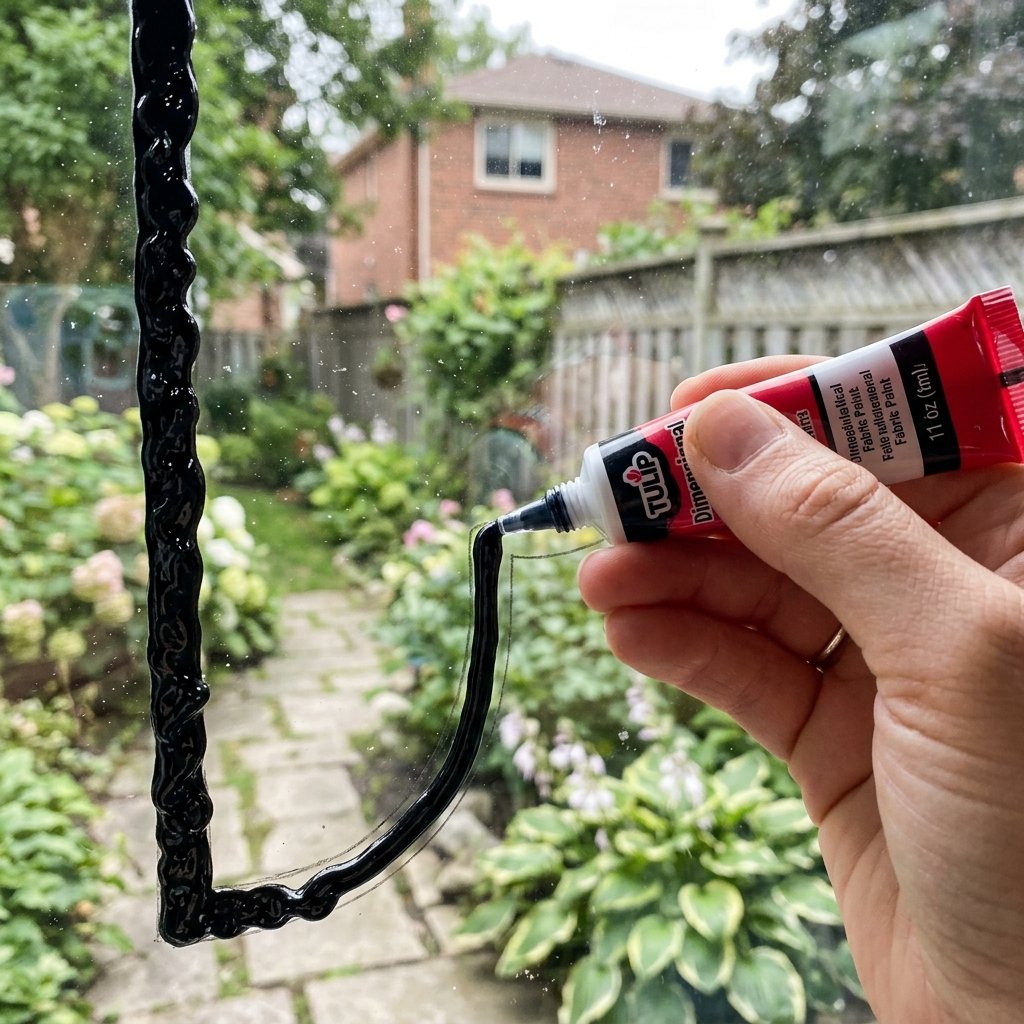
This is where the magic starts. Real stained glass uses lead ‘cames’ or copper foil to hold the pieces together. We are going to mimic this look using Black Puffy Paint. This paint dries with a raised, 3D texture that perfectly simulates a soldered metal bead. If you have a shaky hand, don’t worry—the rugged nature of hand-soldered glass actually welcomes slight imperfections.
Application Technique:
- Clean the Glass: Use rubbing alcohol to remove every trace of grease and fingerprints. This ensures the puffy paint bonds for years.
- The Steady Pull: Start at the top corner. Squeeze the bottle with consistent pressure and pull the tip just above the glass, letting the paint ‘fall’ onto your template line.
- Corner Joins: Where two lines meet, add a slightly larger ‘bead’ of paint to mimic a solder joint. This is the hallmark of a crafty expert.
- Dry Time: You must wait at least 8 to 12 hours for the ‘lead’ to dry completely. If you rush this, your colors will bleed into the black, ruining the effect.
The Color Wash: Mixing Your Translucent Tints
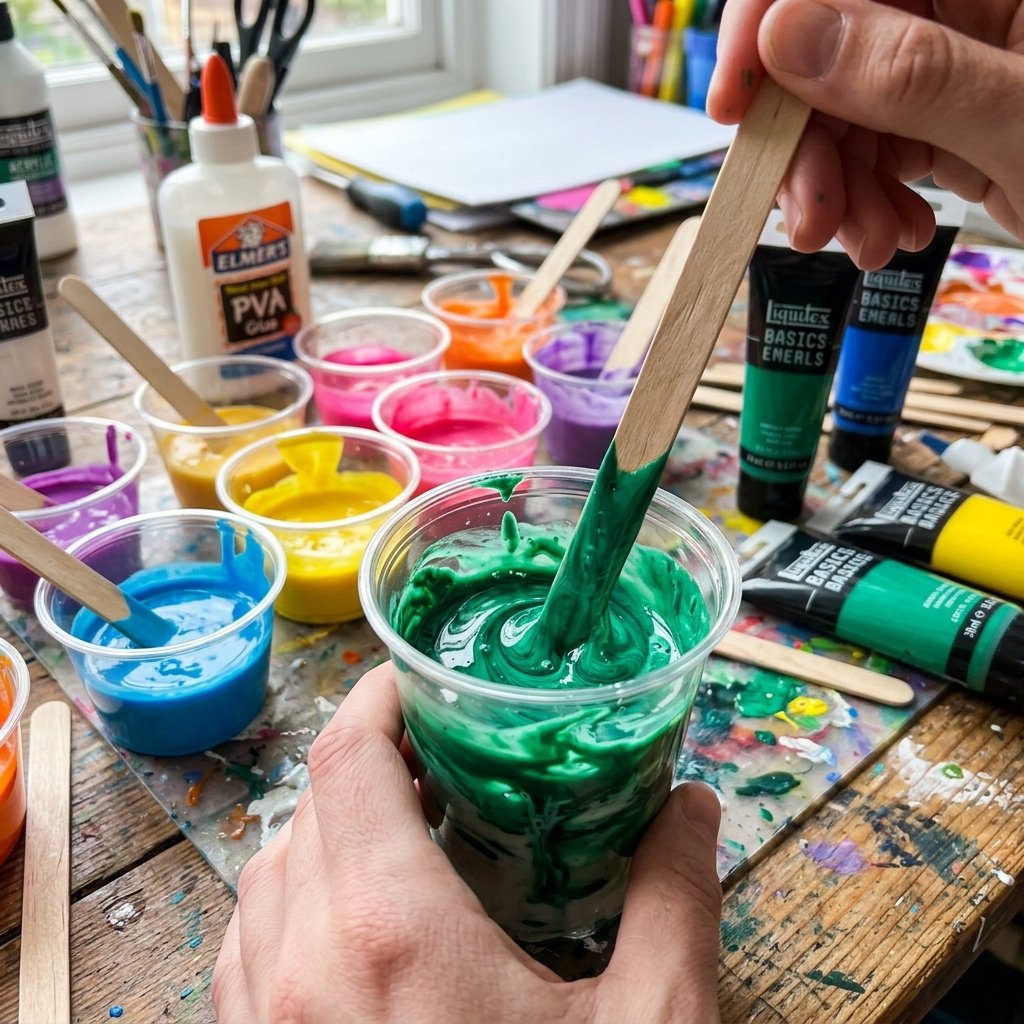
Now for the fun part: the color. We aren’t using standard paint, which would block the light. We are creating a ‘tinted glaze’ that allows the sun to pour through, casting beautiful colors across your floor. This is a classic upcycler’s trick using basic school glue.
| Desired Color | Glue Amount | Paint Amount |
|---|---|---|
| Deep Sapphire | 2 Tbsp Clear Glue | 1 Drop Blue Acrylic |
| Ruby Red | 2 Tbsp Clear Glue | 1 Drop Red + 1/2 Drop Brown |
| Golden Amber | 2 Tbsp Clear Glue | 1 Drop Yellow + 1/2 Drop Orange |
| Emerald Green | 2 Tbsp Clear Glue | 1 Drop Green |
Mix these in small plastic cups or an old egg carton. The mixture will look milky and opaque at first, but don’t panic! As the glue dries, it becomes crystal clear, leaving only the pigment behind. Important: Use a 1:20 ratio of paint to glue. Too much paint will make the window look muddy and flat.
The Pour and Spread: Bringing the Glass to Life
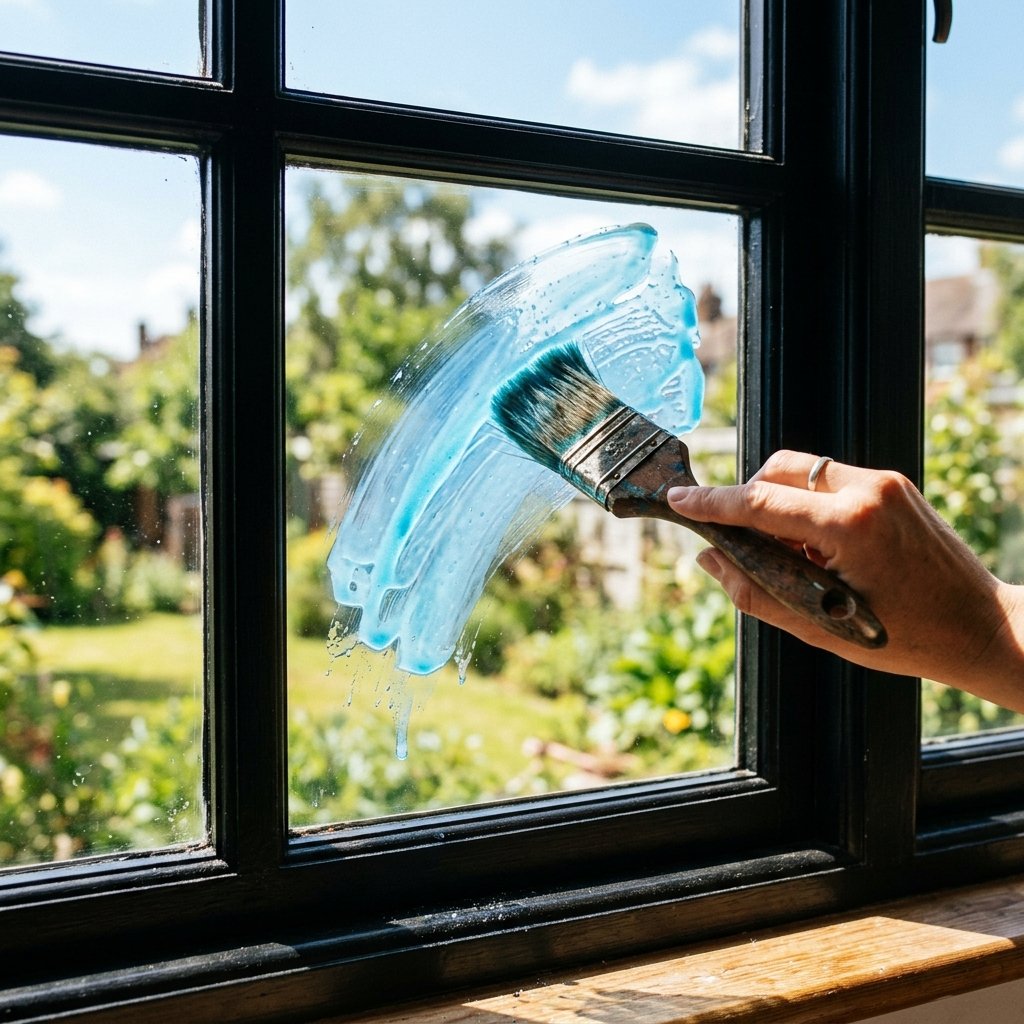
With your lead lines dry and your colors mixed, it is time to fill in the blanks. This process is satisfying and surprisingly fast. You are essentially ‘flooding’ the compartments you created with your puffy paint.
The Pro-Level Application:
- Drip and Drag: Use a brush or a spoon to drop a dollop of the colored glue into the center of a section.
- Push to the Edges: Use your brush to gently push the glue toward the black puffy paint borders. The raised lead line will act as a dam, keeping the color contained.
- The Bubble Hunt: Use a toothpick to pop any tiny air bubbles. This ensures your ‘glass’ looks smooth and professional rather than like a DIY project gone wrong.
- Layering for Depth: If you want a ‘seeded glass’ look, let the first layer dry slightly and then dab a second, thicker layer of clear glue on top to create texture.
‘Patience is the only tool you can’t buy at the Dollar Tree. Let the glue self-level and dry naturally for the smoothest finish.’
Maintenance, Longevity, and Easy Removal
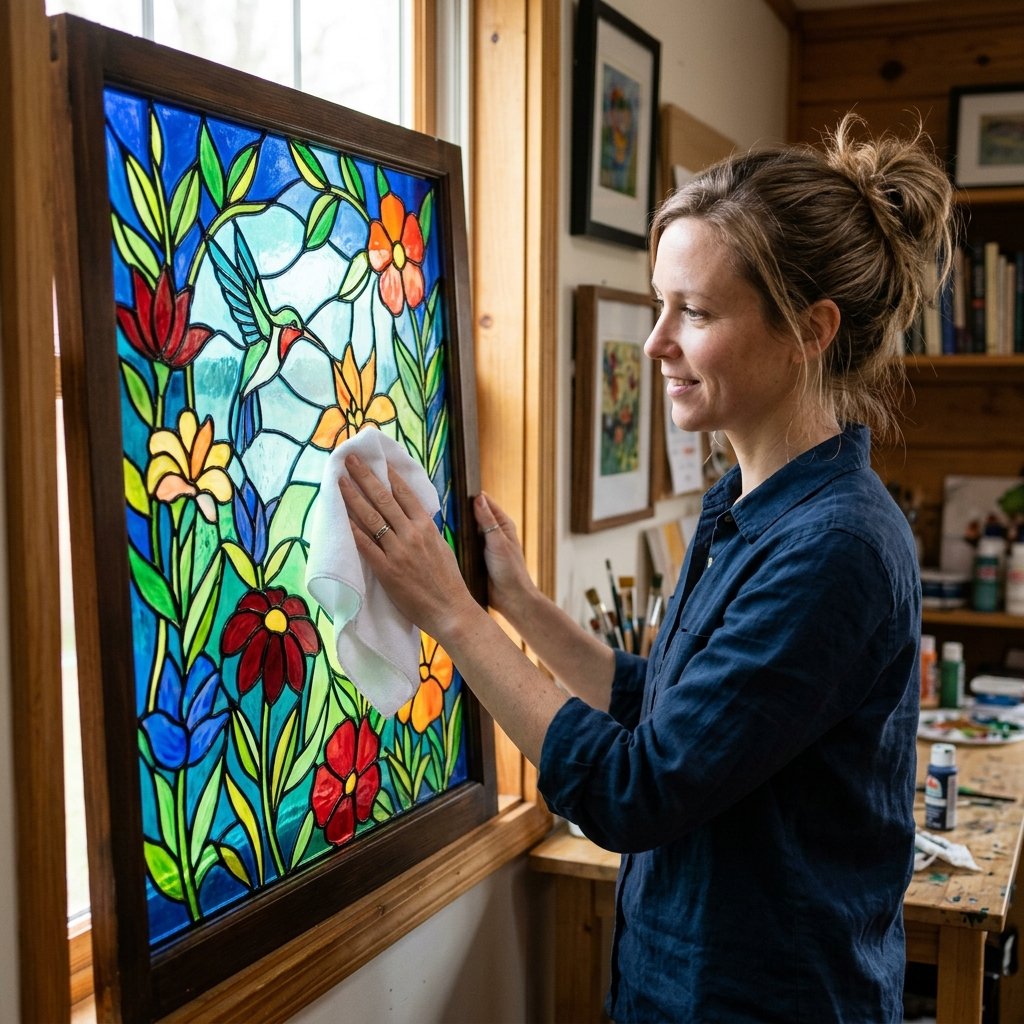
One of the best things about this $5 hack is that it is semi-permanent. It is rugged enough to withstand humidity and light cleaning, but it is also renter-friendly. If you decide to move or change your decor style, you aren’t stuck with it forever.
Care and Cleaning:
Do not use harsh chemical window cleaners on your masterpiece. A light dusting with a microfiber cloth or a very slightly damp rag is all you need. The glue is water-soluble, so avoid soaking the window. If you want to remove the design, simply spray the window with a 50/50 mix of water and vinegar, let it sit for 5 minutes, and the entire design will peel off in sheets, leaving your boring window exactly as you found it.
| Feature | DIY Faux Glass | Professional Stained Glass |
|---|---|---|
| Cost | $5.00 | $500+ |
| Weight | Weightless | Heavy/Requires Reinforcement |
| Installation Time | 2 Hours | Weeks (Custom Order) |
| Reversibility | 100% Removable | Permanent/Structural |
Conclusion
There you have it—a sophisticated, high-end home upgrade for the price of a single fast-food meal. This $5 Dollar Tree hack proves that you don’t need a massive budget to have a home that reflects your creative, crafty spirit. By combining the rugged texture of faux lead with the clever chemistry of tinted glue, you’ve turned a boring pane of glass into a conversation piece that will have your neighbors asking which local artisan you commissioned. Now, sit back, grab a drink, and watch as the afternoon sun turns your living room into a kaleidoscope of color. You’ve earned it!

Makenzie is the founder and lead writer at MoneyHackTips.com — a personal finance blog dedicated to delivering street-smart financial wisdom for real people on real budgets. With 300+ published articles covering everything from debt management to investing fundamentals, Makenzie’s mission is to make every dollar work harder. When not writing about money hacks, Makenzie is testing frugal living strategies, optimizing side hustles, and helping readers build financial freedom from scratch.