
The Alchemist’s Guide to Turning Tin into Treasure
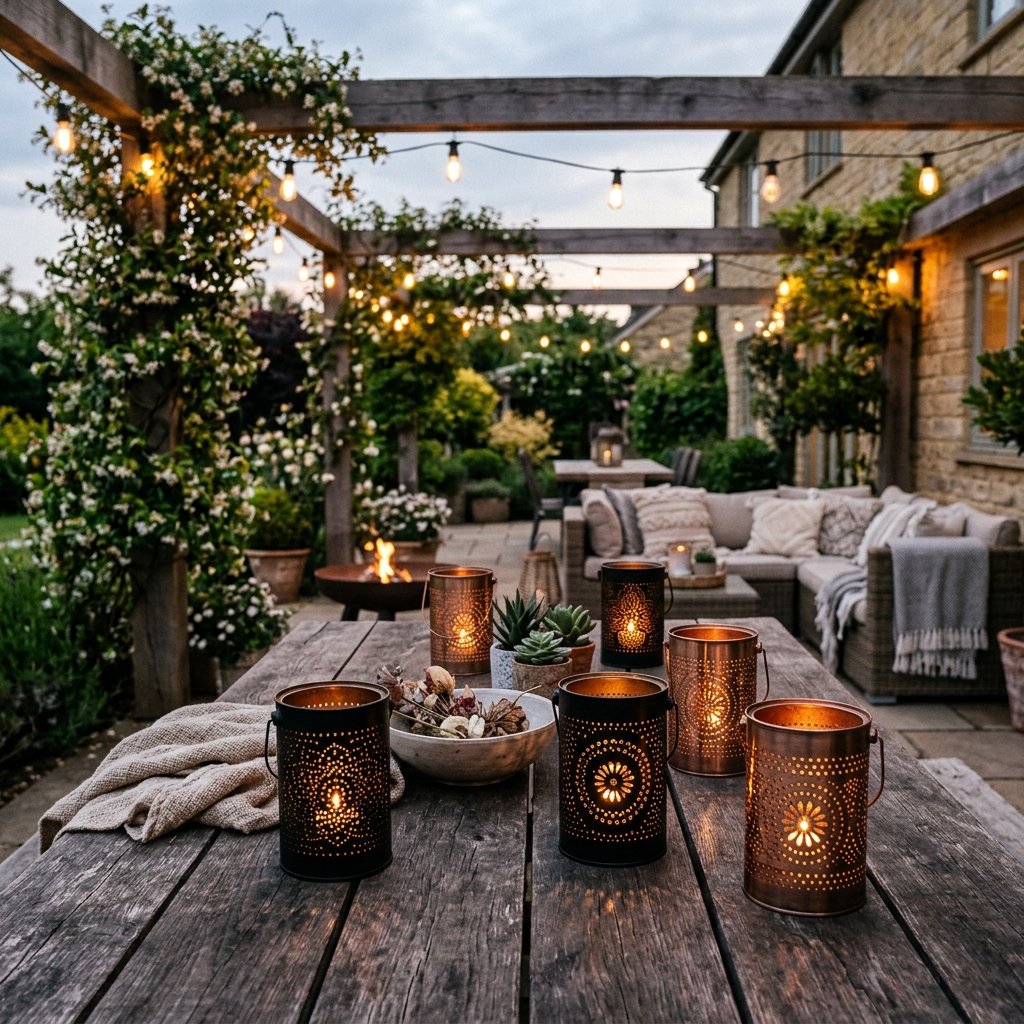
Listen, friend—that empty soup can you’re about to toss in the recycling bin? That’s not trash. To the trained eye of a budget-savvy crafter, that’s a high-end outdoor light fixture waiting to happen. In a world where a single ‘rustic’ lantern at a big-box home decor store can run you $25 to $45, we’re going to do something better. We’re going to use our hands, a few basic tools from the garage, and some literal garbage to create a rugged, masculine-elegant lighting scheme that would make a professional event stylist weep with envy.
Upcycling isn’t just about being cheap; it’s about being resourceful. It’s about looking at a discarded object and seeing the potential for beauty and utility. Today, we’re mastering the art of the tin can lantern. Whether you’re a handy dad looking to spruce up the backyard deck, a budget bride planning a woodland wedding, or a frugal DIYer who loves the flicker of real candlelight, this guide is your roadmap to zero-budget brilliance.
“True luxury isn’t about what you spend; it’s about the soul you pour into the things you make with your own two hands.”
The Inventory: Sourcing Your ‘Gold’ for Pennies
Selecting the Right Cans
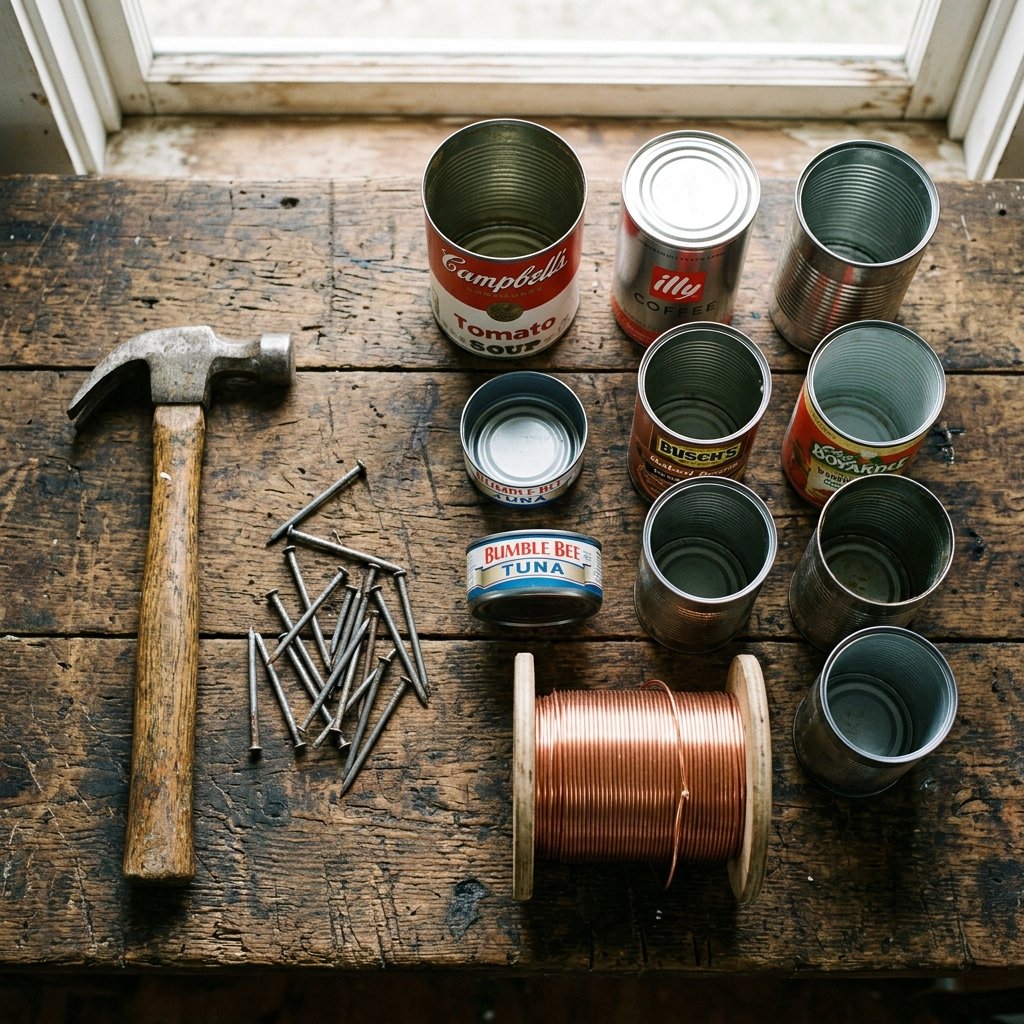
Not all cans are created equal. For a sophisticated look, you want a variety of sizes to create visual depth in your displays. Look for large coffee cans for floor lanterns, standard 15oz soup cans for table centerpieces, and shallow tuna or cat food cans for tea-light pucks. Always ensure the cans are cleaned thoroughly with hot soapy water and the labels are removed using a bit of rubbing alcohol or cooking oil to dissolve the adhesive.
The Tools of the Trade
You likely already have everything you need in your junk drawer or toolbox. We aren’t buying a fancy metal-working kit today. We are keeping costs at a strict $0 whenever possible.
| Material/Tool | The Frugal Source | Estimated Cost |
|---|---|---|
| Tin Cans | Recycling Bin | $0.00 |
| Hammer | Toolbox | $0.00 |
| Nails (various sizes) | Garage Scraps | $0.00 |
| Spray Paint | Leftover from old projects | $0.00 – $5.00 |
| Wire/Hanger | Closet/Dry Cleaners | $0.00 |
| Total Project Cost | DIY Resourcefulness | ~$0 – $5 |
The Physics of Perfection: The Secret Freezing Trick
Preventing the Dreaded Dent
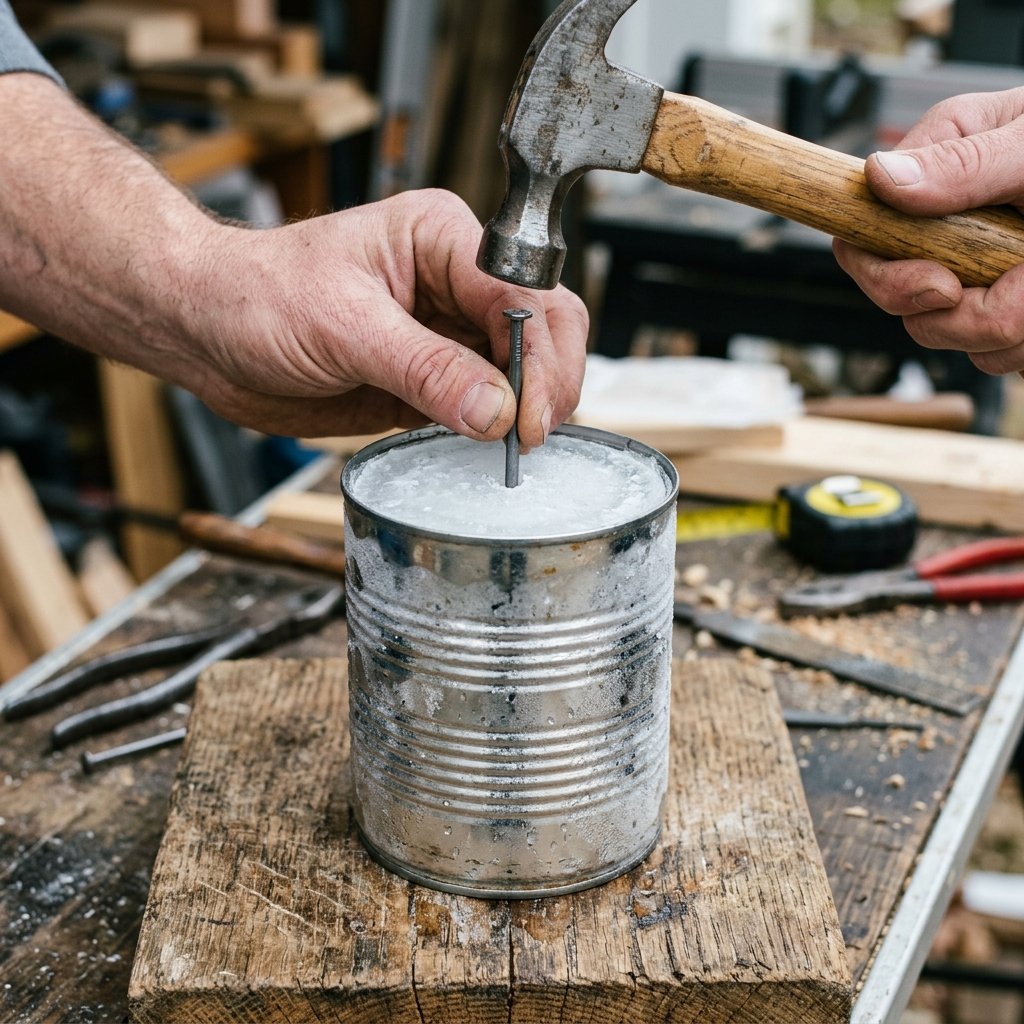
If you try to hammer a nail into an empty tin can, the metal will buckle and dent, leaving you with a crushed mess rather than a piece of art. The secret? Ice. By filling your cans with water and freezing them solid, you create a temporary internal support system that allows you to punch clean, precise holes without any structural deformation.
Step-by-Step Preparation
- Fill your cleaned cans 90% full with water (leave room for expansion so the bottoms don’t bulge).
- Place them on a flat surface in the freezer for 12 to 24 hours.
- Once frozen solid, work quickly! You have about 20-30 minutes of working time before the ice begins to melt significantly.
Pro-Tip: If the bottom of your can bulges out during freezing, simply give it a gentle tap with your hammer against a flat surface to flatten it back out before you start punching.
Design & Patterning: From Rustic to Industrial
Choosing Your Aesthetic
This is where your creative genius shines. You aren’t just poking holes; you’re designing a light filter. For a masculine-elegant look, think in geometric patterns, vertical lines, or simple grids. For a more whimsical or ‘Grandma’s garden’ feel, try floral silhouettes or random ‘starry night’ clusters.
Transferring the Pattern
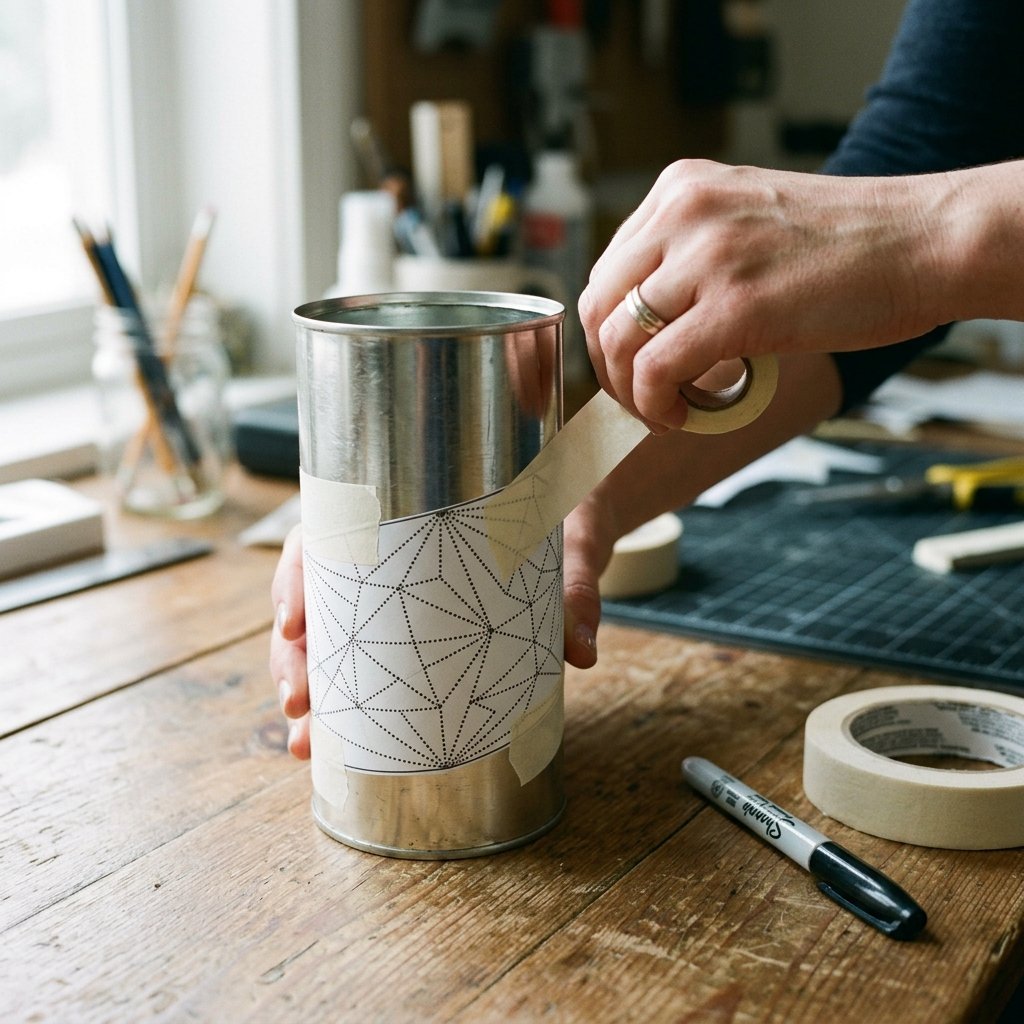
Don’t wing it! Use a piece of paper cut to the circumference of the can. Draw your pattern on the paper first using a marker. Wrap the paper around the can and secure it with painter’s tape. You will punch your nails directly through the paper and into the ice-filled metal.
Pattern Ideas for Different Vibes
- The Minimalist: Single vertical rows of large holes spaced 1 inch apart.
- The Constellation: Random groupings of small and medium holes to mimic a night sky.
- The Chevron: V-shaped patterns repeating around the center of the can.
- The Monogram: Punch out a single large letter for a personalized gift.
The Punching Process: Hand-Crafting the Glow
Executing the Pattern
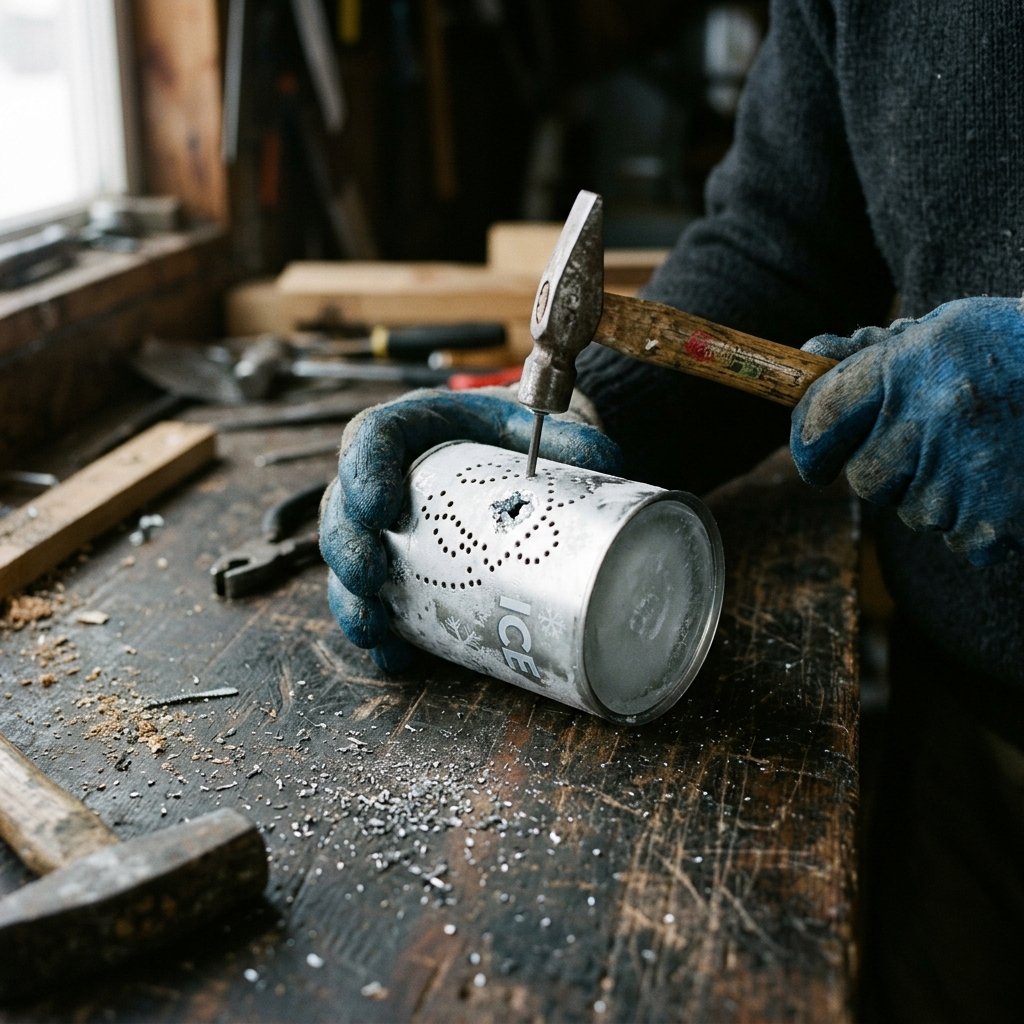
Grab your hammer and a nail. A finishing nail creates small, delicate points of light, while a common nail or a large masonry nail creates bold, bright bursts. Hold the nail firmly against your template and give it a sharp, decisive strike. You don’t need to drive the nail deep; just enough to pierce the metal and enter the ice.
Safety First
Safety Note: Always wear eye protection when striking metal on metal. The edges of the punched holes will be sharp on the inside of the can, so keep your fingers away from the interior during the process.
Refining the Holes
If you want a more ‘finished’ look, you can use a power drill with a metal-bit once the ice has melted, but the hammer-and-nail method provides a rugged, hand-forged texture that is much more satisfying and budget-friendly.
The Finishing Touch: Paint, Patina, and Handles
Finishing the Metal
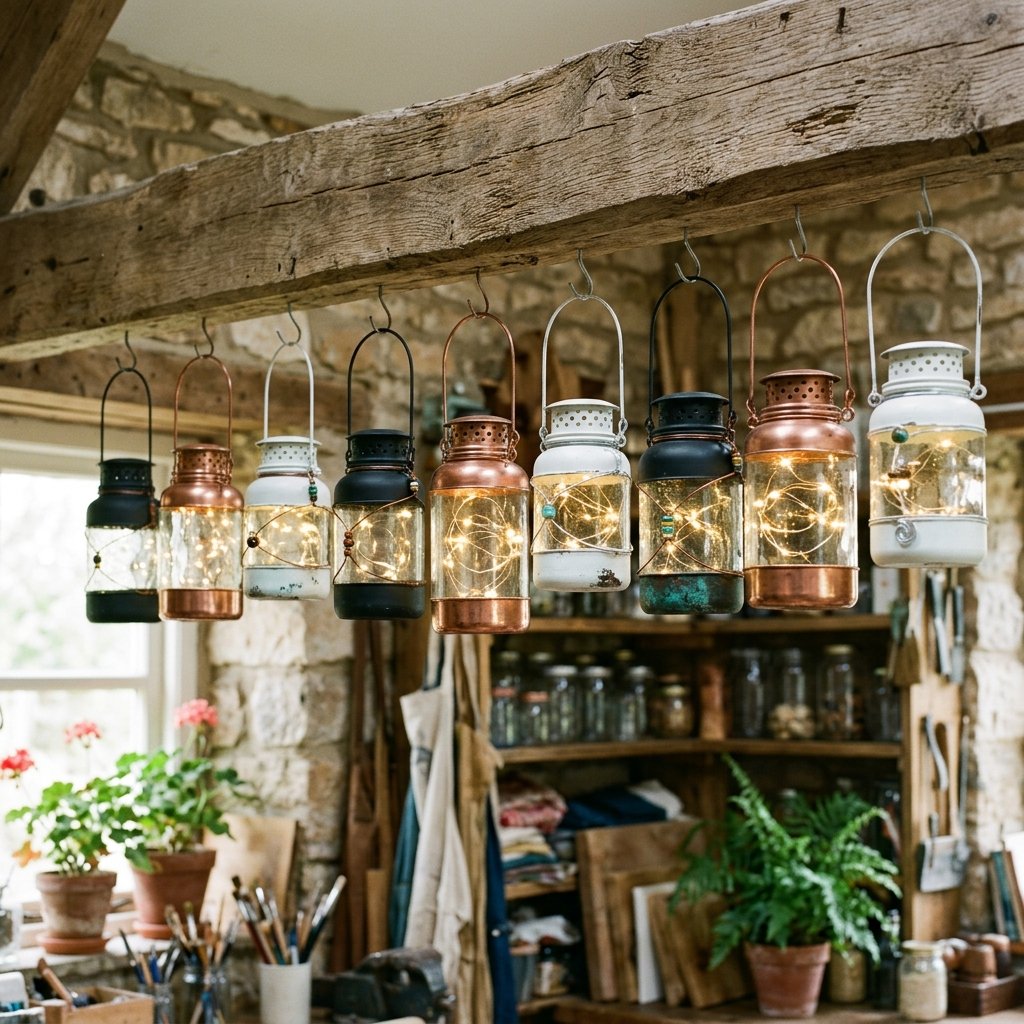
Once the ice has melted and the can is dry, it’s time for a facelift. A matte black spray paint gives an instant ‘West Elm’ or ‘Pottery Barn’ look. If you prefer a more rugged, industrial vibe, look for hammered copper or oil-rubbed bronze finishes. For the ultimate frugal hack, leave them as raw tin and let them develop a natural rust patina over time outdoors.
Adding the Handle
To hang your lanterns from tree branches or shepherd’s hooks, you’ll need a handle. Use a 16-gauge wire or an old wire coat hanger. Punch two holes near the top rim (opposite each other), thread the wire through, and twist the ends with pliers to secure.
| Style Name | Paint Color | Handle Material |
|---|---|---|
| Modern Farmhouse | Matte Black | Thick Jute Twine |
| Industrial Chic | Metallic Silver | Steel Wire |
| Boho Garden | Turquoise/Copper | Beaded Wire |
| Rustic Cabin | Clear Coat (Raw) | Leather Cord |
Lighting the Way: Candles vs. LEDs
Choosing Your Glow
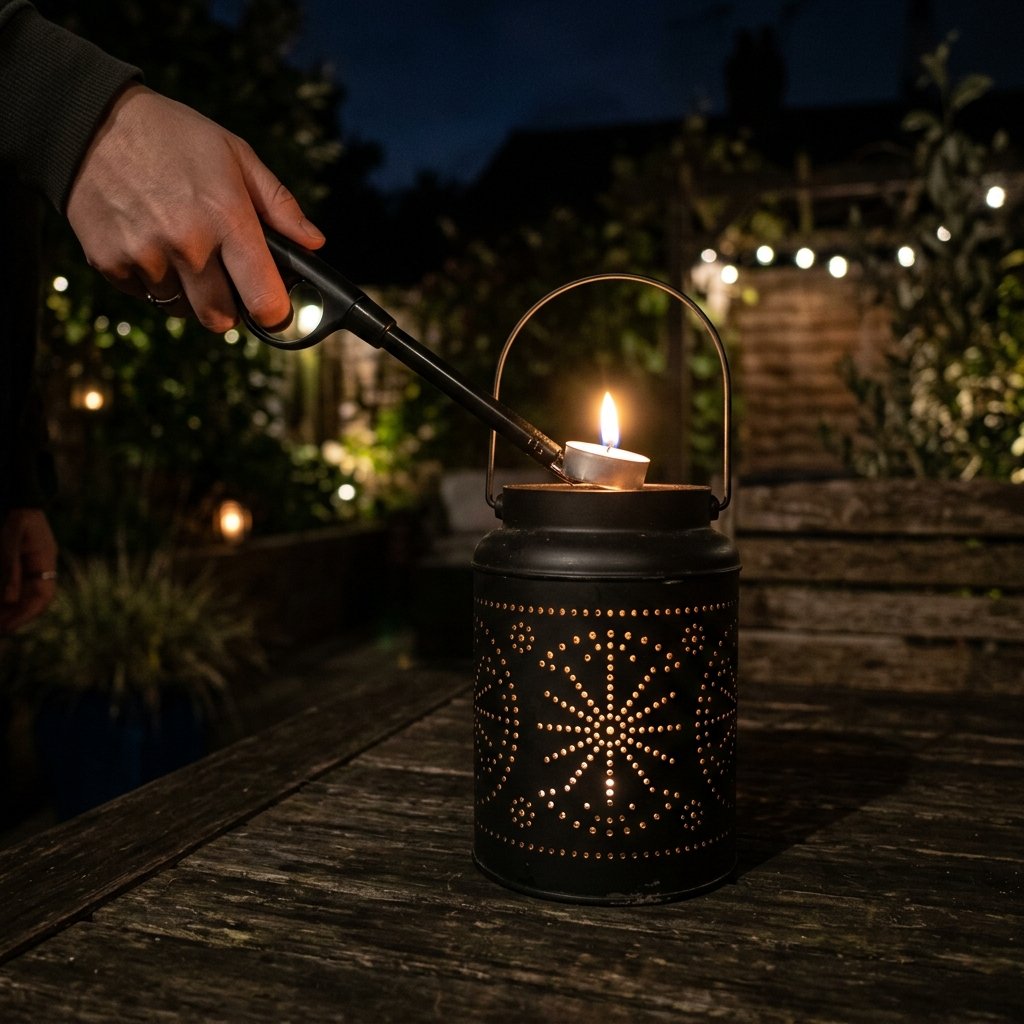
The final step is the light source. For the most authentic, flickering experience, use standard tea lights or votive candles. The metal will get hot, so place these on heat-resistant surfaces. If you want a ‘set it and forget it’ solution for a party, battery-operated LED tea lights are the way to go.
Cost Comparison: Store-Bought vs. DIY
Let’s look at the numbers. If you were to buy 10 lanterns for a backyard party, the savings are staggering.
| Item | Store-Bought Price (10 units) | DIY Upcycled Price (10 units) |
|---|---|---|
| Lantern Units | $150.00 | $0.00 |
| Paint/Supplies | N/A | $5.00 |
| Hanging Hardware | Included | $0.00 (Wire hangers) |
| Total | $150.00 | $5.00 |
By choosing the resourceful path, you’ve saved $145—money that can now go toward the steaks for the grill or a nice bottle of bourbon to enjoy by your new ambient light.
Conclusion
The Warm Glow of Resourcefulness
There is a unique satisfaction that comes from sitting on your porch, surrounded by a warm, flickering glow, knowing that your beautiful lighting didn’t cost you a dime at a luxury boutique. You’ve taken discarded metal and, through a bit of cleverness and elbow grease, turned it into pure gold. These lanterns are more than just decor; they are a testament to the frugal DIY spirit. They are rugged, they are elegant, and they are uniquely yours. So, the next time you finish that can of beans, don’t throw it away. Freeze it, punch it, paint it, and light up your world.

Makenzie is the founder and lead writer at MoneyHackTips.com — a personal finance blog dedicated to delivering street-smart financial wisdom for real people on real budgets. With 300+ published articles covering everything from debt management to investing fundamentals, Makenzie’s mission is to make every dollar work harder. When not writing about money hacks, Makenzie is testing frugal living strategies, optimizing side hustles, and helping readers build financial freedom from scratch.