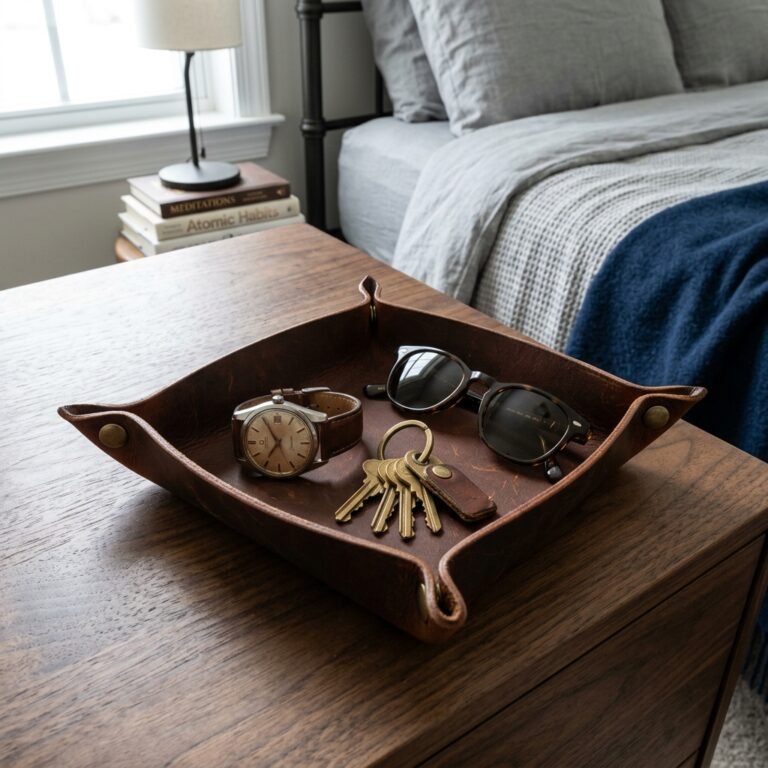

Let us talk about the men’s grooming industry for a second. If you have ever strolled through a high-end department store or browsed boutique apothecary websites looking for a thoughtful gift for the bearded man in your life, you have likely suffered from a severe case of sticker shock. A small bottle of beard oil? $35. A “hand-crafted, artisanal” wooden beard comb? Upwards of $45 to $80! As frugal DIYers and clever gift-givers, we know a secret: that luxurious, masculine, heirloom-quality wooden comb is nothing more than a small piece of hardwood, some careful cutting, and a whole lot of sanding. You can absolutely make a superior version yourself for a fraction of the cost, and the sentimental value of a handmade tool he uses every morning? Priceless.
Welcome to the ultimate guide on crafting a DIY wooden beard comb. This is not just a cheap craft; this is a foray into practical, rugged, masculine-elegant gift-making. Whether you are a handy parent looking for a unique Father’s Day project, a budget-savvy partner preparing for an anniversary, or a crafter wanting to expand your skills into basic woodworking without buying expensive power tools, this project is for you. We are going to take inexpensive hardwood scraps—or even upcycled wood from thrifted items—and transform them into a sleek, pocket-sized grooming masterpiece. Grab your sandpaper, roll up your sleeves, and let us dive into the resourceful art of making high-end grooming tools on a dime.
The Anatomy of a High-End Beard Comb (And Why Wood Always Wins)
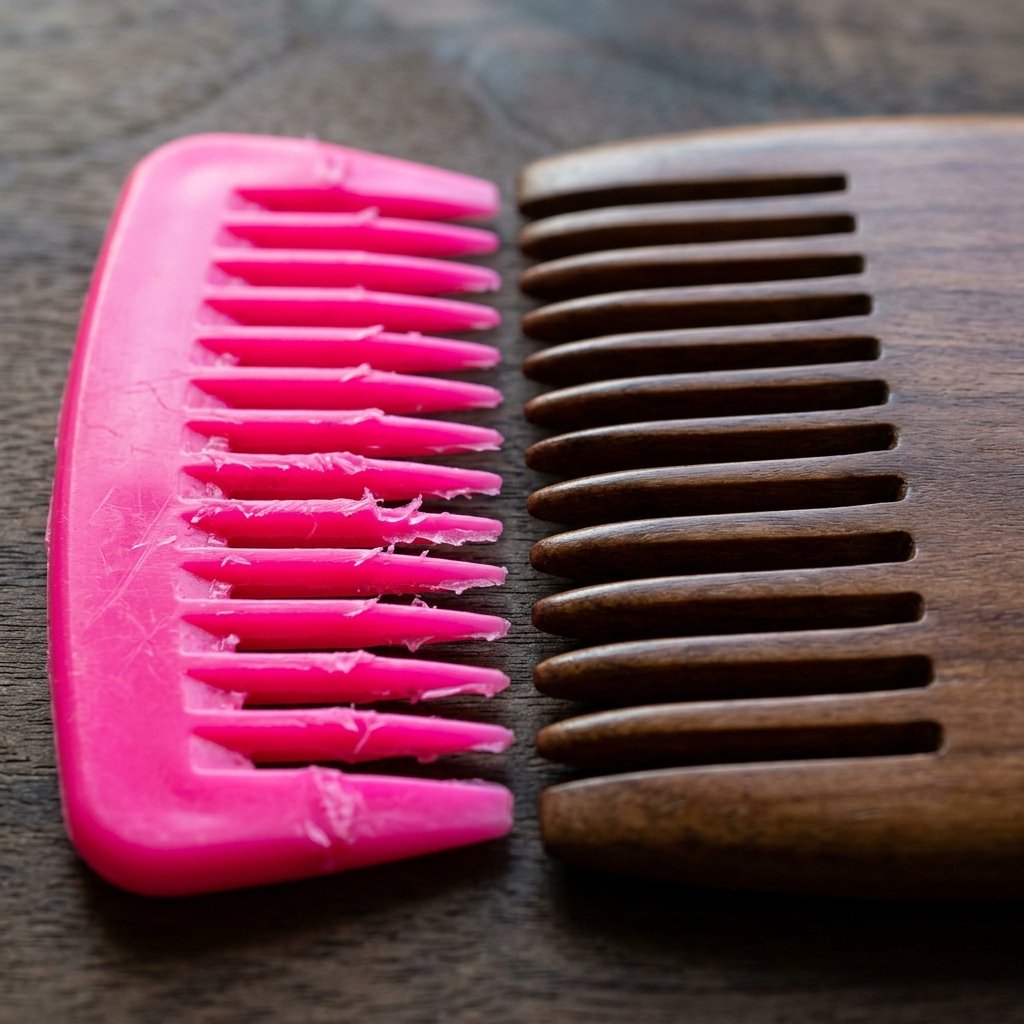
Before we start sawing and sanding, it is crucial to understand why a wooden beard comb is considered a luxury item compared to the cheap $2 plastic combs found in drugstore aisles. When a man grows a beard, the hair is naturally coarser and more prone to tangling than the hair on his head. Cheap plastic combs are typically injection-molded, leaving microscopic, jagged seams along the teeth. Every time he drags that plastic comb through his beard, those invisible seams snag, rip, and cause micro-tears in the hair follicles, leading to split ends and a frizzy, unkempt appearance.
Furthermore, plastic generates static electricity. A plastic comb will leave a beard looking like a mad scientist’s experiment. Wood, on the other hand, is nature’s perfect grooming material. It is anti-static, naturally smooth when properly sanded, and porous enough to absorb and redistribute the natural sebum oils (and any applied beard oils) evenly throughout the facial hair. This conditions the beard naturally with every stroke.
The Store-Bought vs. DIY Reality Check
Let us look at the numbers. The markup on “boutique” grooming tools is astronomical. By sourcing your own materials and investing a little elbow grease, the savings are undeniable.
| Grooming Tool Feature | Boutique Store-Bought | Our Clever DIY Version |
|---|---|---|
| Material | Sandalwood or Walnut | Upcycled Hardwood or Craft Blank |
| Customization | None (or expensive engraving) | Hand-burned initials (Free) |
| Finish | Generic mineral oil | Custom Beeswax & Jojoba blend |
| Estimated Cost | $45.00 – $80.00 | $0.00 – $5.00 |
When you craft this yourself, you are not just saving money; you are giving him a rugged, elegant tool tailored specifically to the thickness of his beard and the size of his hand.
Sourcing Your Timber Without Breaking the Bank
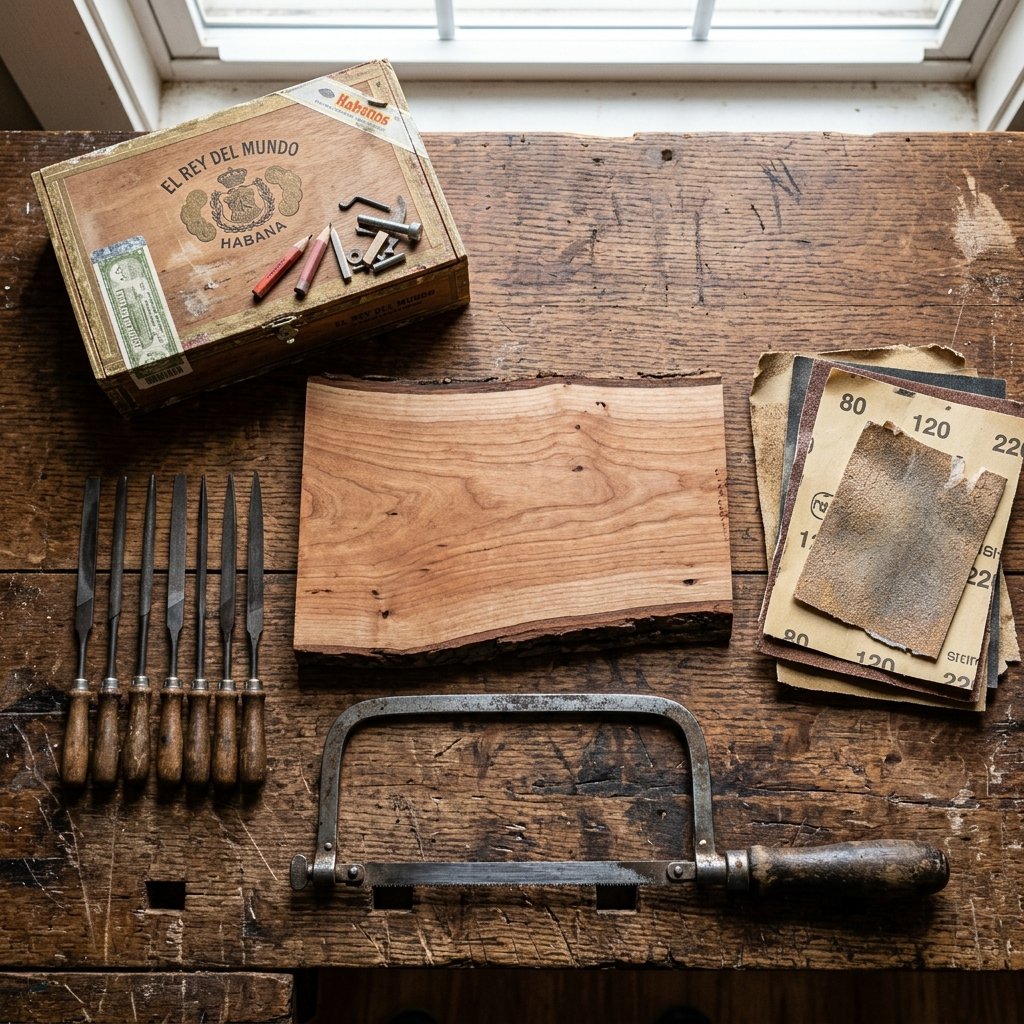
The secret to a budget-savvy woodworking project is knowing where to find high-quality materials for pennies—or completely free. For a beard comb, you must use hardwood. Softwoods like pine or cedar will snap easily along the fine teeth. You also want to avoid woods with heavily open pores, like red oak, which can trap dirt and snag hairs. The holy grail woods for combs are Cherry, Walnut, Maple, Mahogany, and Pearwood. They have tight, straight grains and polish to a glass-like finish.
Where to Find Cheap or Free Hardwood:
- Thrift Store Upcycling: Look for old, damaged solid wood cutting boards, wooden salad bowls, or broken furniture pieces (like chair spindles or drawer fronts) made of cherry or maple. A $2 cutting board can yield enough wood for 10 combs!
- Cigar Boxes: Many high-end cigar boxes are made of Spanish Cedar or Mahogany. Ask your local cigar shop if they have empty wooden boxes they are throwing away. They are the perfect thickness (about 1/4 inch) for a pocket comb.
- Craft Store Blanks: If you prefer to buy new, head to the woodcraft aisle of your local craft store. You can find small planks of basswood or walnut measuring 1/4 inch thick by 3 inches wide for around $4. Use a weekly coupon to get it for even less.
- Local Cabinet Makers: Stop by a local custom cabinetry or furniture shop and ask to dig through their scrap bin. Most woodworkers are happy to give away small hardwood offcuts that are too tiny for furniture but perfect for your project.
| Essential Material / Tool | Purpose | Budget Cost |
|---|---|---|
| Hardwood Blank (1/4″ thick) | The body of the comb | $0 – $4 |
| Coping Saw or Jeweler’s Saw | Cutting the fine teeth | $8 – $12 (One-time tool investment) |
| Sandpaper Assortment | Smoothing (80, 120, 220, 400 grit) | $5 |
| Needle Files | Shaping between the teeth | $6 |
| Natural Oil (Jojoba or Olive) | Sealing and protecting the wood | Pantry item |
If you already have basic sandpaper and a small hand saw in your garage, this project will cost you next to nothing. It is the ultimate frugal hack for a high-end gift.
Designing and Tracing the Ultimate Masculine Blueprint
Before making a single cut, you need a blueprint. The design phase is where you customize the comb to fit his specific grooming needs. Does he have a massive, thick lumberjack beard? He needs wide, deeply spaced teeth. Does he keep a neatly trimmed corporate beard or mustache? Fine, closely spaced teeth are the way to go. You can even design a dual-sided comb with wide teeth on one half and fine teeth on the other.
Creating Your Template
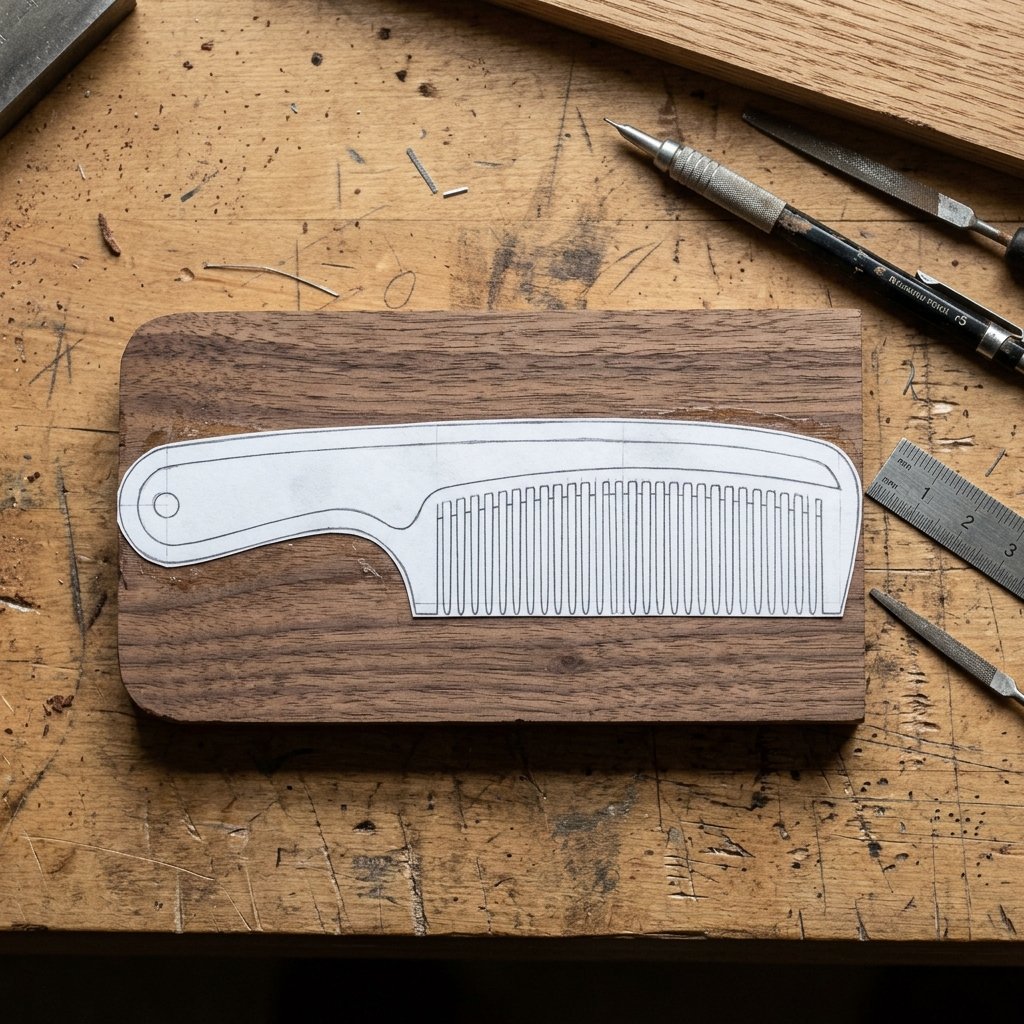
Start by sketching your design on a piece of thick cardstock or an old cereal box. A standard pocket comb is usually about 4 inches long and 1.5 to 2 inches tall. You want the spine of the comb to be thick enough to provide strength—at least 1/2 inch of solid wood above the teeth.
- Step 1: Draw the outer perimeter of the comb. Give it rounded, ergonomic corners so it slides easily into a denim pocket or a leather toiletry bag.
- Step 2: Mark the teeth. For a standard beard, draw lines spaced exactly 1/8 inch apart. The teeth should be about 1 inch long.
- Step 3: Cut out your paper template and hold it. Does it feel comfortable? If yes, use a glue stick to adhere the paper template directly onto your piece of hardwood.
The Grain Rule: When placing your template on the wood, ensure the wood grain runs horizontally across the spine of the comb, NOT vertically down the teeth. If the grain runs down the teeth, they will be incredibly fragile and snap off at the slightest tug. Horizontal grain ensures maximum structural integrity.
Take your time with the pencil markings. Precision in the design phase guarantees a symmetrical, professional-looking final product that looks like it came from an artisanal woodshop, not a kindergarten craft table.
Sawing, Shaping, and Sanding (The Rugged Crafting Process)

This is where the magic happens. Transforming a block of wood into a delicate, functional comb requires patience, a steady hand, and a lot of friction. Put on a good podcast or some rugged workshop tunes, and let us get to work.
Safety First: Always clamp your wood securely to a table or workbench before cutting. Keep your fingers well away from the saw blade, and wear a dust mask when sanding hardwood to avoid inhaling fine particulate matter.
Step 1: Cutting the Teeth
Clamp your wood securely to the edge of a table, letting the “teeth” section hang off the edge. Take your coping saw (or jeweler’s saw) and carefully begin cutting down the lines you drew. The trick is to let the saw do the work—do not force or push the blade hard, or you risk snapping the delicate wood. Cut straight down to the base of the tooth line, then carefully back the saw out. Repeat this for every single tooth. It is a meditative process that usually takes about 20 to 30 minutes.
Step 2: Shaping the Profile
Once the teeth are cut, use your saw to cut around the outer perimeter of your template, creating the rounded spine and edges. It will look incredibly rough and blocky at this stage. Do not panic! Sandpaper is the great equalizer.
Step 3: The Secret to Luxury is Sanding
Sanding is what separates a $2 piece of scrap wood from a $50 luxury grooming tool. You must progress through multiple grits of sandpaper.
- 80-Grit (The Shaper): Wrap a piece of coarse 80-grit sandpaper around a small block. Aggressively round over the spine, the corners, and the sharp edges of the outer teeth. You want zero hard angles.
- Needle Files (The Detailers): Take a thin needle file (or fold a piece of 120-grit sandpaper in half) and slide it between every single tooth. You must round off the sharp, square edges of the teeth so they glide smoothly through hair. This is the most critical step for beard comfort!
- 120 to 220-Grit (The Smoother): Sand the entire comb until all the deep scratch marks from the 80-grit paper are gone. The wood will start to feel pleasant to the touch.
- 400+ Grit (The Glass Finish): Finally, polish the comb with ultra-fine 400-grit (or even 600-grit) sandpaper. At this stage, the wood will begin to shine naturally and feel as smooth as a polished river stone.
Run the comb through the hair on your arm. If it snags or scratches even slightly, keep sanding between the teeth. It must be flawlessly smooth.
Finishing Touches: Oiling, Sealing, and Personalizing
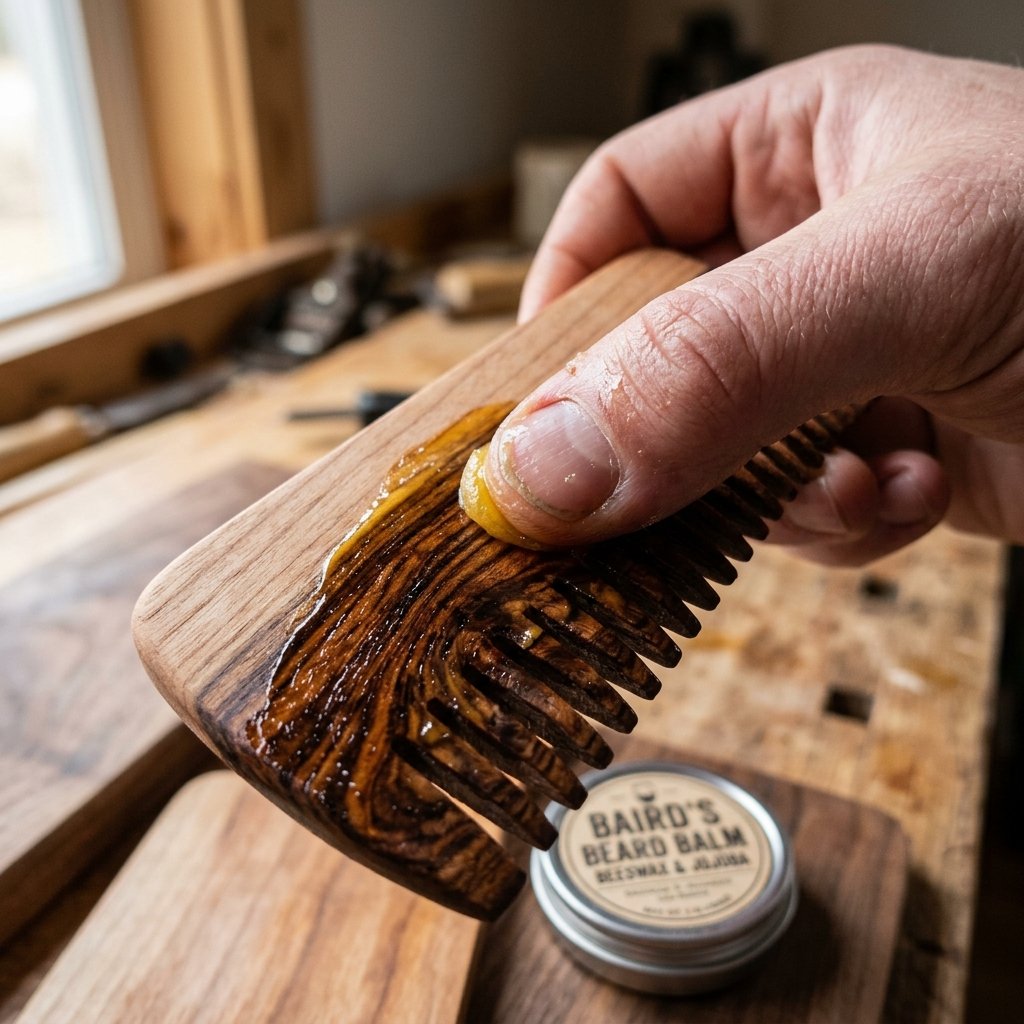
You have successfully sculpted a beautiful comb, but untreated wood will quickly absorb water, warp in a humid bathroom, and eventually crack. To make this a true heirloom piece, you must seal and condition the wood. This process not only protects the comb but also dramatically darkens the wood, making the natural grain “pop” with a rich, expensive-looking luster.
Creating a Custom Wood Butter
While you can simply rub the comb with olive oil from your kitchen, creating a custom “wood butter” adds an incredible touch of luxury. Plus, the ingredients are fantastic for his beard!
| Ingredient | Measurement | Benefit for Wood & Beard |
|---|---|---|
| Beeswax Pastilles | 1 Tablespoon | Seals moisture, provides a protective waterproof barrier. |
| Jojoba or Sweet Almond Oil | 3 Tablespoons | Penetrates wood grain deeply; mimics natural skin sebum. |
| Cedarwood Essential Oil | 3-5 Drops (Optional) | Adds a rugged, masculine, woodsy scent. |
Instructions: Melt the beeswax and carrier oil together in a double boiler (or a glass jar set in a pot of simmering water). Stir until completely liquid, add the essential oil, and let it cool into a soft paste.
Application and Personalization
Take a soft cloth and generously rub your custom wood butter all over the comb. Work it deeply between the teeth using an old toothbrush. Let the comb sit for 15 minutes to drink in the oils, then vigorously buff off the excess with a clean microfiber cloth. The comb will gleam with a warm, professional finish.
The Ultimate Personalized Gift
Before you oil the wood, consider taking a wood-burning tool (pyrography pen) and carefully burning his initials, a significant date, or a tiny mountain motif into the spine of the comb. This transforms the item from a simple grooming tool into a deeply personal keepsake.
Package your finished comb in a small muslin drawstring bag or a scrap leather pouch. Pair it with a homemade bottle of beard oil, and you have just created a high-end, bespoke grooming kit that rivals anything found in a luxury boutique. You have saved a fortune, learned a new skill, and crafted a practical, rugged gift that he will proudly carry in his pocket for years to come.
Conclusion

Who knew that a scrap piece of wood, a cheap saw, and some dedicated sanding could yield such a stunning, high-end result? By stepping out of the consumer cycle and tapping into your frugal, crafty instincts, you have managed to bypass the exorbitant markups of boutique men’s grooming brands. Crafting a DIY wooden beard comb is the epitome of thoughtful, budget-savvy gifting. It is rugged, it is practical, and it carries the undeniable charm of something made completely by hand.
Whether he uses it to tame his morning scruff, keeps it in the glovebox of his truck, or proudly displays it on the bathroom vanity, this comb is a daily reminder of your resourcefulness and care. So, sweep up the sawdust, admire that glass-smooth finish, and get ready to blow his mind with a gift that looks like it cost a fortune, but was crafted with love and cleverness right at your kitchen table. Happy crafting, and stay savvy!
Conclusion
Who knew that a scrap piece of wood, a cheap saw, and some dedicated sanding could yield such a stunning, high-end result? By stepping out of the consumer cycle and tapping into your frugal, crafty instincts, you have managed to bypass the exorbitant markups of boutique men’s grooming brands. Crafting a DIY wooden beard comb is the epitome of thoughtful, budget-savvy gifting. It is rugged, it is practical, and it carries the undeniable charm of something made completely by hand.
Whether he uses it to tame his morning scruff, keeps it in the glovebox of his truck, or proudly displays it on the bathroom vanity, this comb is a daily reminder of your resourcefulness and care. So, sweep up the sawdust, admire that glass-smooth finish, and get ready to blow his mind with a gift that looks like it cost a fortune, but was crafted with love and cleverness right at your kitchen table. Happy crafting, and stay savvy!

Makenzie is the founder and lead writer at MoneyHackTips.com — a personal finance blog dedicated to delivering street-smart financial wisdom for real people on real budgets. With 300+ published articles covering everything from debt management to investing fundamentals, Makenzie’s mission is to make every dollar work harder. When not writing about money hacks, Makenzie is testing frugal living strategies, optimizing side hustles, and helping readers build financial freedom from scratch.