
The Great Autumn Retail Heist
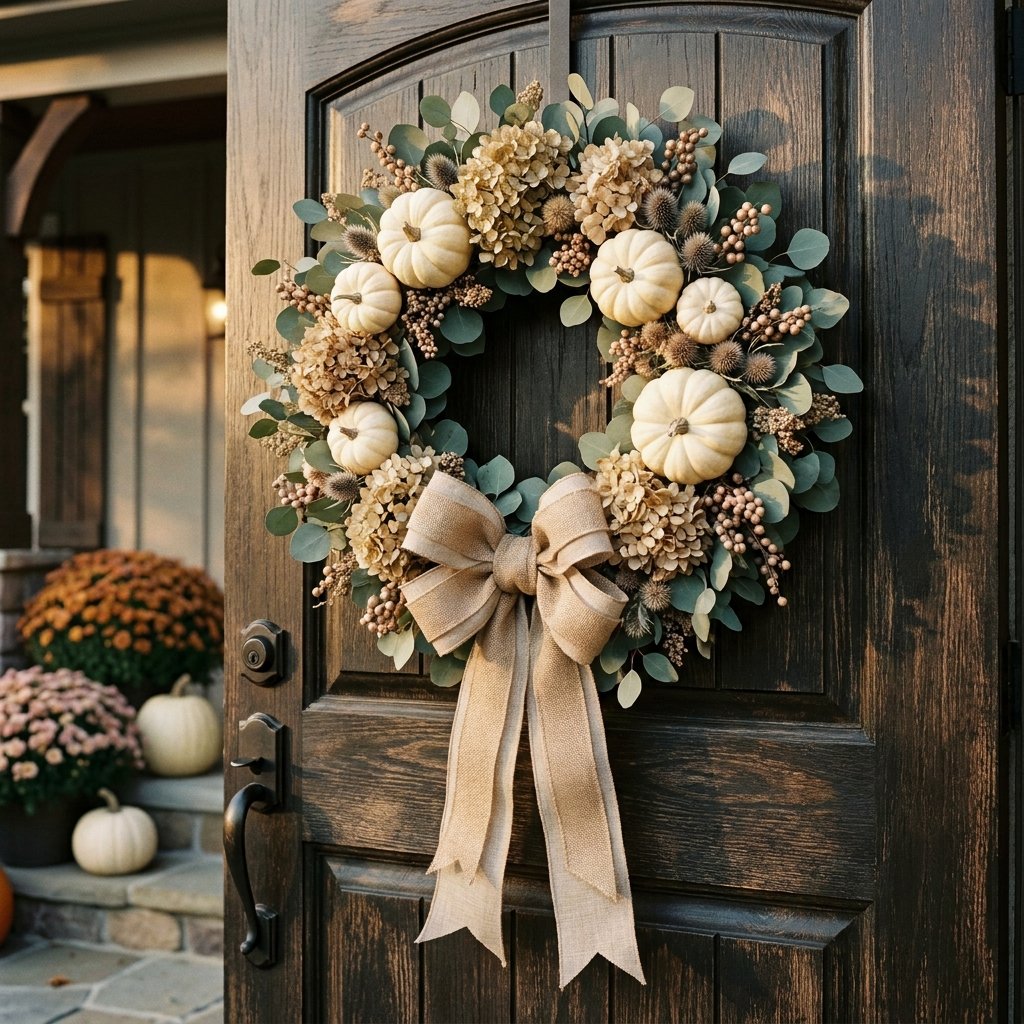
Let’s be honest: we’ve all walked through the seasonal aisles of Target or Pottery Barn and felt that immediate pang of ‘I need this’ followed quickly by the ‘I definitely cannot afford this’ sticker shock. We are talking about $50 to $80 for a circle of grapevine and some plastic leaves. It’s a retail heist, plain and simple. But as a savvy, rugged DIYer, you know better. You know that with a little bit of grit, a hot glue gun, and a tactical trip to the Dollar Tree, you can achieve that same high-end, designer aesthetic for the price of a fancy latte.
This isn’t just about saving money; it’s about the thrill of the hunt and the satisfaction of a project well-done. In just 10 minutes, we are going to transform basic, budget supplies into a sophisticated fall statement piece that will have your neighbors asking which boutique you visited. Put down the $60 wreath and pick up your wire cutters. We’re going to show you how to craft a masterpiece that is both masculine-elegant and incredibly budget-friendly.
The Tactical Supply List: Target vs. Dollar Tree
Sourcing Your Materials Like a Pro
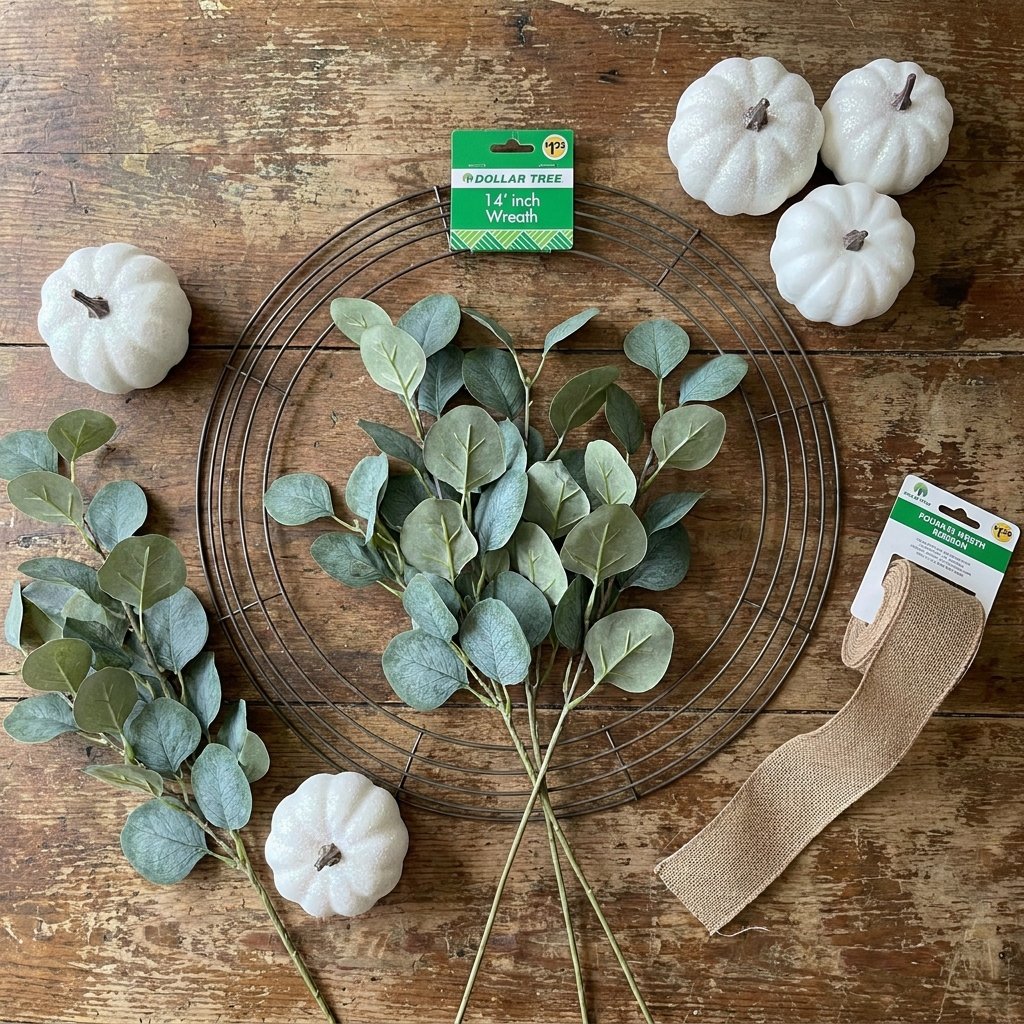
The secret to a high-end look is avoiding the ‘crafty’ pitfalls. We aren’t looking for bright, neon-orange plastic. We are looking for muted tones, textures, and depth. When you enter the Dollar Tree, head straight for the floral aisle, but keep your eyes peeled for the hidden gems. Look for eucalyptus, lamb’s ear, and ‘harvest’ picks that have a matte finish rather than a shiny one.
To help you see the massive savings, let’s look at the breakdown of what you’d pay at a major retailer versus what you’ll spend for this project:
| Material Item | Target/Boutique Price | Dollar Tree DIY Price |
|---|---|---|
| 18-inch Grapevine or Wire Base | $12.00 | $1.25 |
| Faux Eucalyptus/Greenery (4-5 stems) | $20.00 | $5.00 |
| Decorative Mini Pumpkins (3 pack) | $10.00 | $1.25 |
| Burlap Ribbon/Twine | $8.00 | $1.25 |
| Total Investment | $50.00+ | $8.75 |
Budget Mantra: A dollar saved is a dollar earned, but a dollar upcycled is a designer victory.
Phase 1: Building a Rugged Foundation
Prepping the Base for Maximum Durability
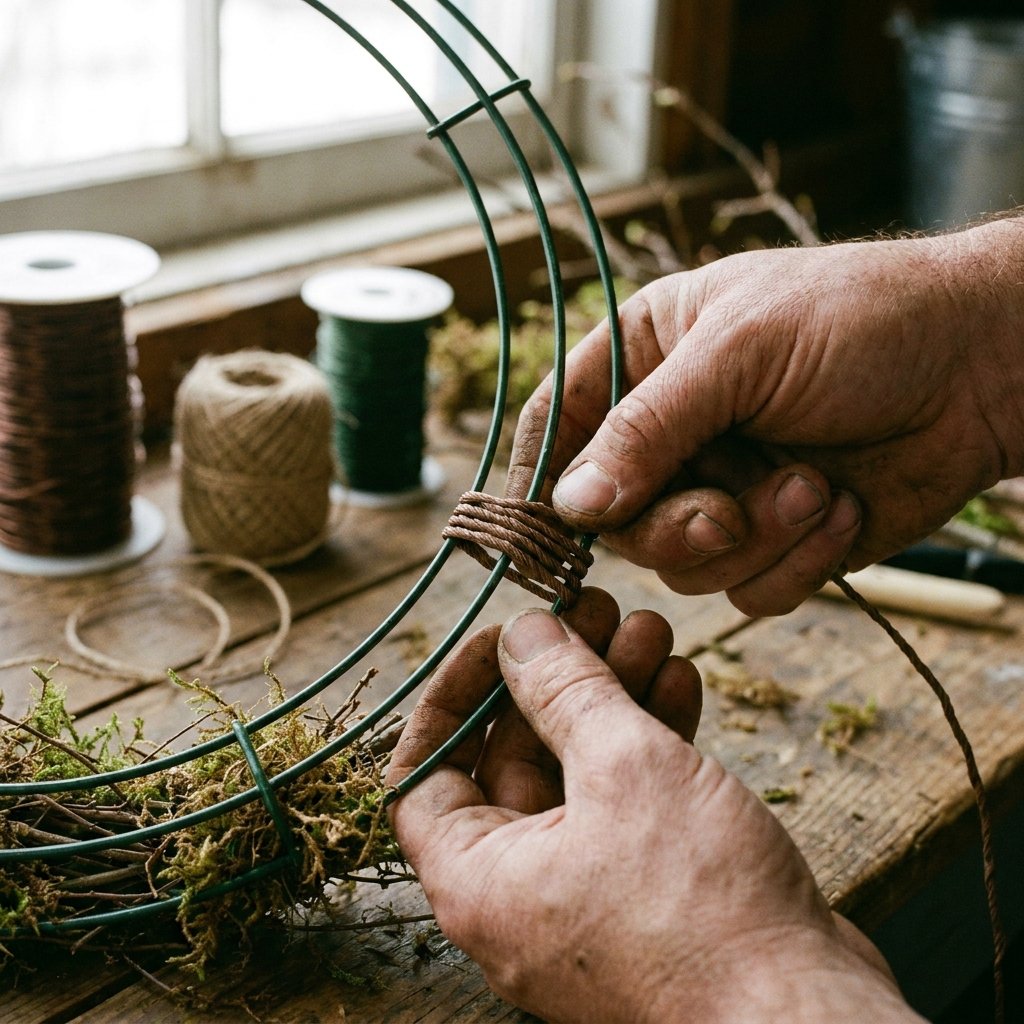
If you chose the wire wreath frame, your first step is to give it some ‘grip.’ A bare wire frame can be slippery, making it hard for your hot glue to hold. Take some floral tape or even a bit of leftover twine and wrap it around the outer rings. This creates a textured surface that our greenery can bite into. If you found a grapevine base, you’re already ahead of the game!
For those using the wire frame, we want to create a ‘fullness’ that mimics expensive, hand-woven wreaths. We do this by layering our greenery in a specific ‘fish-scale’ pattern. Start at the 12 o’clock position and work your way down one side, then repeat on the other side. This ensures the leaves always point ‘up’ and ‘out,’ creating a natural flow that looks professional rather than haphazard.
Pro Tip: Use industrial-strength hot glue or a combination of floral wire and glue for a wreath that can withstand heavy autumn winds on your front porch.
Phase 2: The 10-Minute Assembly Speed-Run
Executing the ‘Designer’ Layout
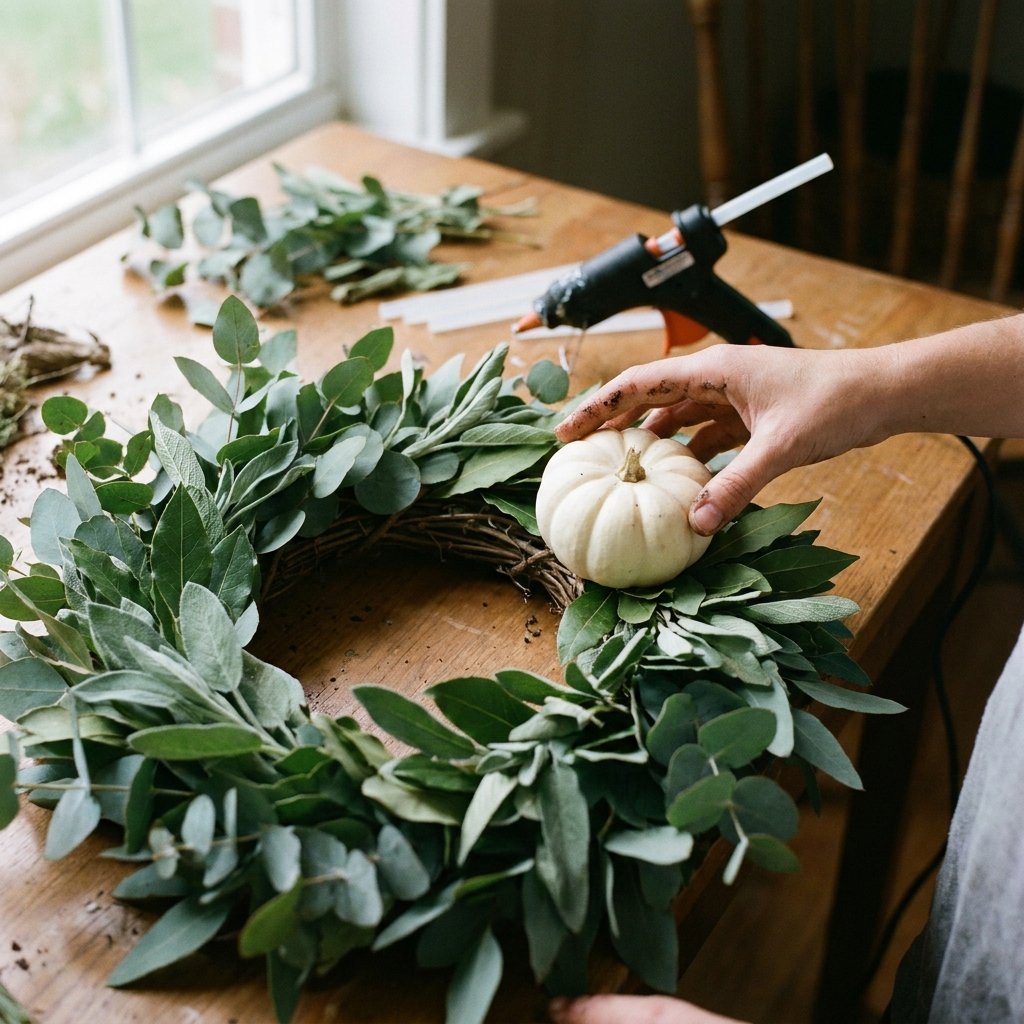
Now we get to the heart of the project. This is where the 10-minute magic happens. Follow these steps for a balanced, sophisticated layout:
- The Greenery Anchor: Take your eucalyptus or lamb’s ear stems. Snip them into smaller 4-inch sections. Apply a bead of glue to the stem and tuck it into your base, overlapping each piece by 1 inch.
- The Focal Point: Choose the ‘bottom-heavy’ style. Instead of covering the whole wreath, focus your decor on the bottom-left quadrant. This is a classic high-end design trick that looks more ‘artisan’ and less ‘mass-produced.’
- The Pumpkin Cluster: Take your three mini pumpkins. Glue them in a tight cluster of three (the ‘rule of three’ is a designer’s best friend). Nestling them into the greenery makes them look like they are growing out of the wreath rather than just stuck on top.
- The Burlap Finish: Create a simple, rugged loop bow. Avoid the ‘perfect’ pre-made bows. A hand-tied, slightly frayed burlap bow adds a masculine-elegant touch that screams ‘custom-made.’
By concentrating your materials in one area, you create a visual weight that looks expensive. It’s the difference between a $10 craft and a $75 piece of home decor.
The Designer Secret: The Baking Soda Paint Trick
Turning Plastic into Stoneware
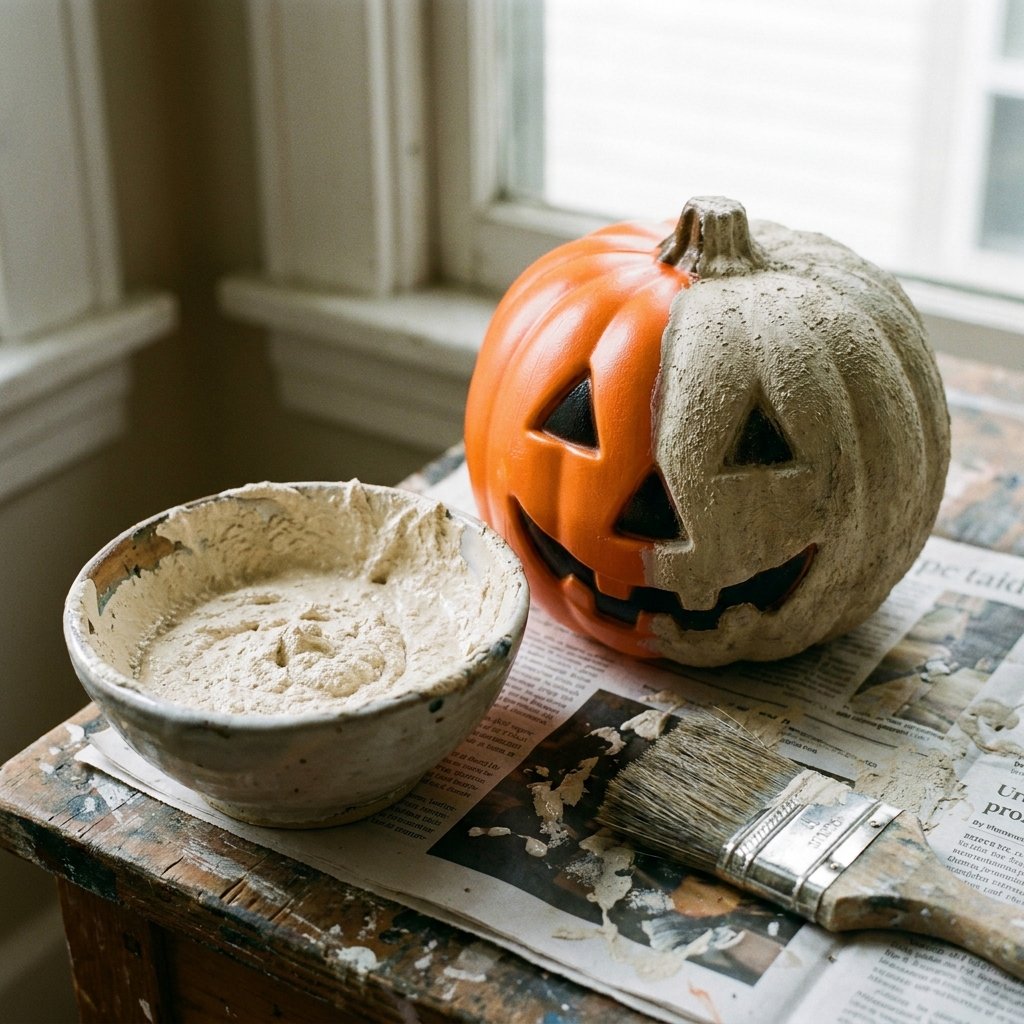
If your Dollar Tree pumpkins look a little too ‘plastic-y’ for your taste, don’t worry. We have a crafty-expert secret that will change your life: the Baking Soda Paint Trick. This turns cheap foam or plastic into a heavy, textured ceramic look that mimics high-end stoneware from stores like Anthropologie.
| Ingredient | Measurement | Purpose |
|---|---|---|
| Matte Acrylic Paint (Cream or Sage) | 1/2 Cup | Base Color |
| Baking Soda | 2-3 Tablespoons | Texture & Grit |
| Matte Sealer (Optional) | 1 Light Spray | Weatherproofing |
Simply mix the baking soda into your paint until it reaches a thick, ‘cake batter’ consistency. Brush it onto your pumpkins in messy, vertical strokes. As it dries, it will create a gritty, stone-like finish. It takes 2 minutes to apply and adds $20 of perceived value to your wreath instantly. This is the ultimate budget-savvy hack for the sophisticated home decorator.
Styling Your Stoop: The Final Reveal
Maximizing Curb Appeal on a Budget
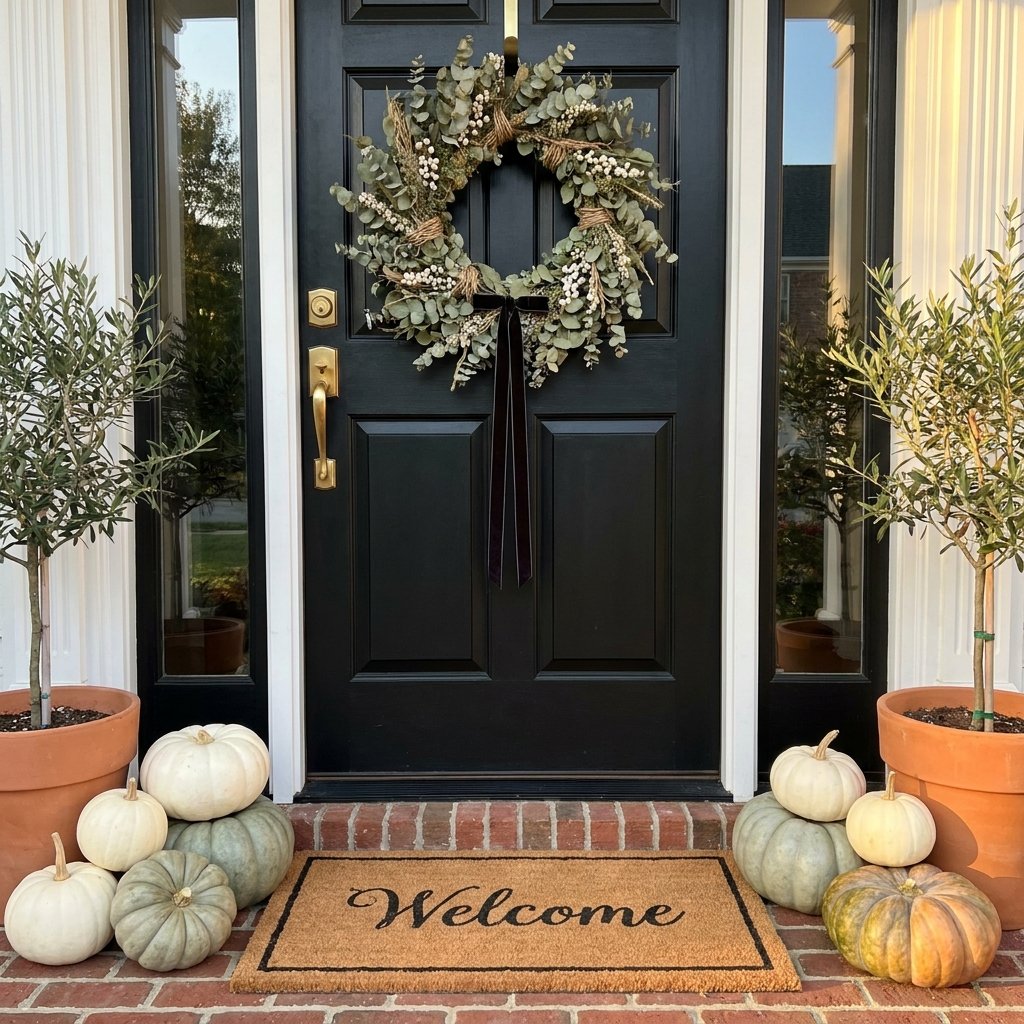
Your wreath is done, but the ‘makeover’ isn’t complete until it’s styled. To truly ‘Stop Overpaying at Target,’ you need to frame your new masterpiece. Hang your wreath using a rugged over-the-door hook in a dark oil-rubbed bronze finish. If your door is a light color, the muted greens of the eucalyptus will pop beautifully. If your door is dark, those cream-colored, baking-soda-painted pumpkins will provide the perfect contrast.
Pair your wreath with a few larger ‘real’ pumpkins at the base of the door and perhaps a simple coir mat. You’ve just created a $150 porch aesthetic for a total investment of less than $15 (including the pumpkins at the door). That is what we call a budget-savvy win.
Safety Note: If you are using a hot glue gun, always keep a bowl of ice water nearby. High-temp glue can cause nasty burns, and a quick dip in cold water can save your skin during a fast-paced 10-minute craft session.
Conclusion
Victory for the Frugal Crafter
There you have it. In less time than it takes to drive to the store and find a parking spot, you have crafted a stunning, designer-style fall wreath that defies its $1.25 origins. You’ve used tactical shopping, clever painting techniques, and professional design principles to create something truly beautiful. This season, let your home reflect your creativity and your resourcefulness, not the depth of your pockets. You don’t need a Target budget to have a Target-worthy home—you just need a little bit of DIY grit and the right plan. Now, go hang that wreath with pride and enjoy the crisp autumn air, knowing you kept your hard-earned money right where it belongs: with you.

Makenzie is the founder and lead writer at MoneyHackTips.com — a personal finance blog dedicated to delivering street-smart financial wisdom for real people on real budgets. With 300+ published articles covering everything from debt management to investing fundamentals, Makenzie’s mission is to make every dollar work harder. When not writing about money hacks, Makenzie is testing frugal living strategies, optimizing side hustles, and helping readers build financial freedom from scratch.