
The Art of the Financial Roar
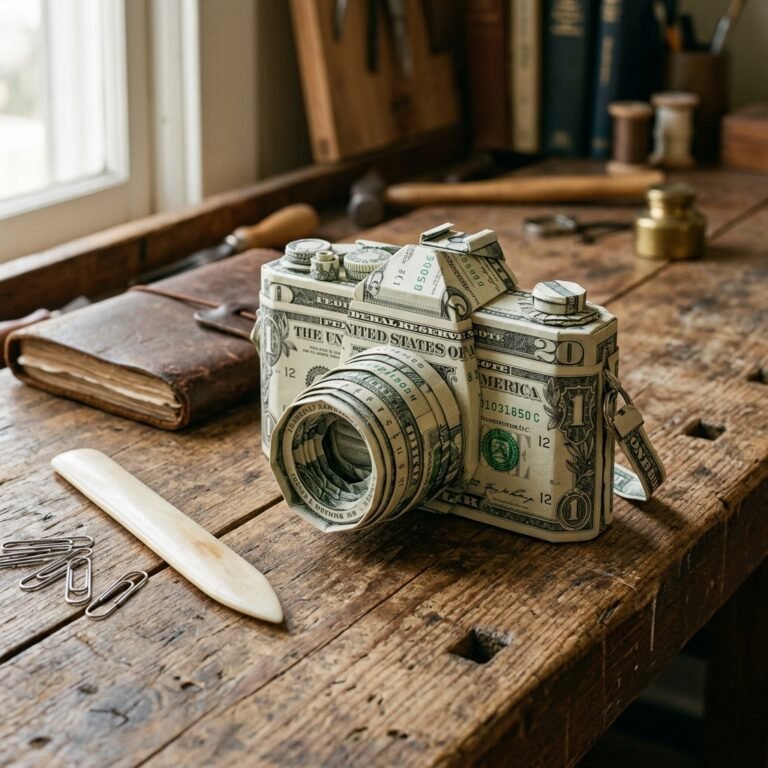
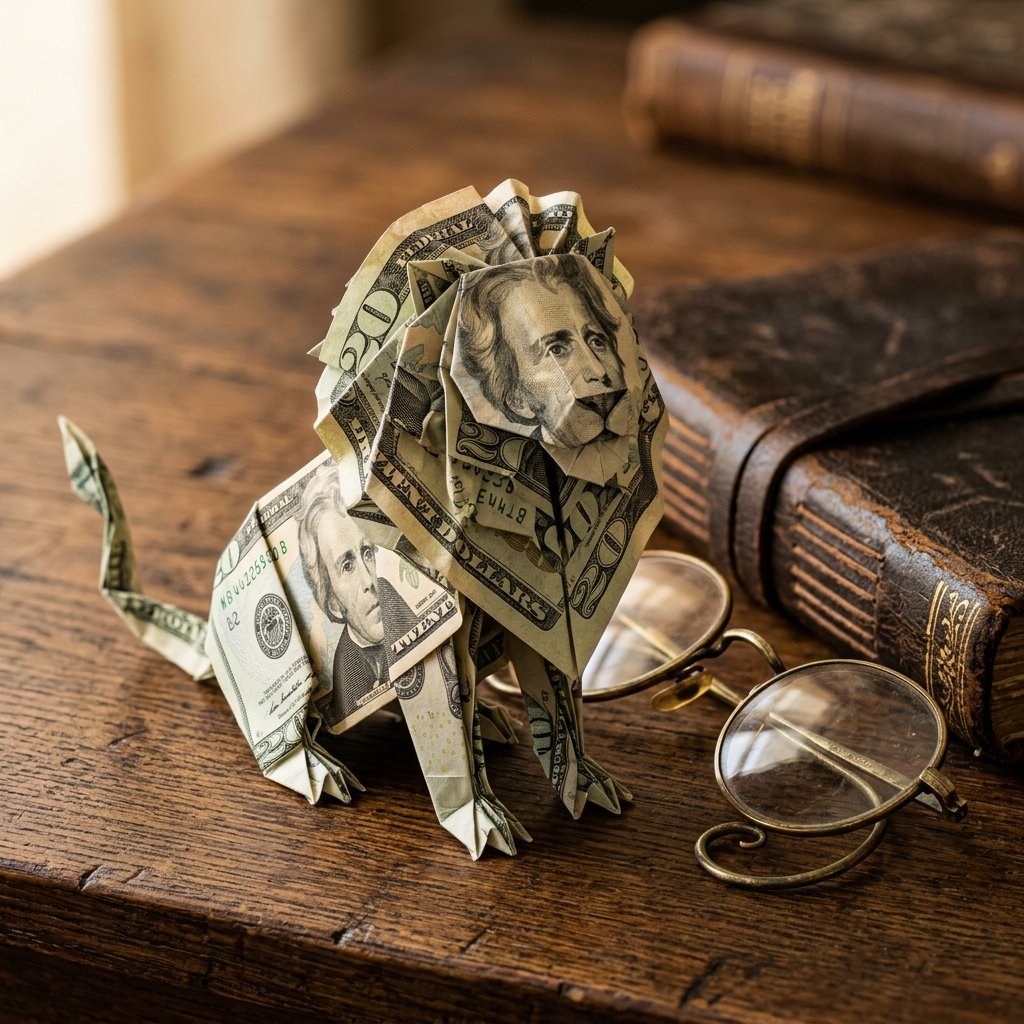
Let’s be honest: sliding a crisp bill into a generic, store-bought card is the ‘safe’ way to give a gift, but it lacks that rugged, personal touch that defines a true DIYer. You aren’t just giving currency; you’re giving a piece of art that represents strength, leadership, and resourcefulness. Whether it’s for a graduate entering the concrete jungle, a father who is the undisputed king of the household, or a friend who deserves a ‘roaring’ success, the Money Origami Lion is the ultimate way to elevate your gift-giving game.
As a frugal guru, I know that the best gifts don’t require a massive budget—they require clever execution. By using the natural proportions of currency, we can transform a flat piece of paper into a three-dimensional symbol of power. This guide will walk you through the precise, masculine-elegant folds required to create a centerpiece-worthy lion. We’ll skip the tape and the glue; we’re relying on pure engineering and crisp creases. Grab a fresh bill, clear your workspace, and let’s get crafting.
The King’s Ransom: Choosing Your Currency
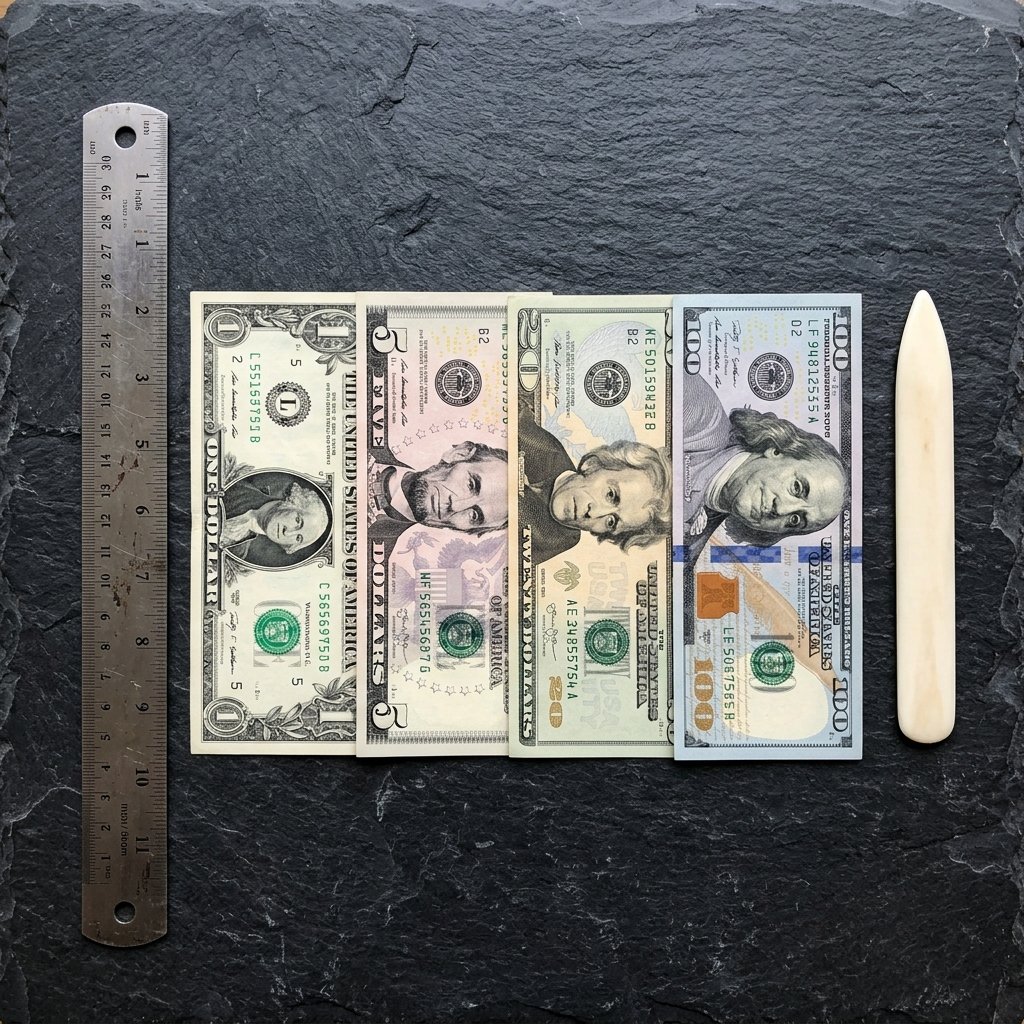
Before we dive into the first fold, we need to discuss the ‘fabric’ of our project. Not all bills are created equal when it comes to origami. For a lion that stands tall and proud, you need structural integrity. A limp, wrinkled bill will result in a lion that looks more like a tired house cat. If you can, head to the bank and request ‘uncirculated’ bills. The starch in new currency holds a crease like a dream, which is vital for the intricate mane folds.
| Bill Denomination | Visual Impact | Best Occasion |
|---|---|---|
| $1 Bill | Great for practice/low risk | ‘Just because’ or kids’ rewards |
| $5 Bill | Subtle green/grey contrast | Small birthdays or ‘Coffee on me’ |
| $20 Bill | High contrast, recognizable | Graduations and Father’s Day |
| $100 Bill | The ‘Gold Standard’ | Weddings or major milestones |
Pro Tip: If you only have older bills, you can lightly iron them on a low, dry setting (no steam!) to flatten the fibers. Just be careful not to scorch the ‘mane’!
The Foundation: Preparing the Mane and Body
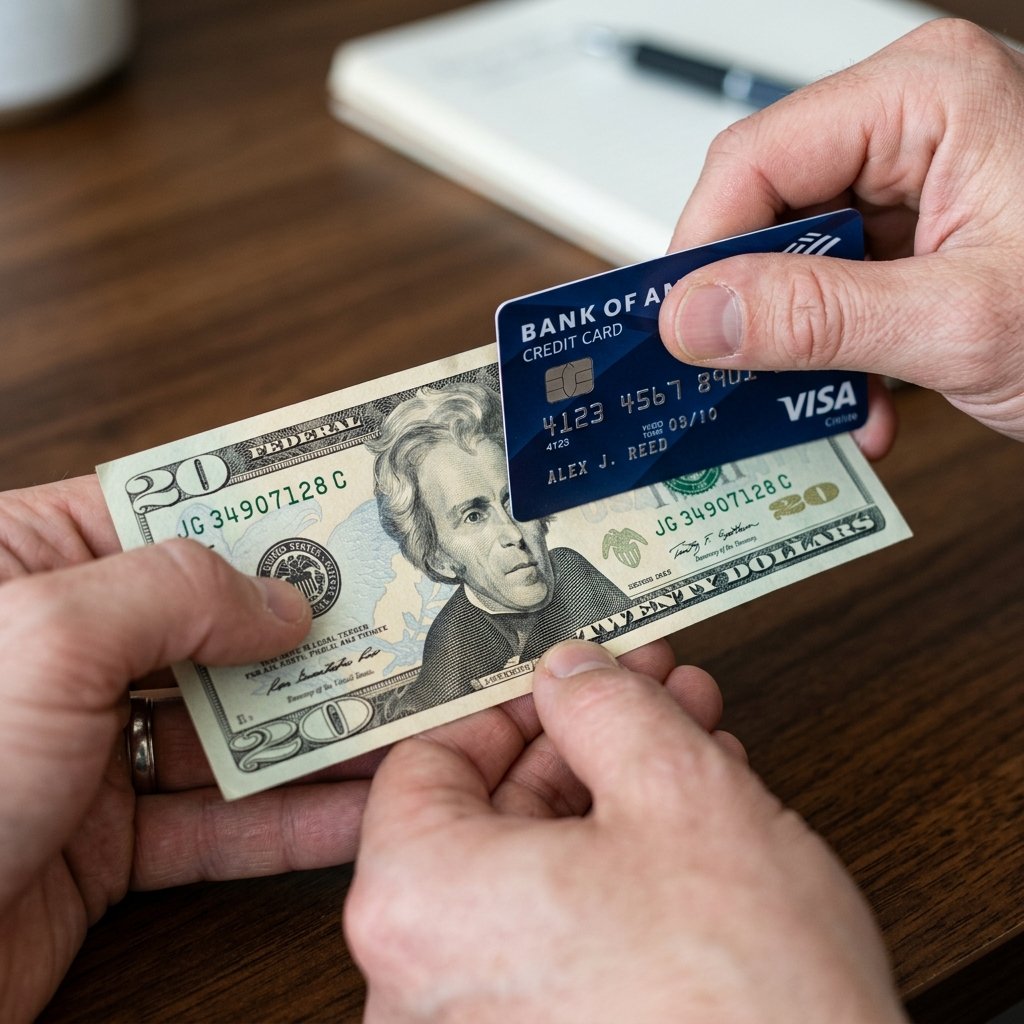
The secret to a majestic money lion lies in the initial proportions. Unlike square origami paper, a dollar bill is a rectangle with a roughly 2.35:1 ratio. This means we have to be clever with our geometry to ensure the lion has a thick, impressive mane and a sturdy set of hindquarters. We will begin by establishing the ‘spine’ of our beast.
Initial Alignment Steps
- The Center Crease: Lay the bill horizontally. Fold it in half lengthwise (hot dog style) to create a sharp center line, then unfold. This is your latitude line.
- The Corner Tucks: Fold all four corners inward so the edges meet the center crease. This creates two pointed ends, making the bill look like a long hexagon.
- The Preliminary Collapse: Fold the entire piece in half along that original center line, keeping the tucked corners inside. You now have a sturdy, multi-layered strip that serves as the chassis of your lion.
By starting with these reinforced folds, you ensure that the finished product has the heft and durability to stand on its own without sagging. It’s about building a foundation that can handle the complex maneuvers to come.
The Mane Event: Folding the Lion’s Head
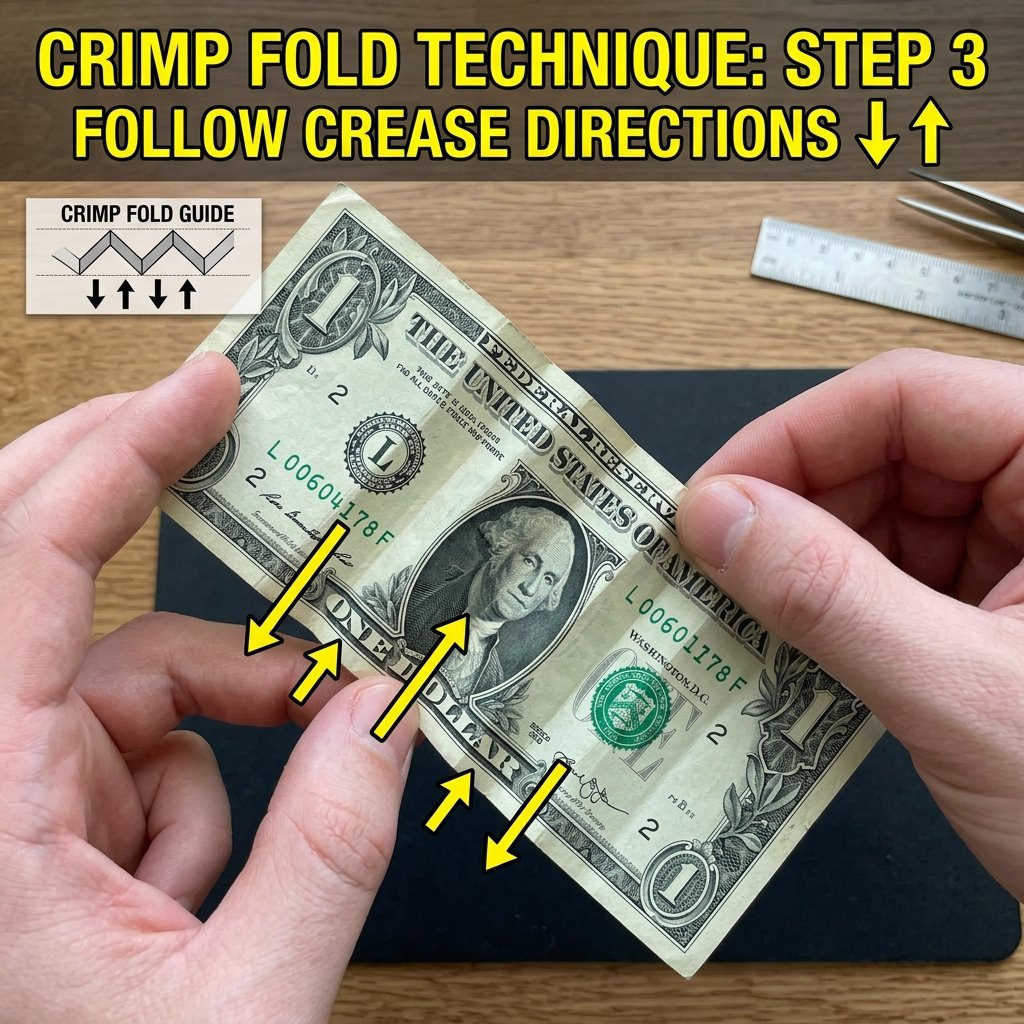
This is where the magic happens. A lion is nothing without its mane. To achieve that ‘viral’ look, we utilize a series of accordion and squash folds that mimic the texture of fur. This requires patience and a bit of ‘crafty-expert’ finesse.
Step-by-Step Head Construction
- The Neck Bend: At about one-third of the way from the left side, fold the bill upward at a 45-degree angle. This creates the neck.
- The Inside Reverse Fold: Open the neck slightly and push the fold inward so the bill points upward, creating a clean ‘V’ shape from the side profile.
- The Mane Expansion: Take the top point of the neck and fold it back down toward the body, but leave a small gap. This creates the forehead.
- The Crimp Fold: This is the secret sauce. Create a small zig-zag (crimp) fold right behind the head. When you press this flat, it pushes the paper outward, simulating the volume of a thick mane.
- The Ear Tucks: Use your fingernail to pinch the very top corners of the head downward. This creates small, rounded ears that give the lion its character.
A Note on Precision: ‘In the world of money origami, a millimeter is a mile. Keep your folds symmetrical to ensure your lion doesn’t have a lopsided roar.’
The Sturdy Stance: Crafting Legs and Tail
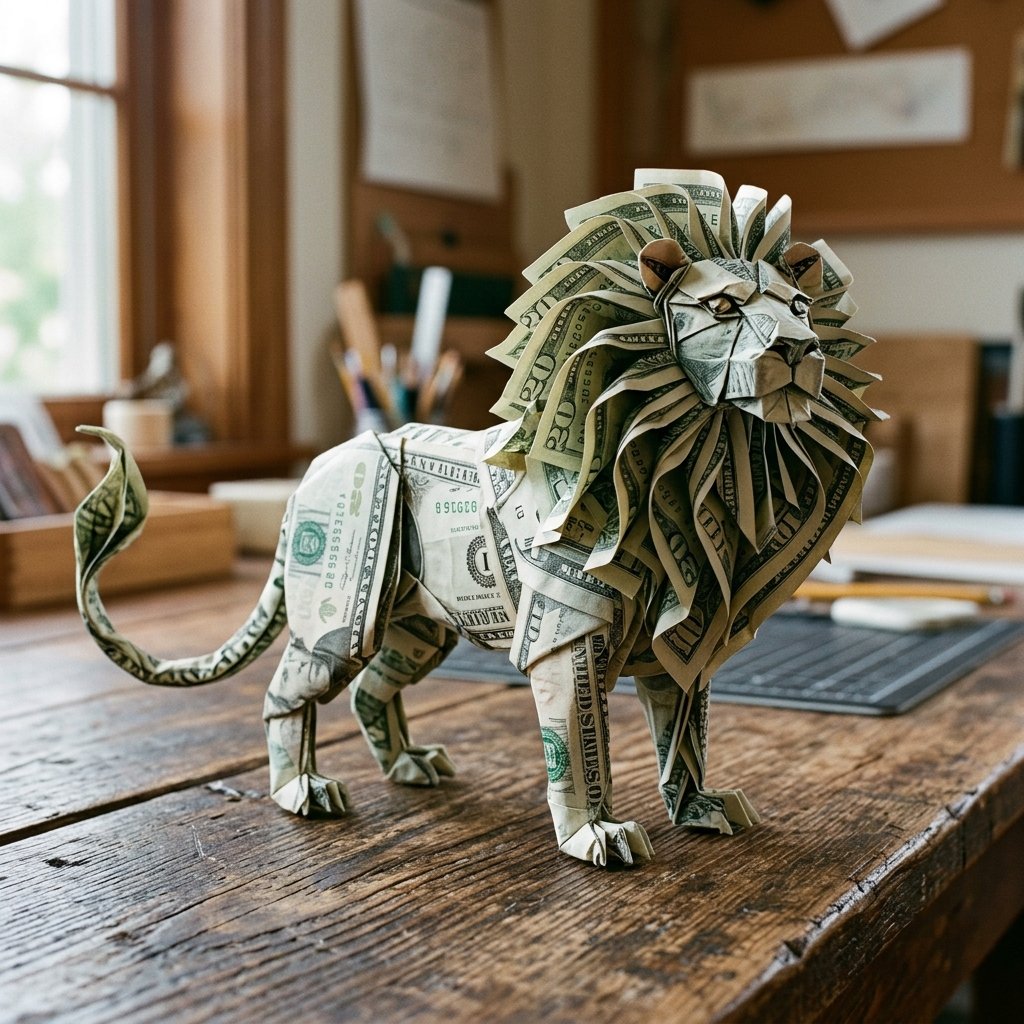
A king needs to stand firm. The back half of the bill will be transformed into the hind legs and a sleek, flicking tail. This part of the process is more about rugged engineering than artistic flair. We need to ensure the weight is balanced so the lion doesn’t tip forward onto its regal nose.
Finalizing the Anatomy
- The Rear Fold: Take the remaining length of the bill and fold it downward at a 90-degree angle to create the back legs.
- The Tail Taper: Fold the edges of the tail section inward to make it thinner and more agile. A thick tail looks clumsy; a tapered tail looks elegant and powerful.
- The Foot Bases: At the bottom of each leg (front and back), fold a tiny 1/8th inch tab inward. This creates ‘paws’ that provide a wider surface area for the lion to stand on.
- The Tail Crimp: Give the tail a slight ‘S’ curve by doing two small reverse folds. This adds a sense of motion and life to the sculpture.
Once finished, gently pull the mane sections outward to give them more volume. Your lion should now be able to stand independently on a flat surface, ready to impress its new owner.
The Presentation: Elevating the Gift Experience
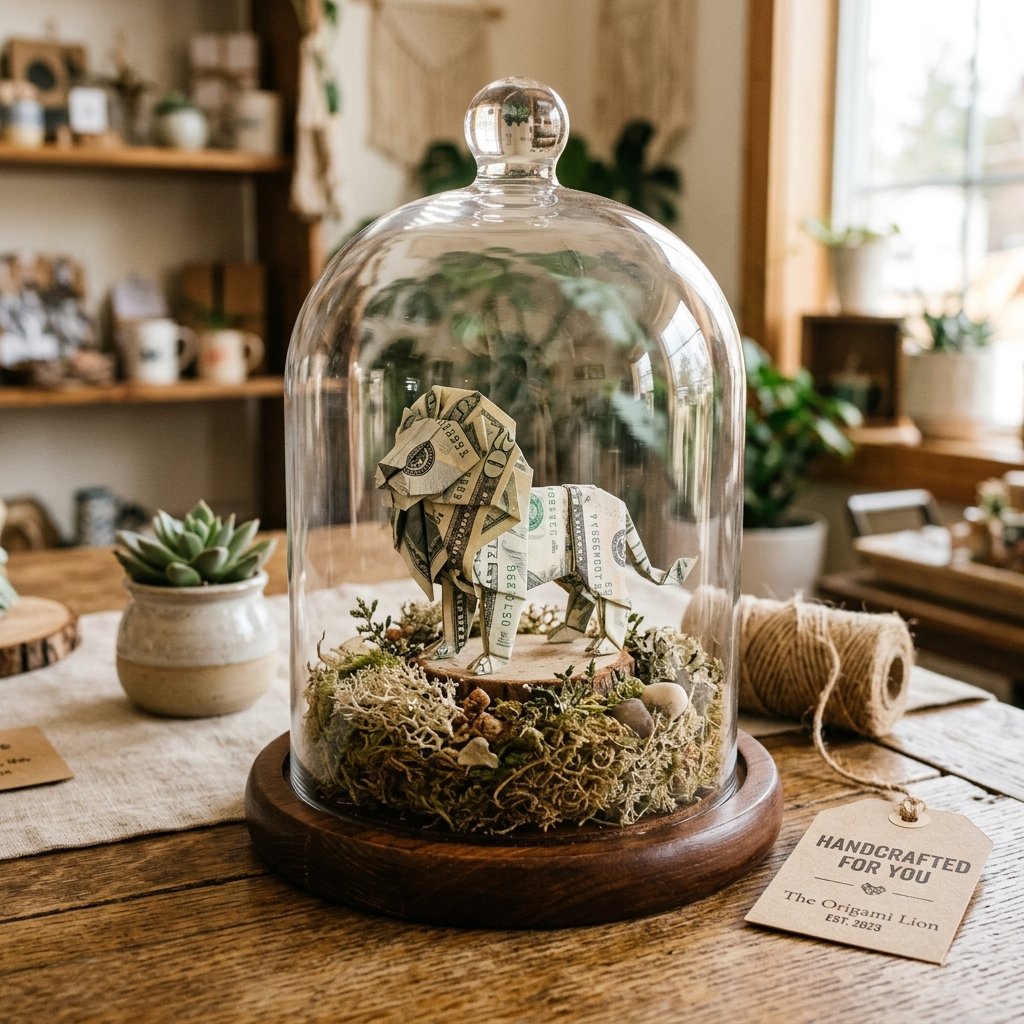
You’ve done the hard work of folding; don’t ruin the effect by just tossing the lion into an envelope. As an event stylist on a dime, I recommend creating a ‘habitat’ for your creation. This is what turns a ‘cool trick’ into a memorable experience.
Creative Gifting Ideas
- The Shadow Box: Place the lion inside a small IKEA or Dollar Tree shadow box with a background of dark green cardstock to mimic a jungle.
- The ‘King of the Jungle’ Card: Attach the lion to the front of a handmade card using a tiny piece of removable glue dot (ensure it won’t tear the bill!). Write a message like, ‘To the King of the Class’ or ‘Roaring into your next adventure.’
- The Dome Display: Use a plastic wine glass from the dollar store, turn it upside down over the lion, and glue the rim to a wooden coaster. It looks like a high-end museum exhibit for under $2.
By putting this extra 5 minutes of effort into the presentation, you prove that the value of the gift isn’t just the denomination on the bill—it’s the time and craft you invested.
Conclusion
Long Live the King of DIY
Folding a money origami lion is more than just a clever way to hand over some cash; it’s a testament to your resourcefulness and creativity. You’ve taken a common object and, through the power of precise folding and rugged determination, turned it into a symbol of strength. This is the heart of the ‘Trash-to-Treasure’ philosophy: seeing the potential in the everyday and making it extraordinary.
Don’t be discouraged if your first lion looks a bit more like a frightened tabby cat. Like any craft, origami is a skill that rewards the patient and the persistent. Keep practicing with $1 bills until your creases are sharp and your mane is voluminous. When you finally hand over that majestic $20 lion to a loved one, the look of awe on their face will be worth every single fold. Now go forth, be bold, and let your gift-giving roar!

Makenzie is the founder and lead writer at MoneyHackTips.com — a personal finance blog dedicated to delivering street-smart financial wisdom for real people on real budgets. With 300+ published articles covering everything from debt management to investing fundamentals, Makenzie’s mission is to make every dollar work harder. When not writing about money hacks, Makenzie is testing frugal living strategies, optimizing side hustles, and helping readers build financial freedom from scratch.