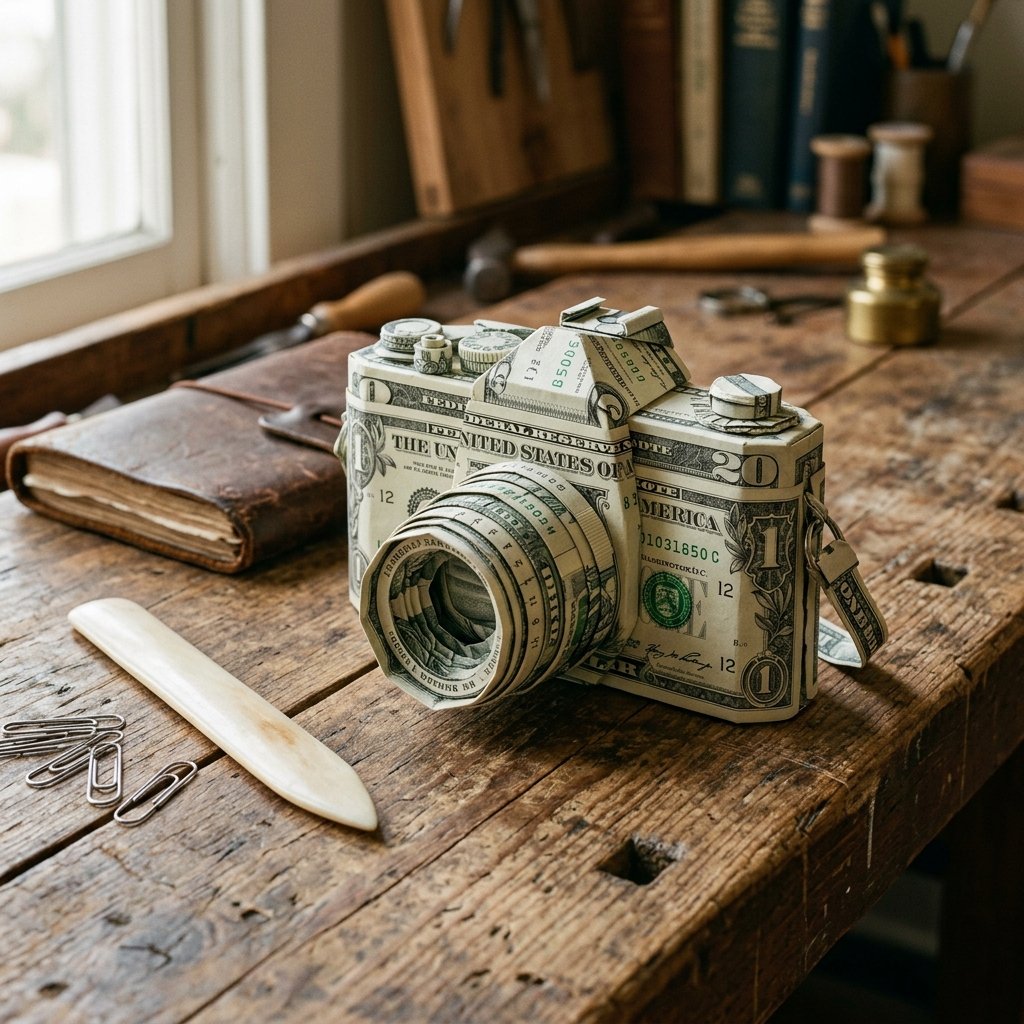

Let us face a universal truth: giving cash is incredibly practical, but handing over a standard bank envelope feels about as thoughtful as buying a gas station greeting card on your way to the party. As frugal DIYers, resourceful upcyclers, and crafty gift-givers, we know that the presentation is just as important as the present itself. You want to give them the financial boost they need for their upcoming travels, graduation, or wedding, but you also want to leave them absolutely speechless. Enter the ultimate convergence of budget-savvy crafting and elegant presentation: the Money Origami Camera.
This is not your average, middle-school paper crane. This is a rugged, highly detailed, visually arresting piece of financial art. Whether you are gifting a budding photographer, a college graduate saving for a Euro-trip, or a handy parent who appreciates the meticulous nature of a well-executed craft, this money origami camera will steal the show. Best of all? The crafting materials cost exactly $0 beyond the cash you were already planning to give. In this comprehensive, step-by-step masterclass, we are going to walk through the exact techniques required to fold, assemble, and present a cash gift that looks like it belongs in a gallery.
Cash is king, but creative presentation is the crown. When you fold money with intention, you transform a simple transaction into a memorable, heartfelt experience.
Grab your bone folder, clear off your workbench, and let us dive into the resourcefully-creative world of high-end money origami. By the time you finish this guide, you will possess the crafty-expert skills to turn ordinary currency into an extraordinary keepsake.
The Crafter’s Toolkit: Prepping Your Bills for Perfection
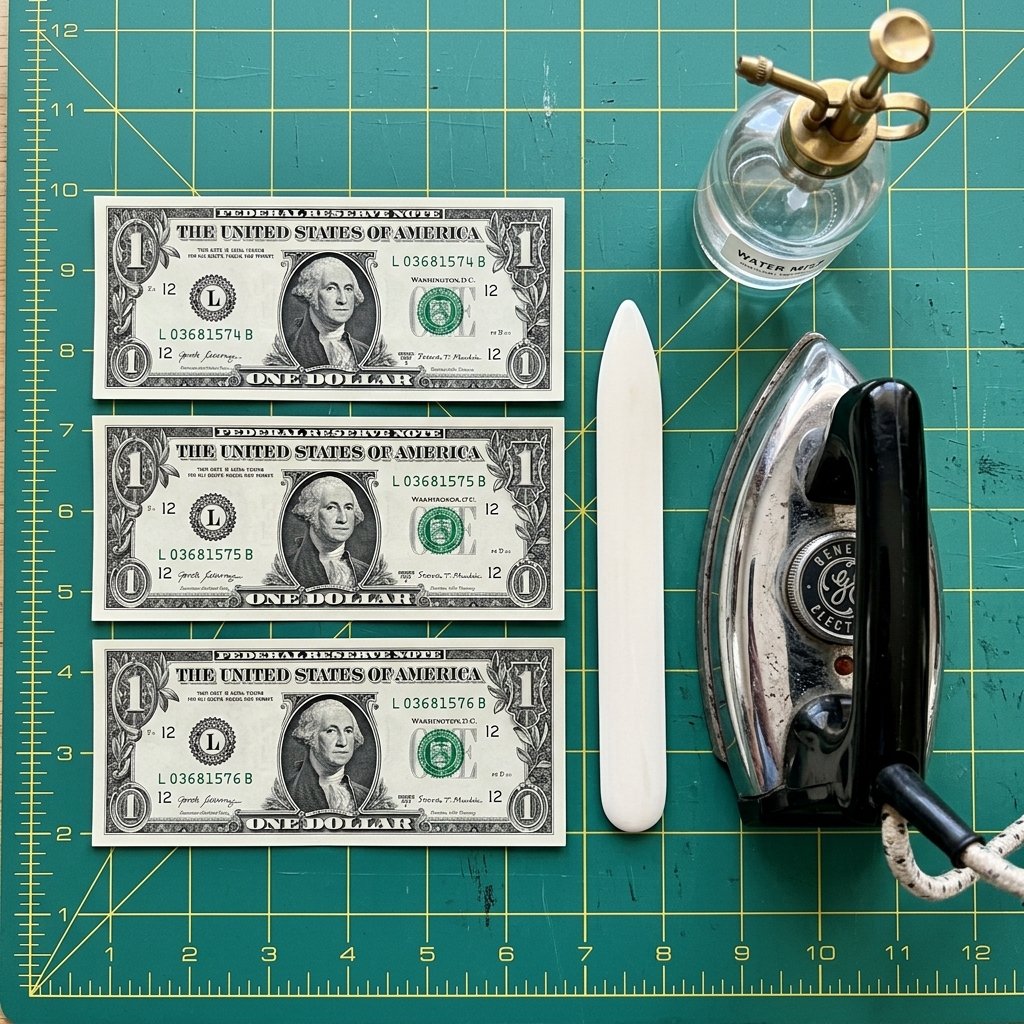
Before we make a single fold, we need to talk about our medium. Money origami requires precision, and precision requires the right materials. You cannot achieve sharp, masculine-elegant lines with a crumpled bill that has been sitting at the bottom of your wallet since 2019. You need crisp, uncirculated, or freshly ironed currency.
Sourcing and Prepping Your Canvas
If you have the time, a quick trip to your local bank branch is the best way to secure crisp bills. Ask the teller specifically for uncirculated bills. If you are in a pinch and only have circulated bills, you can use a crafty-expert secret: ironing your money. Yes, you read that right.
- Step 1: Lightly mist the circulated bill with a tiny amount of distilled water. Do not soak it; a microscopic mist is all you need.
- Step 2: Place the damp bill between two pieces of clean, white parchment paper or a thin cotton pressing cloth.
- Step 3: Set your clothing iron to the lowest heat setting (usually the silk or synthetic setting) with the steam turned completely off.
- Step 4: Gently press the iron over the parchment paper for 3 to 5 seconds. Lift and check. The heat will reactivate the starch in the bill, leaving it stiff and perfectly flat.
Safety Note: Never leave an iron resting on currency, and never use high heat. US currency is made of a cotton-linen blend, which can scorch if treated recklessly. Always use a protective barrier like parchment paper.
Choosing Your Denominations
The visual impact of your money origami camera will change depending on the bills you choose to use. A camera made entirely of $1 bills is incredibly budget-savvy, while a mix of $20s and $50s adds a layer of high-end prestige. Here is a breakdown of how different bills impact the final look:
| Bill Denomination | Visual Impact & Design Features | Best Used For |
|---|---|---|
| $1 Bill | Classic greenback look. The intricate borders and the Great Seal add a vintage, textured look to the camera body. | Budget-friendly gifts, kids’ birthdays, practice rounds. |
| $2 Bill | Rare and unique. The vignette of the signing of the Declaration of Independence makes for a stunning, wide camera back. | Collectors, quirky gifts, history buffs. |
| $5 Bill | The splash of purple and the large number 5s give the camera a modern, sleek aesthetic. | Teenagers, casual thank-you gifts. |
| $20 Bill | Deep greens and subtle peach tones. The color-shifting ink on the bottom right can be folded to look like a camera flash. | Graduations, significant milestones. |
| $100 Bill | The ultimate flex. The blue 3D security ribbon looks exactly like a high-tech camera strap or lens accent. | Weddings, major anniversaries, massive travel funds. |
For this specific origami camera project, you will need exactly three bills. You can mix and match denominations to hit your exact gift budget (e.g., one $50 and two $20s for a $90 gift, or three $1s for a $3 token of appreciation).
Phase 1: Engineering the Camera Body
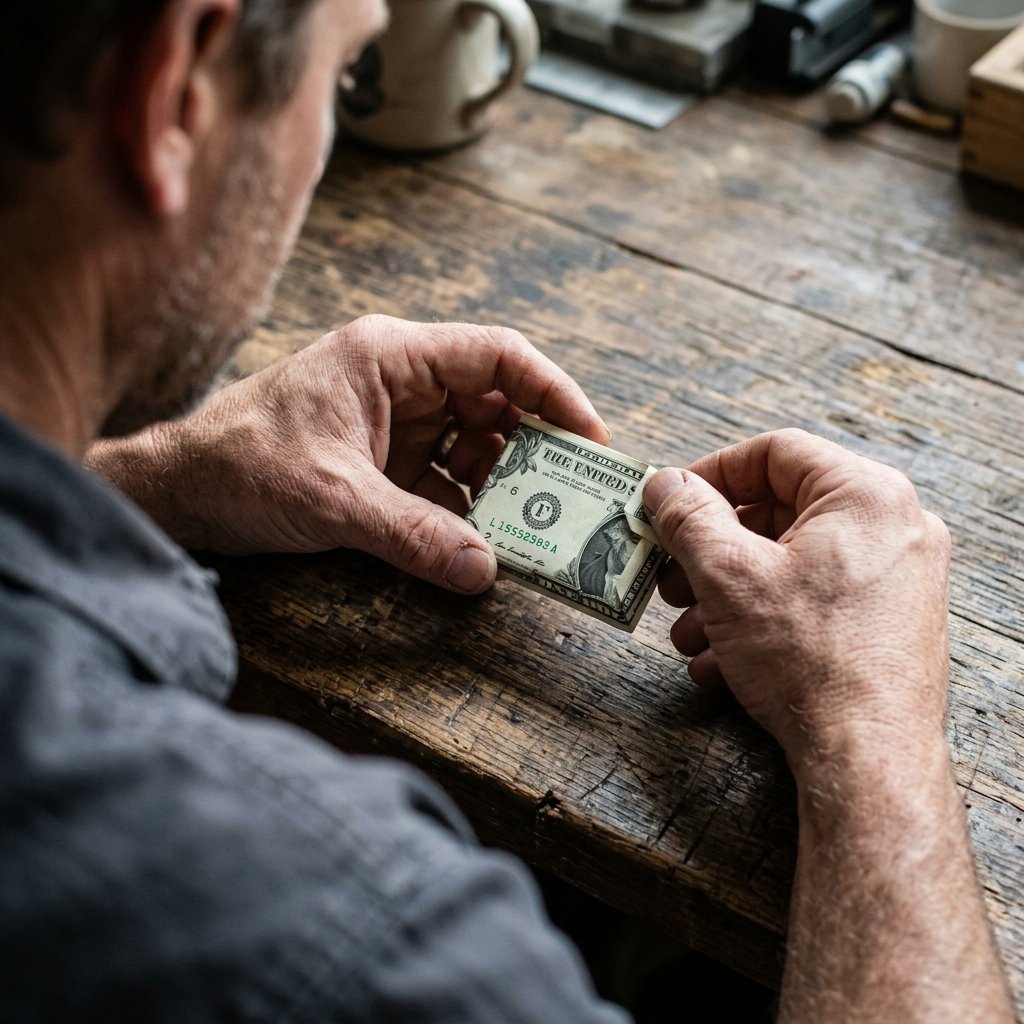
The camera body is the foundation of our project. It requires one bill and utilizes a series of precise mountain and valley folds to create a sturdy, rectangular block that mimics the chassis of a vintage rangefinder camera. Take your time here; a solid foundation ensures the lens and flash attachments will sit perfectly flush later on.
Step-by-Step Folding Instructions
- The Initial Crease: Lay your first bill flat on your table, face up. George Washington (or your chosen president) should be staring back at you. Fold the bill in half lengthwise (hotdog style), bringing the bottom edge perfectly in line with the top edge. Crease firmly using your bone folder or the back of your thumbnail. Unfold the bill. You now have a center guideline.
- The Cabinet Fold: Fold the top edge down so it meets the center crease you just made. Repeat this with the bottom edge, folding it up to meet the center crease. Your bill should now be half its original width, with the top and bottom edges touching in the middle.
- Establishing the Width: Flip the bill over so the smooth side is facing you. Fold the left edge inward by exactly 1/2 inch. Repeat this on the right edge. This establishes the structural width of your camera body.
- The Chassis Box: Now, fold the entire bill in half widthwise (hamburger style). Crease it sharply. Open it back up. You will see a vertical center crease. Fold the left and right edges inward so they meet at this new vertical center crease.
- Locking the Body: To prevent the camera body from springing open, we are going to use a clever tucking technique. Look at the flaps you just folded inward. You will notice that the top and bottom edges have small pockets created by the Cabinet Fold in Step 2. Gently slide the corners of the right flap into the pockets of the left flap. Push them together until the body is tight and rectangular.
Pro Tip: If your tuck is slipping, do not resort to tape! Tape ruins the bill and the magic of origami. Instead, use a tiny, hidden paperclip on the inside fold to hold the tension while you work on the other components.
You have now successfully engineered the camera body. It should look like a small, dense, rectangular block with clean, sharp edges. Set this aside in a safe spot.
Phase 2: Crafting the Lens and the Flash
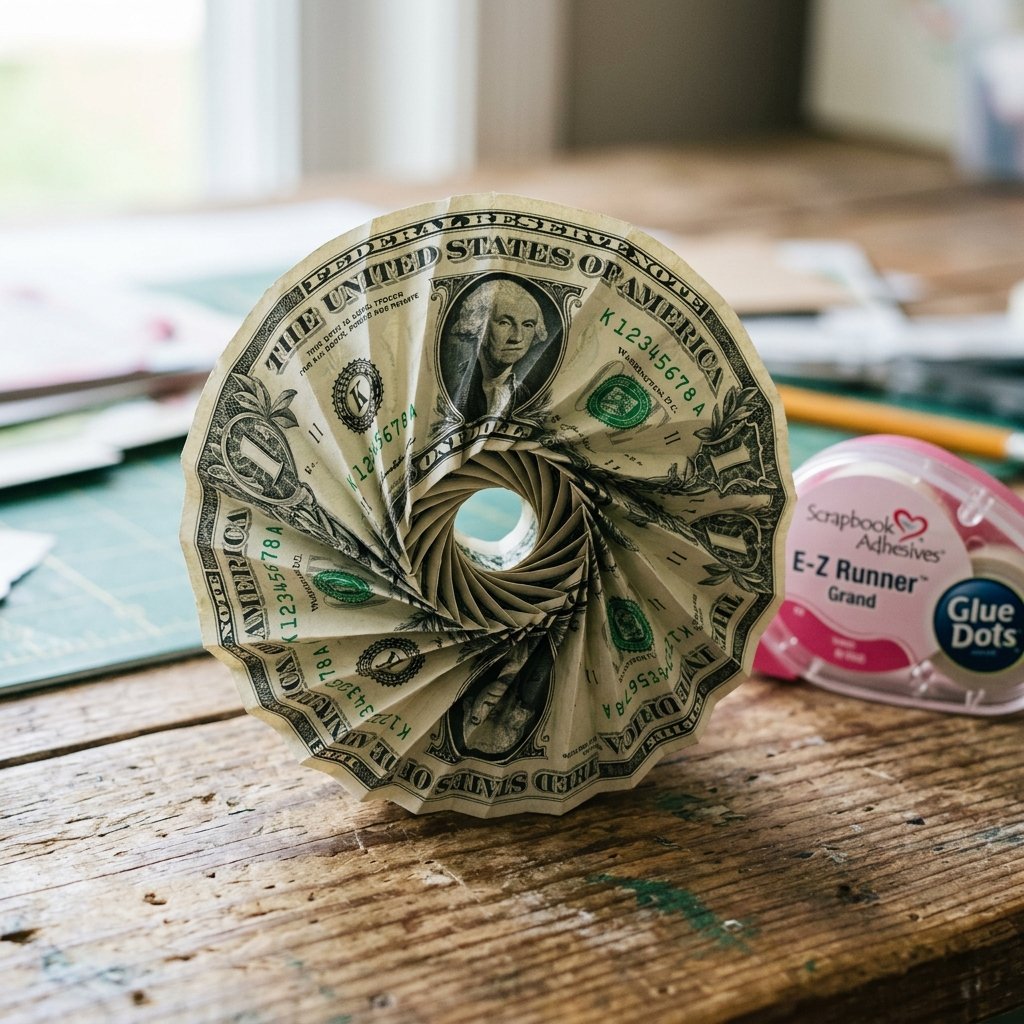
A camera is nothing without its lens. This phase requires two bills and a bit of patience, as we will be creating an accordion fold to simulate the ridges of a camera lens, followed by a sleek, angled fold for the flash unit. This is where your crafty-expert skills truly shine.
Constructing the Accordion Lens
Take your second crisp bill. This bill will become the circular lens that sits on the front of the camera body.
- The Accordion Pleat: Lay the bill flat. Starting from the short edge, begin making accordion folds (fan folds) that are roughly 1/4 inch wide. Fold forward, flip the bill, fold backward, flip the bill, and repeat. Continue this process until the entire bill is pleated like a tiny paper fan.
- Finding the Center: Once the bill is fully pleated, press it tightly together into a single, thick strip. Fold this strip in half to find the exact center point. Crease the center hard.
- Forming the Circle: Unfold the center crease slightly. Bring the two ends of the pleated strip together to form a circle. To connect them, carefully interlock the last pleat of the left side with the first pleat of the right side.
- Securing the Lens: Because this circular shape holds a lot of kinetic tension, it will want to spring apart. To keep it secure without damaging the currency, take a microscopic dab of a removable glue dot (the kind used for scrapbooking) and place it discreetly between the interlocking pleats. It holds the shape perfectly but rubs right off when the recipient dismantles the gift.
Fashioning the Flash Unit
Take your third and final bill. This piece will serve double duty, acting as both the top-mounted flash and the structural strap that binds the lens to the camera body.
- The Narrow Strap: Fold the bill in half lengthwise. Open it, and fold the top and bottom edges to the center crease (just like the Cabinet Fold from Phase 1). Fold it in half lengthwise one more time. You now have a long, sturdy strap of currency.
- The Flash Angulation: About 1 inch from the left end of the strap, fold the tip upward at a sharp 45-degree angle. Fold the very tip of that angled piece down horizontally. This creates a geometric shape that perfectly mimics a vintage pop-up flash or a viewfinder.
You now have all three components ready: the sturdy rectangular body, the textured circular lens, and the sleek strap/flash unit. It is time for the final assembly.
Phase 3: The Tape-Free Assembly Masterclass

This is where the magic happens. Bringing the components together requires a gentle touch and an understanding of tension. As frugal DIYers, we respect the materials. We will not use staples, permanent glue, or clear tape, which can tear the bills and ruin the gift. Instead, we rely on mechanical locking and clever wrapping.
Bringing It All Together
- Positioning the Lens: Take the circular accordion lens and place it flat against the front center of your rectangular camera body. Hold it in place with your thumb.
- Wrapping the Strap: Take the long strap (with the flash folded on one end). Place the flat, un-folded end of the strap against the back of the camera body. Wrap the strap tightly over the top of the camera body, down across the front (passing straight through the center hole of the accordion lens), and under the bottom of the camera body.
- Locking the Mechanism: Bring the strap back around to the back of the camera. You should have a little bit of excess strap left over. Tuck this excess length securely into one of the folds on the back of the camera body. The tension of the strap pulling through the center of the lens will hold the lens tightly against the body.
- Adjusting the Flash: Slide the strap slightly left or right until the 45-degree flash unit is sitting exactly where a flash or viewfinder should be on the top left of the camera body.
Take a step back and admire your work. You have just transformed standard currency into a stunning, three-dimensional piece of art. The camera should feel solid in your hand, with the accordion folds of the lens popping out dynamically from the flat body.
| Assembly Problem | Troubleshooting Solution |
|---|---|
| The lens keeps popping off the body. | Your strap is too loose. Un-tuck the back, pull the strap tighter through the center of the lens, and re-tuck it deeper into the back pocket. |
| The camera body is bowing or bending. | The bills used for the body were not crisp enough, or the center tuck was not deep enough. Reinforce the inside with a hidden piece of cardstock if absolutely necessary. |
| The flash won’t stand up straight. | Pinch the 45-degree fold with your bone folder to make the crease sharper. A sharp crease defies gravity. |
Phase 4: The Ultimate Presentation & Display Tactics
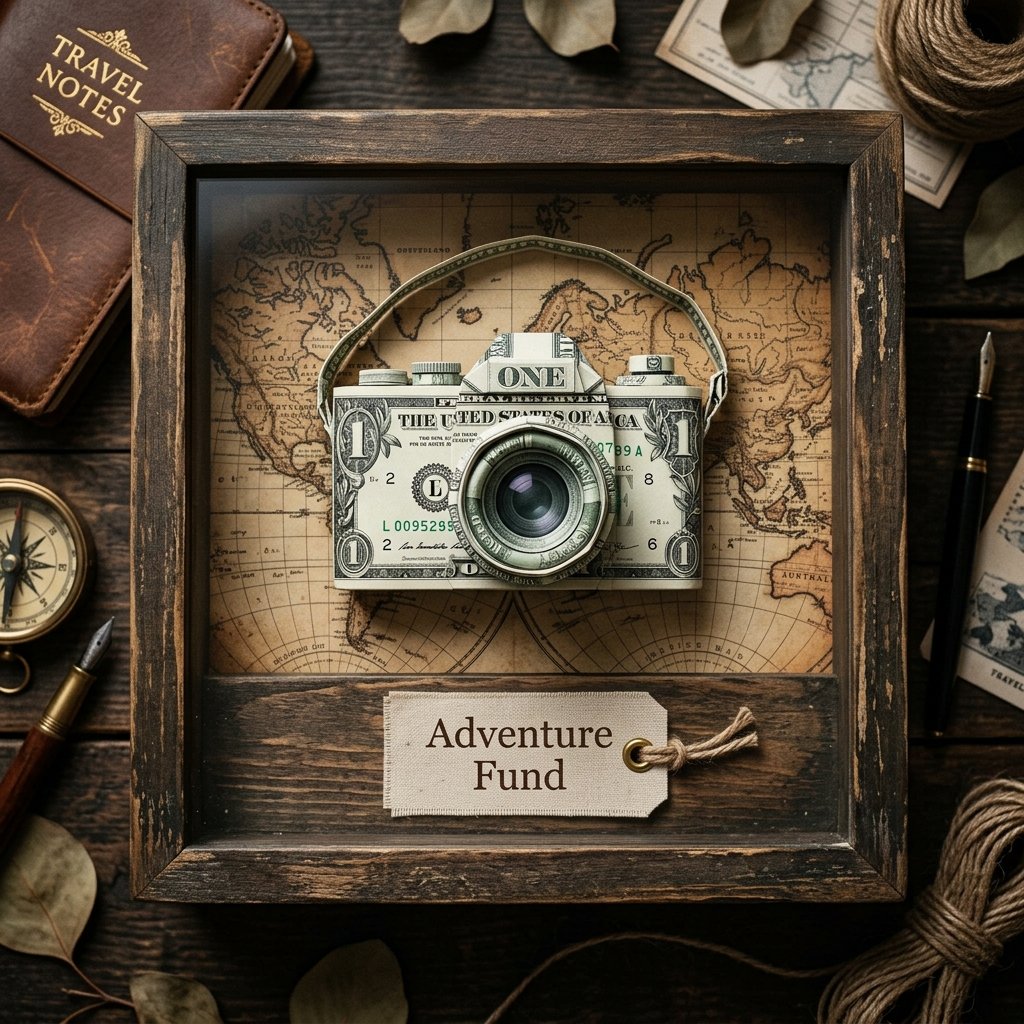
You have built the masterpiece; now you must present it like the high-end gift it is. Handing someone a loose origami camera is fine, but mounting it elevates the entire experience. For the handy upcycler or the budget-savvy event stylist, presentation is where you add massive perceived value for pennies.
The Thrifted Shadow Box Display
Head to your local thrift store or Dollar Tree. Look for a small, deep picture frame or a shadow box. You can usually score these for under $3.
- The Backdrop: Remove the glass and cover the backing board with a piece of vintage map (perfect for travel funds), a piece of sleek black cardstock, or even a piece of rugged burlap.
- The Mount: Use two removable glue dots to attach the back of the money origami camera to the center of the backdrop.
- The Label: Print out a small, museum-style placard that says something clever like, “Oh, The Places You’ll Go – Adventure Fund” or “Focus On Your Future – Class of 2024.” Mount this below the camera.
The Travel Tin Survival Kit
If you are gifting this to a rugged traveler or a groomsman, presentation in a tin is incredibly practical and masculine-elegant. Clean out an old mint tin (like an Altoids tin). Cut a piece of high-density craft foam to fit inside the tin, and hollow out a rectangle in the center. Nestle the money origami camera into the foam. It looks like a piece of high-tech spy gear nestled in a protective case. Total cost? 100% free if you upcycle.
Presentation Mantra: The vessel is the final layer of the gift. A $30 origami camera in a customized, upcycled shadow box feels more expensive and thoughtful than a $100 bill shoved in a generic envelope.
By taking an extra 15 minutes to craft a display, you ensure that your gift will be the one they talk about for years. They might even refuse to dismantle it to spend the cash because it looks too good!
Conclusion
There you have it—a masterclass in transforming everyday currency into a jaw-dropping, mind-blowing money origami camera. You have navigated the crisping of the bills, the architectural folding of the chassis, the intricate accordion pleating of the lens, and the tape-free assembly that proves your crafty-expert status. By combining frugal DIY ingenuity with a touch of masculine-elegant design, you have elevated a simple cash gift into a highly personalized, deeply thoughtful keepsake.
Remember, the true value of a DIY gift does not just lie in the monetary denomination you choose to fold; it lies in the time, patience, and resourcefulness you poured into creating it. The next time you are invited to a graduation, a wedding, or a birthday, skip the ATM envelope. Grab your bone folder, iron out some bills, and show them the money in a way that will leave them absolutely speechless. Happy folding, and keep crafting outside the box!

Makenzie is the founder and lead writer at MoneyHackTips.com — a personal finance blog dedicated to delivering street-smart financial wisdom for real people on real budgets. With 300+ published articles covering everything from debt management to investing fundamentals, Makenzie’s mission is to make every dollar work harder. When not writing about money hacks, Makenzie is testing frugal living strategies, optimizing side hustles, and helping readers build financial freedom from scratch.