
The Power of the Humble Box
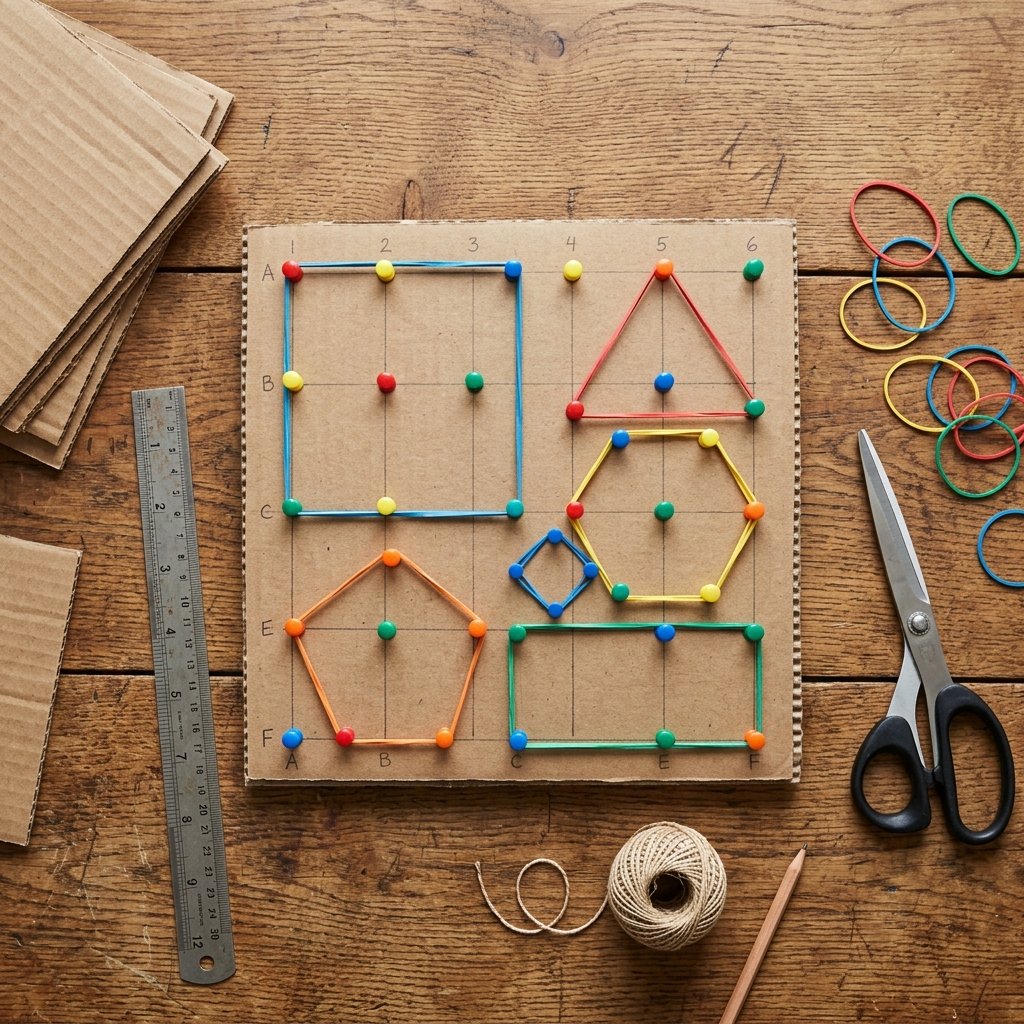
In a world of flashing plastic toys and subscription-based play kits, there is a rugged satisfaction in raiding the recycling bin to create something truly functional. The geoboard—a staple of Montessori classrooms and engineering-minded play—is essentially a grid of pegs that allows children to explore geometry, spatial reasoning, and fine motor control by stretching rubber bands into various shapes. While high-end wooden versions can fetch $30 to $50 at boutique toy stores, you can engineer a superior, masculine-elegant version using nothing but heavy-duty cardboard and a few household staples. This isn’t just a craft; it is a resourceful solution for the parent who values sustainability and the ‘trash-to-treasure’ ethos. By following this guide, you will create a tool that keeps toddlers engaged in deep, quiet focus, providing you with that elusive hour of peace while they master the art of the polygon.
The Anatomy of a Zero-Cost Geoboard
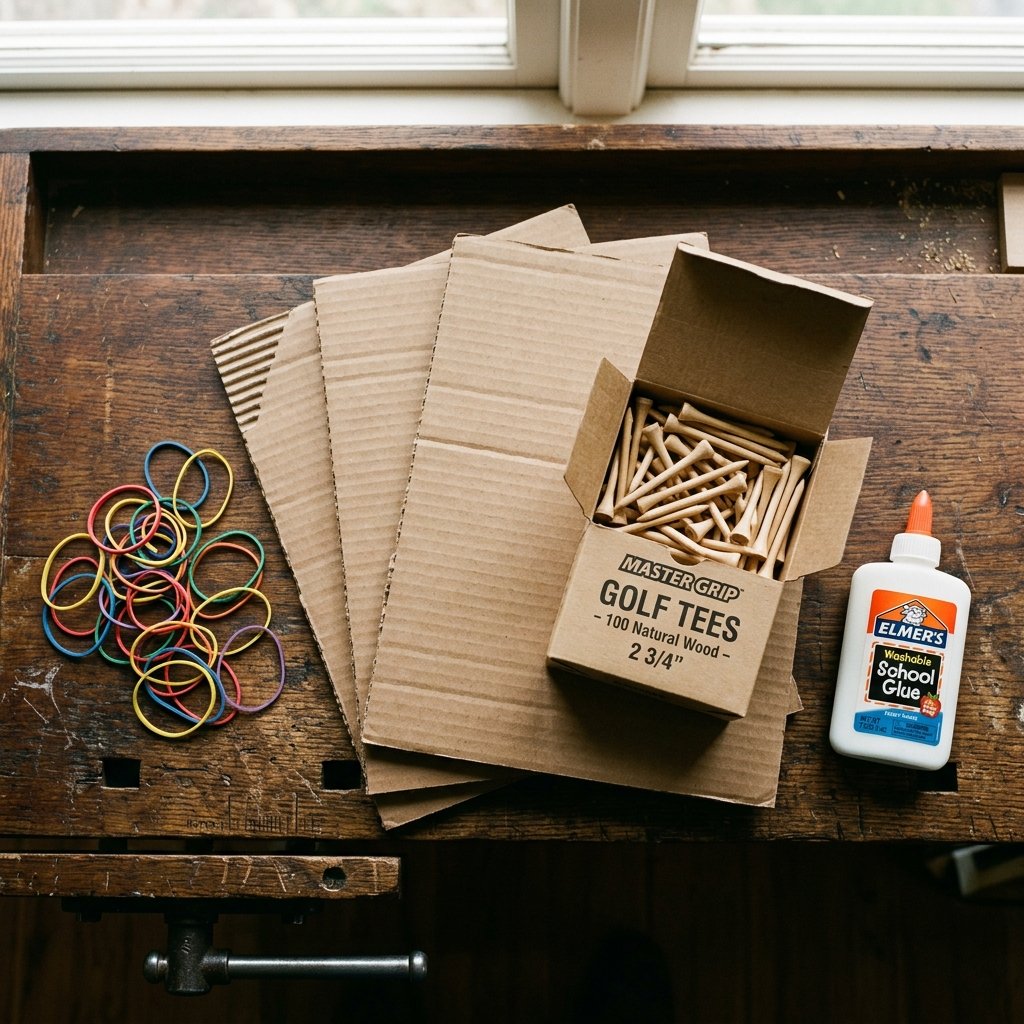
Before we pick up the utility knife, we must understand the structural requirements of a geoboard. The base needs to be thick enough to hold pegs securely without buckling under the tension of multiple rubber bands. We are looking for high-density, double-walled corrugated cardboard—the kind used for shipping heavy appliances or furniture. If you only have standard shipping boxes, we will simply laminate multiple layers together to create a ‘plywood’ effect using common white glue. This project thrives on resourcefulness; your junk mail and delivery boxes are the raw lumber of this workshop.
| Material | Source | Estimated Cost |
|---|---|---|
| Heavy-Duty Cardboard | Recycling Bin/Shipping Boxes | $0.00 |
| Pegs (Golf Tees or Push Pins) | Garage/Junk Drawer | $0.00 – $1.25 |
| Rubber Bands | Kitchen Drawer/Dollar Store | $0.00 – $1.25 |
| Glue/Adhesive | Craft Closet | $0.00 |
| Total Investment | Resourceful Scavenging | Under $3.00 |
Compare this to a store-bought plastic geoboard, which often lacks the tactile weight and eco-friendly appeal of a handmade version. Our cardboard model is not only 100% recyclable but also teaches your child that toys are things we can build, not just things we buy.
Engineering the Base: Strength and Stability
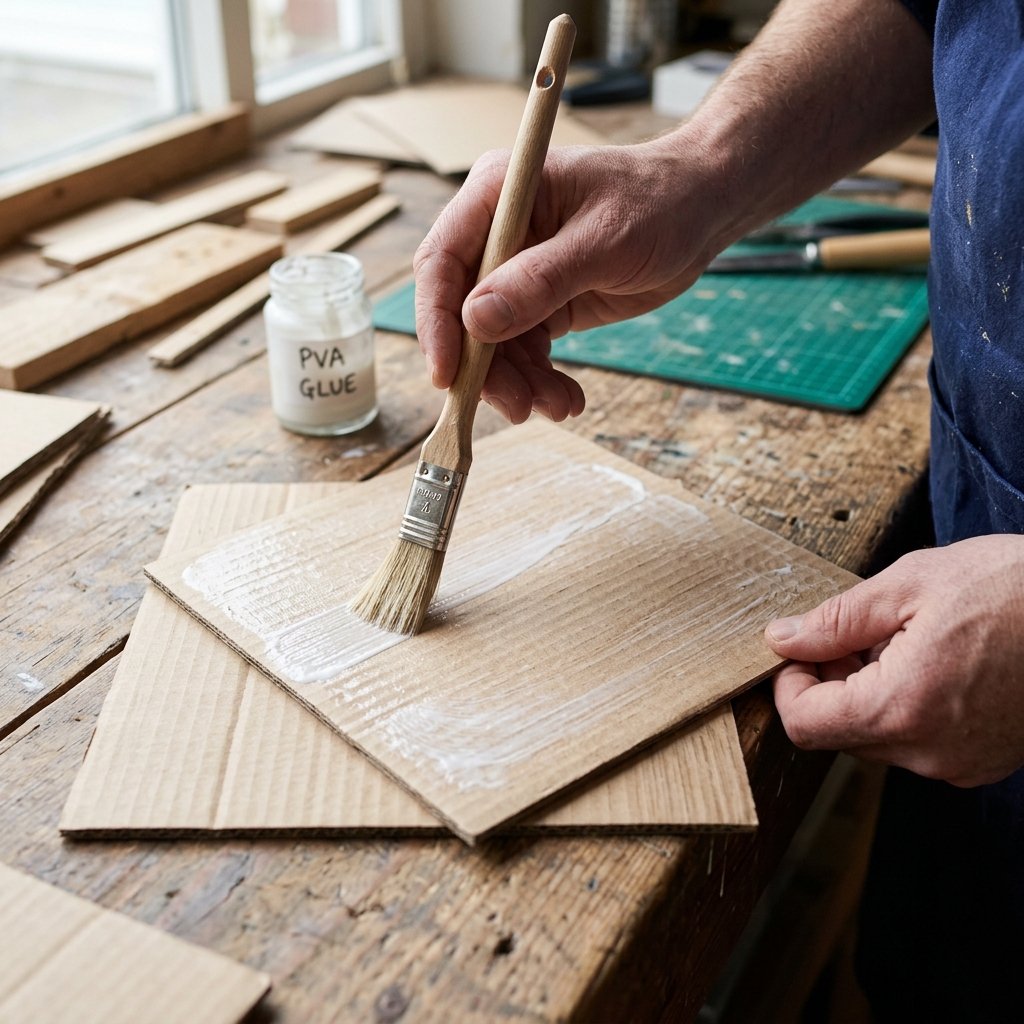
A flimsy geoboard is a recipe for frustration. To ensure your board stands up to the ‘rugged’ play style of a three-year-old, we must focus on the structural integrity of the base. If your cardboard is thin, you will need to create a composite board. Cut three identical squares of cardboard—I recommend a 10-inch by 10-inch size for maximum portability and play space.
The Lamination Process
- Apply a generous amount of glue to the first square, spreading it evenly to the edges.
- Rotate the second square 90 degrees so the internal ‘grain’ (the corrugation lines) runs perpendicular to the first. This cross-grain technique is exactly how plywood is made, providing immense strength.
- Repeat with the third layer and weight the stack down with heavy books for at least 30 minutes.
Crafty Pro Tip: Use a ‘dry’ glue like a glue stick or a very thin layer of wood glue to prevent the cardboard from warping as it dries.
The Grid Layout: Precision on a Dime

The magic of the geoboard lies in the grid. A sloppy grid leads to lopsided shapes, which can hinder the educational value of the toy. Using a ruler and a pencil, we will mark a perfect 5×5 or 7×7 grid. For a 10-inch board, a 1.5-inch spacing between pegs is the ‘sweet spot’ for toddler-sized hands. This allows enough room for their fingers to maneuver without the rubber bands being under too much tension.
Marking Your Blueprint
- Measure 2 inches from the left and 2 inches from the top to find your first corner point.
- Mark dots every 1.5 inches horizontally across the top row.
- Use a square or a steady hand to ensure your vertical lines are perfectly aligned.
- Once your grid of dots is marked, use a small nail or an awl to pre-poke the holes. This prevents the cardboard from tearing when you insert the final pegs.
Choosing Your Pegs: Safety and Durability
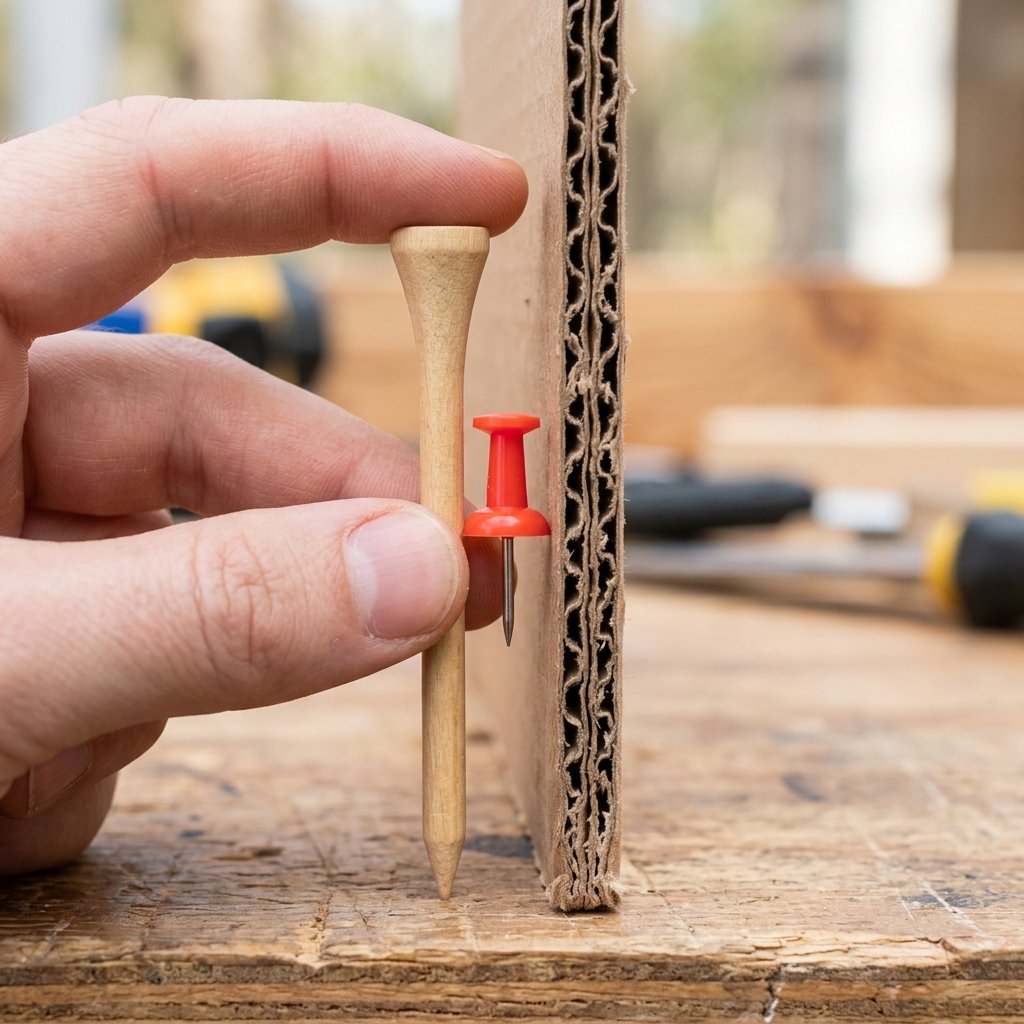
Depending on the age of your child and what you have in your ‘shop,’ you have two main options for pegs. For older toddlers with more refined motor skills, push pins (the kind with the plastic heads) provide a colorful and easy-to-install option. However, for a more rugged, ‘masculine-elegant’ look that is safer for younger children, wooden golf tees are the gold standard.
Safety Note: If using push pins, ensure they are pushed through the cardboard and the points are either snipped off or covered with a final ‘backing’ layer of cardboard to prevent little fingers from getting poked on the underside. Always supervise play with small objects.
| Peg Type | Pros | Cons |
|---|---|---|
| Golf Tees | Durable, easy to grip, blunt ends | Requires thicker base, larger holes |
| Push Pins | Instant installation, vibrant colors | Sharp points, smaller surface area |
| Bamboo Skewers (Cut) | Zero-waste, very cheap | Requires sanding to avoid splinters |
Step-by-Step Assembly: From Scraps to STEM
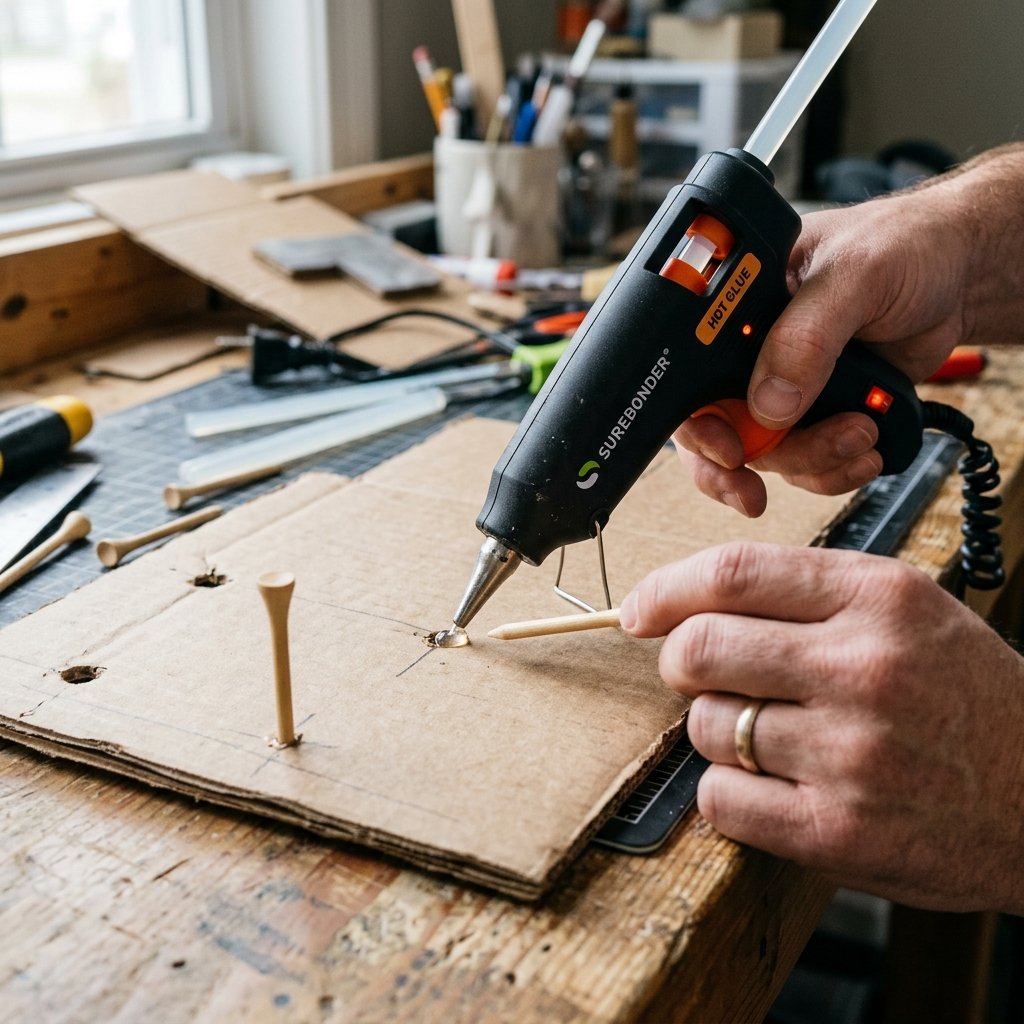
Now that your base is prepped and your grid is marked, it is time for the final assembly. This is where the project truly comes together. We will be securing the pegs so they don’t pop out under the pressure of the rubber bands—a common failure in inferior DIY designs.
The Assembly Blueprint
- Apply a small drop of super glue or hot glue into each pre-poked hole.
- Firmly press your peg (golf tee or push pin) into the hole. If using golf tees, you may need to widen the hole slightly with a screwdriver.
- Ensure all pegs are standing perfectly vertical. A ‘leaning’ peg will cause rubber bands to slip off.
- Flip the board over. If you used push pins, glue a final, fourth layer of cardboard over the back to ‘sandwich’ the sharp points safely inside the base.
- Let the board cure for one hour before introducing it to your toddler.
This method ensures a rugged construction that can handle the enthusiastic stretching of even the most energetic little engineer.
Engaging Your Tiny Engineer: Activity Ideas
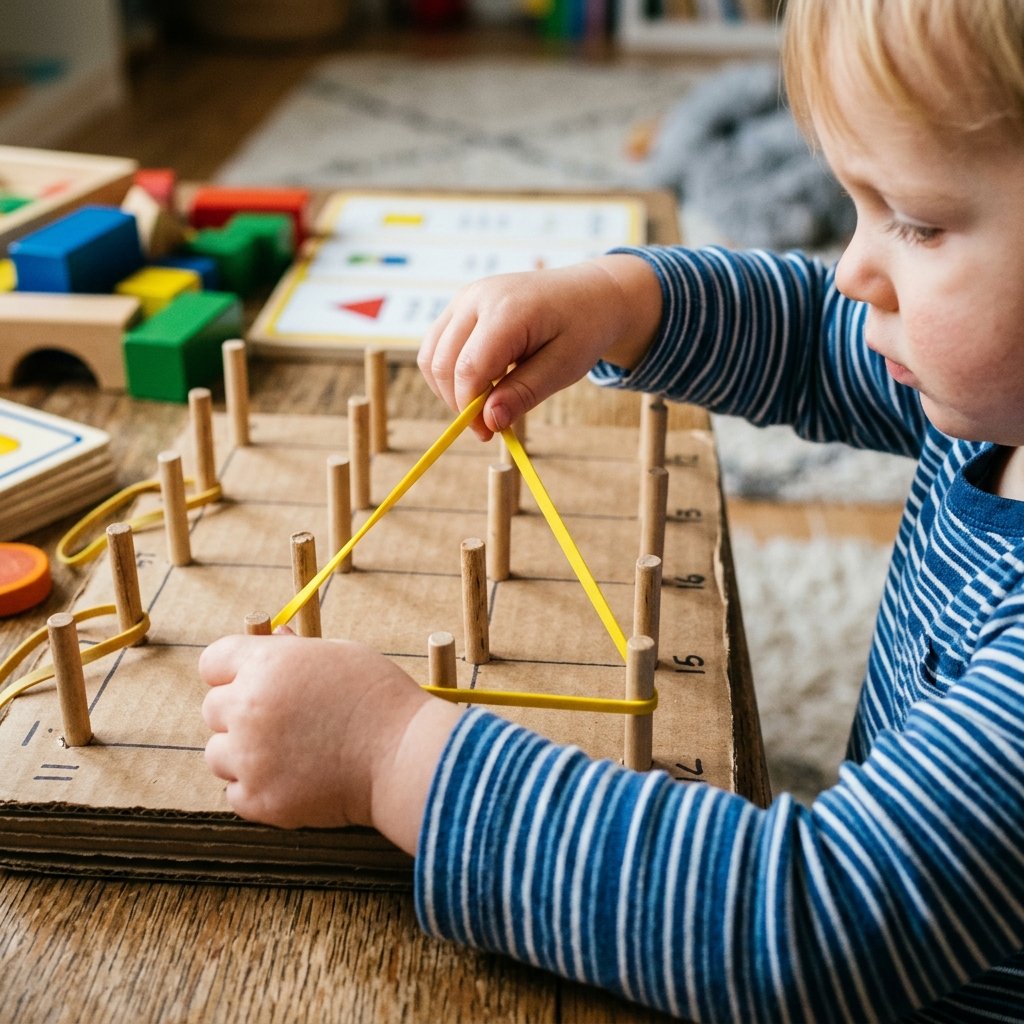
The geoboard is finished, but the play is just beginning. To keep a toddler quiet for hours, you need to provide ‘challenges.’ Start by letting them explore freely, but soon you can introduce pattern cards or verbal prompts. This turns a simple toy into a STEM powerhouse.
Progression of Play
- Level 1: Free Exploration. Let them stretch bands wherever they want. This builds hand strength.
- Level 2: Color Matching. Ask them to use only blue bands on the left and red on the right.
- Level 3: Shape Mimicry. Draw a square or triangle on a piece of paper and ask them to ‘build’ it on the board.
- Level 4: Alphabet and Numbers. Challenge them to create the letter ‘A’ or the number ‘1’.
By rotating the challenges, this zero-budget toy remains fresh and engaging for months, proving that you don’t need a big budget to provide high-quality educational play.
Conclusion
The Reward of Resourceful Parenting
Building a DIY cardboard geoboard is a masterclass in budget-savvy parenting. For the cost of a few minutes of your time and materials that were destined for the bin, you have created a high-functioning educational tool that rivals expensive boutique alternatives. This project embodies the rugged, practical spirit of the modern maker—taking what is available and turning it into something of value. As you watch your toddler sit in focused silence, stretching bands into stars and squares, you can take pride in the fact that you didn’t just buy them a toy; you engineered an experience. So, the next time a large shipping box arrives at your door, don’t see it as trash—see it as the blueprint for your next great DIY success. Happy crafting!

Makenzie is the founder and lead writer at MoneyHackTips.com — a personal finance blog dedicated to delivering street-smart financial wisdom for real people on real budgets. With 300+ published articles covering everything from debt management to investing fundamentals, Makenzie’s mission is to make every dollar work harder. When not writing about money hacks, Makenzie is testing frugal living strategies, optimizing side hustles, and helping readers build financial freedom from scratch.