The Denim Resurrection: Why Your Old Jeans Deserve a Second Life
We all have that one pair of jeans. They’ve seen you through garage projects, weekend hikes, and countless coffee runs. But now, the inner thighs have surrendered, or the hems are frayed beyond repair. Before you relegate them to the rag bin, consider this: that heavy-duty, high-quality denim is a goldmine for a rugged, practical, and masculine-elegant accessory. Enter the DIY Upcycled Denim Bucket Hat.
This isn’t just about saving a few bucks—though you will save at least $30 compared to buying a designer version. This is about being a resourceful creator. In just 30 minutes, you can transform a flat piece of history into a functional piece of headwear that protects you from the sun while looking effortlessly cool. Whether you are a frugal DIYer, a handy parent looking for a quick craft, or a creative gift-giver, this project is your tactical entry into the world of sustainable fashion. Let’s grab those shears and get to work.
The Budget Breakdown: Store-Bought vs. Trash-to-Treasure
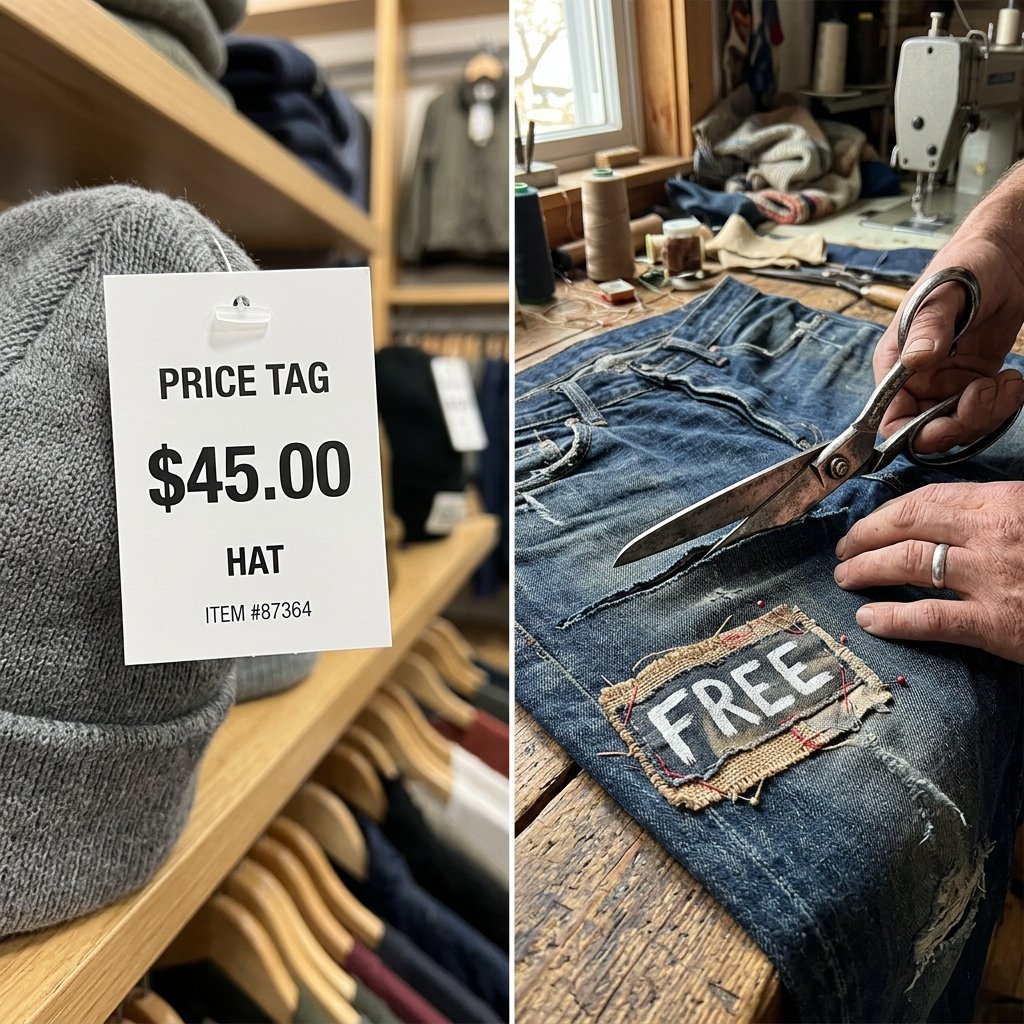
When you walk into a high-end retail store, a ‘distressed’ or ‘vintage’ denim bucket hat can easily set you back a significant amount of cash. By using what you already own, you are essentially paying yourself for your time. Here is how the math of the frugal crafter stacks up:
| Feature | Store-Bought Brand | DIY Upcycled Version |
|---|---|---|
| Material Cost | $25.00 – $65.00 | $0.00 (Old Jeans) |
| Durability | Varies (often thin) | High (Heavyweight Denim) |
| Customization | None | 100% Custom Fit |
| Environmental Impact | High (New Production) | Zero Waste (Upcycled) |
| Time Investment | 1 Hour (Shopping) | 30 Minutes (Crafting) |
As you can see, the resourceful choice is clear. You aren’t just making a hat; you are reclaiming materials that would otherwise sit in a landfill for 200 years. That is what we call a clever win for your wallet and the planet.
The Blueprint: Sourcing Your Denim Panels

Selecting the Right Part of the Jeans
Not all parts of a pair of jeans are created equal. To get the best structure for your hat, you need to be strategic about where you cut. The legs of the jeans provide the largest continuous panels of fabric, which are perfect for the brim and the crown of the hat.
- The Crown (Top Circle): Use the area just above the knee where the fabric is least worn.
- The Side Band (The Wall): The lower leg panels are ideal here. If you want a rugged look, incorporate the original side seam for a tactical aesthetic.
- The Brim: This requires the most fabric. Use the thigh area or the back of the legs.
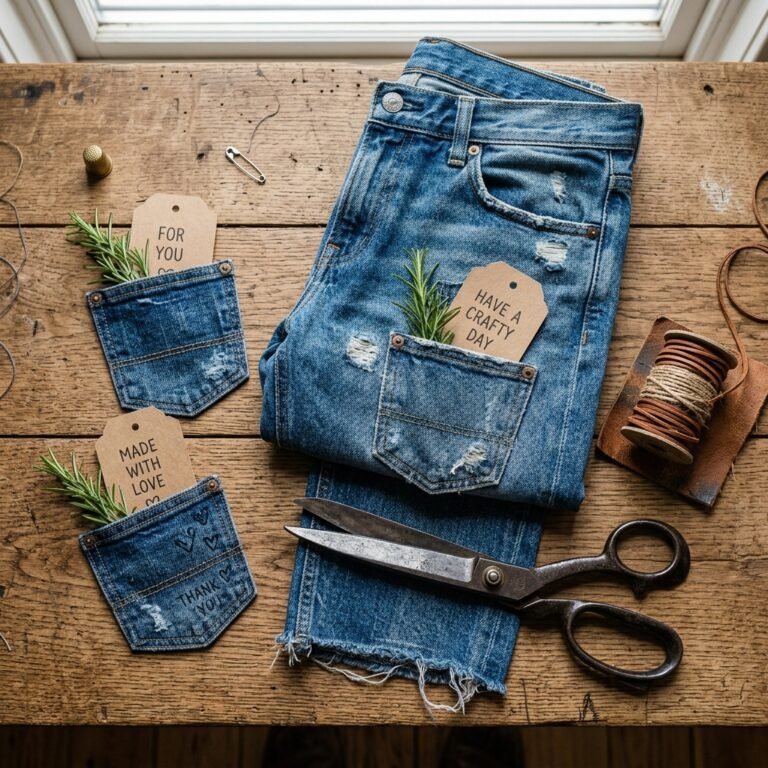
Frugal Guru Tip: If your jeans have interesting pockets or logos, save them! You can stitch a small ‘coin pocket’ onto the side of your bucket hat for a clever, functional detail to hold a guitar pick or an emergency key.
Precision Cutting: The 3-Piece Pattern
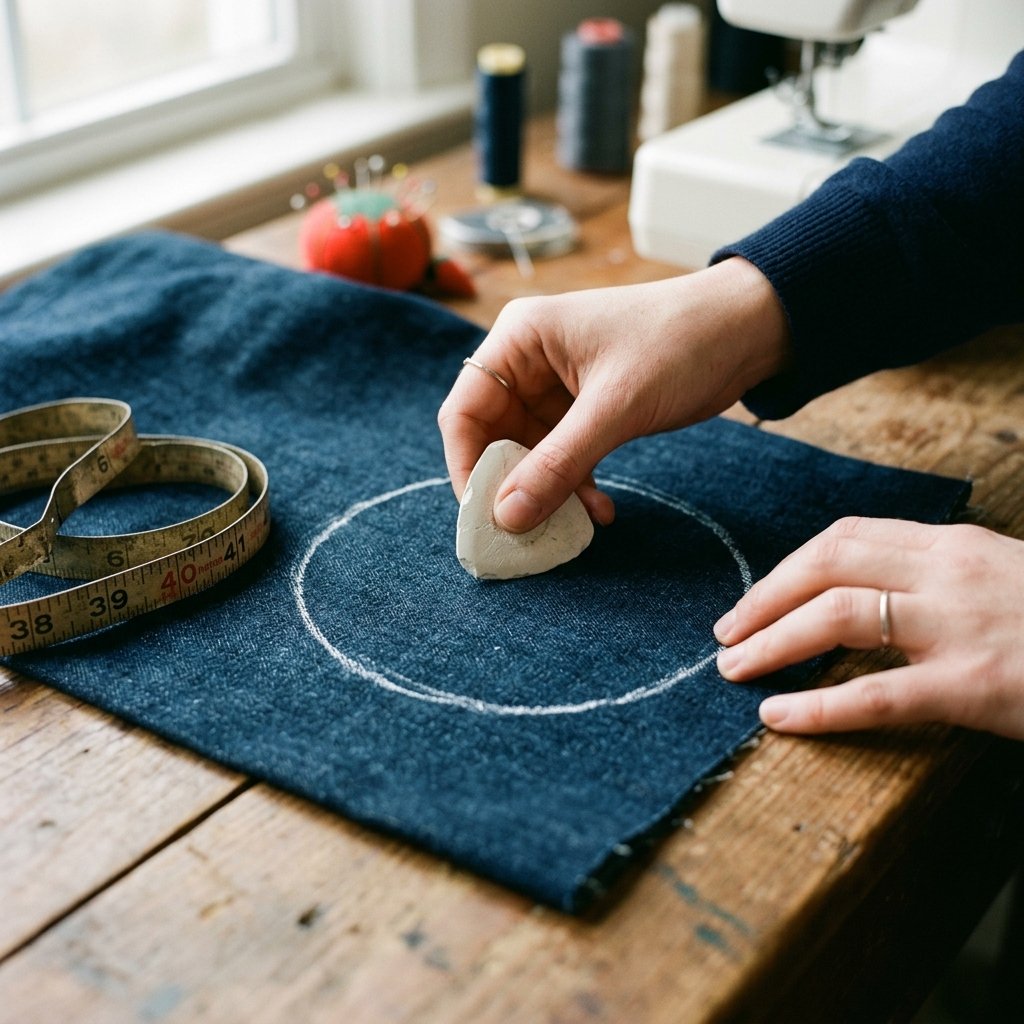
You don’t need a fancy printer or expensive patterns. All you need is a measuring tape and a bit of ingenuity. We are going to create three basic shapes. Use a piece of chalk or a sliver of dry soap to mark your denim.
1. The Top Circle (The Crown)
Measure the circumference of your head just above the ears. Let’s say it is 22 inches. Divide that by 3.14 to get the diameter (approx 7 inches). Draw a circle on your denim with this diameter, adding a 0.5-inch seam allowance all the way around.
2. The Side Band
This is a long rectangle. The length should be your head circumference plus 1 inch for the overlap seam. The height should be about 3.5 to 4 inches depending on how deep you want the hat to sit.
3. The Brim
This is essentially a larger donut shape. For a classic look, make the brim 2.5 to 3 inches wide. You can use a large mixing bowl as a guide to trace the outer curve.
| Pattern Piece | Dimensions (Average Adult) | Quantity |
|---|---|---|
| Top Crown | 8″ Diameter Circle | 1 |
| Side Band | 23″ x 4″ Rectangle | 1 |
| Brim | 12″ Outer / 8″ Inner Arcs | 2 (to make it stiff) |
The 30-Minute Construction: Step-by-Step Assembly

Whether you are using a sewing machine or going old-school with a hand-stitch, the process is the same. Because denim is a rugged material, use a heavy-duty needle (Size 90/14 or 100/16) and thick polyester thread.
- Join the Side Band: Fold your rectangle in half (right sides together) and sew the short ends. You now have a loop.
- Attach the Crown: Pin the top circle to one edge of your loop. Sew slowly around the circumference. Pro-Tip: Notch the edges of the seam allowance with small ‘V’ cuts to help the circle lie flat.
- Prepare the Brim: If your denim is thin, sew two brim pieces together to give it more ‘heft.’ If using heavy 14oz denim, a single layer with a finished edge works fine.
- The Final Union: Pin the brim to the bottom of your side band. Sew all the way around.
- Topstitching: This is the secret to a professional look. Sew 3 or 4 concentric circles around the brim. This adds structural integrity and that classic ‘bucket hat’ texture.
The ‘Rugged’ Mantra: Perfection is the enemy of the upcycler. Small imperfections in the stitching add character and tell the story of the garment’s previous life.
Customization: From Workwear to Weekend Chic
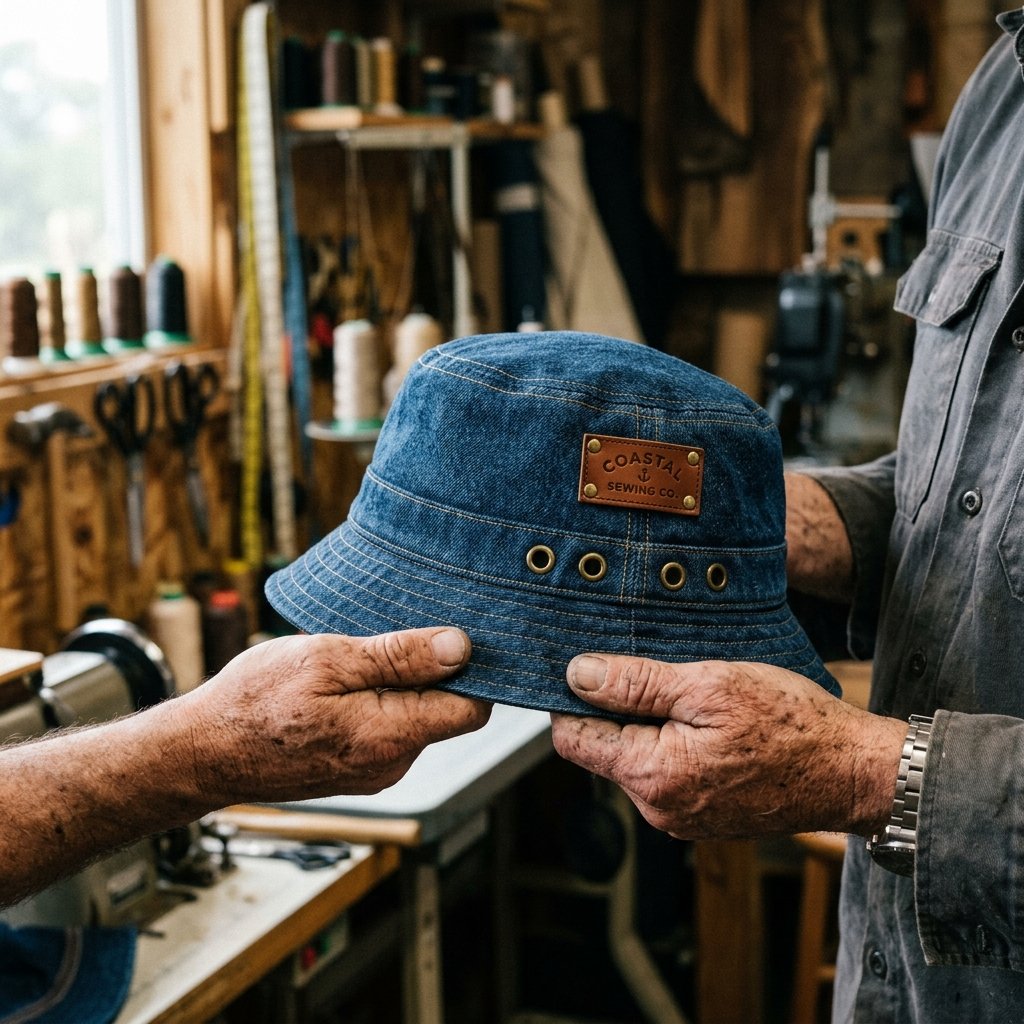
Adding the Finishing Touches
Now that the structure is complete, it’s time to add that masculine-elegant flair. Since you saved so much money on the materials, you can afford to spend 5 minutes on the details.
- Distressing: Use a bit of sandpaper on the edges of the brim to give it a lived-in, vintage feel.
- Hardware: Add two metal grommets to the sides for ventilation. It looks professional and keeps your head cool during summer DIY projects.
- Lining: If you have an old flannel shirt, use the same patterns to create a lining. This makes the hat reversible and adds a pop of color.
- The Patch: Take a leather scrap from the waistband of the original jeans and sew it onto the front of the hat as a ‘brand’ tag.
By following these steps, you’ve turned a piece of ‘trash’ into a bespoke accessory that reflects your skills as a maker. This is the essence of being a clever and budget-savvy craftsman.
Conclusion
Wear Your Craft with Pride
In just 30 minutes, you have successfully navigated the transition from a cluttered closet to a curated wardrobe. You’ve mastered the art of the denim upcycle, saved yourself a tidy $40, and kept a pair of jeans out of the landfill. This bucket hat is more than just headwear; it’s a badge of honor for the frugal DIYer. Whether you’re wearing it to the beach, the workshop, or giving it as a thoughtful, handmade gift, you’ve proven that style doesn’t have to come from a store—it comes from resourcefulness and a little bit of grit. Now, what else is hiding in your closet waiting for a second chance?

Makenzie is the founder and lead writer at MoneyHackTips.com — a personal finance blog dedicated to delivering street-smart financial wisdom for real people on real budgets. With 300+ published articles covering everything from debt management to investing fundamentals, Makenzie’s mission is to make every dollar work harder. When not writing about money hacks, Makenzie is testing frugal living strategies, optimizing side hustles, and helping readers build financial freedom from scratch.