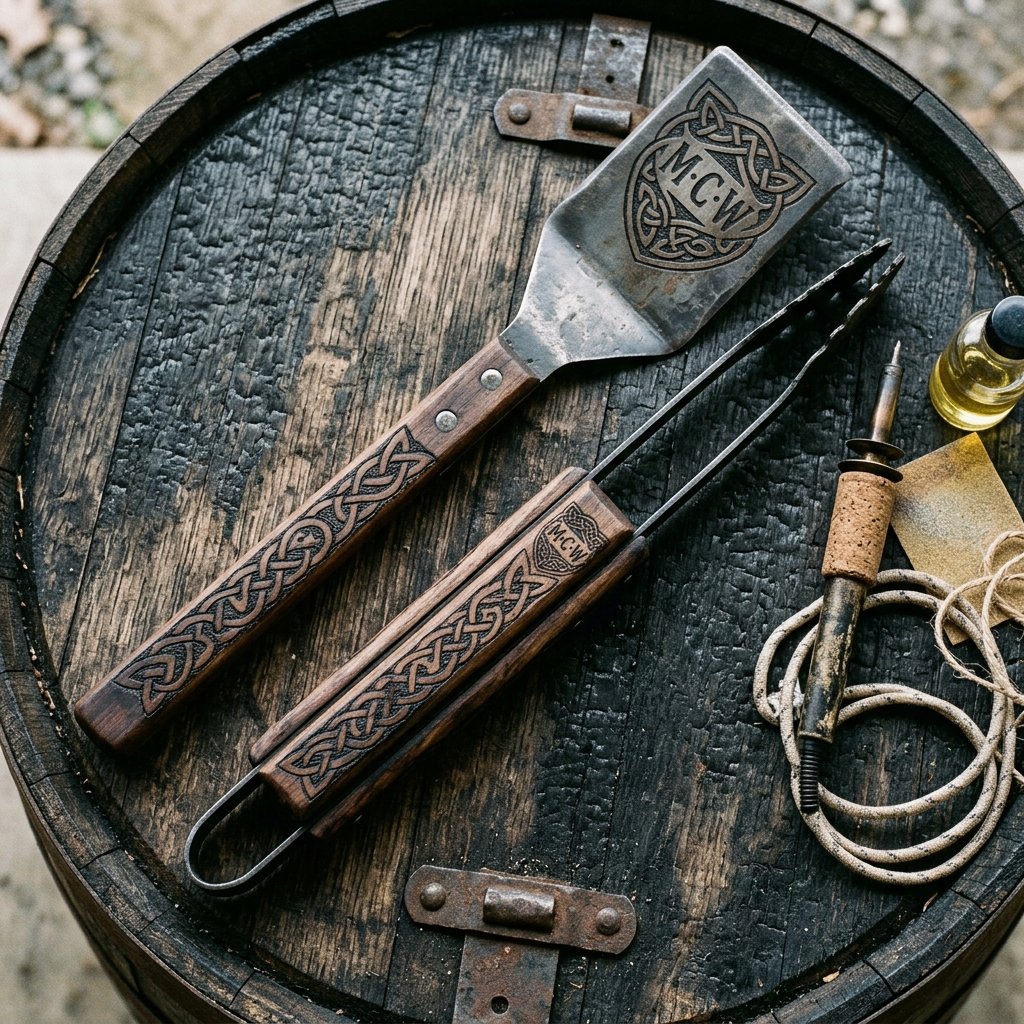

There is a primal connection between a man, a flame, and a slab of meat. But even the most seasoned grill master feels a little more legendary when he is wielding tools that look like they were forged in a craftsman’s workshop rather than plucked off a generic department store shelf. We have all seen those high-end, personalized grill sets in luxury catalogs that retail for $85 to $150. They are beautiful, sure, but they lack the soul of something handmade. Today, we are going to flip the script. As the ultimate ‘Trash-to-Treasure’ guru, I am showing you how to take a humble, budget-friendly wooden grill set and transform it into a rugged, heirloom-quality masterpiece using the art of pyrography. This isn’t just a craft; it is about creating a functional piece of art that stands up to the heat of the charcoal and the test of time. Whether you are a frugal DIYer looking for the perfect Father’s Day gift or a crafty partner wanting to surprise your husband with something truly unique, this guide will walk you through the grit and the glory of wood burning. We are talking about custom monograms, geometric patterns, and a professional finish that screams ‘expensive’ while costing you less than a bag of premium briquettes.
| Expense Item | High-End Retail Price | DIY Upcycled Cost | Total Savings |
|---|---|---|---|
| Personalized XL Spatula | $35.00 | $5.00 (Thrifted/Dollar Store) | $30.00 |
| Custom Engraved Tongs | $40.00 | $6.00 | $34.00 |
| Basting Brush with Logo | $25.00 | $3.00 | $22.00 |
| Total Investment | $100.00 | $14.00 | $86.00 (86% Saved) |
Sourcing the Canvas: Selecting the Right Wood for the Heat
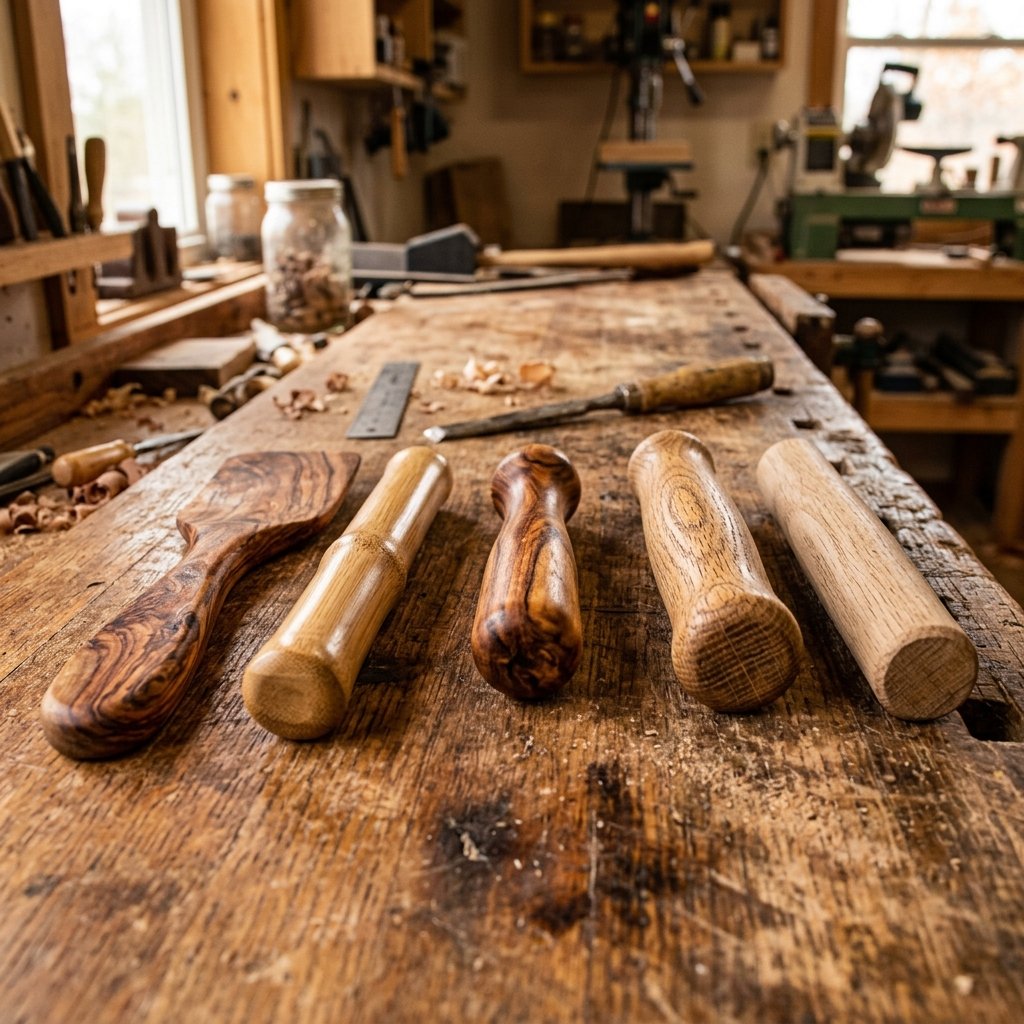
Not all wood handles are created equal when it comes to the branding iron. If you want a clean, crisp burn that doesn’t bleed or smell like burning chemicals, you need to be picky about your base materials. Many cheap grill sets come with a thick, glossy polyurethane coating. This is your enemy. We want raw, or lightly oiled, hardwoods like Oak, Acacia, or Maple. These woods have a tight grain that holds detail beautifully. If you find a set at a thrift store or a discount outlet that is heavily varnished, don’t walk away—just grab some 80-grit sandpaper. Stripping that finish back to the natural grain is the first step in ensuring your wood-burned design looks professional rather than amateurish.
Wood Species Compatibility Guide
| Wood Type | Burn Quality | Best For… |
|---|---|---|
| Acacia | Excellent | Deep, dark engravings and rugged textures. |
| Bamboo | Moderate | Simple linear designs (watch out for the ‘knuckles’). |
| Maple | Superior | Fine detail, monograms, and intricate logos. |
| Pine/Softwoods | Poor | Not recommended; too much sap causes ‘bleeding’. |
The Golden Rule of Upcycling: Look for the ‘bones’ of the object. A sturdy stainless steel spatula with a chunky, plain wooden handle is a diamond in the rough waiting for your creative spark.
The Master’s Toolkit: Pyrography Gear for Beginners and Pros
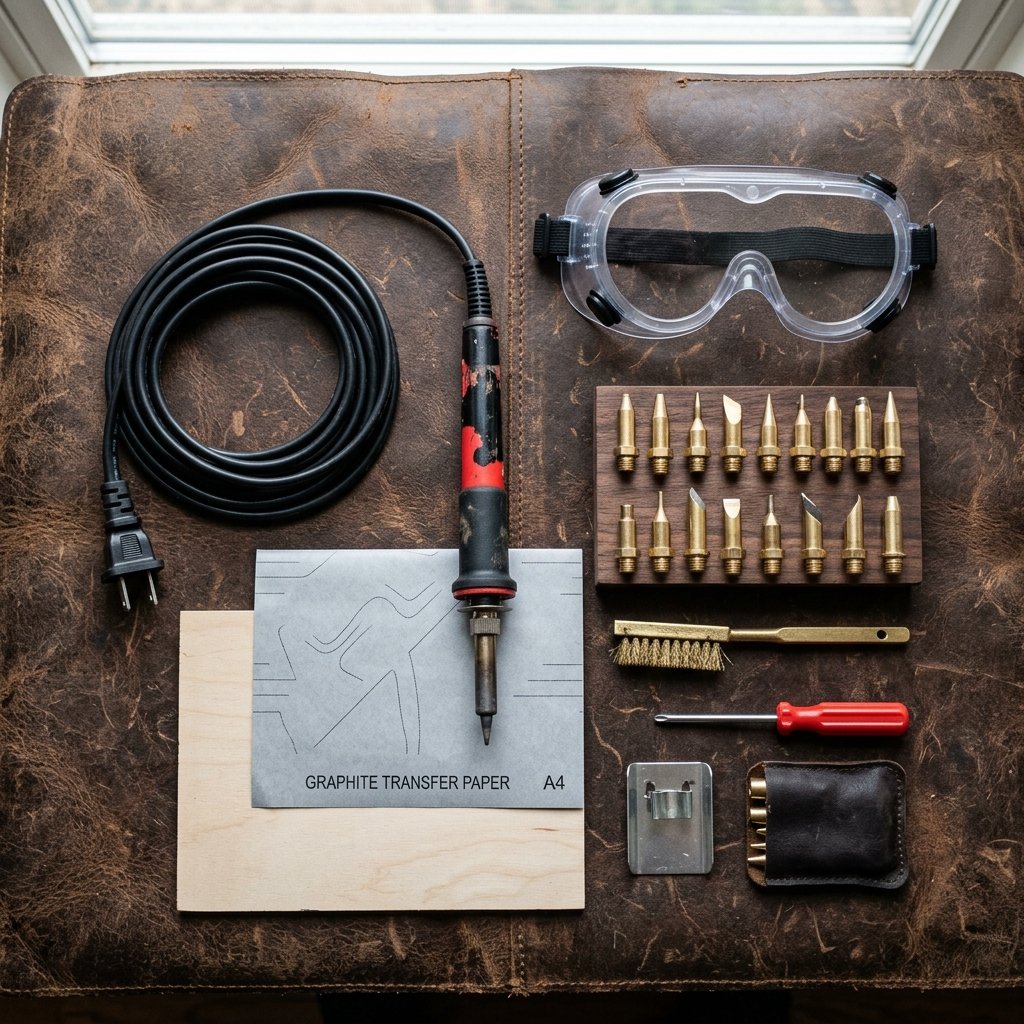
You don’t need a $200 professional wood-burning station to get started, though if you plan on making these for a side hustle, it’s a worthy investment. For the budget-savvy crafter, a simple solid-point burner (often called a craft burner) will cost you about $15 to $25. These tools come with interchangeable tips: the ‘universal’ tip for lines, the ‘flow’ tip for curves, and the ‘shading’ tip for those smoky, gradient effects. The key to masculine-elegant design is consistency. You want a tool that maintains a steady heat so your lines don’t fade in and out like a dying flashlight.
Essential Supplies Checklist
- Wood Burning Tool: With at least 3 basic tips.
- Sandpaper: 120-grit for stripping and 220-grit for smoothing.
- Graphite Paper: For transferring your killer designs onto the wood.
- Painter’s Tape: To hold your stencil in place.
- Steel Ruler: For those perfectly straight, geometric lines.
Safety First: Always work in a well-ventilated area or near an open window. Burning wood releases smoke and fumes, especially if there is residual finish on the handle. A small desk fan blowing away from your face is a pro-tip for clear lungs and clear vision.
Design with Grit: Patterns That Men Actually Want
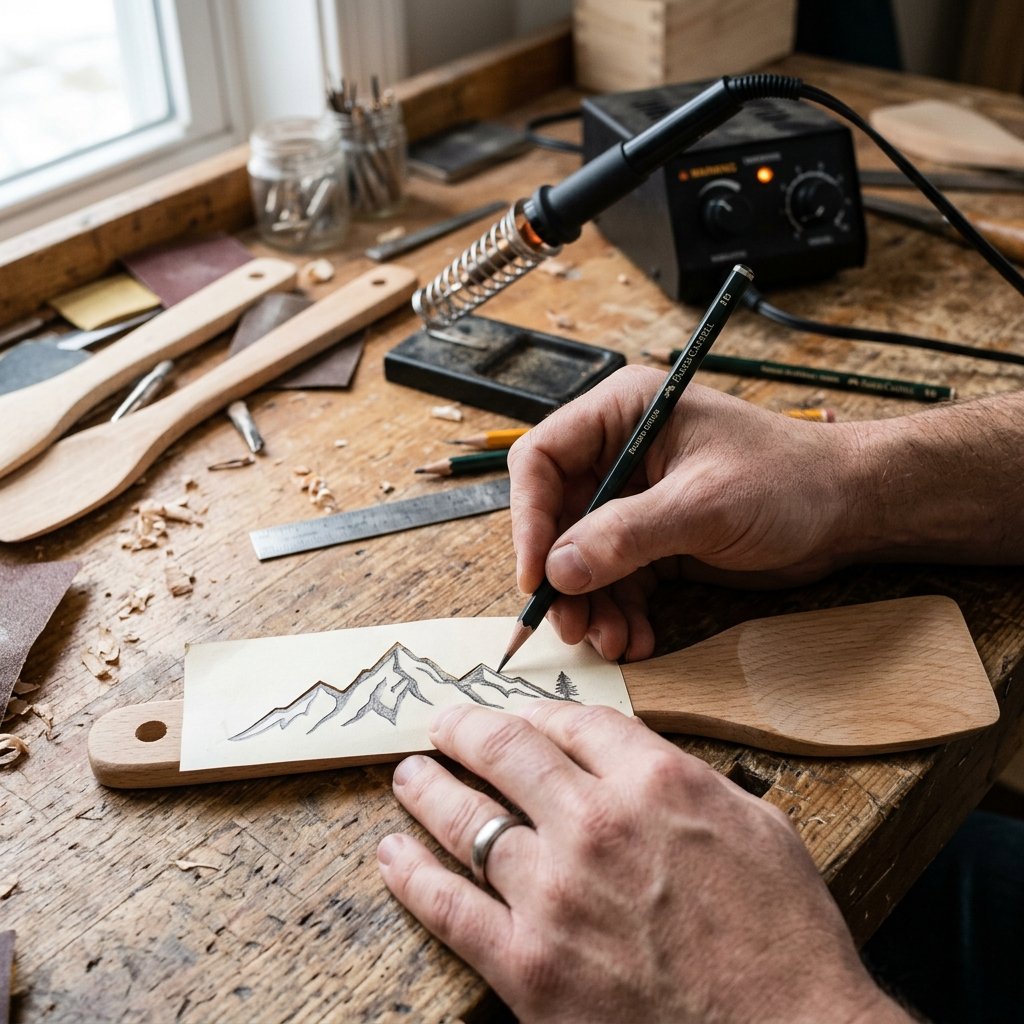
Let’s talk aesthetics. We aren’t making ‘Live, Laugh, Love’ spatulas here. We want designs that reflect the rugged nature of outdoor cooking. Think bold monograms, topographic maps, geometric tribal patterns, or even vintage butcher diagrams. If your recipient is a minimalist, a simple, deeply burned border with their initials in a classic serif font is the height of sophistication. If they are a mountain man, a silhouette of a pine forest wrapping around the handle creates a stunning 360-degree effect. Use your graphite paper to trace the design first. Never ‘wing it’ with a hot iron unless you want it to look like a third-grade art project.
Design Inspiration for the Modern Man
- The Compass Rose: Perfect for the dad who loves camping and navigation.
- The Family Crest: Adds an immediate heirloom feel to the set.
- Barbecue Puns (Done Tastefully): ‘License to Grill’ or ‘The Meat Whisperer’ in a rugged, stamped-font style.
- Abstract Textures: Cross-hatching and stippling that mimic the look of forged carbon or hammered metal.
The Step-by-Step Burn: Mastering the Heat
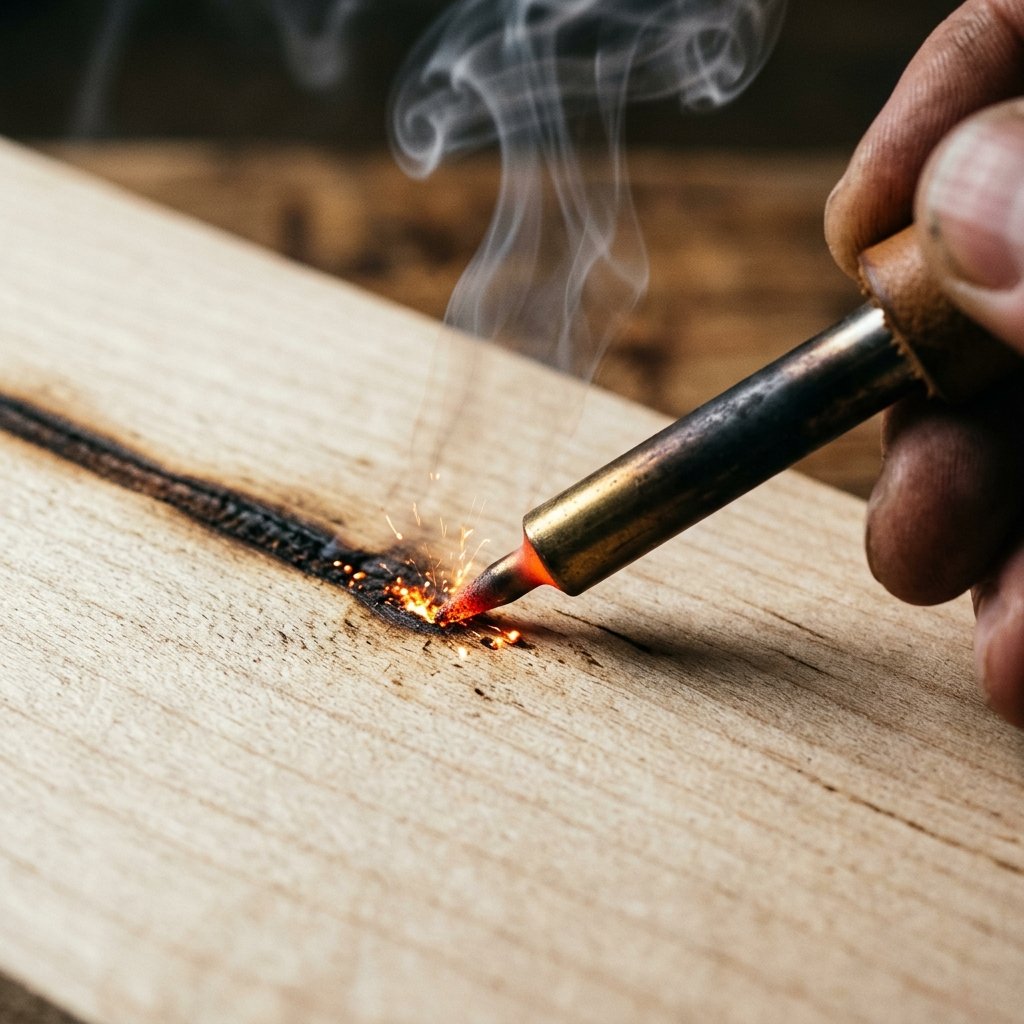
Now we get to the satisfying part. Burning the wood is a sensory experience—the smell of the smoke, the glow of the tip, and the darkening of the grain. The secret to a professional finish is patience. Do not press hard. Let the heat of the tool do the work. If you press too hard, you’ll create deep gouges that look messy. Instead, move the tip slowly and steadily, like you’re drawing with a very heavy fountain pen.
The Execution Process
- Prep the Surface: Sand the handle until it is buttery smooth. Any bump in the wood will cause your burner tip to jump, ruining your line.
- Transfer the Design: Place your graphite paper on the handle, tape your design over it, and trace firmly with a pencil.
- Outline First: Use the pointed universal tip to create a thin ‘channel’ of your design. This acts as a guide.
- Fill and Shade: Switch to the flow or shading tip to darken larger areas or add depth.
- Clean Up: Once the wood has cooled, use a soft eraser to remove any leftover graphite marks.
Mantra for the Maker: ‘Slow is smooth, and smooth is fast.’ Don’t rush the burn. The deeper and more consistent the char, the better it will resist the grease and smoke of the grill.
The Finishing Touch: Food-Safe Sealing and Presentation
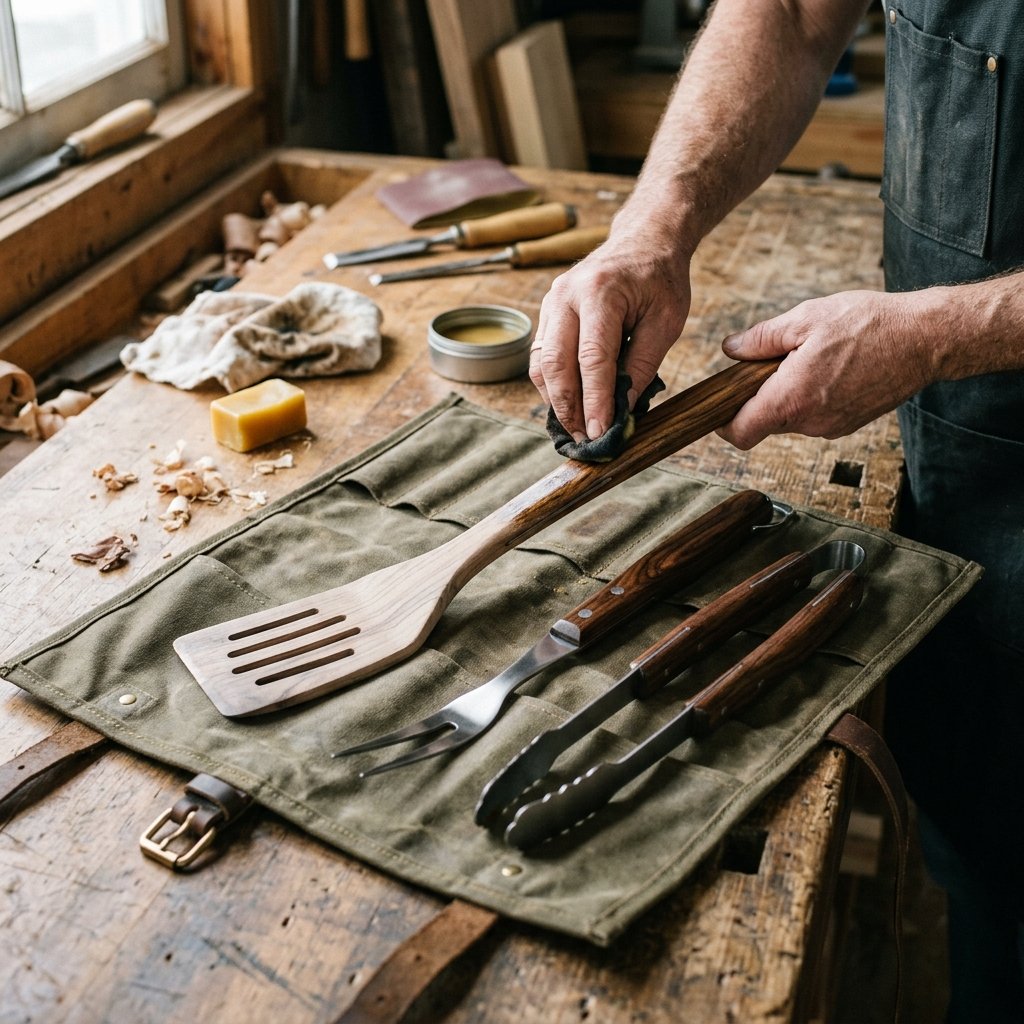
You’ve spent the time burning a masterpiece; don’t let it rot after the first rack of ribs. Because these tools will be near food, you cannot use standard wood stains or varnishes. You need a food-safe finish. A mixture of beeswax and mineral oil (often sold as ‘Butcher Block Conditioner’) is the gold standard. It penetrates the wood, highlights the dark burn marks, and provides a water-resistant barrier. Rub it in generously, let it sit for 20 minutes, and then buff it to a soft, masculine sheen with a lint-free cloth.
Maintenance and Longevity Table
| Action | Frequency | Why It Matters |
|---|---|---|
| Hand Wash Only | After every use | Dishwashers will warp the wood and fade the burn. |
| Re-Oil Handle | Every 3-4 months | Prevents cracking and keeps the design ‘popping’. |
| Light Sanding | Once a year | Removes any splinters or rough spots from heavy use. |
To present this gift like a pro, skip the wrapping paper. Wrap the set in a heavy-duty canvas tool roll or a piece of reclaimed leather tied with twine. It adds to the rugged, handcrafted vibe and gives him a way to store his new favorite tools.
Conclusion
Creating ‘The Ultimate DIY Wood Burned Grill Set’ is more than just a weekend project; it is a way to infuse a mundane task like flipping burgers with a sense of pride and personal history. By choosing the right wood, mastering a few simple pyrography techniques, and finishing with food-safe care, you have created a gift that rivals any luxury brand for a fraction of the cost. You’ve taken $14 worth of materials and turned them into a $100 heirloom. That is the power of the frugal DIYer. So, grab your burner, find some wood, and start making. The grill is waiting, and now, the man behind it will have the tools he actually wants to use.

Makenzie is the founder and lead writer at MoneyHackTips.com — a personal finance blog dedicated to delivering street-smart financial wisdom for real people on real budgets. With 300+ published articles covering everything from debt management to investing fundamentals, Makenzie’s mission is to make every dollar work harder. When not writing about money hacks, Makenzie is testing frugal living strategies, optimizing side hustles, and helping readers build financial freedom from scratch.