
The Art of the Zero-Budget Wardrobe Upgrade
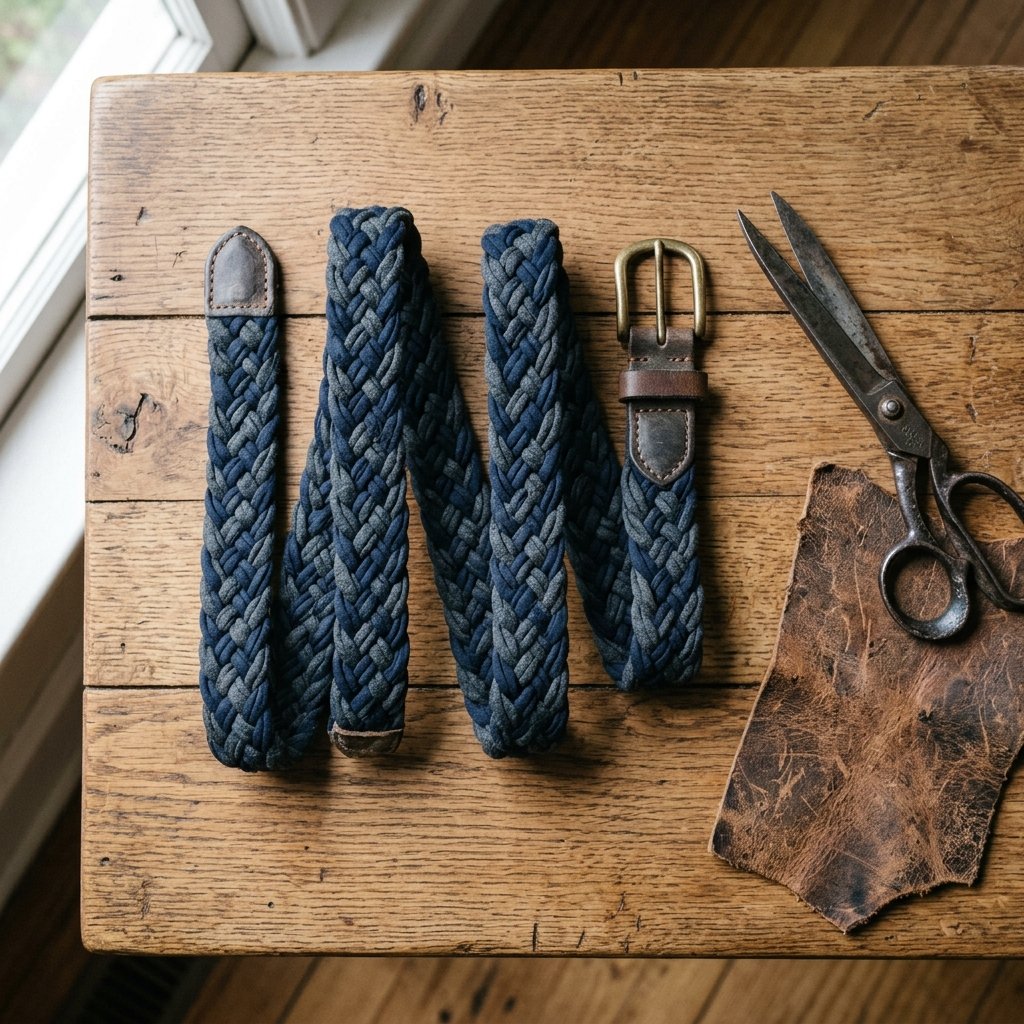
In a world of fast fashion and disposable trends, there is something profoundly satisfying about taking a garment destined for the rag bin and transforming it into a statement piece. We’ve all been there: that favorite 100% cotton tee that has a tiny bleach stain or a stretched-out neckline. Instead of tossing it, we are going to harvest its fibers to create a rugged, durable, and masculine-elegant braided belt. This project isn’t just about saving money—though you will save roughly $25 to $45 compared to boutique prices—it’s about the clever resourcefulness of the modern maker. Whether you are cinching a pair of relaxed linen trousers or adding texture to a summer sundress, this T-shirt yarn belt is the ultimate sustainable hack for the frugal DIYer.
Sourcing Your Materials: The Science of the Scrap
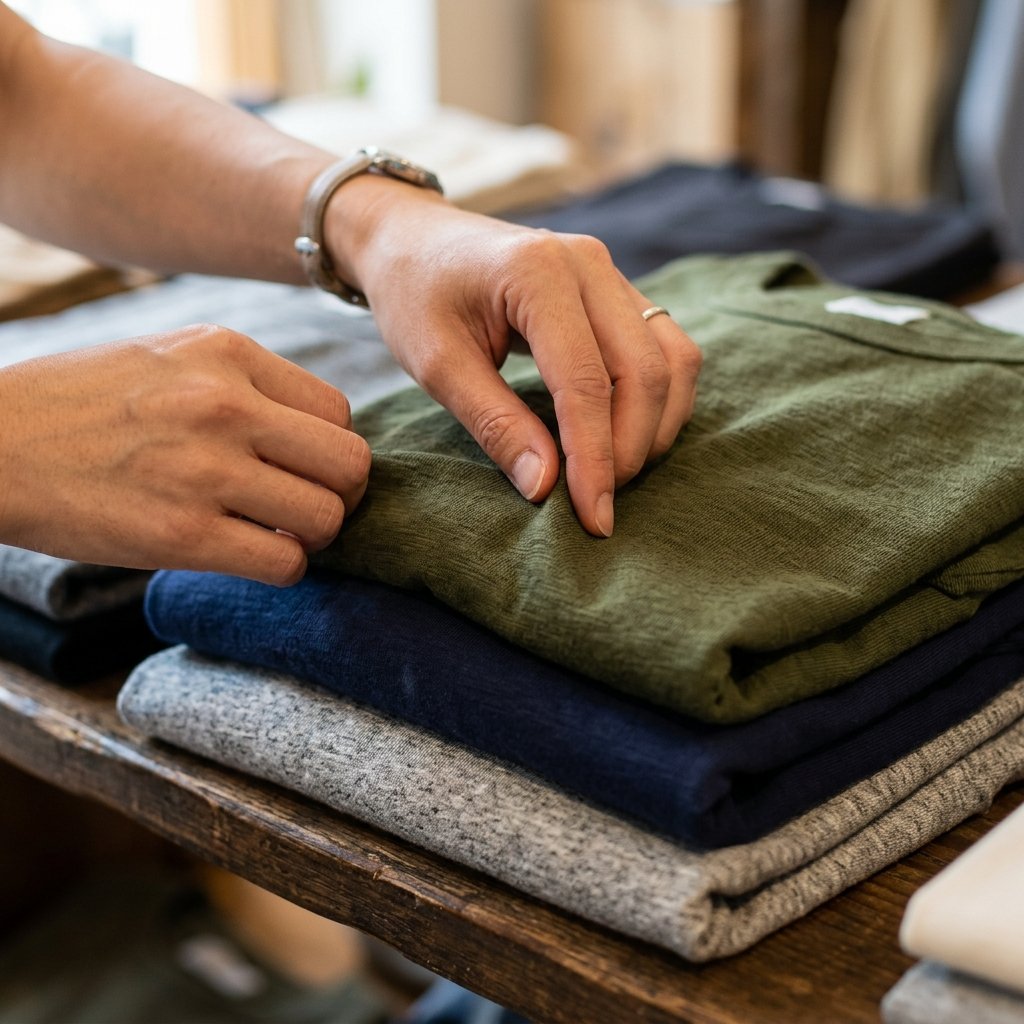
Not all T-shirts are created equal when it comes to yarn production. To achieve that high-end, store-bought look, you need to understand fabric composition. We are looking for Jersey Knit fabric. Ideally, you want 100% cotton or a 95% cotton/5% spandex blend. The spandex provides excellent ‘recovery,’ meaning your belt won’t permanently sag after a long day of wear.
Material Selection Guide
Before you start cutting, check the side seams. A ‘tubular’ knit shirt (one without side seams) is the holy grail of T-shirt yarn because it allows for a continuous strand without knots. However, even if your shirt has seams, we can work around them with clever folding techniques.
| Fabric Type | Stretch Factor | Best Use Case |
|---|---|---|
| 100% Heavyweight Cotton | Low | Rugged, utility-style belts |
| Cotton/Spandex Blend | High | Comfort-fit, flexible waistbands |
| Tri-Blend (Poly/Cotton/Rayon) | Medium | Soft, decorative boho-style belts |
Pro-Tip: Avoid shirts with large ‘plastic’ screen prints. These areas will not curl into yarn and will cause the braid to look lumpy and cracked. Stick to the solid-colored back and lower sections of the garment.
The Spiral Cut: Engineering Continuous Yarn
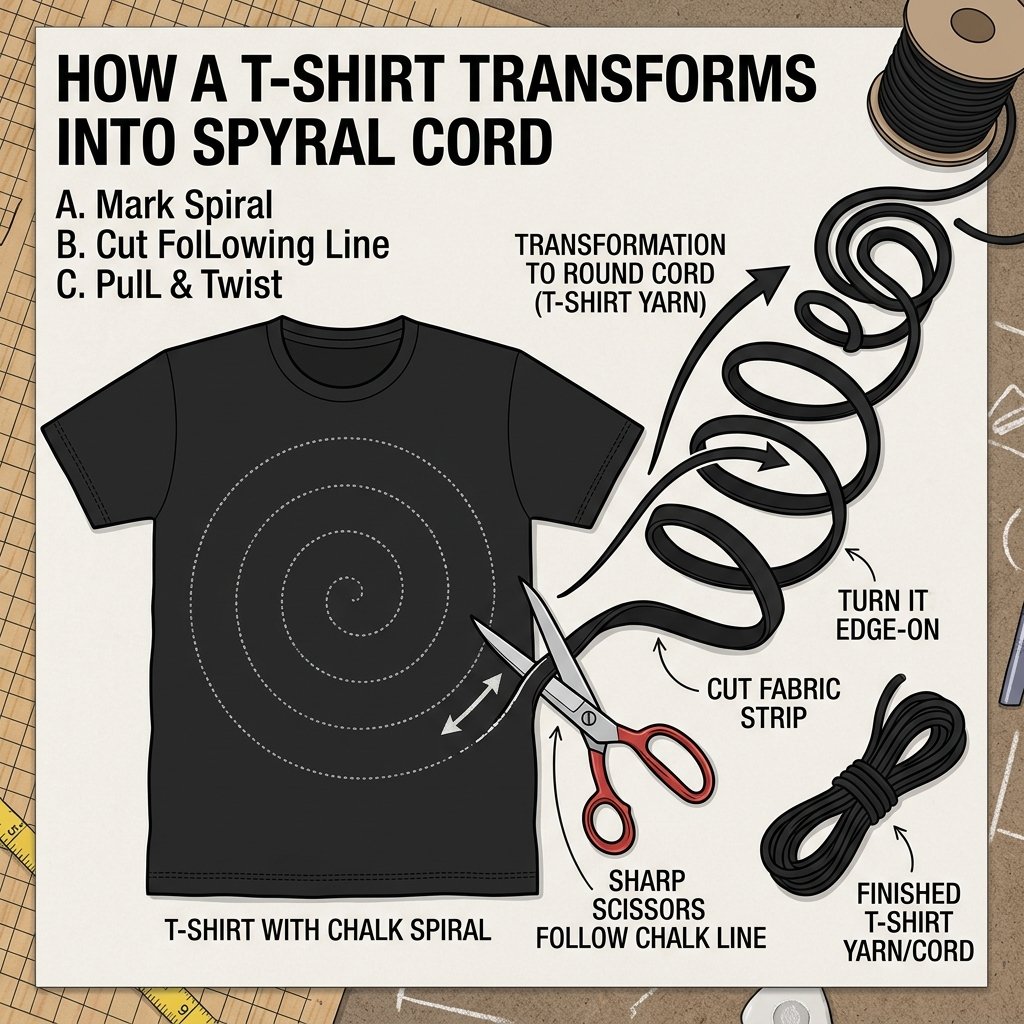
The secret to a professional belt is avoiding ugly knots. We achieve this through the Spiral Cut Method. By cutting the body of the shirt in a continuous loop, you can create 20 to 30 feet of yarn from a single medium-sized shirt in under 10 minutes.
Step-by-Step Cutting Instructions
- Lay the shirt flat on a cutting mat and trim off the bottom hem and the area just below the armpits. You are left with a fabric rectangle.
- Fold the rectangle in half vertically, but leave about 1 inch of the bottom layer protruding past the top layer.
- Cut strips 1.5 inches wide starting from the folded edge, stopping exactly at the start of that 1-inch overlap. Do not cut through the overlap!
- Open the shirt so the uncut 1-inch bridge is centered.
- Cut diagonally from the first slit to the second slit across the bridge. This ‘offsets’ the cuts, creating one long, unbroken strand.
Once cut, grab the strand and pull it firmly. The raw edges will curl inward, hiding the ‘fuzzy’ side of the fabric and creating a clean, tubular cord that looks remarkably like expensive macramé rope.
Mastering the 4-Strand Flat Braid
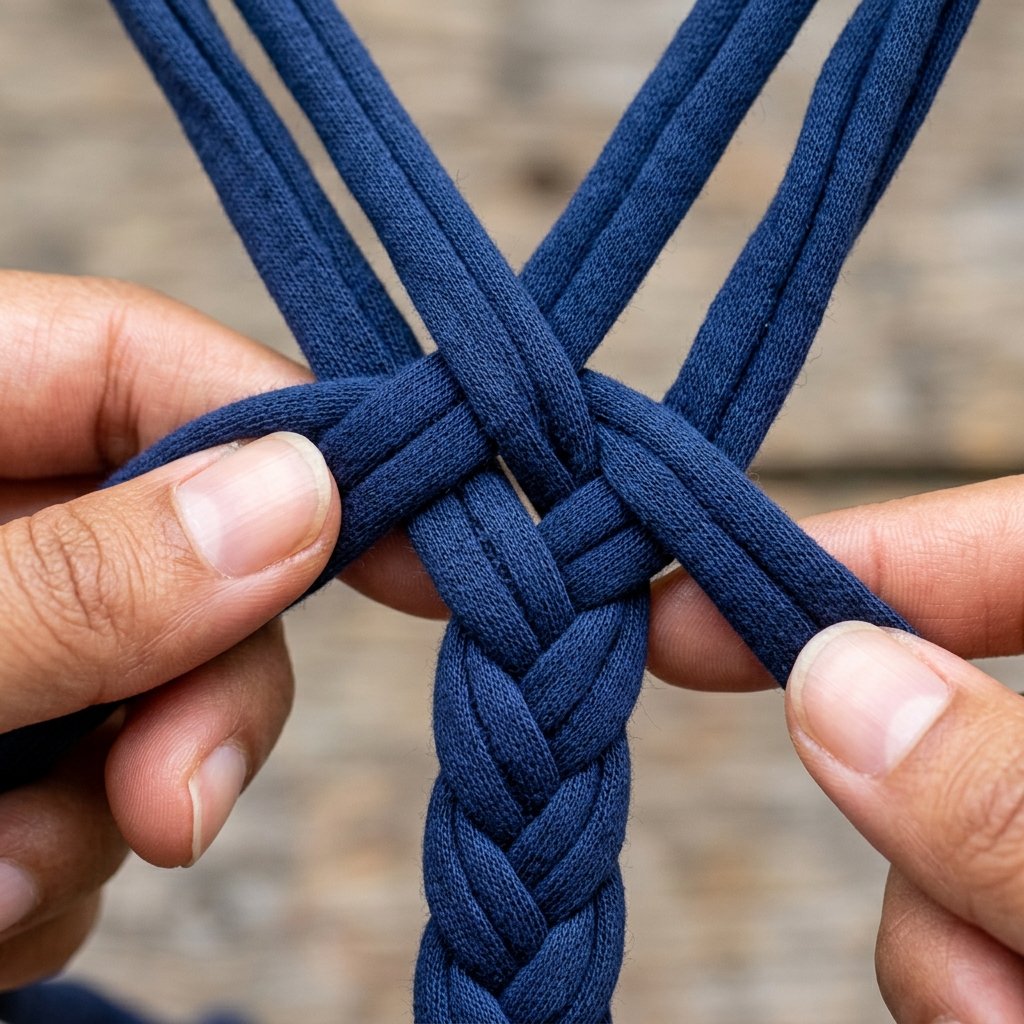
A standard 3-strand braid is fine for hair, but for a belt, we want width and structural integrity. The 4-strand flat braid offers a sophisticated, ‘woven’ appearance that mimics expensive leather work. This is where your inner craftsman really shines.
The Braiding Sequence
Secure four strands of yarn (each about 1.5 times your waist measurement) to a heavy clipboard or a safety pin attached to your jeans.
- Step 1: Take the far-right strand and cross it over the strand next to it.
- Step 2: Take the far-left strand and cross it under the next strand, then over the one you just moved from the right.
- Step 3: Repeat the pattern: Right-over-one, Left-under-one-over-one.
- Step 4: Maintain consistent tension. If you pull too tight, the belt will be thin and stiff; too loose, and it will lose its shape.
| Braid Style | Difficulty | Visual Impact |
|---|---|---|
| 3-Strand Classic | Easy | Minimalist/Simple |
| 4-Strand Flat | Medium | Professional/Artisan |
| 5-Strand Celtic | Hard | High-End/Statement |
Budget Mantra: Tension is the difference between a ‘craft project’ and a ‘designer accessory.’ Keep your pull steady and your folds crisp.
Hardware and Finishing: The Masculine-Elegant Touch
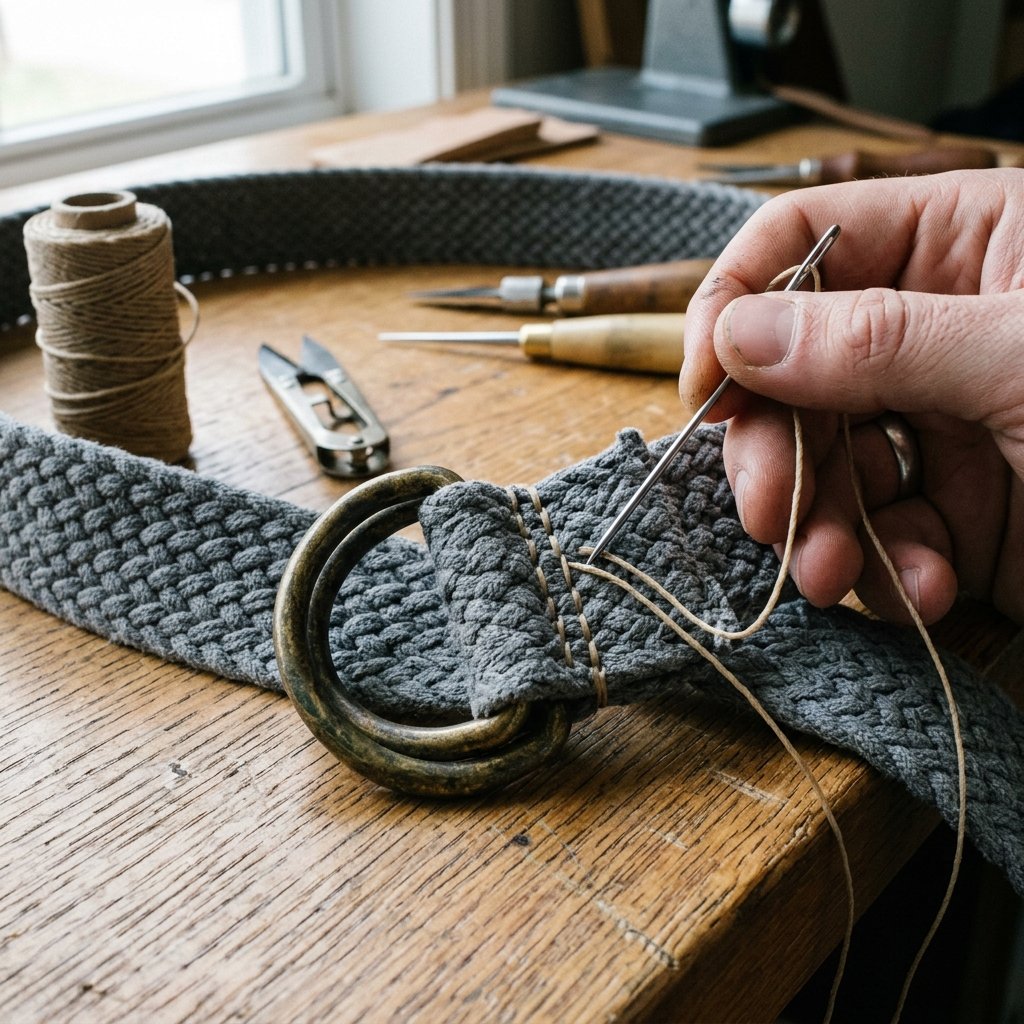
How you end the belt determines its longevity. You have two primary options: the Rugged Knot or the Upcycled Buckle. For a truly frugal approach, harvest a buckle from a worn-out thrift store belt or use two metal D-rings (costing roughly $0.50).
Attaching a Double D-Ring
- Loop the four strands through both D-rings.
- Fold the yarn back over itself by about 2 inches.
- Use a ‘Whip Stitch’ with a needle and matching thread to secure the fold. If you don’t have a needle, you can use a small dab of fabric glue, though stitching is far more durable for daily use.
- For the ‘tail’ end of the belt, you can either tie small individual knots in each strand for a fringed look or sew them flat for a clean, tapered finish.
If you want a more rugged, outdoorsy vibe, use a ‘Sliding Fisherman’s Knot’ which allows the belt to be fully adjustable without any hardware at all—the ultimate zero-waste solution.
Cost Analysis: DIY vs. Store Bought
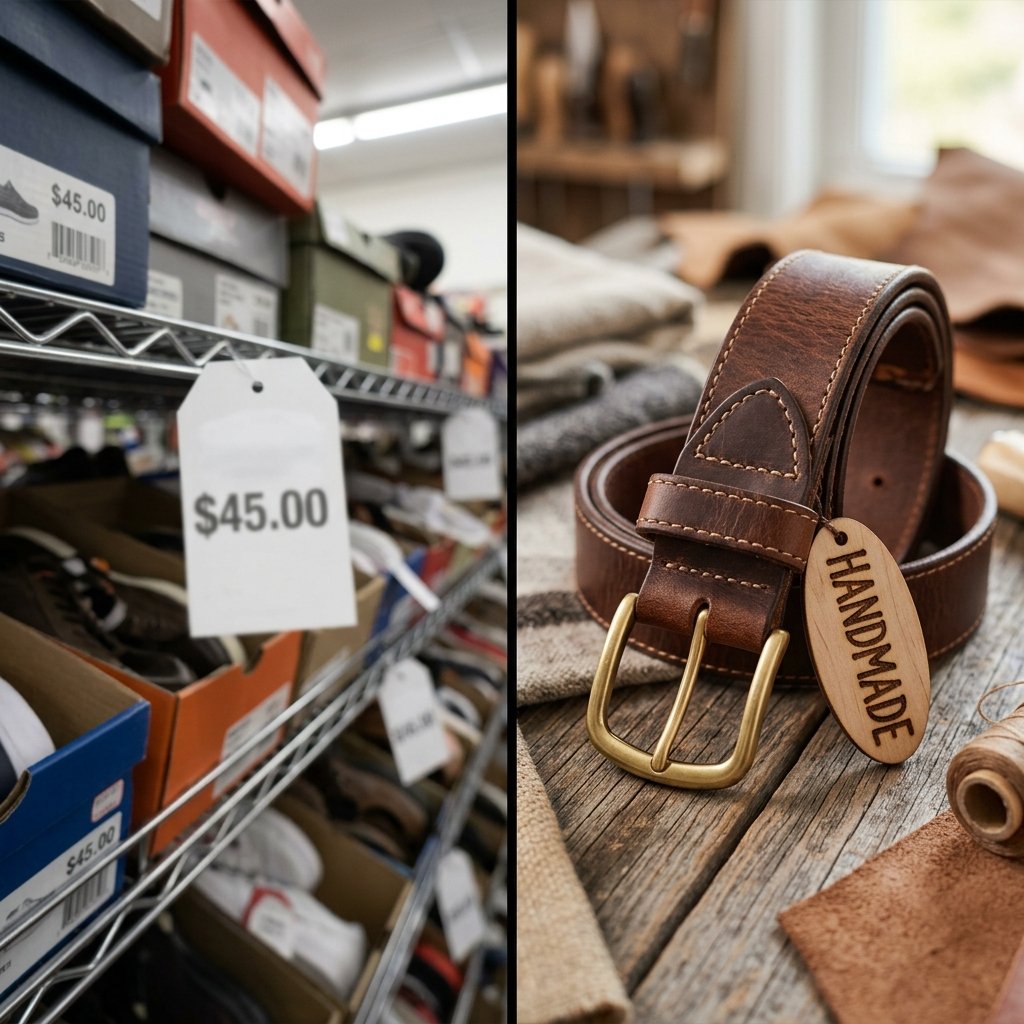
Let’s talk numbers. When you choose to upcycle, you aren’t just saving a shirt from the landfill; you are reclaiming your purchasing power. A high-quality braided fabric belt from a retailer like J.Crew or Banana Republic can easily run you $35 or more. By using what you already have, your ROI (Return on Investment) is astronomical.
| Item | Retail Price | DIY Cost | Savings |
|---|---|---|---|
| Braided Cotton Belt | $38.00 | $0.00 | $38.00 |
| Upcycled Hardware | $12.00 | $0.00 (from old belt) | $12.00 |
| Total | $50.00 | $0.00 | 100% |
The time investment is approximately 45 minutes. For a custom-fitted, unique accessory, that is a productivity win that any budget-savvy crafter can get behind.
Conclusion
Step Out in Sustainable Style
You’ve done it. With nothing more than an old T-shirt, a pair of scissors, and a bit of clever braiding, you’ve created a bespoke summer accessory that is as functional as it is stylish. This DIY braided belt is a testament to the power of upcycling. It’s rugged enough for a weekend hike, yet elegant enough for a summer wedding. By mastering the 4-strand braid and the spiral cut, you’ve added a valuable skill to your DIY arsenal. So, next time you see a worn-out shirt, don’t see trash—see your next level-up fashion statement. Happy crafting!

Makenzie is the founder and lead writer at MoneyHackTips.com — a personal finance blog dedicated to delivering street-smart financial wisdom for real people on real budgets. With 300+ published articles covering everything from debt management to investing fundamentals, Makenzie’s mission is to make every dollar work harder. When not writing about money hacks, Makenzie is testing frugal living strategies, optimizing side hustles, and helping readers build financial freedom from scratch.