
The Art of the Thrifted Find
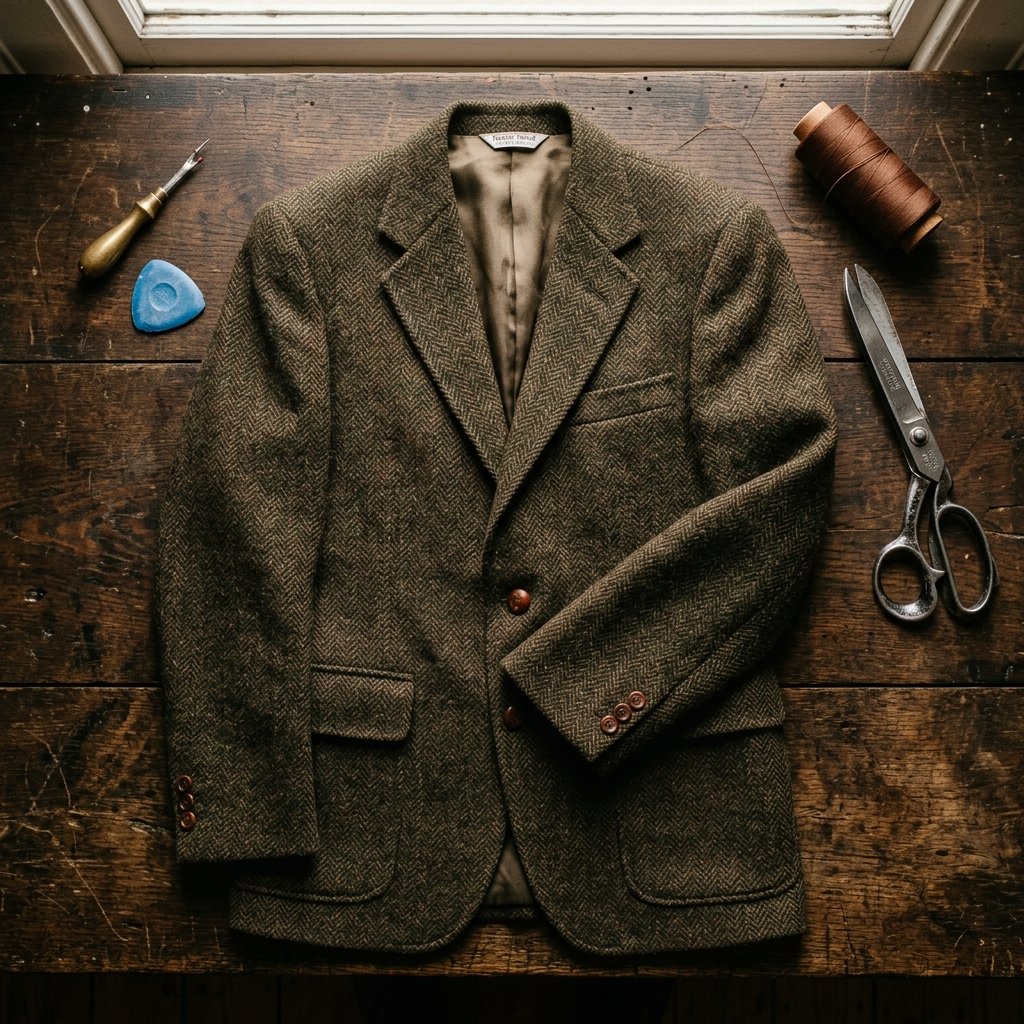
There is a specific kind of adrenaline that comes with finding a 100% Italian wool or Harris Tweed blazer at a local thrift shop for the meager price of $10. However, that excitement often cools when you realize the garment is three sizes too large, hanging off your shoulders like a borrowed tent. Most people would leave it on the rack, but the resourceful DIYer knows better. You aren’t just buying a jacket; you are buying high-grade raw materials and a structural foundation that, with a little clever hand-work, can be molded to your exact physique.
Professional tailoring for a full blazer downsize can easily run between $100 and $250, often triple the cost of the garment itself. By mastering a few rugged, practical hand-sewing techniques, you can achieve a ‘bespoke’ silhouette for the cost of a spool of thread and an afternoon of focused craftsmanship. This guide is designed for the crafty individual who values the masculine elegance of a well-fitted suit but possesses the budget-savvy mind of a true upcycler. We aren’t just ‘fixing’ a jacket; we are re-engineering it to fit you like a tailored glove.
“A man is only as confident as his shoulder-seams are crisp. Don’t let a baggy waist hide the sharp silhouette you’ve earned.”
The Sartorialist’s Toolkit: Materials and Budget
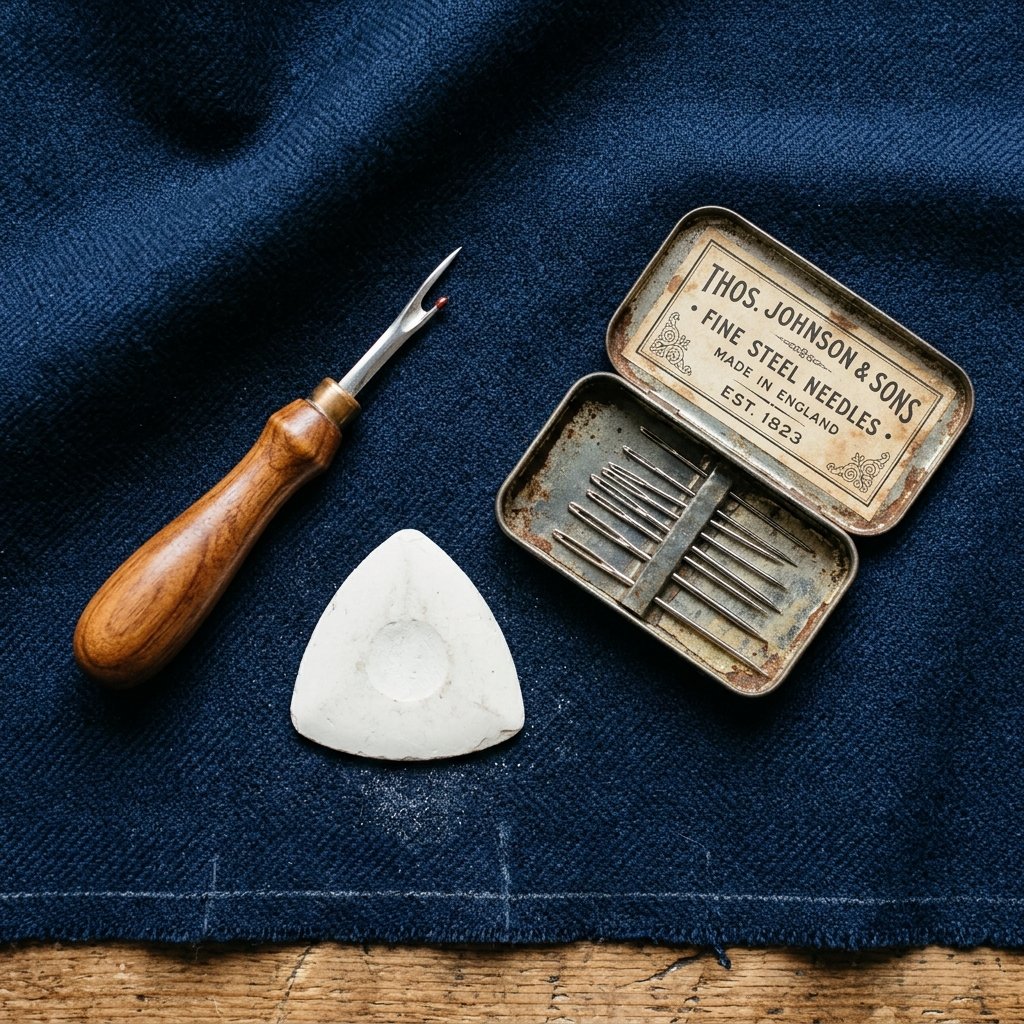
Before we make our first incision into the lining, we must gather the tools of the trade. Tailoring is a game of precision, and having the right implements will make the difference between a ‘homemade’ look and a ‘handmade’ masterpiece. You don’t need a thousand-dollar sewing machine; in fact, for the heavy wools and structured interlinings of a blazer, hand-stitching often provides superior control and a more durable finish.
| Tool | Purpose | Estimated Cost |
|---|---|---|
| Tailor’s Chalk | Marking new seam lines clearly without staining. | $3.00 |
| Seam Ripper | Carefully opening the lining and existing seams. | $2.50 |
| Heavy-Duty Needles | Suturing through thick wool and canvas. | $5.00 |
| Silk or Polyester Thread | High-tensile strength for structural seams. | $4.00 |
| Glass-Head Pins | Securing the fit during the try-on phase. | $6.00 |
| Tailor’s Ham | A firm cushion for pressing curved seams. | $15.00 (or DIY for free) |
As you can see, the total investment for your tailoring kit is roughly $35.50, and these tools will last through dozens of projects. Compared to the $150 average cost of a professional blazer overhaul, you are saving nearly 75% on your very first project.
The Blueprint: Pinning for the Perfect Silhouette
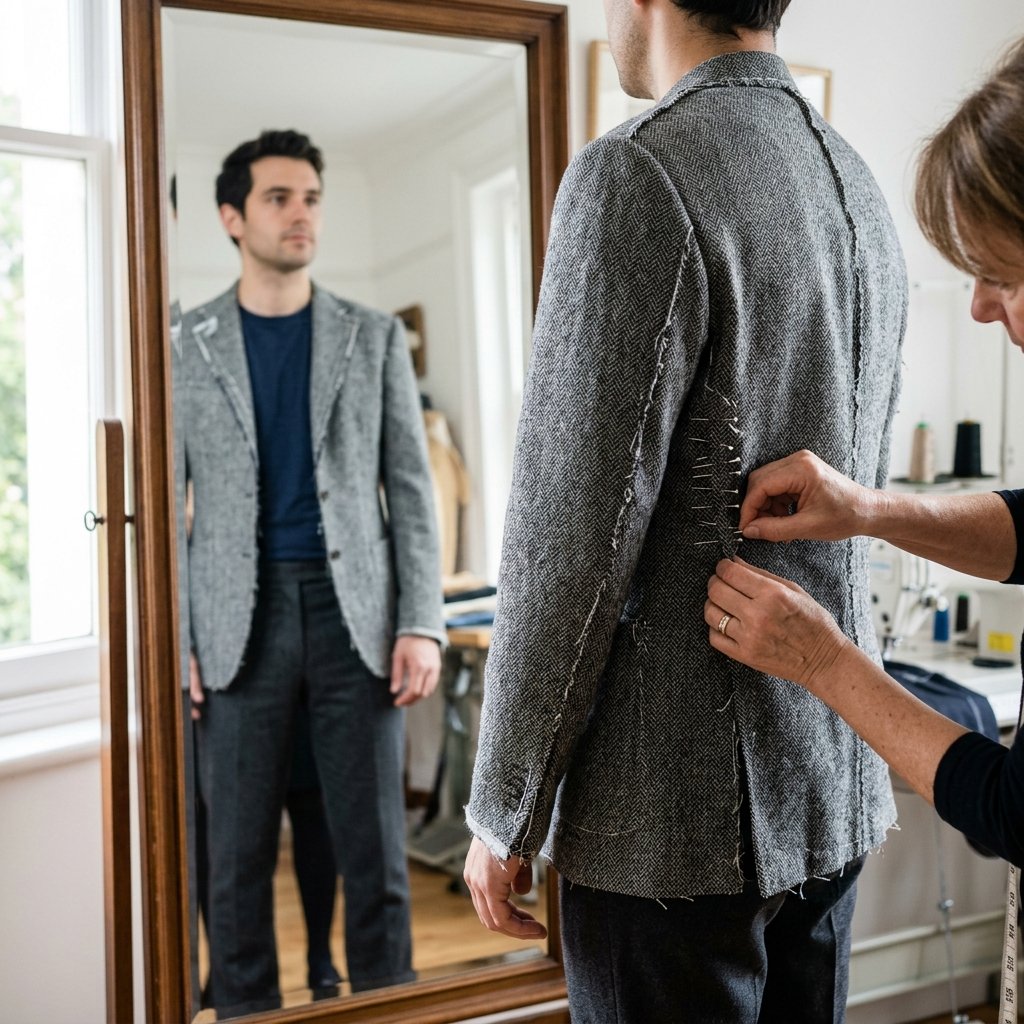
The secret to a tailored fit isn’t in the sewing; it’s in the pinning. To begin, put the blazer on inside out. This allows you to mark the exact lines where the new seams will go. Wear the type of shirt you intend to pair with the blazer to ensure the armholes and chest have the appropriate ‘ease’.
The ‘Pinch and Tuck’ Method
- The Side Seams: Reach around to the side seams (the ones running from the armpit to the hem). Pinch the excess fabric until the jacket feels snug but comfortable. Pin vertically along this line.
- The Back Seam: If the jacket ‘tents’ out at the back, have a partner pinch the center-back seam. This is the most effective way to create that sought-after V-taper.
- The Armholes: Be careful here. If you pin too tightly, you’ll lose mobility. You should be able to move your arms forward comfortably without the fabric pulling across your shoulder blades.
“Always pin slightly looser than you think you need. You can always take more fabric away, but adding it back requires a miracle.”
Once pinned, carefully take the jacket off. Use your tailor’s chalk to draw a solid line exactly where your pins are. This line represents your new ‘seam path’. Use a ruler to ensure the lines are straight and symmetrical on both sides of the jacket. Symmetry is the hallmark of quality.
Deconstructing with Precision: Opening the Lining
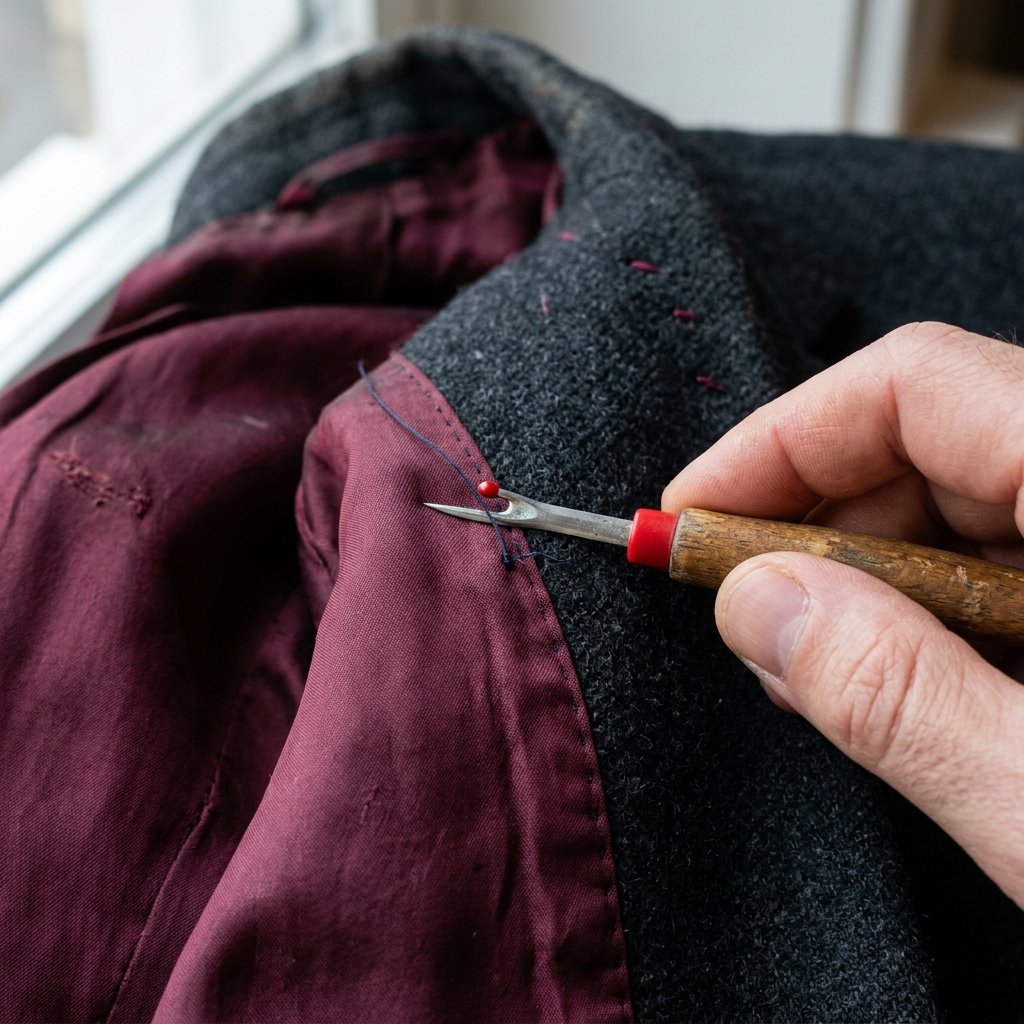
One of the biggest mistakes DIYers make is sewing through the lining and the outer fabric at the same time. This results in ‘puckering’ and a jacket that looks like a cheap craft project. To do this right, we must go beneath the surface.
- Locate the bottom hem of the blazer lining.
- Using your seam ripper, carefully open about 10 inches of the seam where the lining meets the wool.
- Reach inside and pull the side seams of the outer wool fabric through this opening. This is called ‘bagging out’ the jacket.
- You now have direct access to the structural seams without the lining getting in the way.
By isolating the outer fabric, you ensure that your new stitches are clean and professional. It also allows you to trim the excess fabric later without ruining the interior aesthetic of the garment. Remember, a rugged gentleman cares as much about the internal construction as he does the external appearance.
The Structural Stitch: Mastering the Backstitch
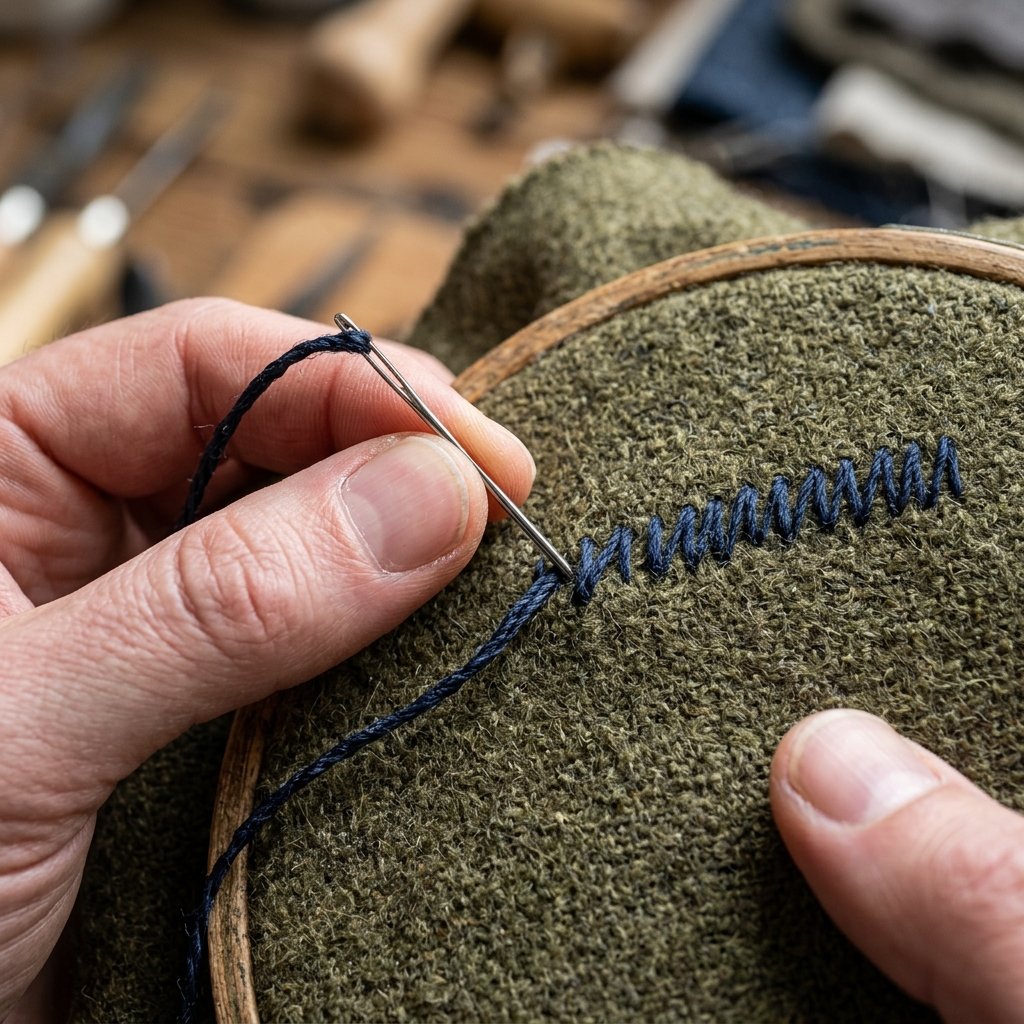
Since we aren’t using a machine, we need a hand-stitch that can withstand the tension of movement. The Backstitch is the undisputed king of hand-sewing. It is stronger than a standard machine straight-stitch because each stitch overlaps the last, creating a continuous, unbreakable chain of thread.
How to Execute a Tailor-Grade Backstitch
- Thread your needle and double-knot the end. Use a thread length no longer than your arm to prevent tangling.
- Push the needle up through the fabric from the bottom at your starting point.
- Move the needle about 1/8th of an inch backward (hence the name) and push it down through the fabric.
- Bring the needle back up 1/4th of an inch forward from your last entry point.
- Repeat the process, always ‘stepping back’ into the hole created by the previous stitch.
This creates a solid line of thread on the top and a reinforced overlap on the bottom. When downsizing a blazer, use small, tight stitches. If your stitches are too long, the seam will ‘gape’ when you move, revealing the thread and screaming ‘DIY’.
| Stitch Type | Best Used For | Strength Rating |
|---|---|---|
| Backstitch | Structural side seams and shoulders. | 9/10 |
| Ladder Stitch | Closing the lining invisibly. | 6/10 |
| Whip Stitch | Securing raw edges from fraying. | 5/10 |
Refining the Details: Sleeves and Buttons
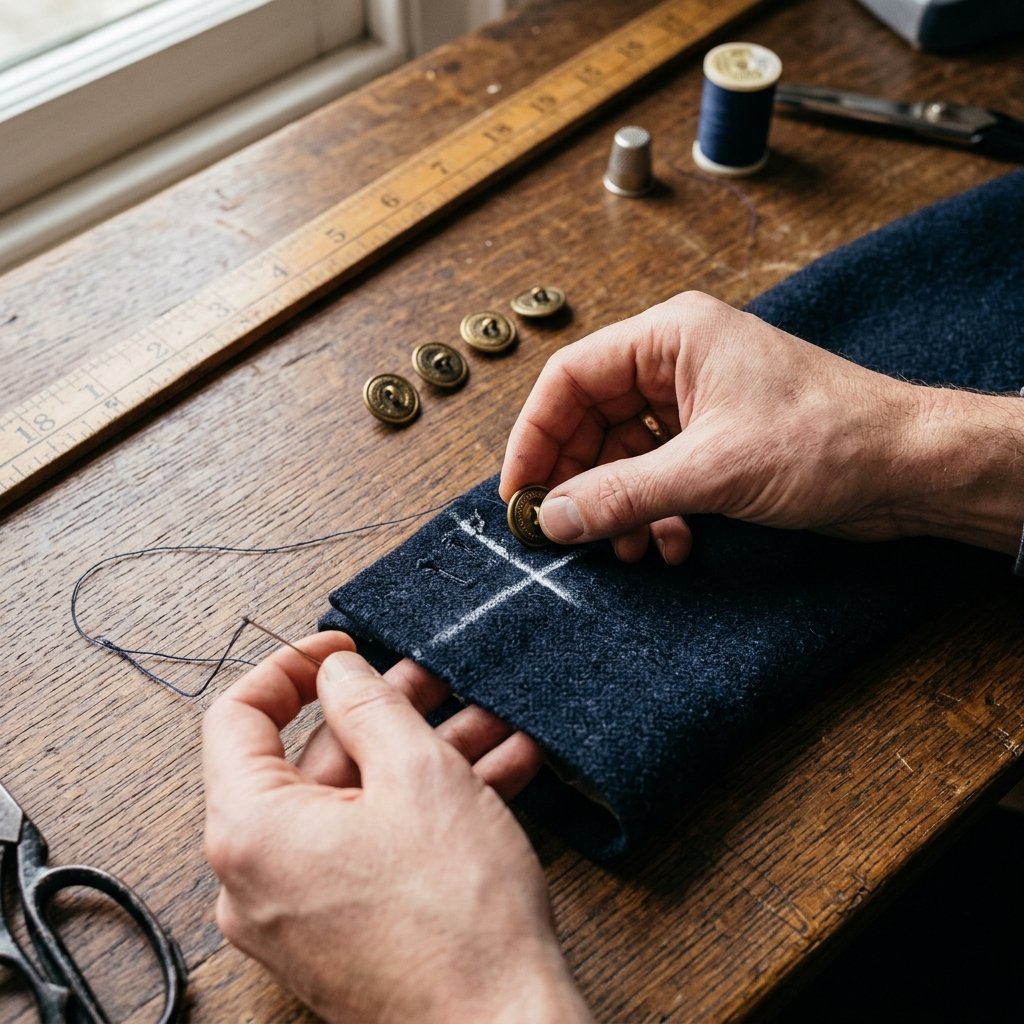
Once the body of the blazer is narrowed, the sleeves often look disproportionately wide. Downsizing the sleeves follows the same logic as the side seams: turn inside out, pin the ‘underarm’ seam, and backstitch. However, the cuffs require a bit more finesse.
If the sleeves are too long, don’t just cut them. Most quality blazers have ‘functional’ or ‘faux-functional’ buttonholes. To shorten the sleeve properly:
- Measure the desired length (usually hitting just at the base of the thumb).
- Fold the excess fabric inward and pin.
- Use a blind hem stitch (a stitch that only catches a few fibers of the outer fabric) to secure the new hem. This ensures no stitches are visible from the outside.
- If the buttons are now too close to the edge, carefully remove them with your seam ripper and move them up 1-2 inches to maintain the correct proportions.
Pro Tip: When sewing buttons back on, place a matchstick or a toothpick between the button and the fabric while sewing. This creates a ‘shank’ (a small gap), allowing the button to sit perfectly when the thick wool of the blazer is buttoned up.
The Final Press: From ‘Frumpy’ to ‘Bespoke’
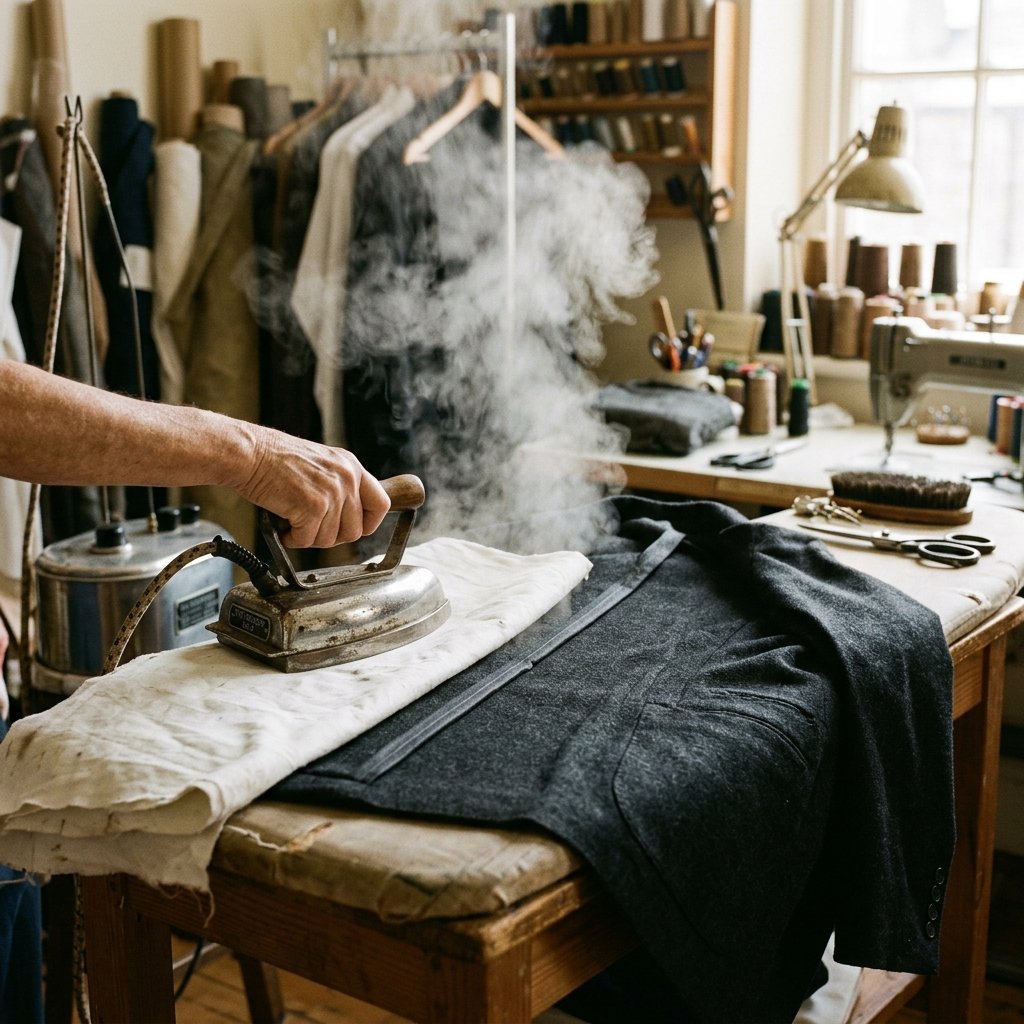
The final step is what separates the amateurs from the experts: The Steam Press. A seam that hasn’t been pressed is just a bunch of thread holding fabric together. A pressed seam is a structural element of a garment.
The Pressing Protocol
- Turn the jacket right-side out.
- Place a pressing cloth (a clean scrap of cotton or a tea towel) over your new seams. Never touch the iron directly to the wool, as it can ‘scorch’ the fibers and leave a permanent shiny mark.
- Use a high-steam setting and press down firmly on the seam. Do not ‘slide’ the iron; press and lift.
- Use a tailor’s ham for the curved areas around the chest and waist to maintain the three-dimensional shape of the garment.
Once pressed, the wool fibers will ‘lock’ around your new stitches, and the bulk of the seam will flatten out, creating that crisp, razor-sharp edge found on high-end designer jackets. You have officially successfully downsized your first blazer.
Conclusion
The $200 Silhouette for $10
By investing a few hours of your time and utilizing these clever tailoring hacks, you have transformed a discarded, oversized garment into a custom-fitted staple of your wardrobe. You’ve saved over $140 in tailoring fees and rescued a high-quality piece of clothing from the landfill. This is the essence of being a resourceful DIYer: seeing the potential in the ‘too-big’ and ‘too-old’ and having the crafty expertise to make it your own.
Wear your new blazer with the pride of a man who knows his clothes fit because he made them fit. Whether it’s for a wedding, a job interview, or a rugged-elegant weekend look, you are now walking proof that style isn’t bought—it’s engineered. Now, get back to that thrift store; there’s another diamond in the rough waiting for your needle and thread.

Makenzie is the founder and lead writer at MoneyHackTips.com — a personal finance blog dedicated to delivering street-smart financial wisdom for real people on real budgets. With 300+ published articles covering everything from debt management to investing fundamentals, Makenzie’s mission is to make every dollar work harder. When not writing about money hacks, Makenzie is testing frugal living strategies, optimizing side hustles, and helping readers build financial freedom from scratch.