
The Secret to High-End Groomsmen Gifts Without the ‘Wedding Tax’
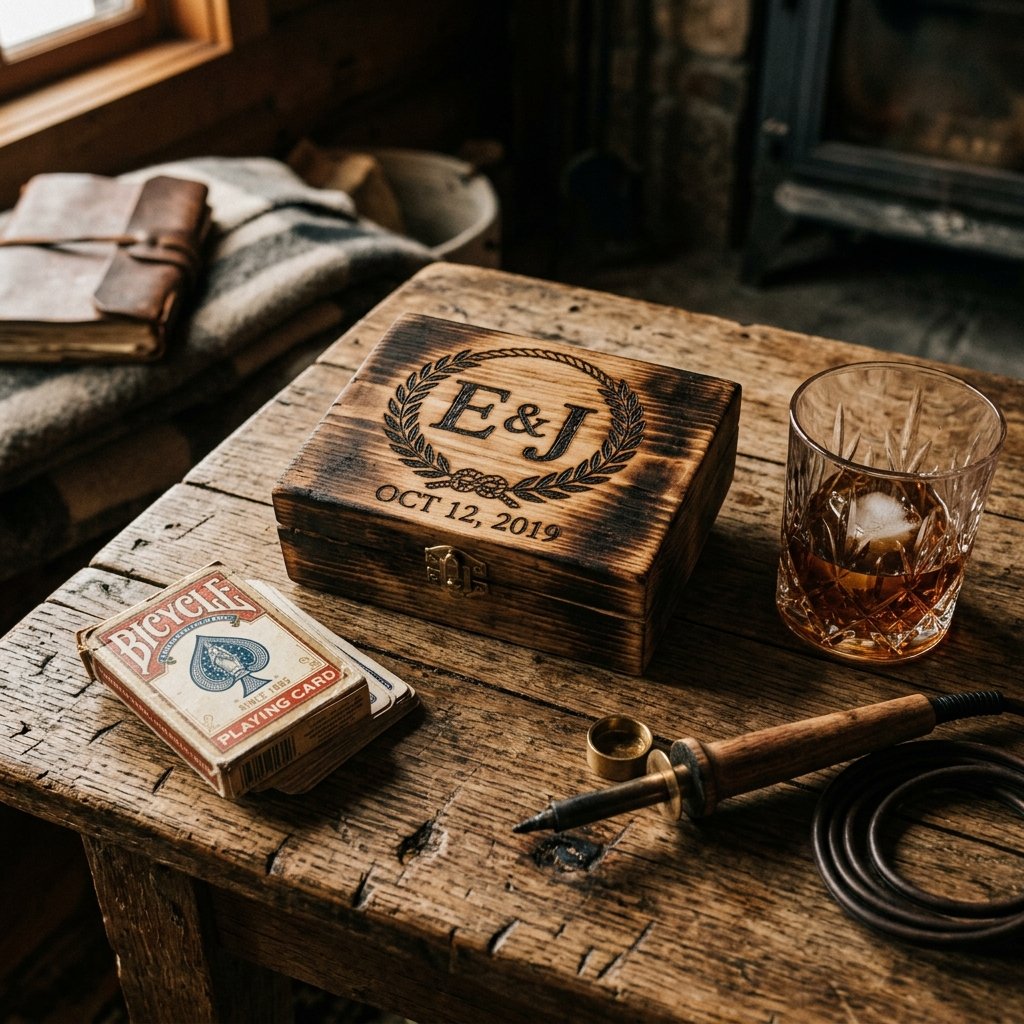
Let’s be honest: the ‘Wedding Tax’ is real. The moment you search for ‘groomsmen gifts,’ you are met with mass-produced flasks and cheap plastic multi-tools that cost $30 to $50 a piece. As a resourceful DIYer, you know better. You know that true value doesn’t come from a price tag, but from the grit and craft you put into a project. Enter the DIY Wood Burned Playing Card Box. This project is the epitome of masculine elegance—rugged, functional, and deeply personal. By using scrap wood or a simple $1.25 wooden box from a craft store, you can create a bespoke heirloom that looks like it was plucked from a high-end boutique in Aspen, yet it costs you practically pennies per unit. Whether you’re a groom on a budget or a crafty friend looking to impress, this guide will show you how to master the art of pyrography to create the ultimate ‘thank you’ for your crew.
The Budget Breakdown: Store-Bought vs. Hand-Crafted

Before we pick up the wood burning pen, let’s look at the cold, hard numbers. A personalized wooden card box from an online boutique typically retails for $25.00 to $45.00 plus shipping. When you are buying for five, six, or ten groomsmen, that budget explodes. By sourcing your own materials and providing the labor yourself, you can drive that cost down to less than $2.00 per gift.
| Item | Boutique Price | DIY Cost |
|---|---|---|
| Wooden Card Box | $15.00 | $1.25 (Dollar Tree/Scrap) |
| Personalized Engraving | $15.00 | $0.00 (Hand-burned) |
| Interior Lining (Felt/Velvet) | $5.00 | $0.10 (Scraps) |
| Wood Finish/Stain | Included | $0.15 (Per unit) |
| Total Per Gift | $35.00+ | $1.50 |
The savings are astronomical. With the money you save, you could actually afford to put a $10.00 deck of high-quality waterproof cards inside the box, and you’d still be $23.50 ahead per person!
Essential Tools & Sourcing Your Materials
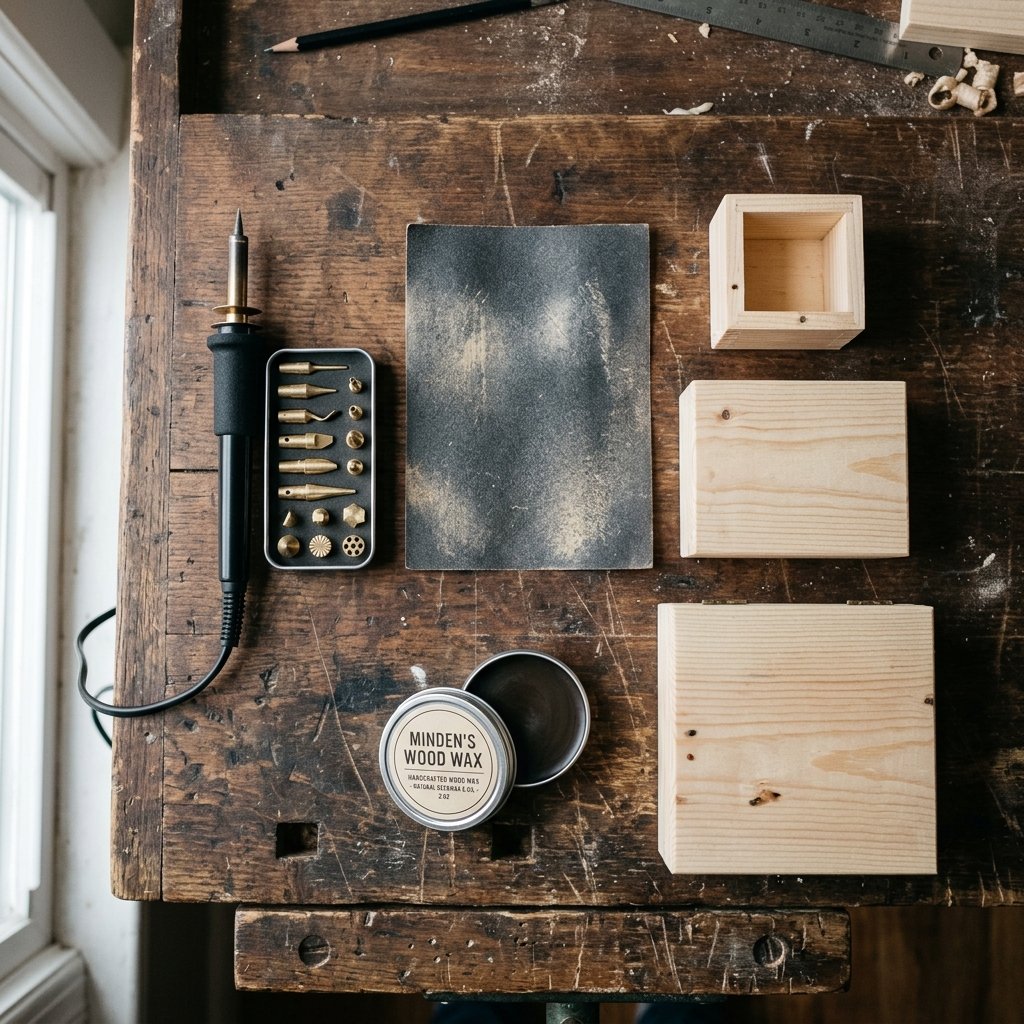
To achieve a professional, ‘masculine-elegant’ finish, you don’t need a workshop full of power tools. You just need the right basics. If you are a frugal crafter, you likely already have half of these items in your junk drawer or garage.
- The Box: Look for unfinished pine or Paulownia wood boxes at dollar stores, or better yet, use 1/4-inch plywood scraps from your last home project.
- Wood Burning Tool: A basic pyrography pen costs about $10.00 to $15.00 and will last for hundreds of projects.
- Sandpaper: You’ll need 220-grit and 400-grit for a buttery-smooth finish.
- Carbon Paper: For transferring your designs perfectly (or use the ‘pencil rubbing’ trick for $0 cost).
- Finish: A small can of walnut stain or even simple olive oil/beeswax for a food-safe, rugged look.
Safety First: Wood burning involves high heat and smoke. Always work in a well-ventilated area, wear a mask if you are sensitive to smoke, and never leave your wood burning pen unattended. Keep a ceramic dish nearby to rest the hot tool.
Step-by-Step: Prepping and Transferring Your Design
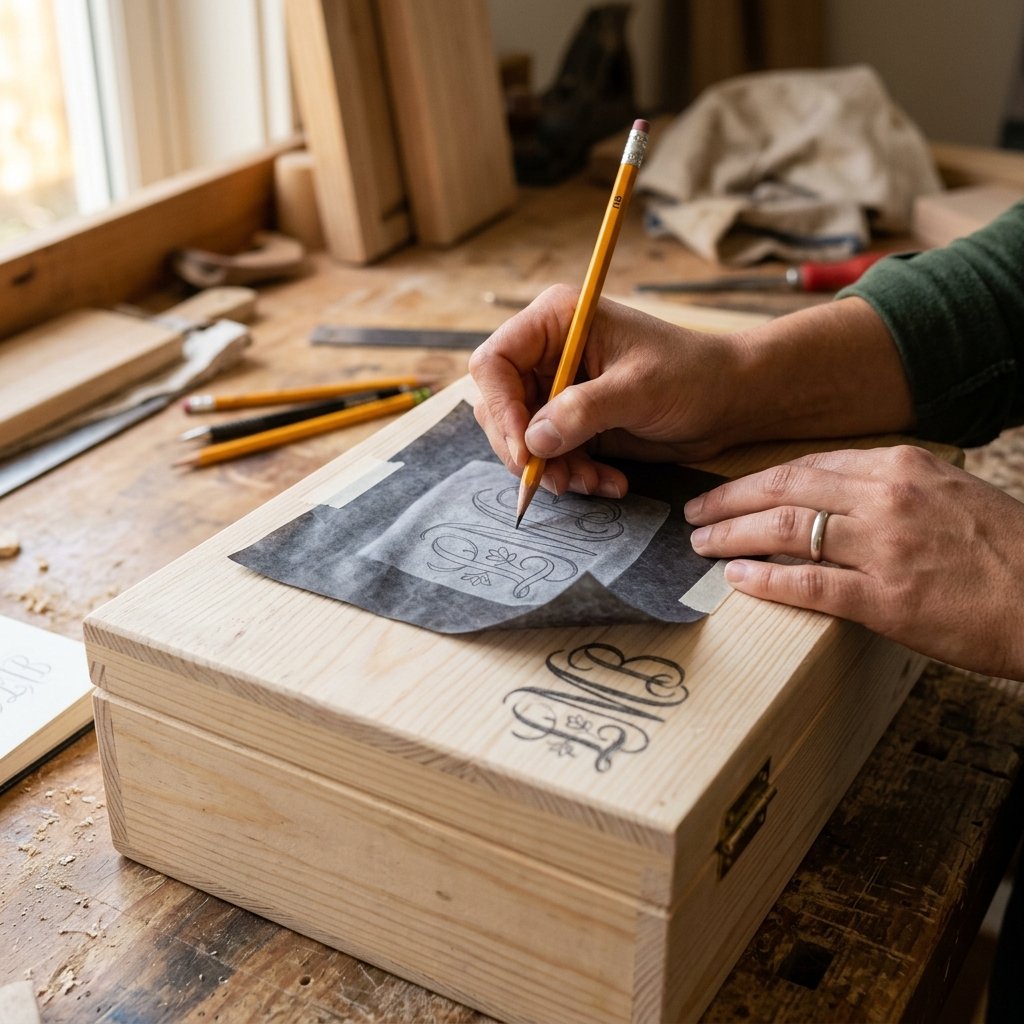
1. The Sanding Phase
The difference between a ‘cheap craft’ and a ‘hand-crafted heirloom’ is the prep work. Use your 220-grit sandpaper to remove any splinters or rough edges from the box. Finish with 400-grit until the wood feels like satin. This ensures your wood burning tip won’t get caught in the grain, which causes unsightly ‘blobs’ of char.
2. Designing the Monogram
For a sophisticated look, choose a classic serif font or a rugged, outdoor-inspired logo. You can design this on any free software (like Canva) and print it out. Keep the lines clean—thick lines take longer to burn and are harder for beginners.
3. The Transfer Trick
Don’t freehand! Unless you are a master artist, use carbon paper to trace your design onto the wood. If you don’t have carbon paper, rub a soft lead pencil heavily on the back of your printed design, flip it over onto the box, and trace the front with a ballpoint pen. The lead will transfer an outline perfectly to the wood for zero cost.
Mastering the Burn: Techniques for a Rugged Finish
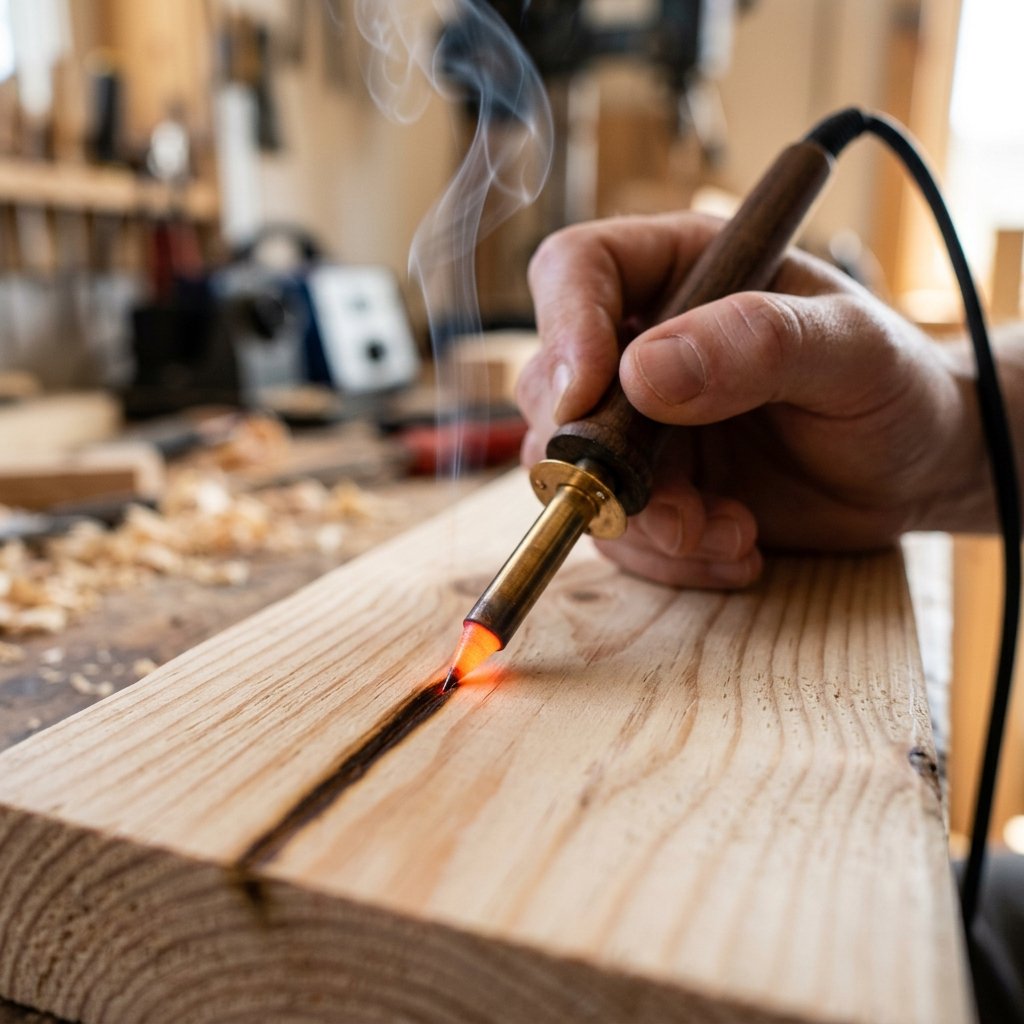
Now for the satisfying part. Wood burning is all about patience and pressure. Here is how to get that perfect, deep char without scorching the surrounding area.
- Let it Heat: Give your tool at least 5 minutes to reach its maximum temperature. A cold tool will drag and tear the wood fibers.
- The Light Touch: Do not press down hard. Let the heat do the work. Think of it as ‘gliding’ rather than ‘writing.’
- Consistent Speed: The longer you stay in one spot, the deeper and wider the burn. Move at a steady pace for uniform lines.
- Texture Secrets: For a rugged look, use the ‘stippling’ technique (small dots) to fill in larger areas of a monogram. This creates a hammered-metal effect that looks incredibly masculine.
The ‘Scrap’ Rule: Always keep a piece of scrap wood from the same material as your box nearby. Test your heat and your tips on the scrap before touching the actual gift. Different woods react differently to heat!
The Finishing Touches: From Raw Wood to Bespoke Gift
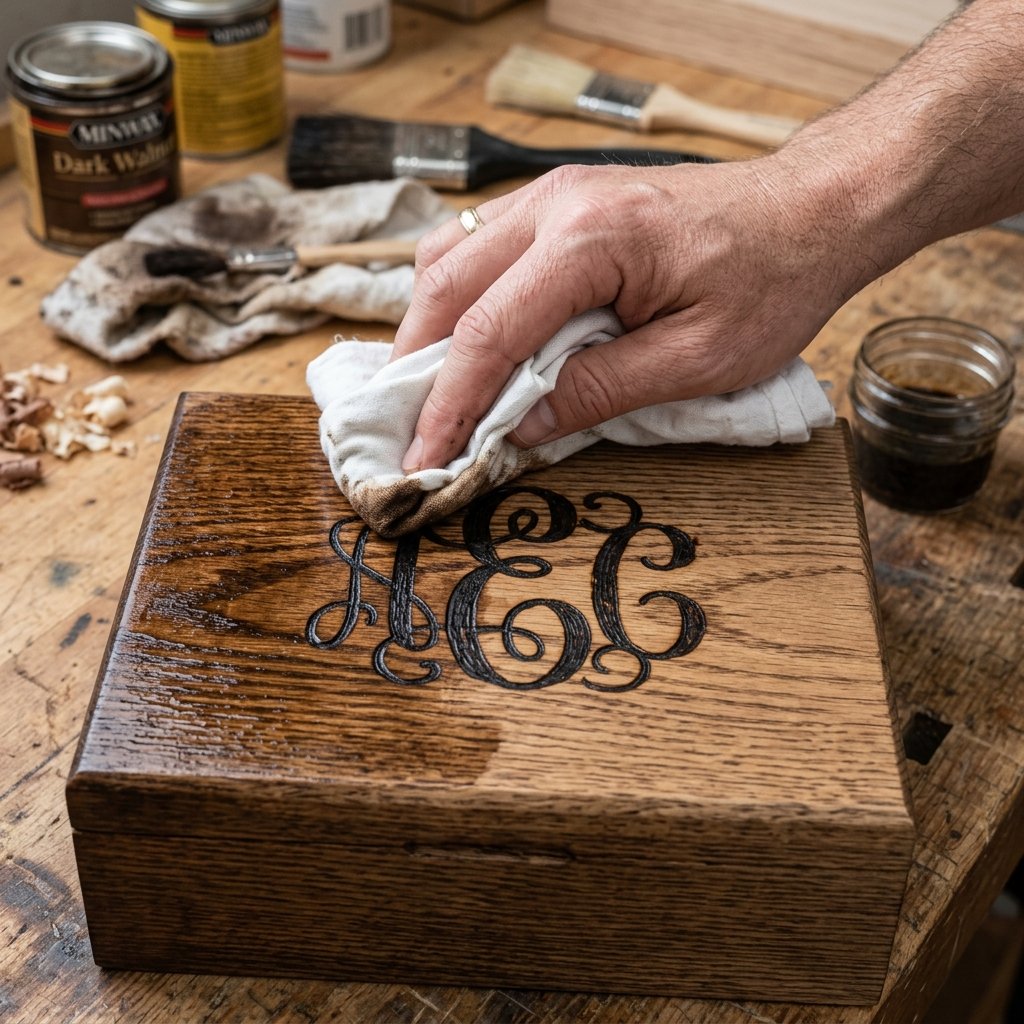
Once your burning is complete, the box will look a bit ‘raw.’ We need to elevate it. A good finish protects the wood and makes the burned design pop with contrast.
Staining for Depth
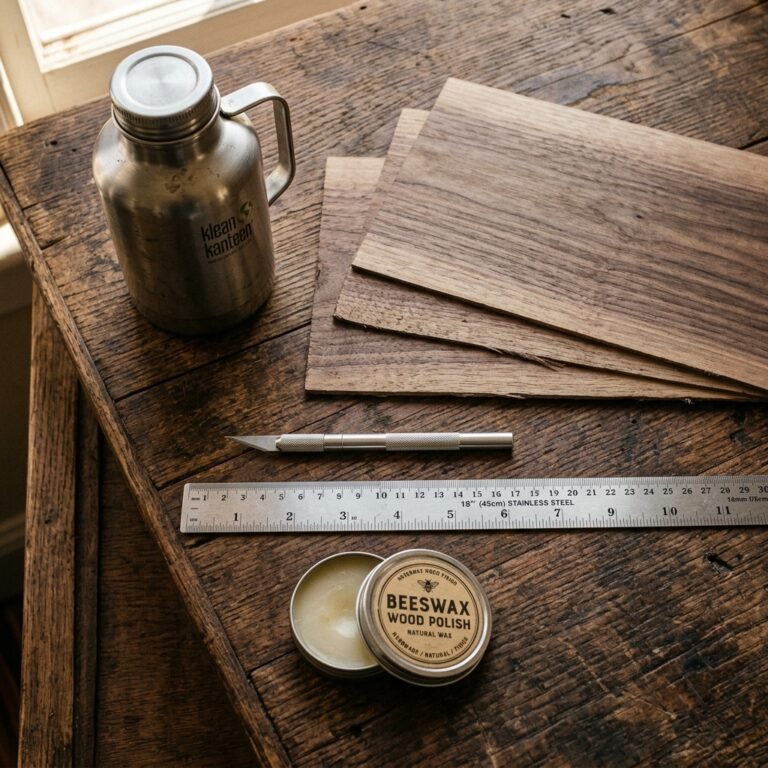
Use a lint-free rag to apply a dark walnut or espresso stain. Wipe it on, wait 2 minutes, and wipe it off. The stain will settle into the burned grooves, making the personalization stand out. If you want a more natural, rugged look, use a 50/50 mix of beeswax and mineral oil. It’s cheap, non-toxic, and smells great.
Lining the Interior
To make the box feel truly premium, line the bottom with a scrap of adhesive felt or even a piece of an old leather jacket. This prevents the cards from rattling and adds a ‘thud’ of quality when the box is handled. Pro Tip: Use a dark forest green or navy blue velvet for a classic ‘poker club’ vibe.
Presentation: The Ultimate Groomsmen Hand-Off
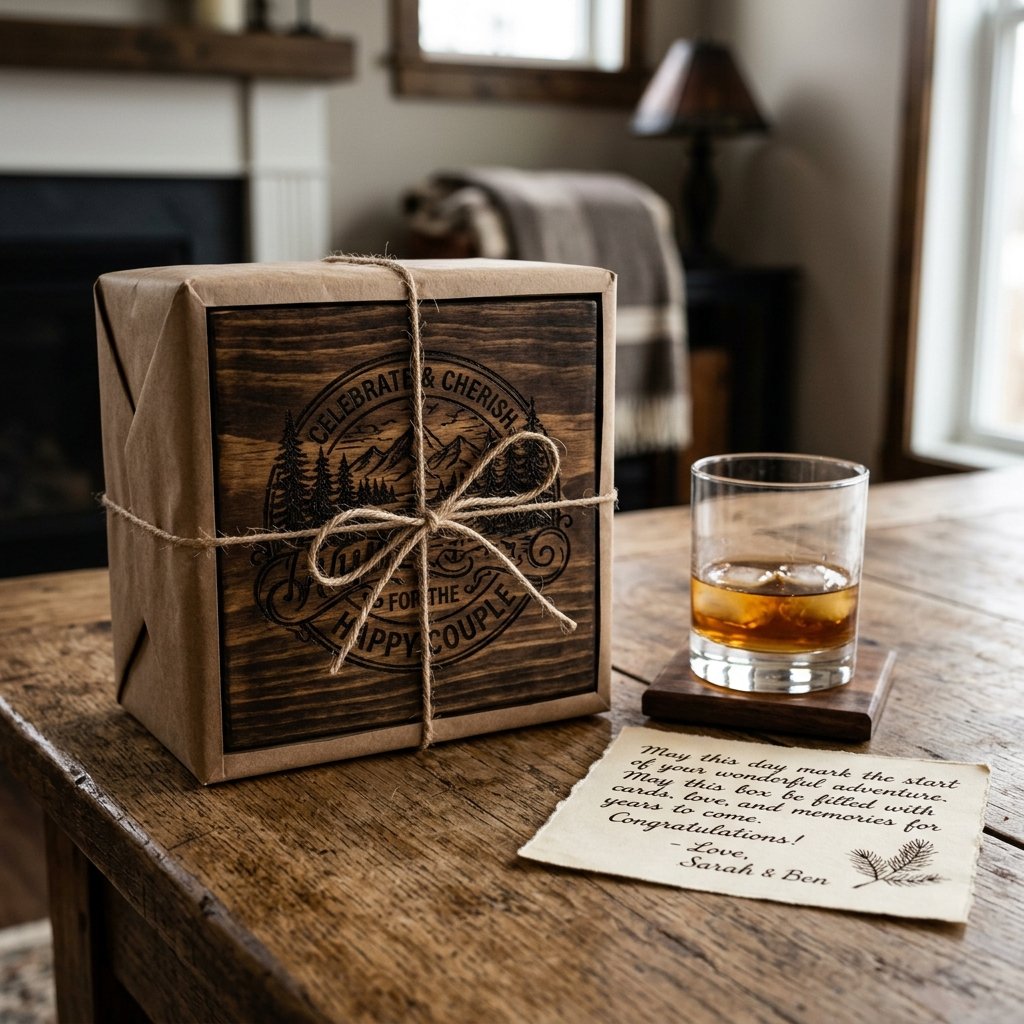
Presentation is 90% of the gift’s perceived value. Don’t just hand over the box. Create an experience. Since you saved so much on the box itself, you can use your ‘cleverness’ to round out the gift.
- Add a Deck: Place a deck of ‘Theory11’ or high-end ‘Bicycle’ cards inside. They cost about $5.00 to $10.00 but feel incredibly luxury.
- The Wrap: Wrap the box in simple brown butcher paper ($1.00 for a giant roll) and tie it with a piece of rugged twine. Tuck a sprig of dried rosemary or cedar into the knot for a masculine scent.
- The Note: Write a short, hand-written note on a piece of cardstock. Mention a memory involving a card game or a night out. This costs nothing but is the part they will keep forever.
Conclusion
A Gift That Outlasts the Wedding Day
By choosing to DIY these wood burned playing card boxes, you’ve done more than just save hundreds of dollars. You’ve created a tangible symbol of your friendship that your groomsmen will actually use during poker nights, camping trips, and family gatherings for years to come. This project proves that you don’t need a massive budget to give a gift that is sophisticated, rugged, and deeply meaningful. You just need a little heat, a bit of scrap wood, and the willingness to get your hands a little dirty. Now, get burning—your crew is going to love these!

Makenzie is the founder and lead writer at MoneyHackTips.com — a personal finance blog dedicated to delivering street-smart financial wisdom for real people on real budgets. With 300+ published articles covering everything from debt management to investing fundamentals, Makenzie’s mission is to make every dollar work harder. When not writing about money hacks, Makenzie is testing frugal living strategies, optimizing side hustles, and helping readers build financial freedom from scratch.