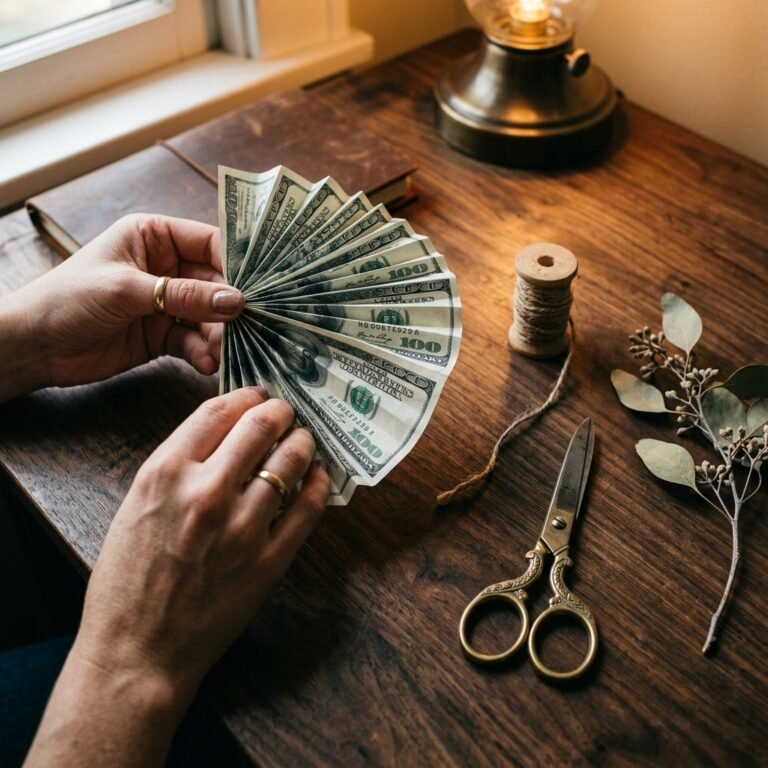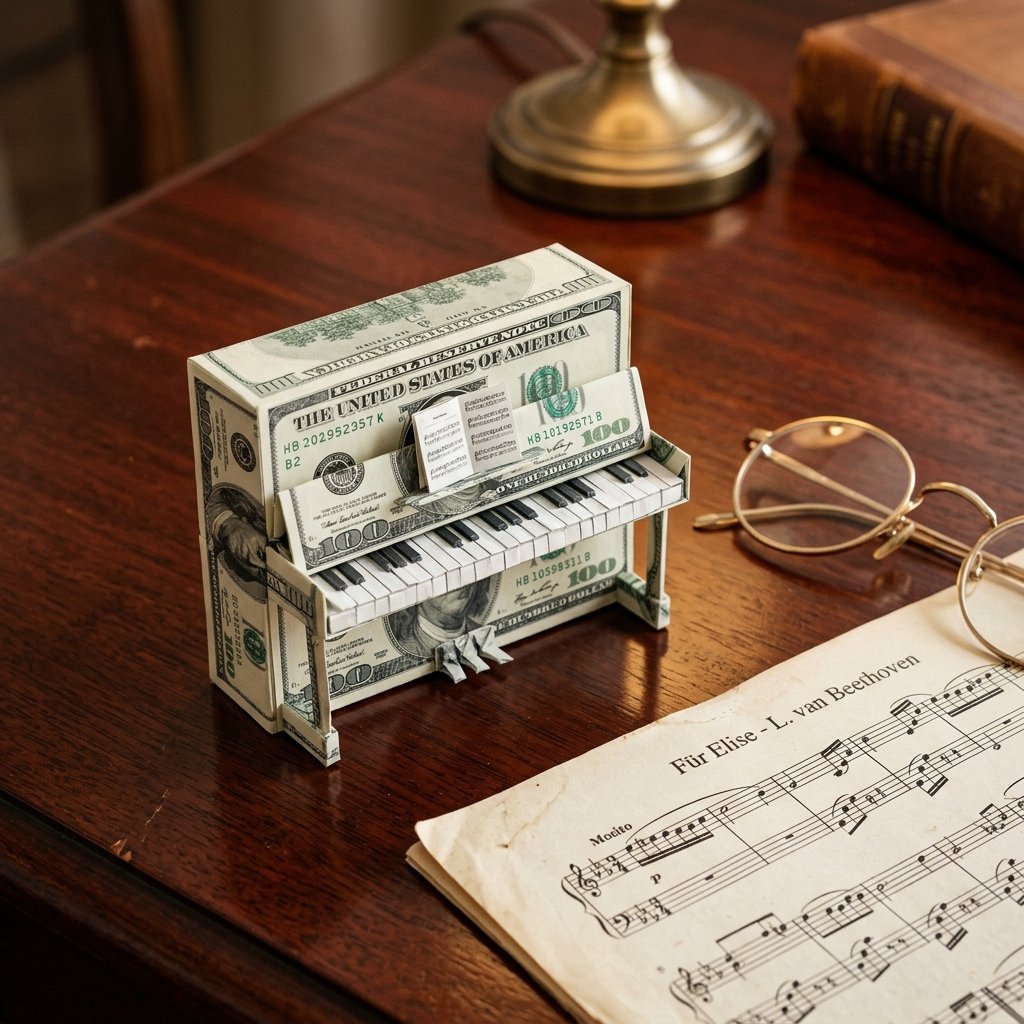

Let’s be honest: giving cash is often seen as the ‘easy way out.’ It’s practical, sure, but it lacks that personal punch that says, ‘I actually thought about you.’ But what if you could take that cold, hard currency and sculpt it into something that reflects the recipient’s soul? If you’re shopping for a pianist, a music teacher, or a graduate who spent more time in the practice room than the cafeteria, a Money Origami Piano is the ultimate power move.
As a frugal DIYer, you know that the best gifts aren’t about the price tag—they’re about the craftsmanship. We’re going to take a standard Federal Reserve Note and, through a series of precise, luthier-like folds, transform it into a three-dimensional upright piano that actually stands on its own. This isn’t just a gift; it’s a performance. It’s rugged, it’s clever, and it costs you absolutely nothing extra beyond the value of the bill itself. Grab a crisp bill, find a flat surface, and let’s compose a masterpiece.
The Luthier’s Kit: Choosing Your Currency and Tools
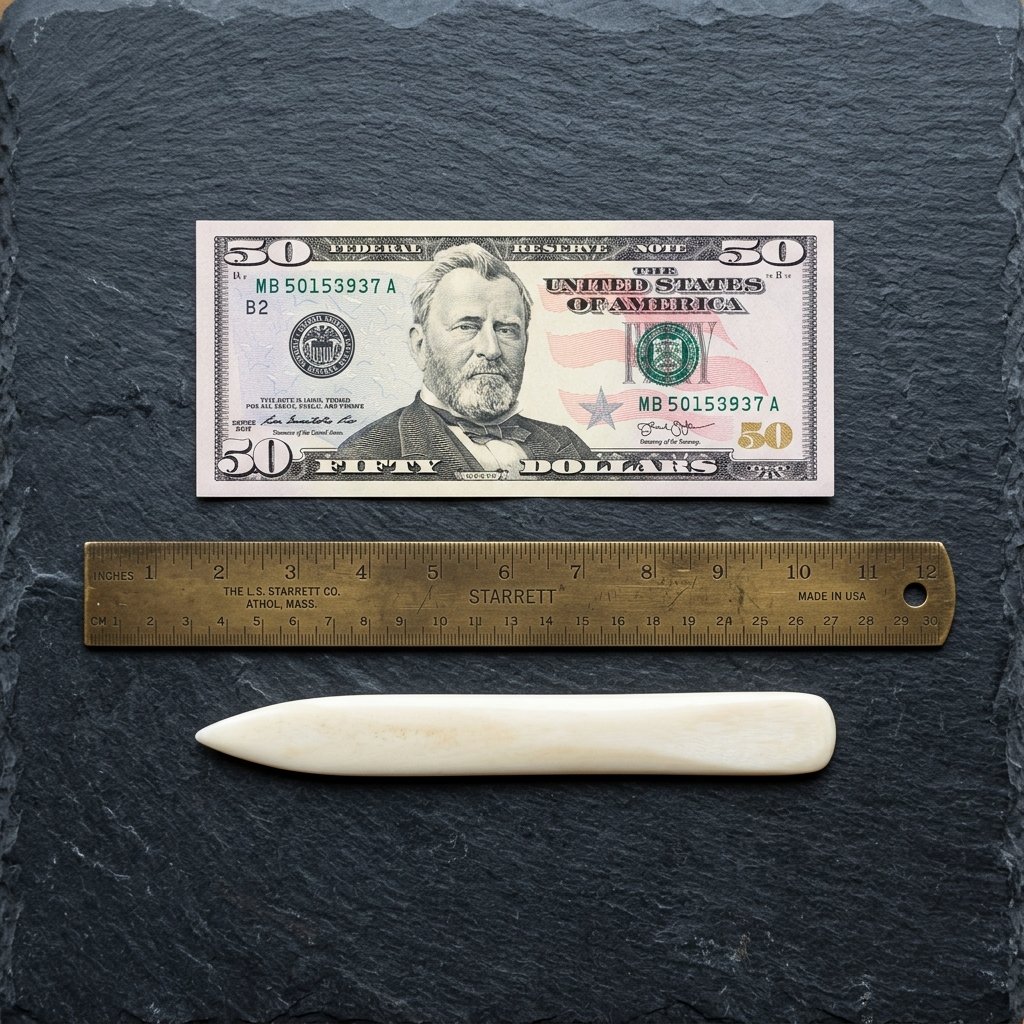
Before we make the first fold, we need to talk about the quality of your materials. In the world of money origami, the condition of the bill is your ‘lumber.’ You wouldn’t build a fine instrument out of warped plywood, so don’t try to fold a piano with a limp, wrinkled dollar bill that’s been through a vending machine ten times.
For the sharpest, most professional-looking piano, you want a crisp, uncirculated bill. If you don’t have one, head to the bank and ask the teller for their freshest notes. The stiffness of the paper is what allows the piano to hold its shape and stand upright without collapsing under its own weight.
Essential Tools for Precision
While you can certainly fold this with your bare hands, a few household items can elevate your work from ‘amateur’ to ‘artisan.’ Here is what I recommend for the savvy crafter:
| Tool | Purpose | Budget Substitute |
|---|---|---|
| Crisp Bill | The medium for your art. | Any denomination works! |
| Bone Folder | Creating razor-sharp creases. | The edge of a credit card or a fingernail. |
| Flat Surface | Ensuring symmetry. | A kitchen table or a hardback book. |
| Tweezers | Manipulating small corner folds. | Your steady, capable hands. |
Frugal Pro-Tip: If your bill is slightly wrinkled, you can actually iron it on a very low, dry setting (no steam!) to restore its crispness. Just be careful not to scorch the currency!
Step-by-Step Composition: Folding the Piano Body

Precision is the name of the game here. We are going to use a series of ‘Valley Folds’ (folding inward) and ‘Mountain Folds’ (folding outward) to create the structure. Follow these steps carefully to ensure your piano hits all the right notes.
- The Foundation: Lay the bill flat on your workspace, face up. Fold the bill in half lengthwise (hot dog style), crease it well with your credit card or bone folder, and then unfold it. This gives you a center guide line.
- The Vertical Divide: Fold the bill in half widthwise (hamburger style), crease, and unfold.
- The Shutters: Fold the left and right outer edges inward so they meet exactly at the center vertical crease you just made. Your bill should now look like a set of double doors.
- The Roof Fold: Take the top corners of these ‘doors’ and fold them down diagonally toward the center, forming a triangle shape at the top. It should look like the roof of a house. Unfold these.
- The Squash Fold: This is the trickiest part. Open the ‘doors’ slightly, tuck your finger into the top corner, and ‘squash’ the triangle fold down so it forms a square shape on each side. This creates the side supports of the piano.
- The Keyboard Flap: Take the bottom edge of the center section (between the two squashed sides) and fold it upward. This flap will eventually become your keys.
- The Leg Support: Fold the outer edges of the entire structure inward slightly to create the ‘cheeks’ or side panels of the piano. This provides the 3D depth needed for it to stand.
“The secret to a perfect origami piano isn’t in the hands, but in the heat of the crease. Press every fold like you’re sealing a contract.”
Tuning the Details: Creating the Keyboard and Stand

Now that we have the basic frame, it’s time to give the piano its character. A piano without keys is just a box, and we’re aiming for excellence. This stage requires a bit of finesse to ensure the ‘keyboard’ sits at the correct height.
Refining the Keyboard
Take that center flap you folded up earlier. Fold the top edge of it back down about 1/3 of the way. This creates a tiered effect. The top part represents the music rest, and the bottom part represents the keys. If you want to be extra crafty, you can use a very fine-tipped black marker to lightly draw tiny lines for the keys, though most purists prefer the clean look of the unadulterated bill.
Ensuring Structural Integrity
To make the piano stand up on its own, you need to adjust the side flaps (the ‘doors’ from earlier). Swing them out at a 90-degree angle from the back of the piano. These act as the legs. If the piano feels top-heavy, check your center of gravity and ensure the bottom folds are perfectly horizontal.
| Feature | Adjustment Tip | Visual Goal |
|---|---|---|
| The Keys | Fold the flap twice to create depth. | A horizontal ‘shelf’ in the middle. |
| The Legs | Ensure 90-degree angles. | A sturdy, upright stance. |
| The Back | Keep the center crease tight. | A flat, professional rear finish. |
Safety Note: Be careful not to use any tape or glue. Part of the ‘wow’ factor of money origami is that the recipient can eventually unfold it and spend the money without any sticky residue or damage.
The Denomination Matrix: Which Bill Hits the Best Note?
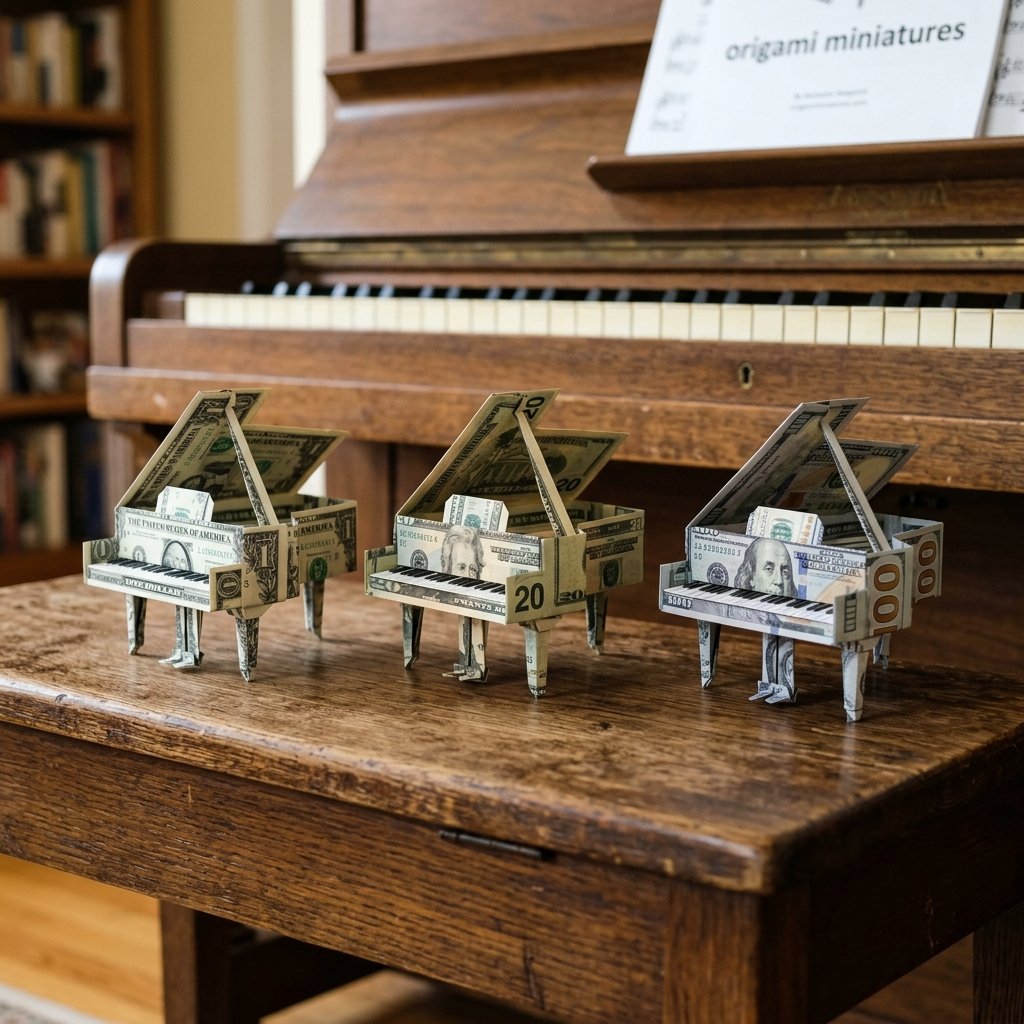
As a budget-savvy crafter, you might be wondering if the denomination of the bill changes the impact. While the folding process is identical for a $1 bill or a $100 bill, the presentation value changes significantly. Use this matrix to decide which ‘note’ to play for your specific occasion.
| Denomination | Best Occasion | Visual Impact Score |
|---|---|---|
| $1.00 | Small ‘Good Luck’ at a recital. | 3/10 (Cute & Thoughtful) |
| $5.00 | Piano teacher thank-you gift. | 5/10 (Practical) |
| $20.00 | Birthday gift for a teen musician. | 8/10 (High Value) |
| $100.00 | High school or college graduation. | 10/10 (The Showstopper) |
| $2.00 | Unique collectors or kids’ gifts. | 9/10 (Rare & Quirky) |
If you really want to go the extra mile, consider folding a Grand Piano (which is a much more complex fold) using two bills—one for the body and one for the legs. However, for most music lovers, the classic upright piano we’ve built today is the perfect balance of elegance and recognizability.
The Grand Finale: Creative Ways to Present Your Gift
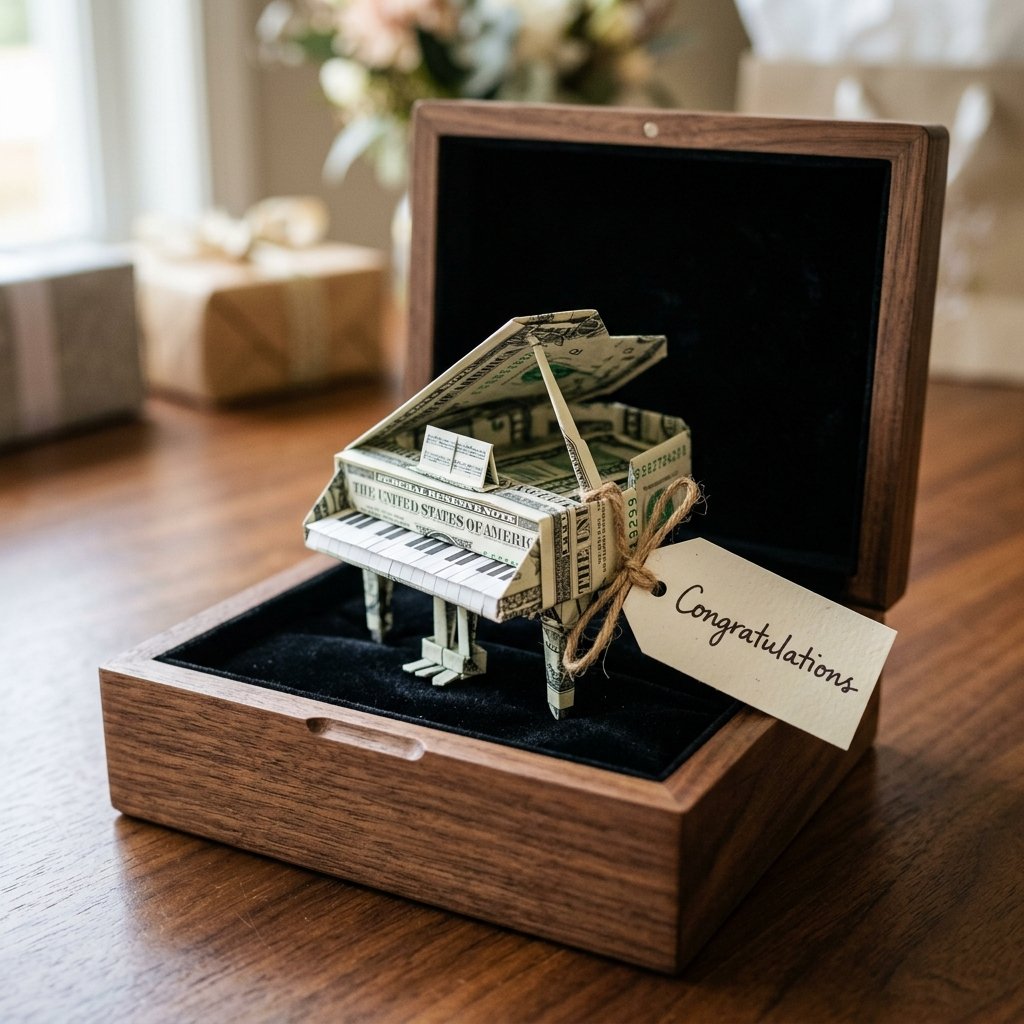
You’ve done the hard work of folding; now don’t just hand it over like a loose piece of change. The presentation is where you turn a ‘craft’ into a ‘memory.’ Think like an event stylist and create a ‘stage’ for your piano.
- The Miniature Stage: Place the piano inside a small clear jewelry box. Line the bottom with a piece of velvet or even a small scrap of black cardstock to make the green of the money pop.
- The Musical Card: Buy or make a card that features sheet music on the front. Use a tiny piece of removable glue dot (the kind that peels off cleanly) to mount the piano as if it’s sitting on the music notes.
- The Shadow Box: For a graduation, place the money piano in a small shadow box with a photo of the recipient playing their instrument. It becomes a piece of 3D art they can choose to keep or spend.
- The ‘Orchestra’ Bouquet: If you’re giving a larger amount, fold several pianos and attach them to floral wire, ‘planting’ them into a bouquet of flowers or a pot of succulents.
“A gift is a story you tell without speaking. Make sure your presentation has a great opening line.”
Conclusion
There you have it—a sophisticated, budget-friendly, and incredibly thoughtful way to give cash to the music lover in your life. By taking five minutes to master these folds, you’ve transformed a generic gift into a hand-crafted tribute to their passion. Whether it’s for a graduation, a recital, or a ‘just because’ surprise, the money origami piano is a testament to your resourcefulness and your eye for detail.
Remember, the first one might be a bit ‘out of tune,’ but keep practicing. Once you find your rhythm, you’ll be able to whip these out at a moment’s notice. Now go forth, fold with confidence, and let the applause begin!

Makenzie is the founder and lead writer at MoneyHackTips.com — a personal finance blog dedicated to delivering street-smart financial wisdom for real people on real budgets. With 300+ published articles covering everything from debt management to investing fundamentals, Makenzie’s mission is to make every dollar work harder. When not writing about money hacks, Makenzie is testing frugal living strategies, optimizing side hustles, and helping readers build financial freedom from scratch.