
The Art of the Indestructible Accessory
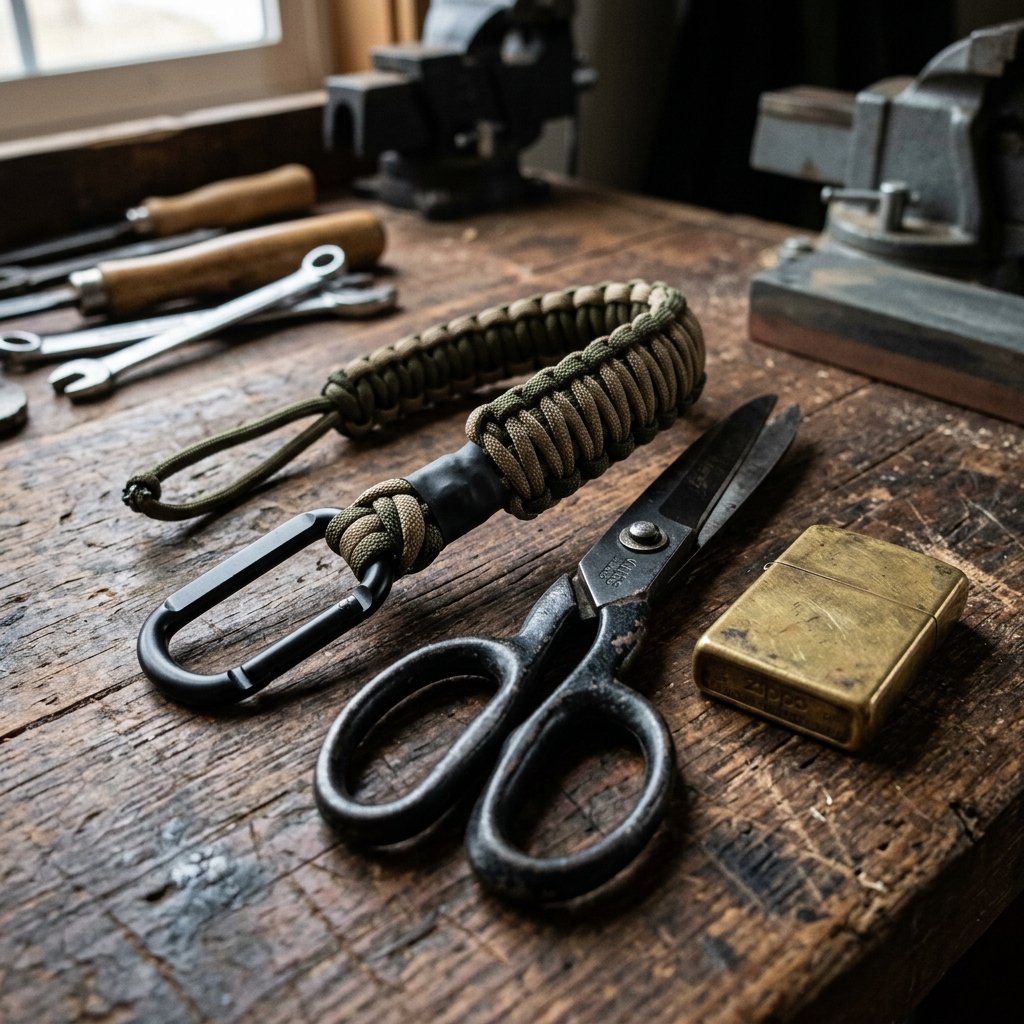
In a world of planned obsolescence and flimsy plastic, there is something deeply satisfying about holding an item you crafted with your own two hands—something designed to last a lifetime. Enter the paracord lanyard. Originally used in the suspension lines of US parachutes during World War II, 550 paracord has transitioned from a military necessity to the gold standard of the Everyday Carry (EDC) community. Whether you are a frugal DIYer looking to organize your keys, a crafty parent making gifts for the holidays, or a rugged outdoorsman needing a reliable pull-tab for your gear, this project is the ultimate ‘bang-for-your-buck’ craft.
Why pay $15 to $25 at a high-end boutique or outdoor retailer when you can manufacture a superior version for less than $1.00 in materials? This guide isn’t just about tying knots; it is about resourcefulness. We are going to take 10 minutes of your time and turn a few feet of nylon cord into a tool that is as elegant as it is functional. This is masculine-elegant crafting at its finest: practical, budget-savvy, and undeniably cool.
The Gear List: Building Your Lanyard Kit for Under $5
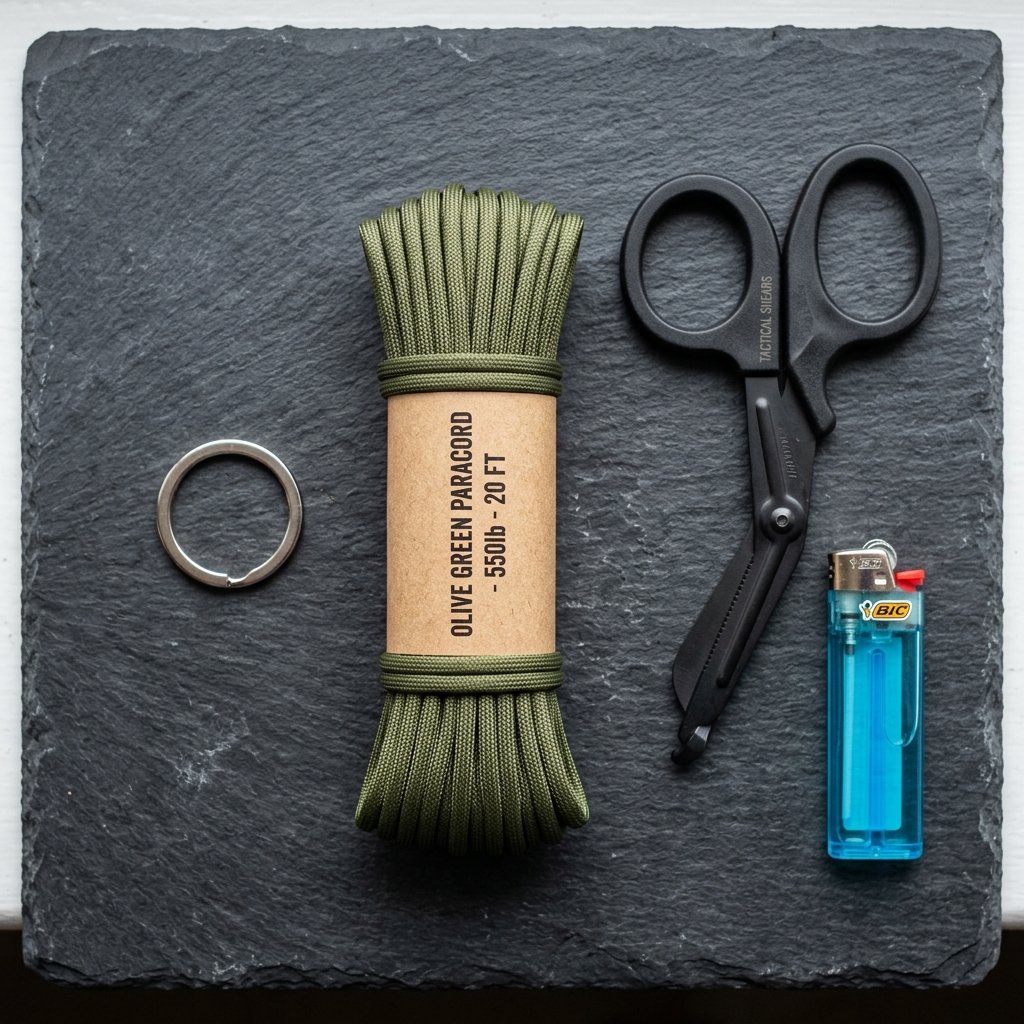
Before we dive into the weave, let’s talk logistics. A true master of the ‘Trash-to-Treasure’ philosophy knows that you don’t need a fancy workshop to produce high-end results. You likely already have half of these items in your junk drawer. For the rest, we look to bulk buys and upcycling opportunities.
| Material/Tool | Frugal Source | Estimated Cost per Lanyard |
|---|---|---|
| 7-Strand 550 Paracord | Bulk Spool (100ft) | $0.40 – $0.60 |
| Key Ring or Lobster Claw | Upcycled from old lanyards / Dollar Tree | $0.10 – $0.25 |
| Heavy Duty Scissors | Home Toolbox | $0.00 |
| Lighter (Bic or Torch) | Pocket / Junk Drawer | $0.00 |
| Total Project Cost | Resourceful Sourcing | Under $1.00 |
Choosing Your Cord
Not all cord is created equal. For a truly ‘indestructible’ build, you want Type III 550 Paracord. This means the cord has a breaking strength of 550 pounds and contains seven inner nylon strands. These inner strands are a survivalist’s secret weapon—they can be pulled out to use as fishing line, sewing thread, or even emergency dental floss. When shopping, look for 100% nylon; polyester variants are cheaper but don’t melt as cleanly, which can lead to messy, scratchy finishes.
Pro-Tip: Check your local thrift stores or garage sales for old backpacks or duffel bags. Often, you can harvest high-quality metal D-rings and clips from ‘trash’ bags for free, giving your lanyard a rugged, weathered look that brand-new hardware can’t match.
The Master Class: A Step-by-Step Guide to the Cobra Weave

The Cobra Weave (also known as the Solomon Bar) is the backbone of paracord crafting. It is aesthetically pleasing, incredibly strong, and creates a flat profile that sits comfortably in a pocket or against a zipper. Follow these steps precisely, and you will have a finished product in under 10 minutes.
Step 1: The Foundation
Cut approximately 5 to 6 feet of paracord. Fold the cord in half and loop the folded end through your keyring or clip using a ‘Lark’s Head’ knot. Pull it tight. This loop determines the length of your lanyard, so adjust it now. Typically, a 3-inch core is perfect for a keychain.
Step 2: The First Knot
Lay your project flat. You have two working ends (left and right) and the center core.
Take the left lead, pass it over the core, forming a ‘P’ shape. Take the right lead, place it over the left lead, then pass it under the core and up through the loop of the ‘P’. Pull both ends tight.
Step 3: The Alternating Rhythm
To keep the weave flat, you must alternate sides. Since you started with the left, the next knot starts with the right.
Take the right lead, pass it over the core to form a backward ‘4’. Take the left lead, place it over the right lead, then pass it under the core and up through the loop of the ‘4’. Pull tight.
Step 4: Finishing the Ends
Continue this pattern until you reach the end of your core. Leave about 1/8th of an inch of the working ends. Use your scissors to trim the excess. Now, use your lighter to carefully melt the tips until they are ‘mushroomed’ and soft. Press the molten end against the side of the weave with the flat edge of your lighter (not your thumb!) to fuse it permanently.
Beyond the Basics: Customizing for Style and Utility
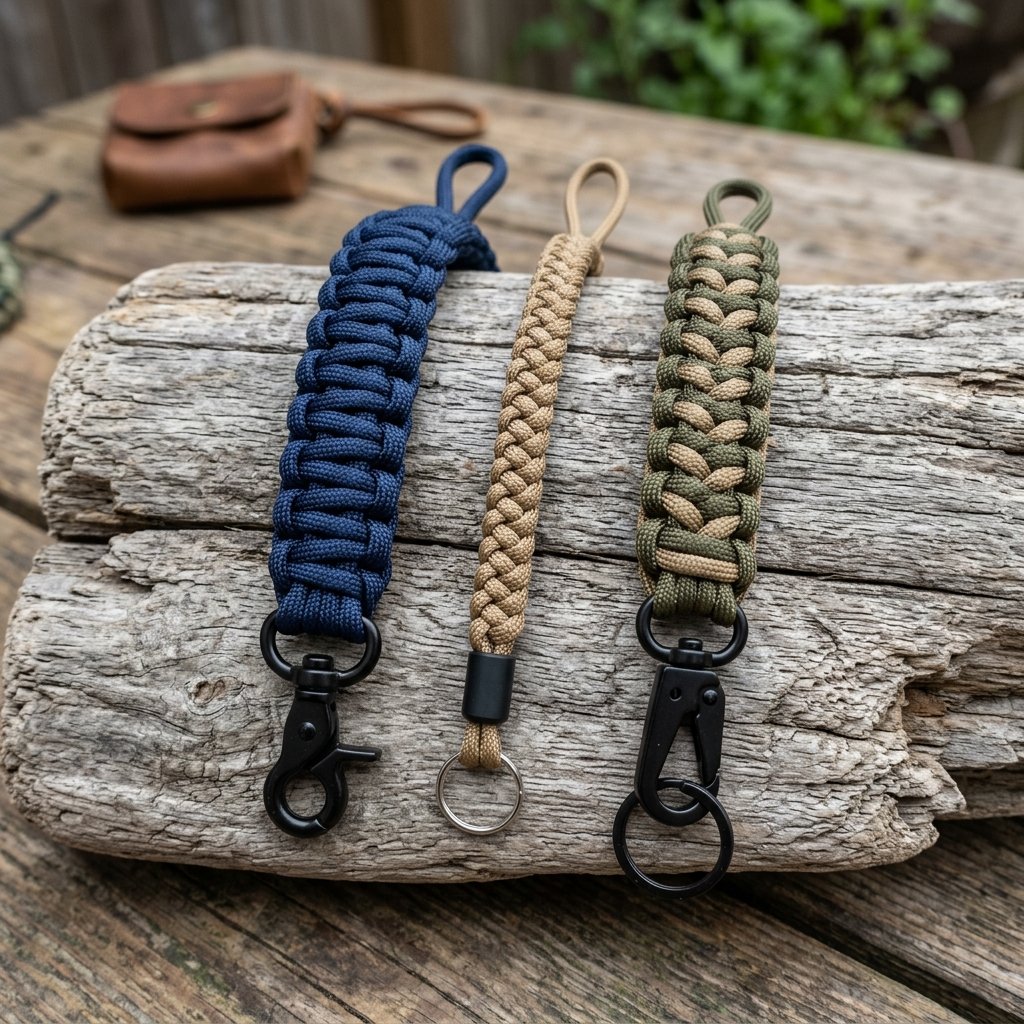
Once you have mastered the Cobra, the world of ‘Masculine-Elegant’ EDC is your oyster. A clever crafter knows that the difference between a ‘craft project’ and a ‘professional tool’ lies in the details. Use these variations to elevate your build.
- The King Cobra: If you want a wider, beefier lanyard for a large knife or a heavy flashlight, simply weave a second Cobra stitch directly over the first one. This doubles the cordage available in an emergency.
- The Snake Knot: For a rounder, more organic look that resembles a vertebrae, the Snake Knot is a sophisticated alternative. It uses less cord but offers a more ‘custom’ boutique feel.
- Two-Tone Fusion: You can join two different colored cords (e.g., Charcoal and Burnt Orange) by melting the ends and pressing them together. This allows you to create a bi-color weave that matches your favorite sports team or gear theme.
| Knot Style | Difficulty (1-10) | Cord Usage | Best For |
|---|---|---|---|
| Cobra Weave | 2 | 1 foot per inch | Keychains, Zipper Pulls |
| Snake Knot | 4 | 0.8 feet per inch | Knife Fobs, Flashlights |
| Crown Sinnet | 6 | 1.5 feet per inch | Heavy Duty Tool Grips |
Safety Note: The Heat Factor
Caution: When melting the ends of nylon paracord, the material becomes extremely hot and liquid. Avoid skin contact with molten nylon. Always use the side of a metal lighter or a flat rock to ‘stamp’ the ends flat for a secure, professional-grade seal.
The Survival Factor: 50 Uses for Your Lanyard
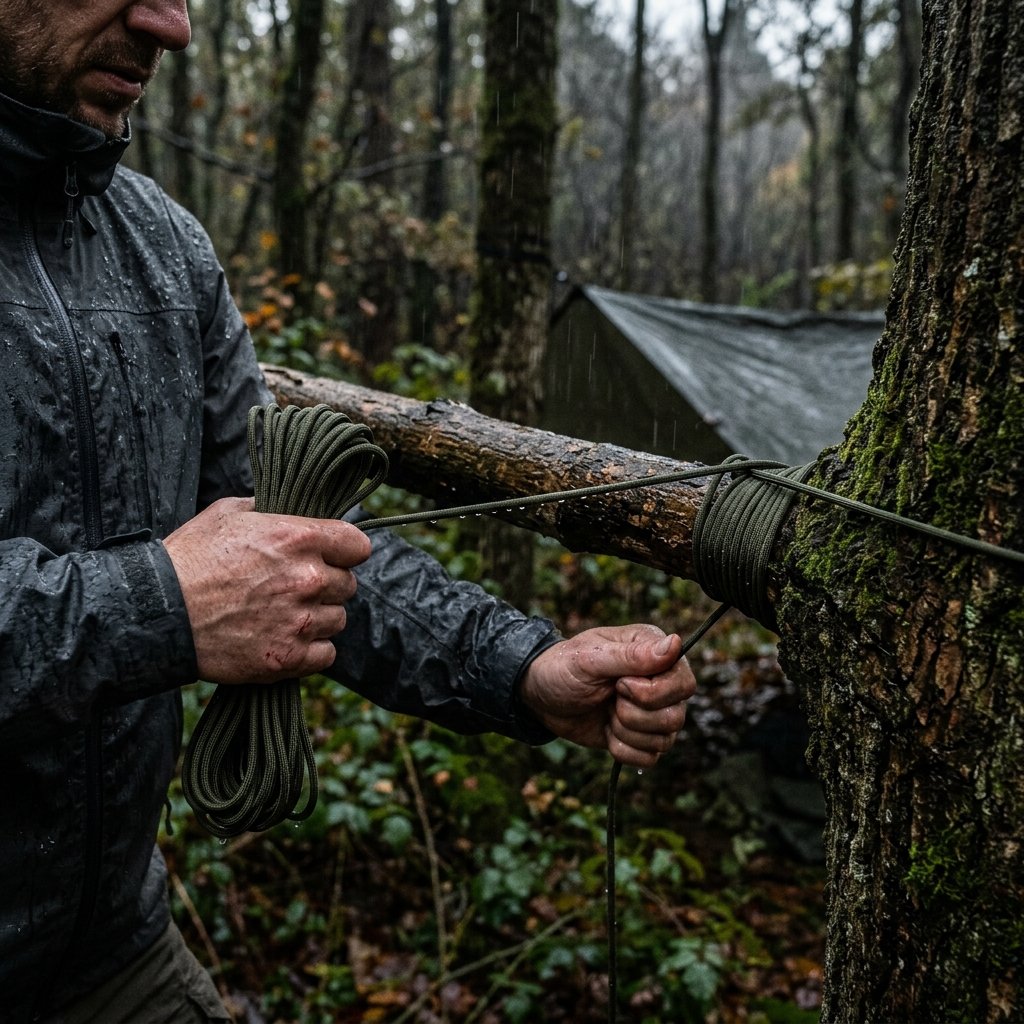
This isn’t just a fashion statement. In a pinch, your $1.00 lanyard becomes a survival kit. By unravelling the weave, you regain the full length of the cord. By ‘gutting’ the cord, you access the inner strands. Here are just a few ways this DIY project can save the day:
- Emergency Repair: Use the inner strands to sew a torn backpack strap or a ripped hem in your trousers.
- First Aid: The outer sheath can be used as a makeshift tourniquet or to secure a splint.
- Food Procurement: The inner strands make excellent fishing line or components for a small-game snare.
- Fire Starting: Use the cord as the string for a bow-drill to create friction fire.
- Footwear Fix: Paracord is the world’s best replacement shoelace. It won’t snap like cotton.
Being budget-savvy means preparing for the unexpected without overspending on ‘tactical’ gadgets. A hand-woven lanyard is the epitome of this mindset—low cost, high utility, and always within reach.
Conclusion
Crafting a Legacy of Resourcefulness
Whether you’re building this for yourself or as a thoughtful, rugged gift for a friend, the DIY paracord lanyard is a testament to the power of frugal creativity. In under 10 minutes, you’ve taken a simple length of rope and transformed it into an ‘indestructible’ tool. You’ve saved nearly $20 compared to store-bought alternatives, and you’ve gained a skill that is both practical and meditative.
So, the next time you see a piece of gear that needs a handle, or a friend who needs a reliable keychain, don’t reach for your wallet—reach for your cord. Stay crafty, stay rugged, and keep building things that last. Happy weaving!

Makenzie is the founder and lead writer at MoneyHackTips.com — a personal finance blog dedicated to delivering street-smart financial wisdom for real people on real budgets. With 300+ published articles covering everything from debt management to investing fundamentals, Makenzie’s mission is to make every dollar work harder. When not writing about money hacks, Makenzie is testing frugal living strategies, optimizing side hustles, and helping readers build financial freedom from scratch.