
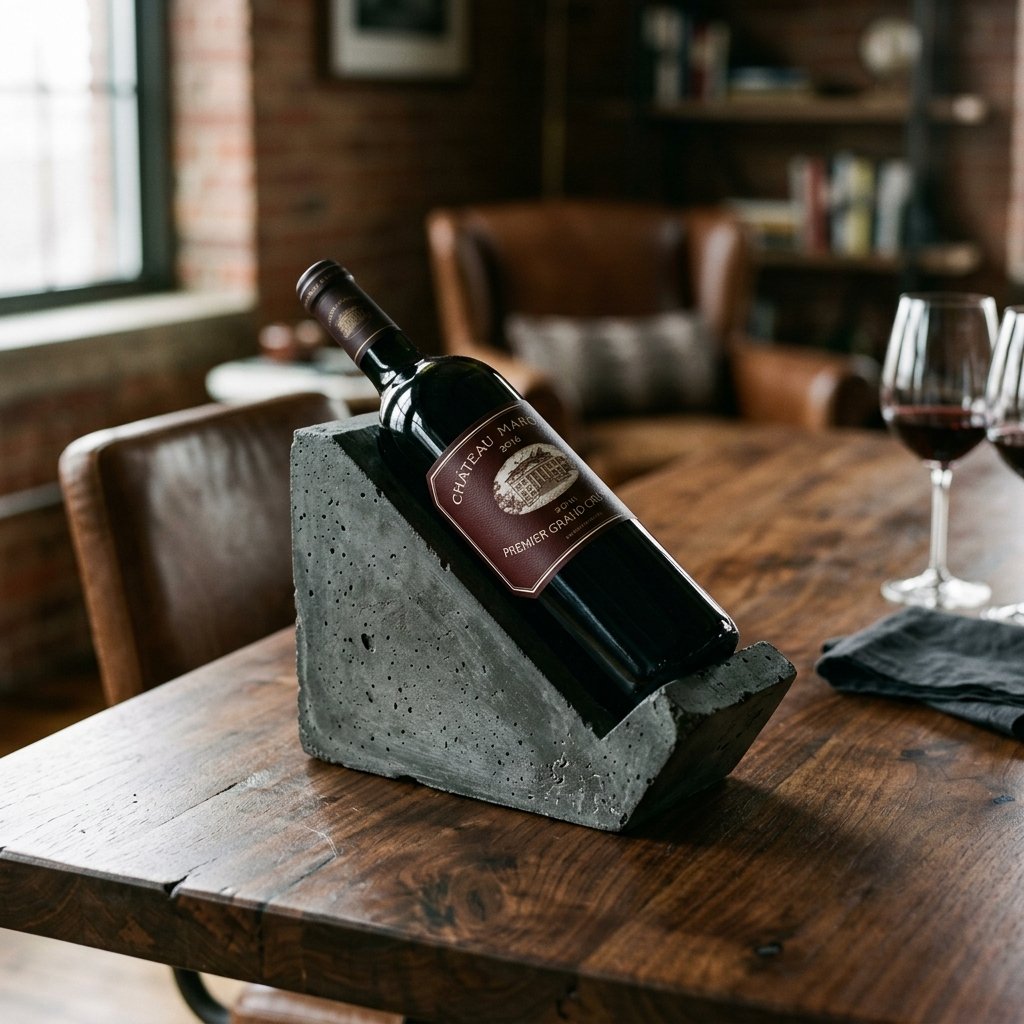

The Art of the Brutalist Bar: Why Concrete is the Ultimate Gifting Medium
Let’s be honest: finding a gift for the man who has everything—or the man who claims he wants nothing—is a Herculean task. You want something that feels substantial, intentional, and rugged, yet you don’t want to drop a hundred dollars on a store-bought gadget that will end up in a drawer. Enter the world of concrete. There is something inherently sophisticated about the weight and raw texture of cast stone. It’s industrial, it’s permanent, and when done right, it looks like a piece of high-end functional art from a boutique gallery.
Today, we are going to channel our inner architects to create an insanely cool concrete wine bottle holder. This isn’t just a block of cement; it’s a gravity-defying statement piece designed to hold a standard bottle at a perfect, cellar-ready angle. The best part? We are going to do it for under $10 by using upcycled materials for our molds and a simple bag of quick-set mortar. Whether you are a frugal DIYer looking for a Father’s Day win or a budget-savvy crafter aiming for a ‘Pottery Barn’ look on a ‘Dollar Tree’ budget, this guide is your blueprint for success.
The Blueprint: Materials and Budget Breakdown
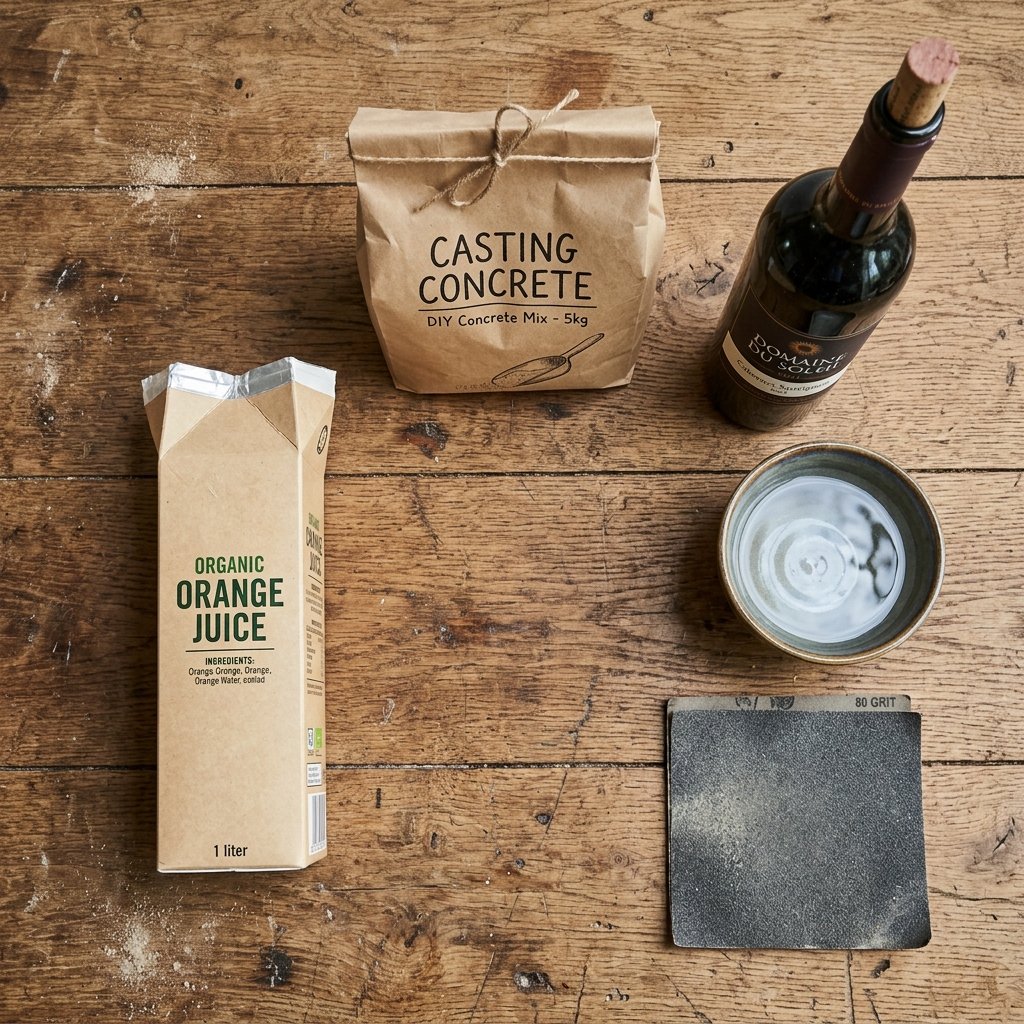
Before we get our hands dirty, we need to gather our supplies. The secret to keeping this project under the $10 mark is leveraging items you likely already have in your recycling bin or kitchen pantry. Concrete is incredibly cheap when bought in bulk, but even a small project bag is a steal.
| Material | Source | Estimated Cost |
|---|---|---|
| Quick-Setting Concrete/Mortar (10lb bag) | Hardware Store | $5.50 |
| Upcycled Juice or Milk Carton (1L) | Recycling Bin | $0.00 |
| Empty Wine Bottle (for displacement) | Recycling Bin | $0.00 |
| Sandpaper (Assorted Grits) | Existing Toolkit | $1.00 |
| Cooking Spray or Vegetable Oil | Pantry | $0.50 |
| Felt Pads or Cork Scraps | Dollar Store | $1.25 |
| Total Estimated Investment | $8.25 |
Choosing Your Concrete
For this project, I highly recommend a quick-setting mortar mix or a fine-grain concrete. Avoid the heavy-duty mixes with large gravel chunks, as they won’t capture the smooth, sleek finish we’re aiming for. If you want that ultra-modern look, look for ‘Quikrete Glass Fiber Reinforced Concrete’ or simply sift a standard mix to remove the larger stones.
Engineering the Mold: Upcycling for Success

The mold is the most critical part of the process. We are going to use a 1-liter cardboard juice or milk carton because its plastic coating makes for an easy release and a remarkably smooth surface. This is where your clever, resourcefully-creative side shines.
- Prep the Carton: Thoroughly wash and dry the carton. Cut off the top triangular spout so you have a clean, rectangular open box.
- The Displacement Secret: To create the hole where the wine bottle will sit, we will use an actual wine bottle as a ‘negative’ space creator. However, concrete is heavy and will try to push the bottle out.
- The Angle of Repose: For a gravity-defying look, we want the bottle to sit at a 45-degree angle. You can achieve this by propping your mold up on a scrap piece of 2×4 wood or a stack of books during the curing process.
Pro Tip: Rub the inside of the carton and the outside of your ‘displacement’ bottle with a thin layer of vegetable oil. This acts as a release agent, ensuring you don’t have to break your project to get it out of the mold.
The Perfect Mix: Ratios and Consistency
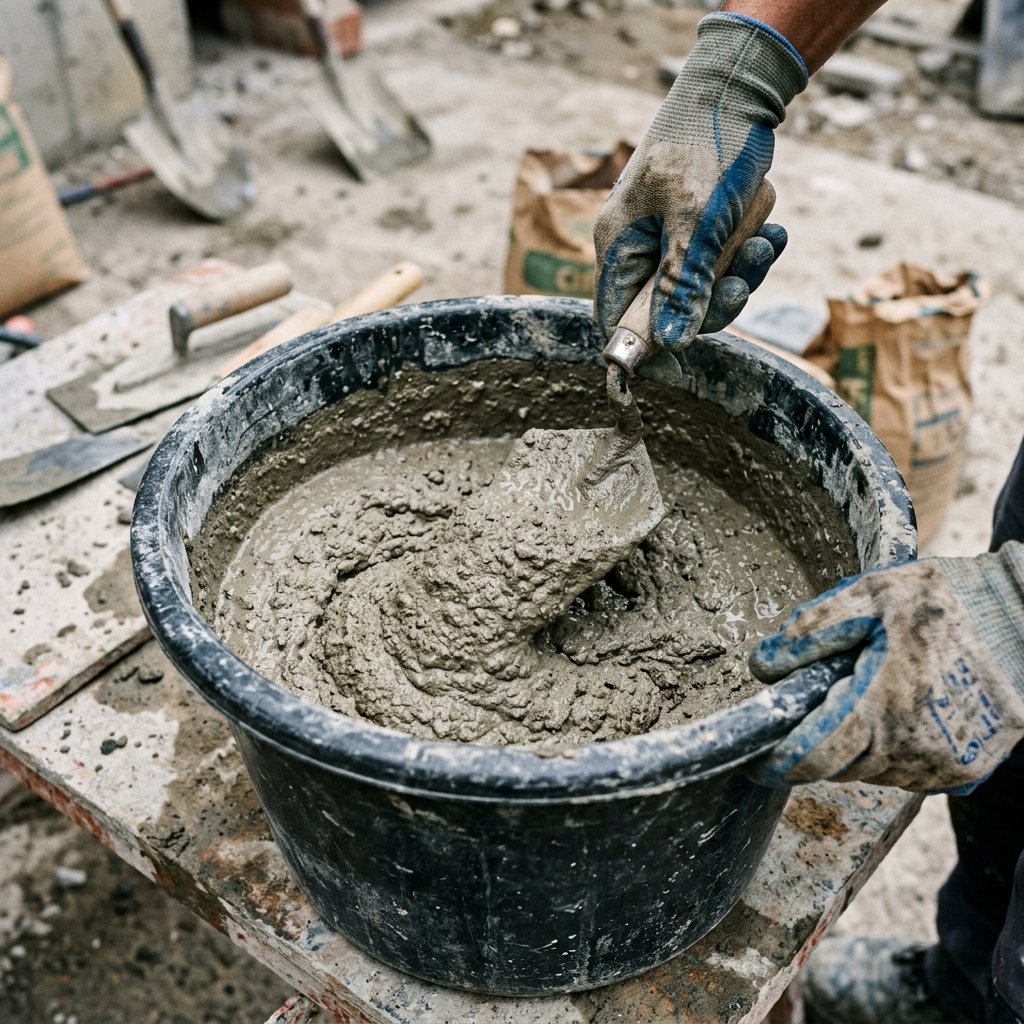
Mixing concrete is a bit like baking, but much more forgiving. You want a consistency that is similar to thick peanut butter or oatmeal. If it’s too runny, the concrete will be weak and prone to cracking; if it’s too dry, it won’t settle into the corners of your mold, leaving unsightly ‘honeycombing’ or air pockets.
The Golden Ratio
| Component | Ratio by Volume |
|---|---|
| Concrete Mix | 4 Parts |
| Clean Water | 1 Part |
- Add your dry mix to a plastic bucket (one you don’t mind getting messy).
- Slowly incorporate water, half a cup at a time, stirring constantly with a sturdy stick or a trowel.
- Keep stirring for at least 3 minutes to ensure all chemical reactions are activated.
- The Vibration Test: Tap the side of the bucket. If bubbles rise to the surface, you’ve got the right consistency.
Safety Note: Concrete is caustic and can dry out your skin or irritate your lungs. Always wear rubber gloves and a dust mask when handling dry mix. Safety first, style second!
The Pour: Casting Your Masterpiece
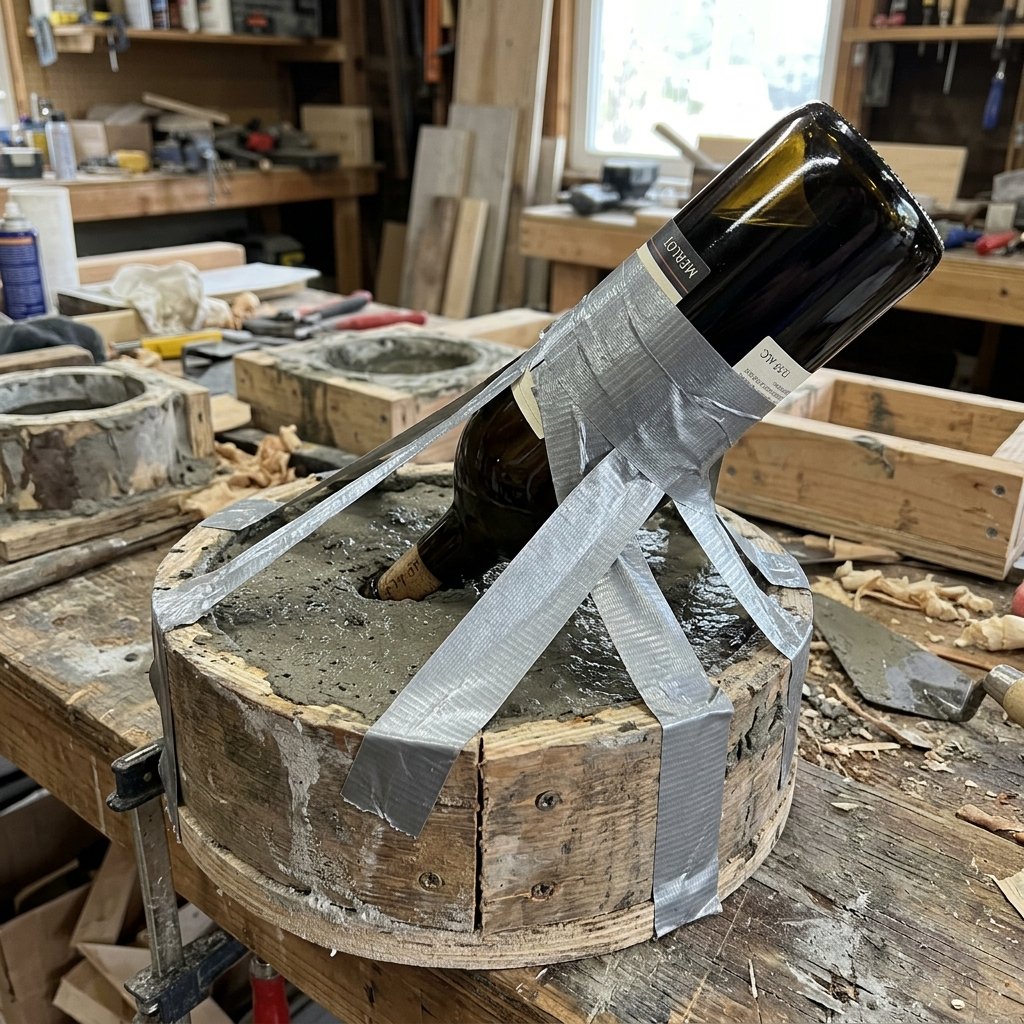
Now comes the satisfying part. Pour your mixture into the prepared juice carton until it is about three-quarters full. Don’t fill it to the top yet, as we need to account for the displacement of the bottle.
Eliminating Air Bubbles
Once poured, lift the carton an inch off the table and drop it repeatedly. This ‘tapping’ method is a professional secret for getting a flawless, glass-like finish. You will see tiny bubbles rising to the top—this is exactly what you want.
Setting the Angle
- Insert your oiled ‘displacement’ bottle into the wet concrete at your desired angle.
- Weight the bottle down with stones or sand inside it so it doesn’t float up.
- Secure the bottle in place using duct tape stretched across the top of the carton to hold the bottle’s neck at the correct tilt.
- Let it sit undisturbed in a cool, dry place for at least 24 to 48 hours. Patience is the hardest part of DIY, but it pays off in structural integrity.
The Reveal: De-molding and Refinement
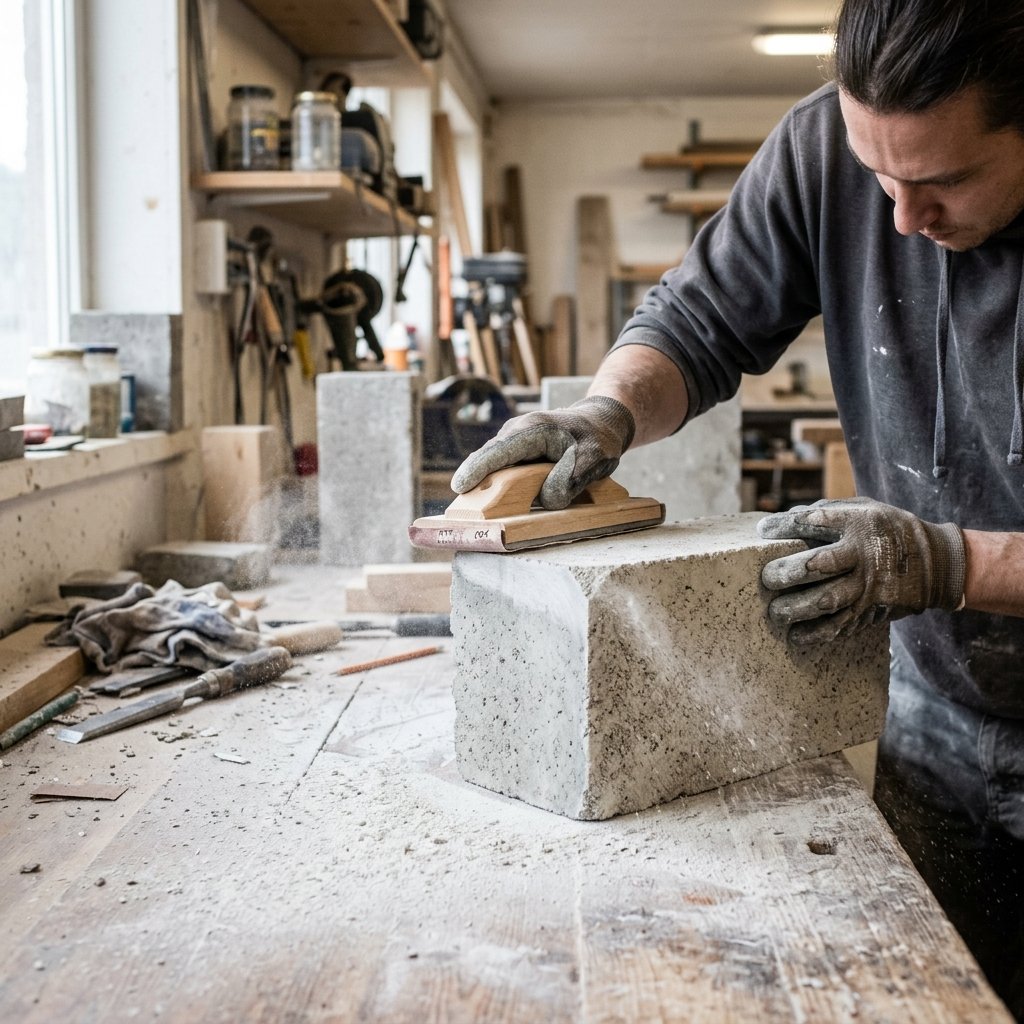
After 48 hours, the concrete should feel cold and rock-hard. It’s time for the big reveal! Carefully peel away the cardboard carton. If you used the oil trick, it should slide off like a dream. If it sticks, use a utility knife to score the cardboard and peel it back in strips.
Sanding for Sophistication
Your casting will likely have some sharp edges or minor imperfections. This is where we turn ‘construction material’ into ‘home decor.’ Use 80-grit sandpaper for the heavy lifting to smooth out the base and the opening. Switch to 220-grit for a silky-smooth finish that feels like honed stone.
Adding the ‘High-End’ Touches
- Level the Base: Ensure the bottom is perfectly flat so it doesn’t wobble on the bar.
- The Protective Bottom: To prevent the concrete from scratching expensive wooden furniture, glue a piece of black felt or thin cork to the bottom. It adds an instant ‘retail’ quality to the gift.
- The Sealant: For a deep, ‘wet’ look, apply a thin coat of concrete sealer or even a simple beeswax polish. It will darken the grey and make the piece look incredibly expensive.
Presentation: How to Gift It Like a Pro
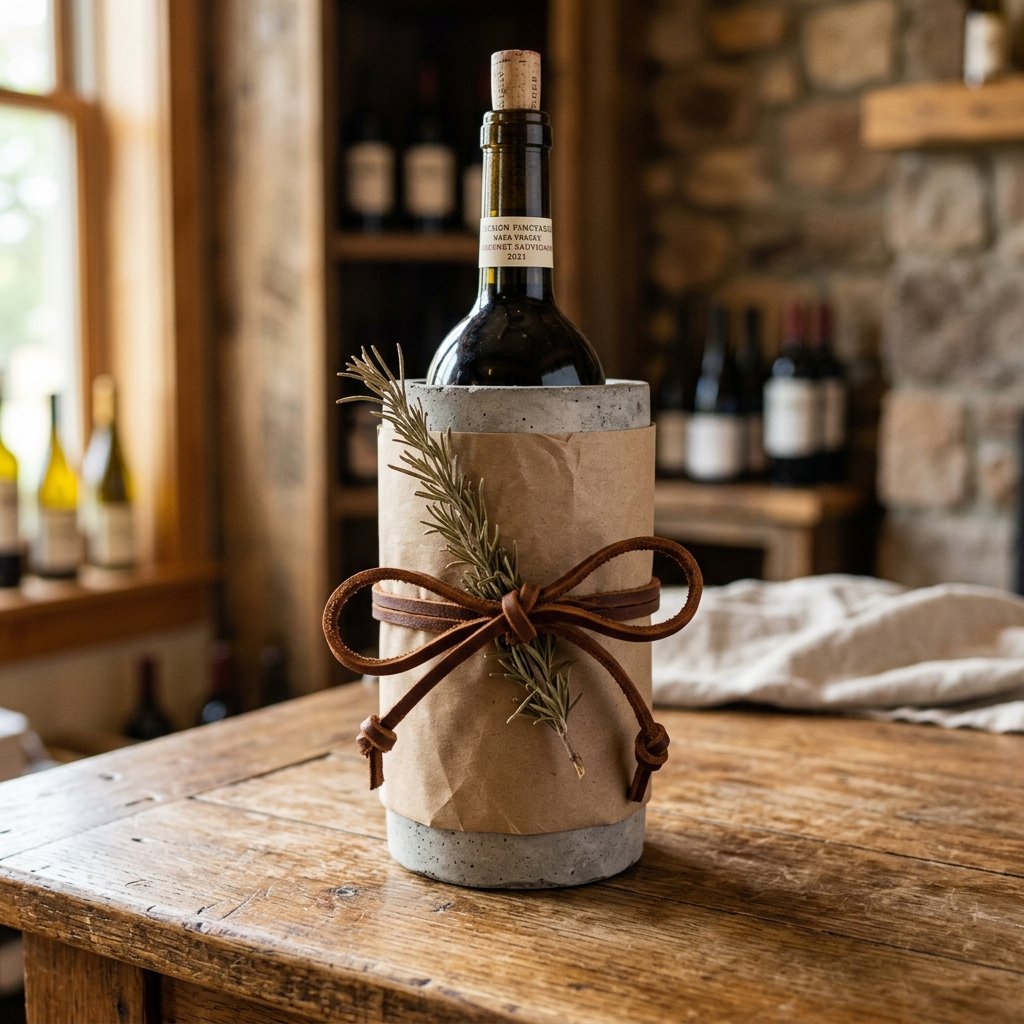
You’ve spent less than $10 and about an hour of active work, but the result is a rugged, masculine-elegant piece of art. To make this the ultimate gift for ‘him,’ presentation is key. Don’t just hand over a block of stone; tell a story.
Gifting Ideas:
- The Sommelier Bundle: Pair the holder with a bottle of bold Cabernet Sauvignon and a handwritten note explaining how to care for the concrete.
- The Industrial Bar Set: Make a matching set of concrete coasters using the leftover mix and some Pringles can lids!
- The Minimalist Wrap: Wrap the holder in brown butcher paper and tie it with black twine or a leather cord for a rugged, sophisticated look.
| Feature | Why He’ll Love It |
|---|---|
| Weight | Feels substantial and high-quality on a desk or bar. |
| Unique Grain | No two pours are identical; it’s a one-of-a-kind piece. |
| Function | Keeps the cork moist by holding the bottle at the correct angle. |
| Story | Knowing you built it from scratch adds immense sentimental value. |
Conclusion
From Trash to Treasure: The Power of Concrete
Creating something beautiful doesn’t require a massive budget or a professional workshop. With a little bit of resourceful creativity and a few recycled items, you’ve turned a $5 bag of dirt and water into a stunning, masculine-elegant gift that would easily retail for $60 or more in a high-end boutique. This project proves that being budget-savvy isn’t about settling for less—it’s about having the craftiness to see the potential in the everyday. So, go ahead, mix up some magic, and give him a gift that is as solid and enduring as your appreciation for him. Happy crafting!

Makenzie is the founder and lead writer at MoneyHackTips.com — a personal finance blog dedicated to delivering street-smart financial wisdom for real people on real budgets. With 300+ published articles covering everything from debt management to investing fundamentals, Makenzie’s mission is to make every dollar work harder. When not writing about money hacks, Makenzie is testing frugal living strategies, optimizing side hustles, and helping readers build financial freedom from scratch.


