
The Secret to a High-End Workspace on a Frugal Budget
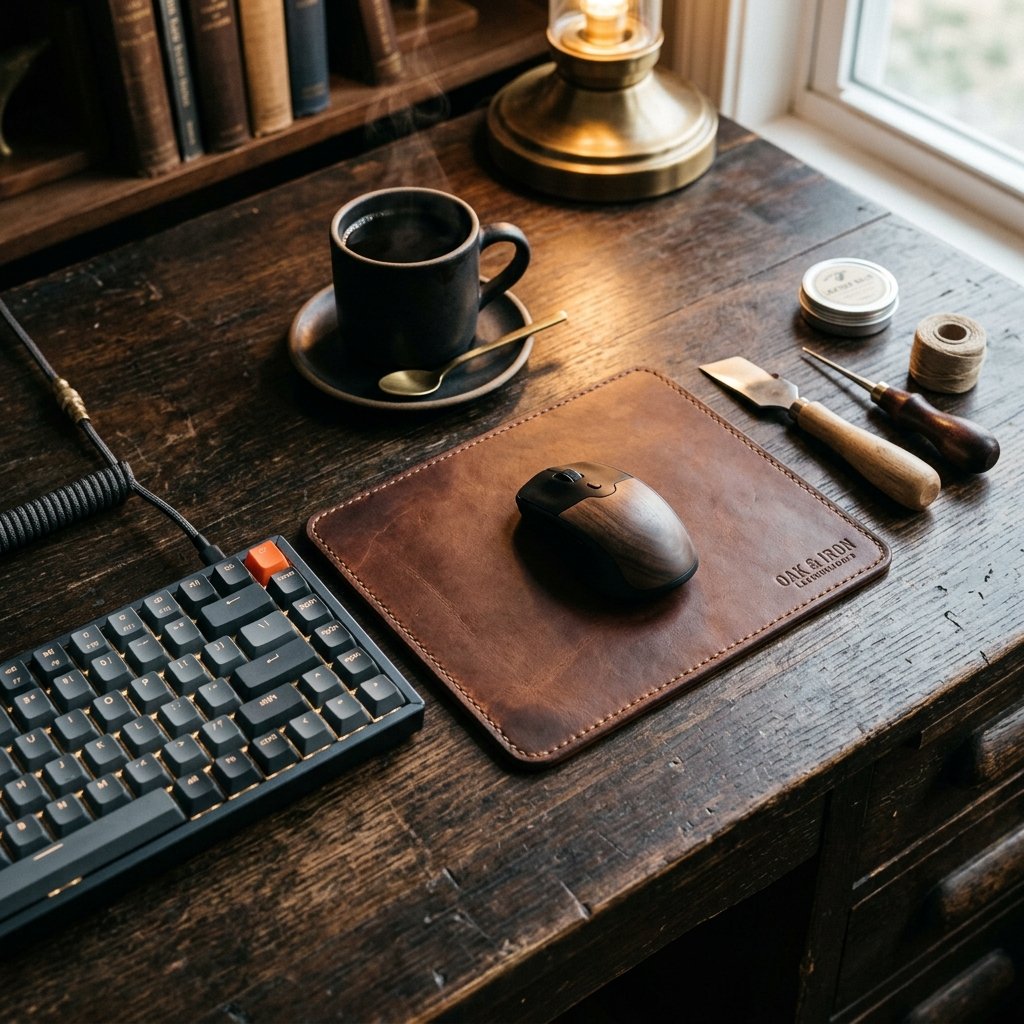
Finding the perfect gift for the men in our lives—whether it is for Father’s Day, an anniversary, or a birthday—can often feel like an impossible puzzle. The market is flooded with generic gadgets and overpriced desk accessories. If you have ever browsed high-end boutique catalogs or trendy minimalist workspace setups, you have likely seen those gorgeous, thick, full-grain leather desk mats and mouse pads. They exude a rugged, masculine elegance, transforming an ordinary home office into a sophisticated executive suite. However, those premium leather goods often come with an eye-watering price tag, easily ranging from $40 to well over $100.
But what if I told you that you could replicate that exact artisanal, high-end look for less than the cost of a fancy cup of coffee? Welcome to the ultimate upcycler’s hack. As a budget-savvy crafter, you do not need to drop a small fortune to give him a gift that feels incredibly luxurious and deeply personal. By resourcefully sourcing scrap leather or upcycling thrifted materials, you can craft a stunning DIY leather mouse pad that costs under $5 and takes less than 30 minutes of active hands-on time.
This project is the perfect intersection of practical utility and rugged craftsmanship. It does not require a heavy-duty sewing machine, expensive leatherworking kits, or years of apprenticeship. Armed with a few basic tools you likely already have in your garage or craft room, you can create a sleek, durable, and sophisticated desk accessory that will age beautifully over time. Let us roll up our sleeves, tap into our inner artisan, and craft a personalized gift that he will use and admire every single day.
Sourcing Premium Leather on a Shoestring Budget
Hunting for Hidden Leather Treasures
The secret to keeping this project under the $5 mark lies entirely in how you source your materials. If you walk into a specialty leather supply store and buy a brand new side of vegetable-tanned leather, you will blow your budget immediately. Instead, we are going to put on our frugal upcycling hats and look for hidden treasures.
Thrift Store Goldmines
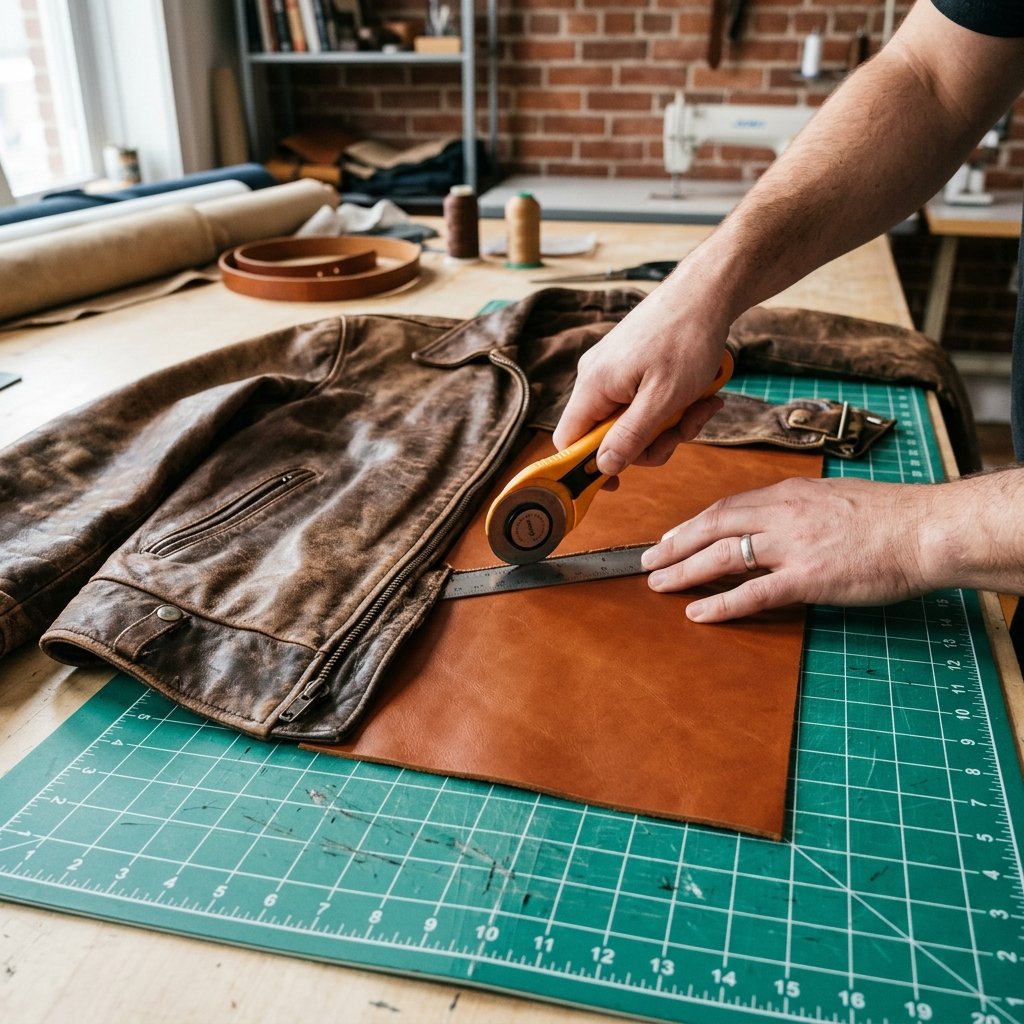
Your local thrift store is an absolute goldmine for high-quality, genuine leather. Head straight to the men’s outerwear, belts, and accessories sections. You are looking for a genuine leather jacket, a large leather tote bag, or even an old, beat-up leather briefcase. A damaged leather jacket with a broken zipper or a torn sleeve might be completely unsellable as clothing, meaning it is often marked down to $2 to $4. However, the large back panel of that jacket provides more than enough pristine leather to make several mouse pads, coasters, and even a matching valet tray!
The Scrap Bin Secret
If thrift stores are a bust, visit your local craft store or a local leatherworker if you have one in your town. Many stores sell bags of leather remnants—pieces that were too small for large upholstery projects but are absolutely perfect for a mouse pad. You can often score a bag of mixed, high-quality scraps for around $5.
Pro Upcycling Tip: Always check the tags when thrift shopping. Look for the words ‘Genuine Leather’ or ‘Full Grain.’ Avoid anything labeled ‘PU Leather,’ ‘Faux Leather,’ or ‘Vegan Leather’ for this specific project. Synthetic leathers will not burnish well on the edges, they tend to peel over time, and they do not develop that gorgeous, rich patina that makes real leather look so incredibly expensive.
| Material Source | Estimated Cost | Pros & Cons |
|---|---|---|
| High-End Boutique Mouse Pad | $45 – $85 | Perfect finish, but extremely expensive. Zero sentimental value. |
| Thrifted Leather Jacket (Upcycled) | $3 – $6 | Massive material yield. Requires cutting and flattening. Highly eco-friendly. |
| Craft Store Leather Remnant Bag | $5 – $8 | Convenient, varied colors. May require digging for the right size. |
| Old Leather Couch Cushion (Free Dumpster Dive) | $0 (100% Free) | Ultimate frugal win! Requires cleaning and conditioning before use. |
Gathering Your Rugged Crafting Arsenal
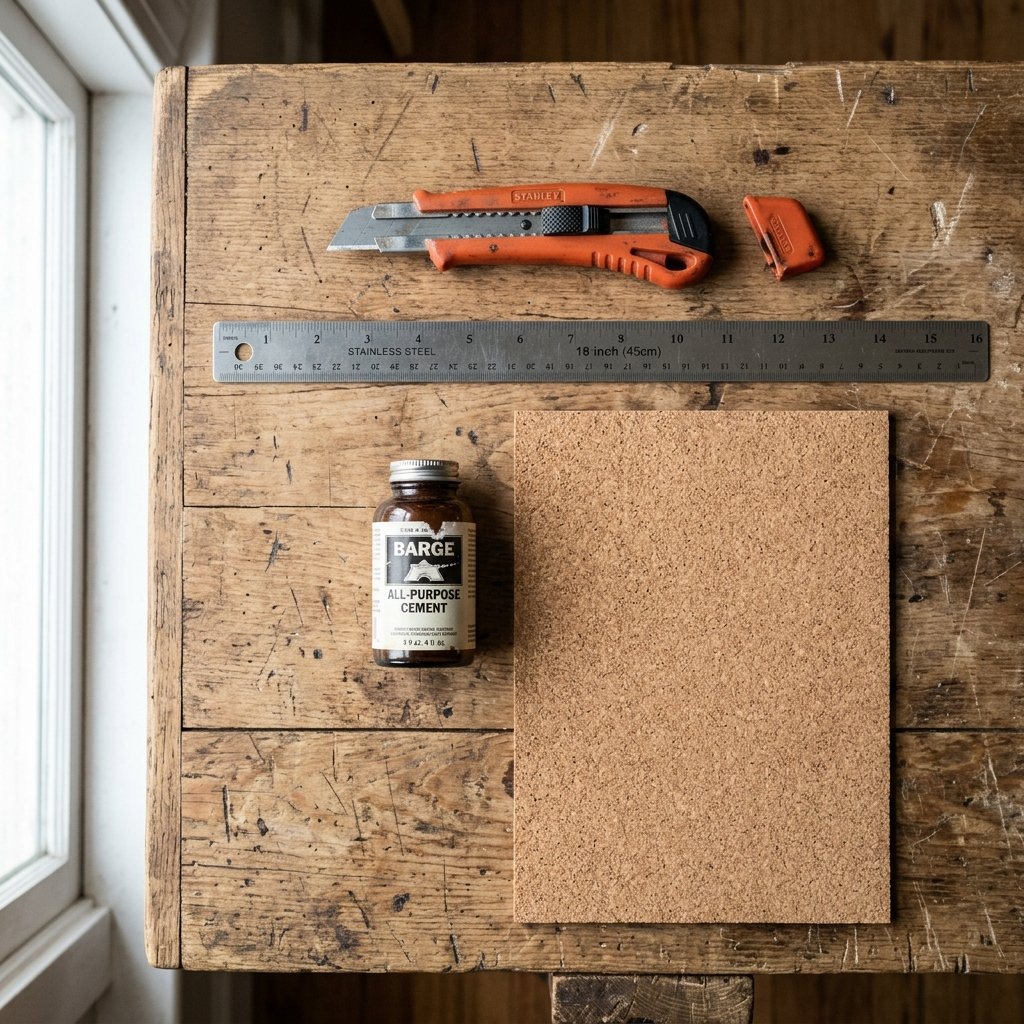
Tools of the Trade: No Fancy Equipment Required
One of the most intimidating aspects of leathercraft is the assumption that you need specialized tools. For this budget-friendly mouse pad, we are bypassing the expensive mallets, stitching ponies, and pricking irons. We are focusing on raw, minimalist elegance.
Essential Materials and Tools:
- Upcycled Genuine Leather: At least a 9-inch by 11-inch piece.
- Base Material: A sheet of cork backing, a cheap dollar-store thin foam mouse pad, or rubber shelf liner. This gives the pad weight and prevents it from sliding on his desk.
- Heavy-Duty Utility Knife: A standard box cutter with a fresh, sharp blade is crucial. A dull blade will pull and fray the leather.
- Metal Ruler or Straight Edge: Do not use plastic; your knife will slice right into it.
- Adhesive: Contact cement is the gold standard for leather, but a high-quality, flexible fabric glue or spray adhesive will work perfectly on a budget.
- Edge Slicker (Optional but recommended): You can buy a wooden edge slicker for $3, but a resourceful crafter can just use the smooth wooden handle of a kitchen spoon!
Safety First: When working with contact cement, always ensure you are in a well-ventilated area, preferably outdoors or in an open garage. The fumes can be strong. Additionally, when cutting thick leather, always cut away from your body and keep your non-dominant hand well clear of the blade’s path.
Precision Cutting: Shaping the Perfect Desk Accessory
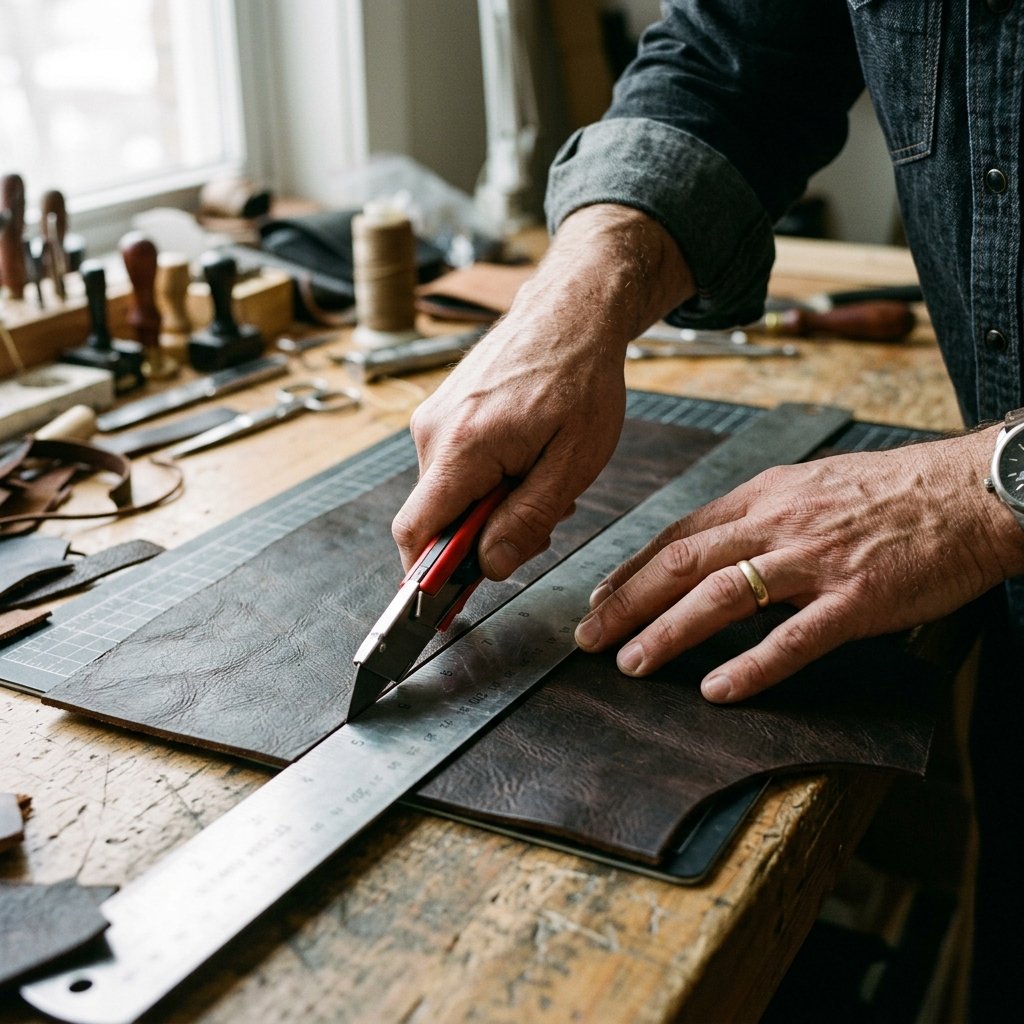
Measure Twice, Slice Once
The difference between a craft project that looks homemade and one that looks like a high-end boutique purchase is entirely in the precision of the cut. You want clean, sharp, 90-degree angles. Standard mouse pads are typically around 8 by 10 inches or 9 by 11 inches. Determine the size that best fits his desk setup. If he is a gamer or uses dual monitors, you might even want to make an oversized desk mat!
Step-by-Step Cutting Guide:
- Prep the Leather: Lay your upcycled leather flat on a self-healing cutting mat or a piece of scrap wood. If the leather is wrinkled from its previous life as a jacket, you can iron it on a very low heat setting, placing a damp cotton cloth between the iron and the leather.
- Mark the Dimensions: Use a tailor’s chalk or a lightly pressed pencil on the backside (the suede side) of the leather to mark out your rectangle.
- The Cutting Technique: Align your metal ruler along your marked line. Press down firmly on the ruler so it does not shift. Using your utility knife with a brand new blade, score the leather lightly on the first pass. Do not try to cut all the way through on the first slice. Make two or three smooth, continuous passes until the leather separates cleanly. This prevents dragging and fraying.
- Cut the Base: Repeat this exact same process for your cork or rubber backing material, making it exactly the same size as your leather piece.
If you want to add a touch of vintage elegance, you can use a coin (like a quarter) as a template to trace and carefully cut rounded corners, though sharp, right-angled corners offer a very sleek, modern, and masculine aesthetic.
Fusing the Layers: Creating Grip and Glide
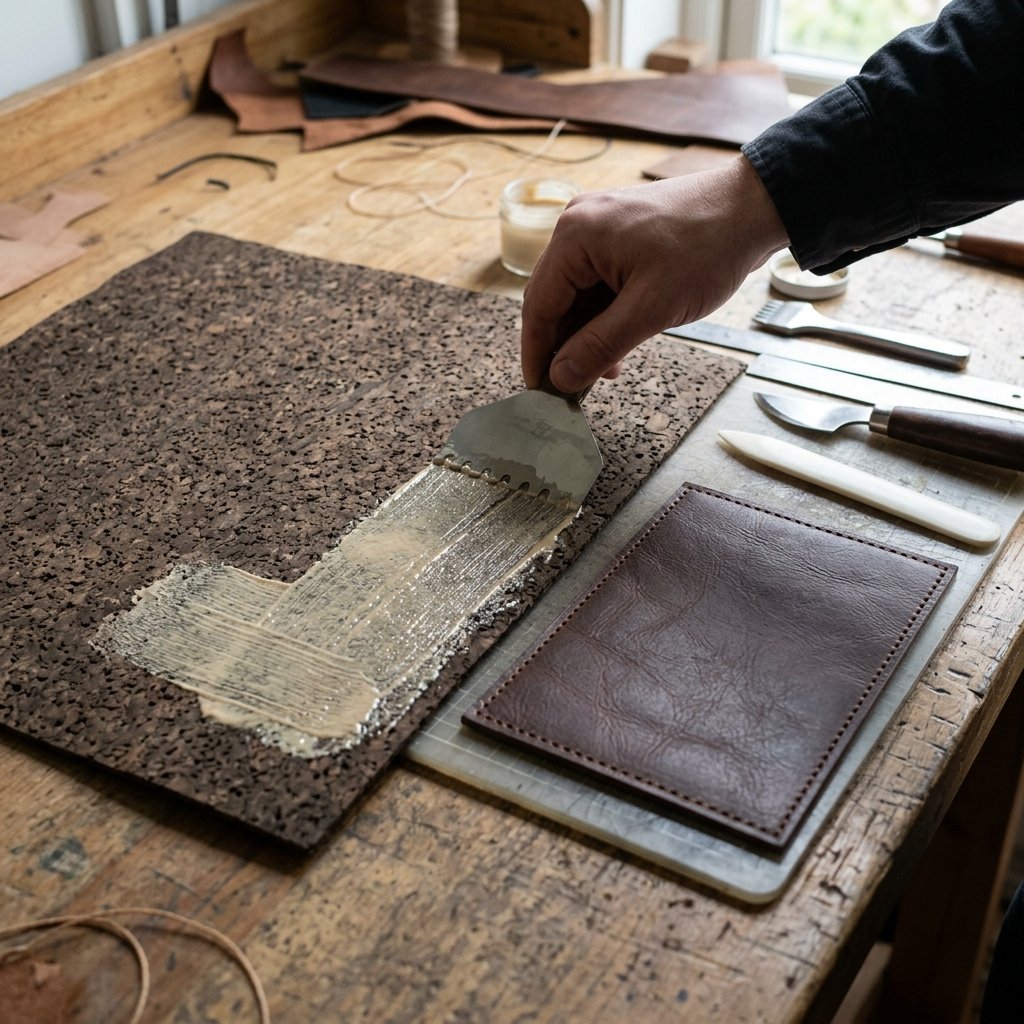
Building a Solid Foundation
A piece of leather on its own makes a poor mouse pad. It is too light, will slide around the desk, and might curl at the edges. To achieve that thick, premium feel, we need to laminate our leather to a non-slip base. Cork is an excellent, eco-friendly choice that looks fantastic and provides a firm but yielding surface for a computer mouse. Alternatively, upcycling an old, ugly promotional mouse pad by gluing the leather directly over it is a brilliant zero-waste hack!
The Gluing Process:
- Prepare the Surfaces: Ensure both the suede side of your leather and the top of your backing material are free of dust.
- Apply the Adhesive: If using contact cement, apply a thin, even layer to both the back of the leather and the top of the cork. Wait about 10 to 15 minutes until the cement becomes tacky and dry to the touch. (If using spray adhesive, follow the can’s instructions).
- The Mating Process: Carefully align the edges. Once contact cement touches itself, it bonds instantly, so you only get one shot! Start at one edge and slowly roll the leather down onto the backing, smoothing it out with your hands to prevent any air bubbles from forming.
- Apply Pressure: Place a clean towel over your newly fused mouse pad and stack several heavy books on top. Let it cure for at least 2 to 4 hours. This pressure ensures a permanent bond and a perfectly flat mouse pad.
The Master Touch: Burnishing Edges for a Boutique Finish
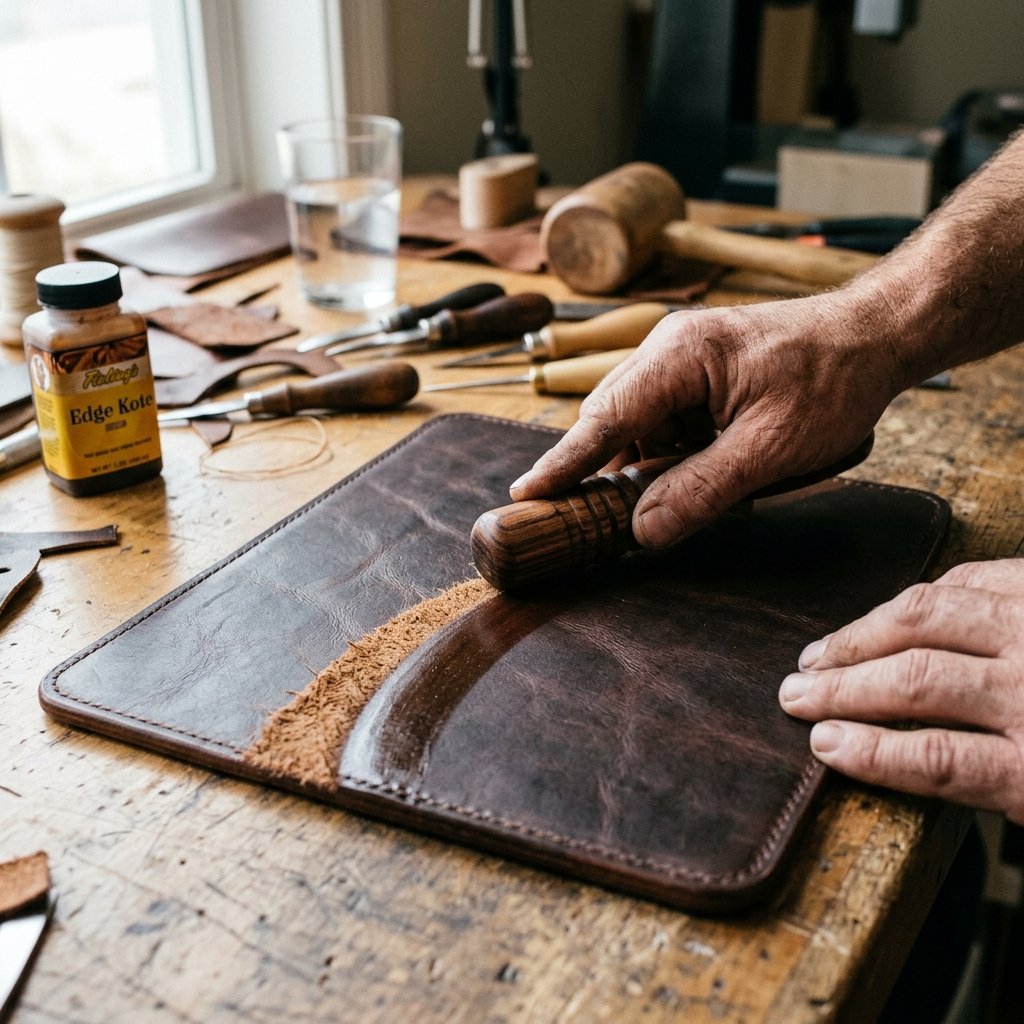
Elevating the Craft from DIY to Designer
If you want to know the secret that separates a cheap piece of scrap leather from a $100 luxury desk accessory, it is edge finishing. Raw leather edges look fuzzy and unfinished. Burnishing is the process of using friction to melt the natural fibers of the leather together, creating a smooth, glossy, and sealed edge. It is incredibly satisfying and completely free to do!
How to Burnish Like a Pro (Without Pro Tools):
- Step 1: Moisten the Edge. Dip your finger in a little bit of warm water and lightly run it along the cut edge of the leather. You want it damp, not soaking wet. (Professional leatherworkers use a product called Gum Tragacanth, but water works surprisingly well for a budget hack).
- Step 2: Create Friction. Take your wooden edge slicker, or simply the smooth wooden handle of a kitchen spoon. Rub the wooden handle briskly back and forth along the damp edge.
- Step 3: Watch the Magic Happen. As you rub, the friction generates heat. You will hear a slight sticky sound, and within 30 to 60 seconds, you will see the fuzzy fibers lay flat and transform into a beautiful, dark, glossy edge.
- Step 4: Repeat. Work your way around all four sides of the mouse pad until the entire perimeter is sleek and sealed.
This single step takes about 5 minutes but adds immeasurable value to the final look of your thoughtful gift.
Customization & Conditioning: The Ultimate Personalized Gift
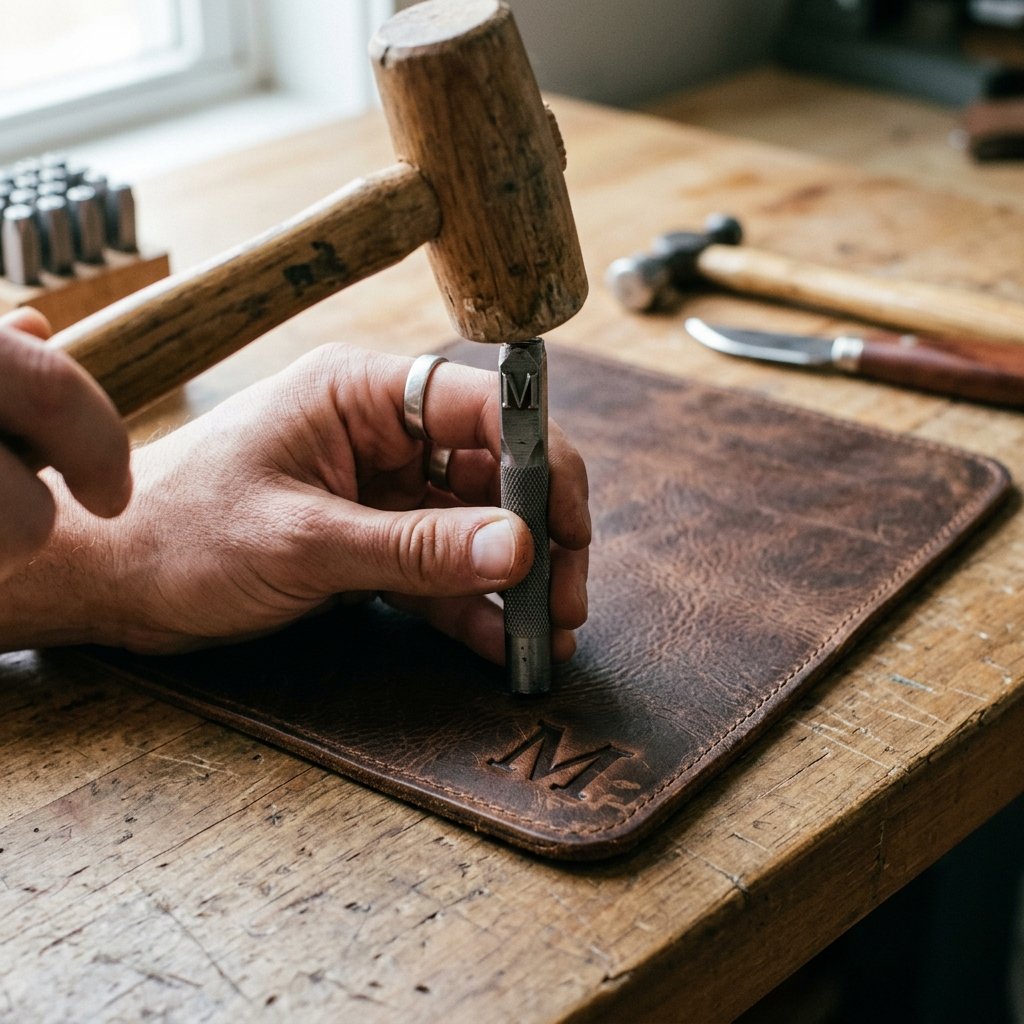
Making It Uniquely His
Now that the structural build is complete, it is time to add those final, thoughtful touches that make a handmade gift so special. Customization shows that you did not just buy something off a shelf; you crafted it specifically for him.
Stamping a Monogram
If you have access to a set of metal letter stamps (often found at craft stores or hardware stores for cheap), you can easily add his initials. Lightly dampen the bottom right corner of the leather with a sponge. Place the metal stamp upright, and give it one firm, solid strike with a mallet or hammer. The damp leather will hold the impression beautifully, giving the mouse pad a rugged, bespoke branding.
Conditioning for a Lifetime of Use
Upcycled leather has often been exposed to the elements and might be slightly dry. To bring back its rich color and ensure the computer mouse glides effortlessly over the surface, you need to condition it.
- Take a small, clean rag and dab it into some leather conditioner. If you do not have leather conditioner, a tiny bit of extra virgin olive oil or coconut oil works perfectly in a pinch!
- Rub the oil into the leather in small, circular motions.
- Watch as the leather drinks up the moisture, instantly darkening and revealing its natural grain and character.
- Let it sit for 10 minutes, then buff away any excess with a dry cloth to ensure his desk and mouse stay clean.
| Conditioner Type | Cost | Effect on Leather |
|---|---|---|
| Commercial Leather Balm | $8 – $12 | Excellent protection, subtle shine, smells great. |
| Mink Oil | $5 – $7 | Deeply darkens leather, ultimate waterproofing. |
| Coconut Oil (Pantry Hack) | $0 (Already own) | Softens nicely, darkens slightly, very frugal. |
Conclusion
A High-End Gift Born from Frugal Ingenuity
And just like that, you have transformed an old, forgotten thrift store jacket or a humble bag of craft scraps into a breathtaking, high-end desk accessory. By combining resourceful upcycling with a few simple, traditional leatherworking techniques, you have created a rugged, elegant leather mouse pad that easily rivals the quality of boutique brands charging upwards of $80.
This is the true power of frugal DIY crafting. It is not just about saving money—though keeping this project under $5 is an absolute triumph! It is about the love, thought, and intentionality poured into the process. Every time he sits down at his desk to work, game, or pay bills, he will feel the smooth, conditioned grain of the leather and see the carefully burnished edges. He will know that you took the time to craft something beautiful and enduring just for him.
Do not stop here! Once you master this simple cutting and gluing technique, the possibilities are endless. You can use the leftover leather scraps to create a matching set of masculine drink coasters, a sleek valet tray for his keys and wallet, or even a custom wrap for his favorite coffee mug. Stay crafty, stay budget-savvy, and enjoy the incredible satisfaction of turning trash into absolute treasure!

Makenzie is the founder and lead writer at MoneyHackTips.com — a personal finance blog dedicated to delivering street-smart financial wisdom for real people on real budgets. With 300+ published articles covering everything from debt management to investing fundamentals, Makenzie’s mission is to make every dollar work harder. When not writing about money hacks, Makenzie is testing frugal living strategies, optimizing side hustles, and helping readers build financial freedom from scratch.