
The High-End Look Without the Retail Heartache
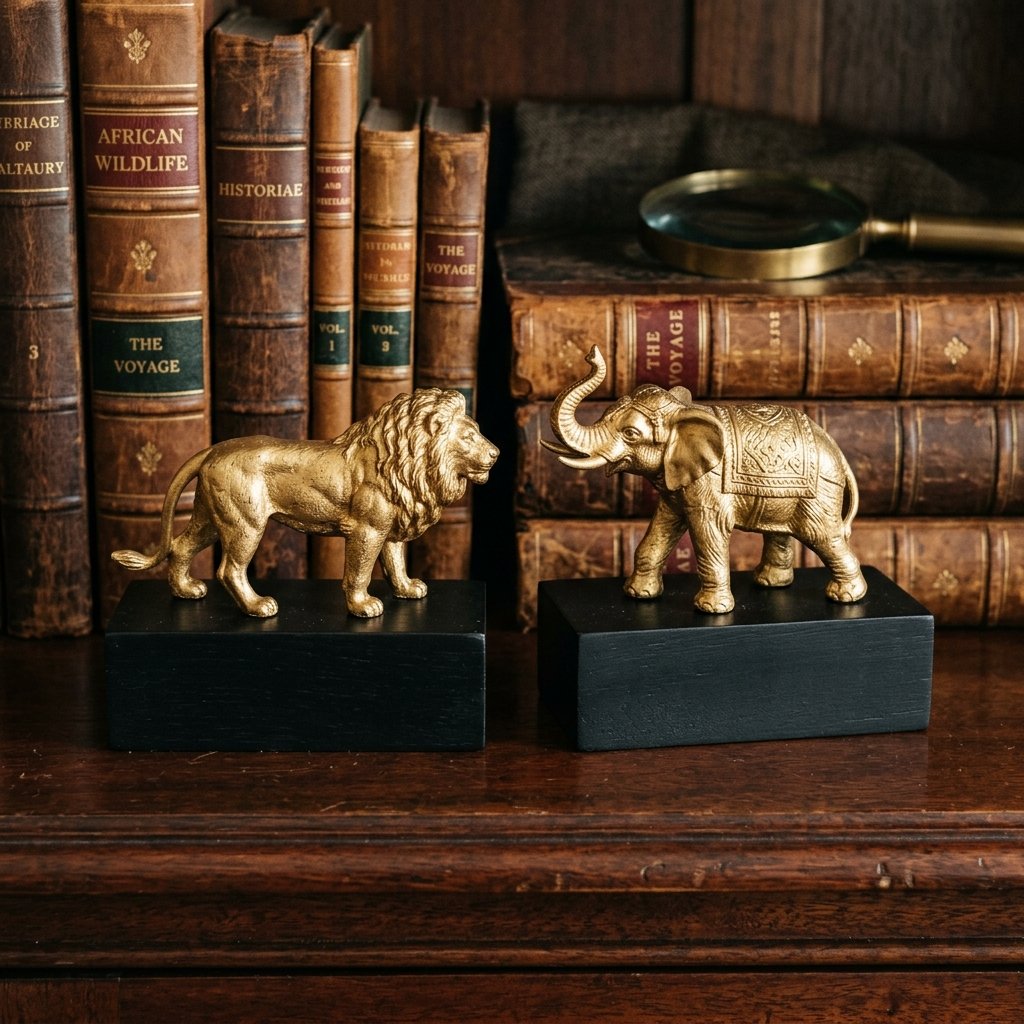
We have all been there: walking through the aisles of Target or browsing the curated shelves of Anthropologie, only to spot a pair of stunning metallic bookends that cost more than a week’s worth of groceries. Whether it is a pair of brass giraffes or heavy obsidian-style geometric shapes, these decor pieces carry a $35 to $60 price tag. But here is the secret that professional stylists and frugal crafters know: high-end decor is often just about form and finish, not the material underneath. By combining a bit of thrift-store scavenging with some clever Dollar Tree hacks, you can create a rugged, masculine-elegant set of bookends that look like they were plucked from a designer showroom for under $10.
This project is the ultimate test of the ‘Trash-to-Treasure’ philosophy. We are taking hollow plastic toys—the kind you find in the bottom of a $1 bin at a garage sale—and giving them a sophisticated, weighted presence. It is resourceful, it is clever, and it is a project any handy parent or budget-savvy decorator can master in a single afternoon. Let’s stop overspending and start upcycling.
The Budget Breakdown: DIY vs. Big Box Retail

Before we pick up a glue gun, let’s look at the hard numbers. The goal of a truly crafty expert is to maximize the visual impact while minimizing the financial output. When you buy a set of decorative bookends at a big-box retailer, you are paying for shipping, branding, and retail markup. When you build them yourself, you are paying only for the raw materials.
| Expense Item | Target/Boutique Price | DIY Upcycle Price |
|---|---|---|
| Decorative Figurine | $15.00 – $25.00 | $1.00 (Thrifted) |
| Weighted Base | Included | $1.25 (Dollar Tree) |
| Metallic Finish | Included | $1.50 (Pro-rated can) |
| Adhesive/Prep | Included | $0.50 (Stash) |
| Total Cost | $35.00 – $60.00 | $4.25 |
As you can see, you are saving over 85% by choosing to spend thirty minutes at your workbench instead of thirty minutes in a checkout line. This is the definition of budget-savvy elegance.
Scavenging for the Perfect Plastic: What to Look For
Selecting Your Subjects
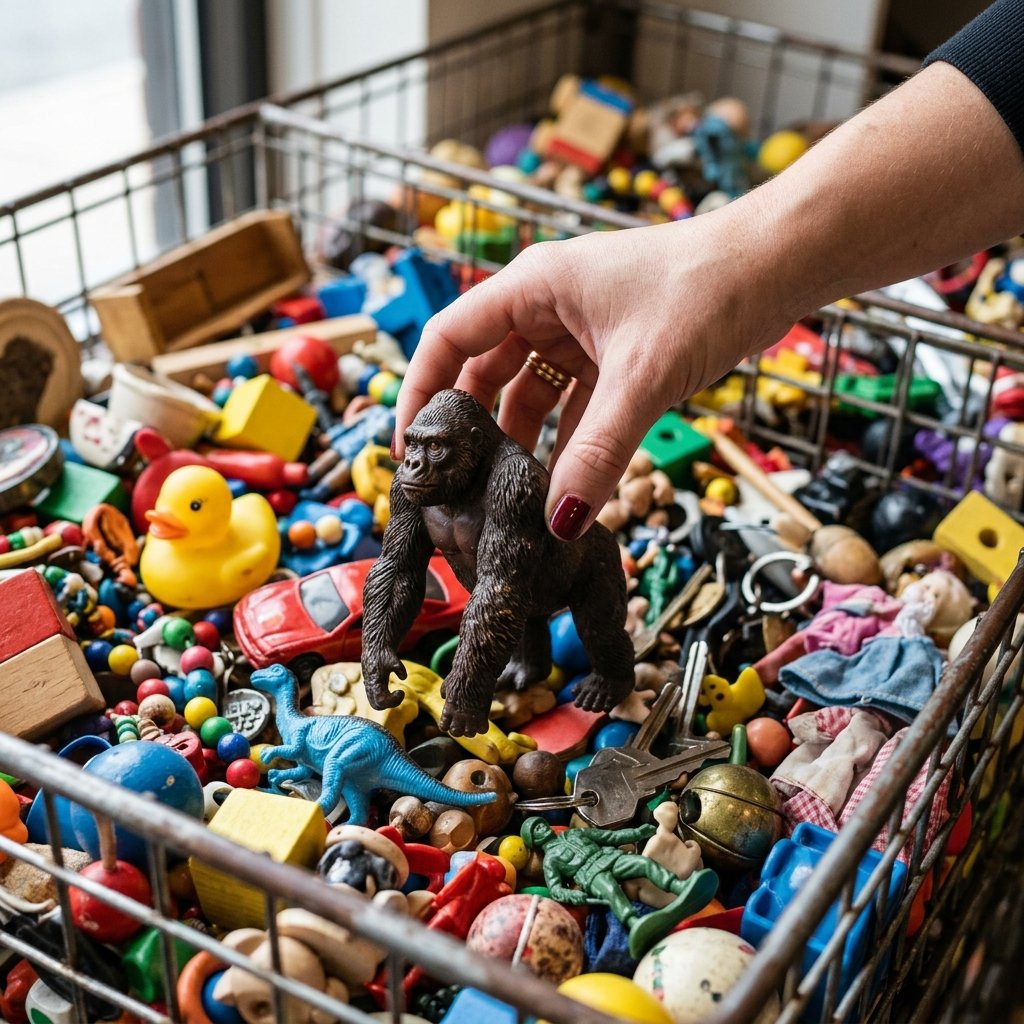
The success of this project hinges on the silhouette of your toys. You aren’t looking for ‘cute’ toys; you are looking for anatomical detail. Rugged, masculine-elegant decor often features wildlife like lions, rhinos, elephants, or even dinosaurs. When you are digging through the bins at the thrift store or the toy aisle at the Dollar Tree, look for these specific traits:
- Texture: Look for molded fur, skin wrinkles, or scales. These details will catch the gold paint and create beautiful highlights and shadows.
- Scale: Ensure the toy is proportionate to your book collection. A tiny 2-inch toy will look lost on a shelf of heavy hardcovers. Aim for 5 to 7 inches in length.
- Stance: A ‘walking’ or ‘standing’ pose is easiest to glue to a base. Avoid toys with thin, spindly legs that might snap under the weight of the bookend.
Budget Mantra: It doesn’t matter if the toy is neon pink or covered in scuffs. We are looking for the soul of the shape, not the surface of the plastic.
Building the Foundation: Weight and Stability
A bookend that can’t hold up books is just a paperweight. To make these functional for heavy novels, we need to add weight. You have two primary options for bases:
- Wooden Blocks: Dollar Tree often sells 4×4 wooden decor blocks. These are great for a modern look but are lightweight.
- Bricks or Pavers: A standard red brick from a home improvement store costs about $0.60. If you want a rugged, industrial feel, this is the gold standard.
Weighting Hollow Toys
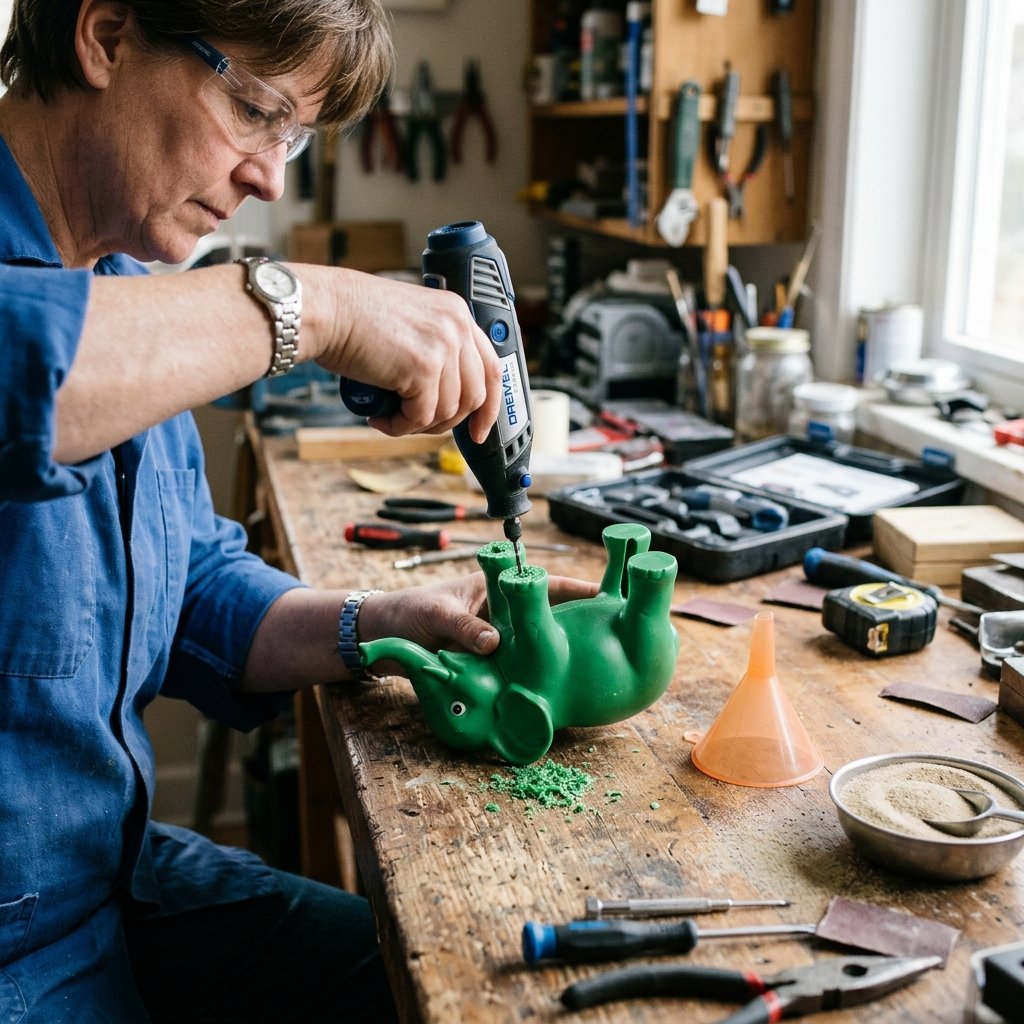
If your thrifted toy is hollow, you can increase the ‘heft’ by drilling a small 1/8-inch hole in the bottom (or the area that will be glued to the base) and filling it with fine sand or salt. Seal the hole with a dab of hot glue. This simple step transforms a cheap plastic trinket into a piece that feels substantial and expensive when handled.
The Bonding Process: Achieving a Permanent Hold

To ensure your toys don’t pop off the base the first time a book leans against them, you need a multi-layer adhesive strategy. Do not rely solely on hot glue; it becomes brittle and can peel off smooth plastic over time.
The Pro-Crafter’s Glue Sandwich
- Step 1: Sand the bottom of the toy’s feet and the top of the base with 120-grit sandpaper. This ‘scuffs’ the surface to give the glue something to bite into.
- Step 2: Apply a small amount of E6000 or Gorilla Super Glue to the center of the feet for a long-term, permanent chemical bond.
- Step 3: Apply a few small dots of high-temp hot glue around the edges. The hot glue acts as a ‘temporary clamp,’ holding the toy in place instantly while the stronger adhesive cures over the next 24 hours.
Safety Note: Work in a well-ventilated area when using industrial adhesives like E6000, as the fumes can be quite strong.
The Midas Touch: Painting for a High-End Finish
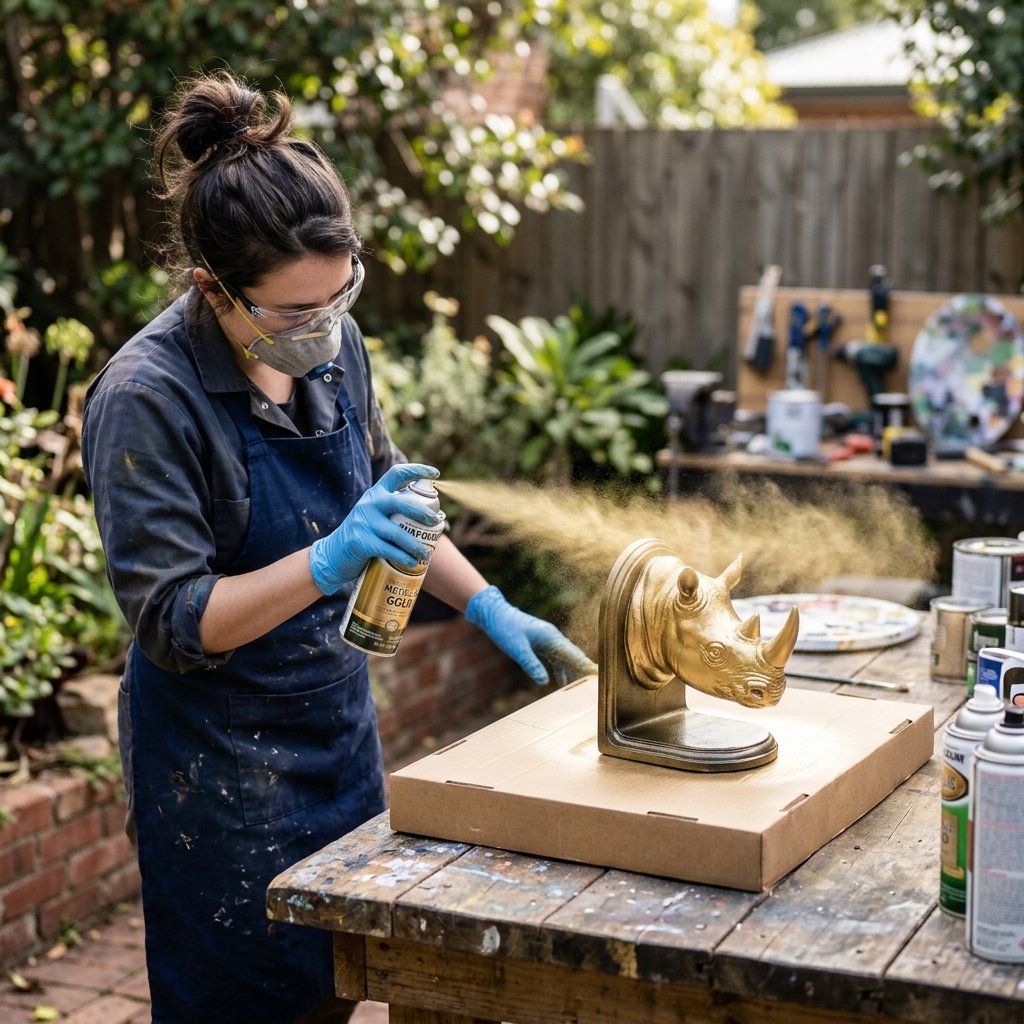
This is where the magic happens. The difference between a ‘DIY project’ and ‘professional decor’ is the paint job. For a true metallic look, don’t just buy ‘yellow’ paint. You want a Metallic Gold or Champagne Bronze spray paint with a ‘Brilliant’ or ‘Leafing’ finish.
Painting Technique for Perfection
- The Primer Secret: If your toy is a dark color, hit it with a quick coat of flat black primer first. This adds depth to the gold and ensures the plastic color doesn’t bleed through.
- Multiple Thin Coats: Never try to cover the toy in one go. Hold the can 8 to 10 inches away and apply 3-4 mist-like coats. This prevents drips and preserves the fine molded details of the toy.
- The Curing Phase: Let the pieces dry for at least 4 hours before touching them. Even if it feels dry to the touch, the paint is still ‘soft’ and will pick up fingerprints if handled too early.
For a more masculine, aged look, you can apply a ‘dark wax’ or a very thin wash of black acrylic paint into the crevices of the toy after the gold is dry, then buff the highlights with a soft cloth.
Finishing Touches and Styling
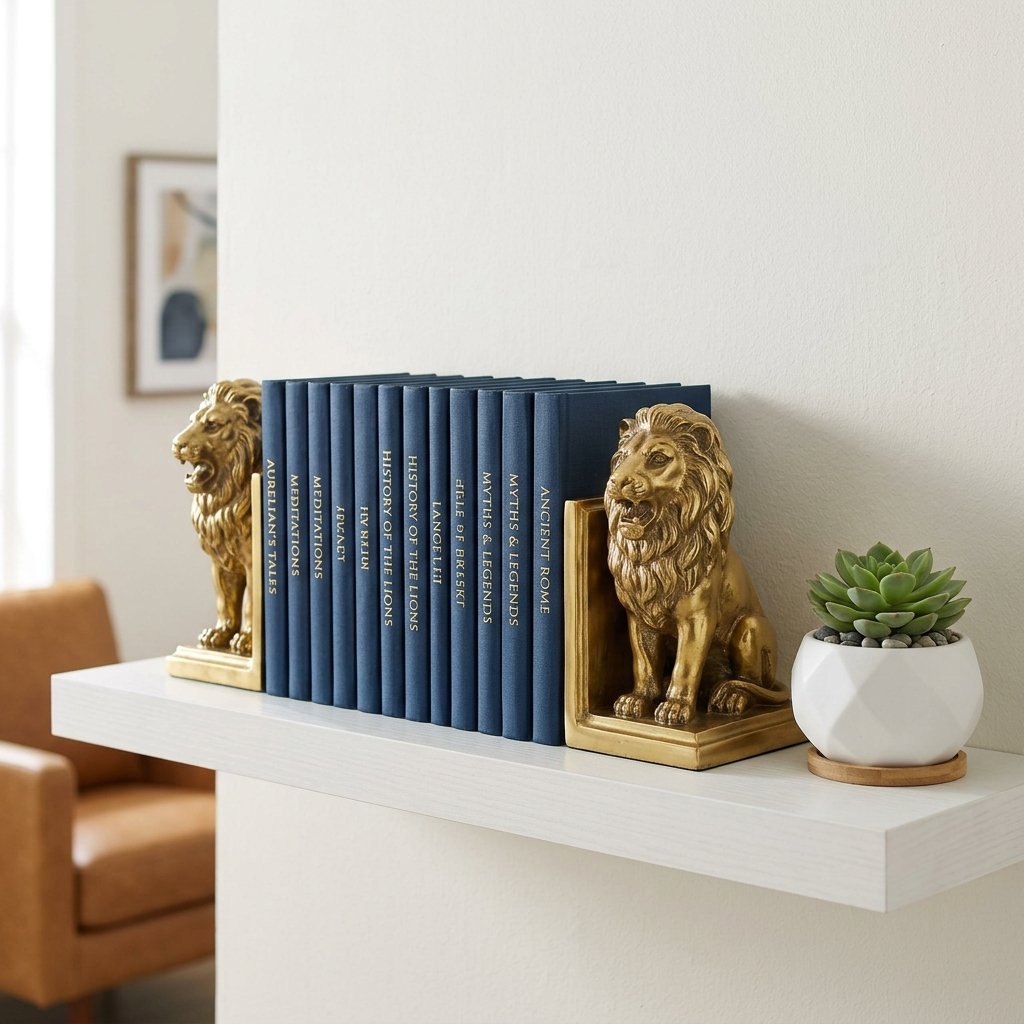
To protect your furniture and give the project a polished, retail-ready look, finish the bottom of your bases. Trace the bottom of your bookend onto a sheet of Dollar Tree adhesive felt or a piece of cork. Cut it slightly smaller than the base and press it on firmly. This prevents the bookends from scratching your shelves and adds a professional ‘finished’ feel.
Styling Your Masterpiece
How you display these is just as important as how you make them. To lean into that Target-style aesthetic:
- Contrast: Place gold bookends against dark-colored books (navy, black, or dark green) to make the metallic pop.
- Symmetry: Use two different animals (e.g., a lion on the left and a tiger on the right) for a curated, ‘collected’ look rather than a matching set.
- Height: If your bookends feel too short, stack a few books horizontally and place the bookend on top of the stack to create varied heights on your shelf.
Conclusion
Victory for the Frugal Decorator
By the time you finish this project, you will have a pair of bookends that look like they cost $50, but you’ll know the secret: they started as discarded plastic and a little bit of spray-paint ingenuity. This project isn’t just about saving money; it’s about the satisfaction of being a resourceful creator who refuses to pay retail prices for simple beauty. Whether you are gifting these to a friend for their new office or upgrading your own living room, these ‘toys’ have officially graduated to high-end art. Now, take that $45 you saved and put it toward your next thrift store haul. Happy crafting!

Makenzie is the founder and lead writer at MoneyHackTips.com — a personal finance blog dedicated to delivering street-smart financial wisdom for real people on real budgets. With 300+ published articles covering everything from debt management to investing fundamentals, Makenzie’s mission is to make every dollar work harder. When not writing about money hacks, Makenzie is testing frugal living strategies, optimizing side hustles, and helping readers build financial freedom from scratch.