
The Secret to a High-End Aesthetic on a Shoestring Budget
Let’s be honest: we’ve all walked through those high-end furniture showrooms, seen a piece of ‘minimalist’ geometric art, and felt a physical pang in our wallets when we saw the $200 price tag. It’s often just some wood, some texture, and a clever layout. As a resourceful DIYer, your first thought shouldn’t be ‘I wish I could afford that,’ but rather, ‘I can build that for the price of a cup of coffee.’ Today, we are diving deep into the world of high-end dupes. We are going to take the humble offerings of the Dollar Tree and elevate them into something that looks like it was curated by a professional interior designer. This isn’t just about saving money; it’s about the rugged satisfaction of creating something sophisticated with your own two hands. We’re talking about rugged elegance, practical crafting, and budget-savvy ingenuity. By the end of this guide, you’ll have a gallery-worthy masterpiece for exactly $5.
Budget Mantra: Your home should reflect your creativity, not your credit limit. A clever eye sees potential where others see plastic.
The $5 Blueprint: Sourcing Your High-End Materials
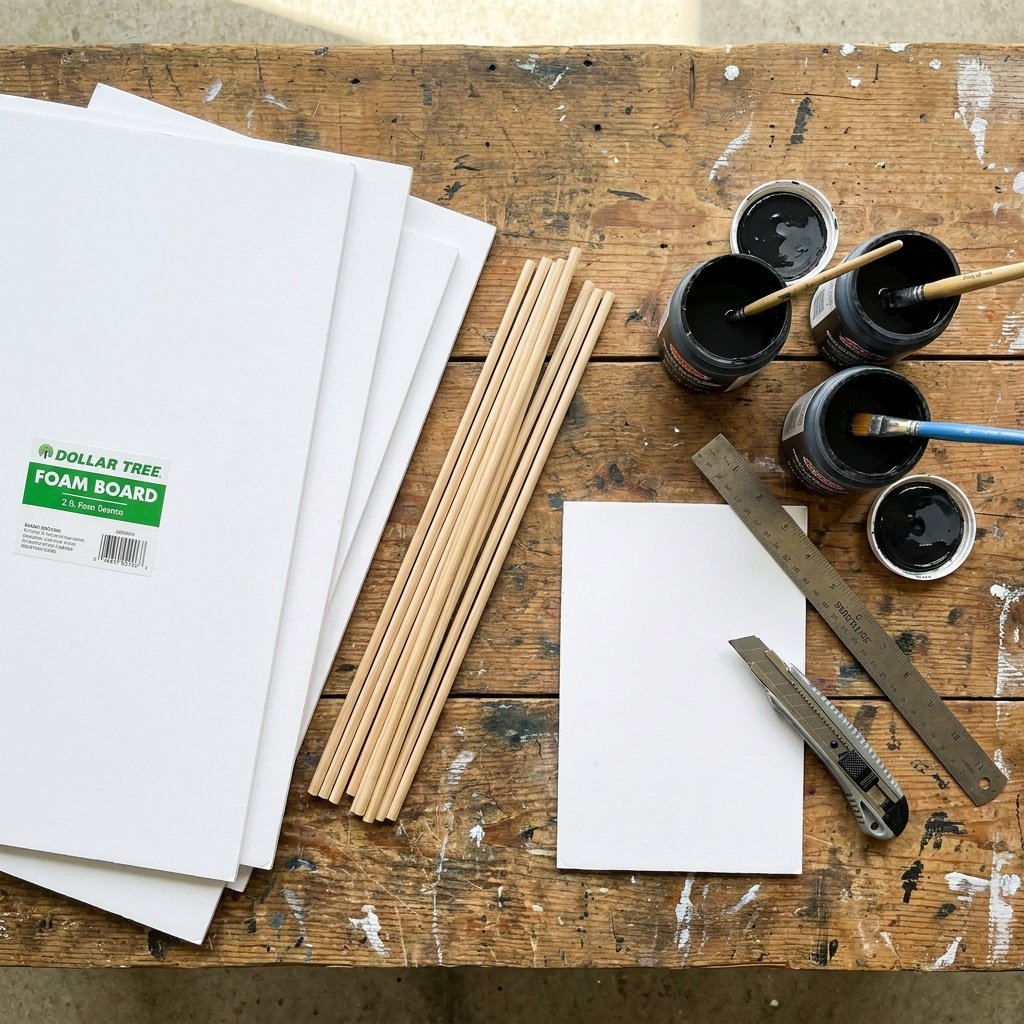
The key to a successful ‘Trash-to-Treasure’ project is selection. You need to look past the neon plastics and seasonal glitter of the Dollar Tree to find the structural ‘bones’ of your art. For this geometric masterpiece, we are focusing on clean lines and 3D depth. You don’t need a woodshop; you just need a plan. Below is the exact manifest for our $5 build. We are aiming for a 100% savings compared to retail boutique prices.
| Material Item | Source | Estimated Cost |
|---|---|---|
| Foam Core Board (2-Pack) or Canvas | Dollar Tree | $1.25 |
| Wooden Dowels or Square Skewers | Dollar Tree | $1.25 |
| Baking Soda (for texture) | Pantry / Dollar Tree | $1.25 |
| Matte Black Acrylic Paint | Dollar Tree / Craft Stash | $1.25 |
| Super Glue or Hot Glue | Dollar Tree | $0.00 (Owned) |
| Total Investment | – | $5.00 |
Why These Materials Work
- Foam Core: It provides a lightweight yet rigid ‘canvas’ that won’t warp under the weight of the 3D elements.
- Wooden Dowels: These create the geometric ‘relief’ that catches the light and adds that expensive architectural feel.
- Baking Soda: This is the ‘secret sauce’ that turns cheap craft paint into a stone-like, high-end plaster finish.
The Art of the Dupe: Cost-Analysis and Store-Bought Comparisons
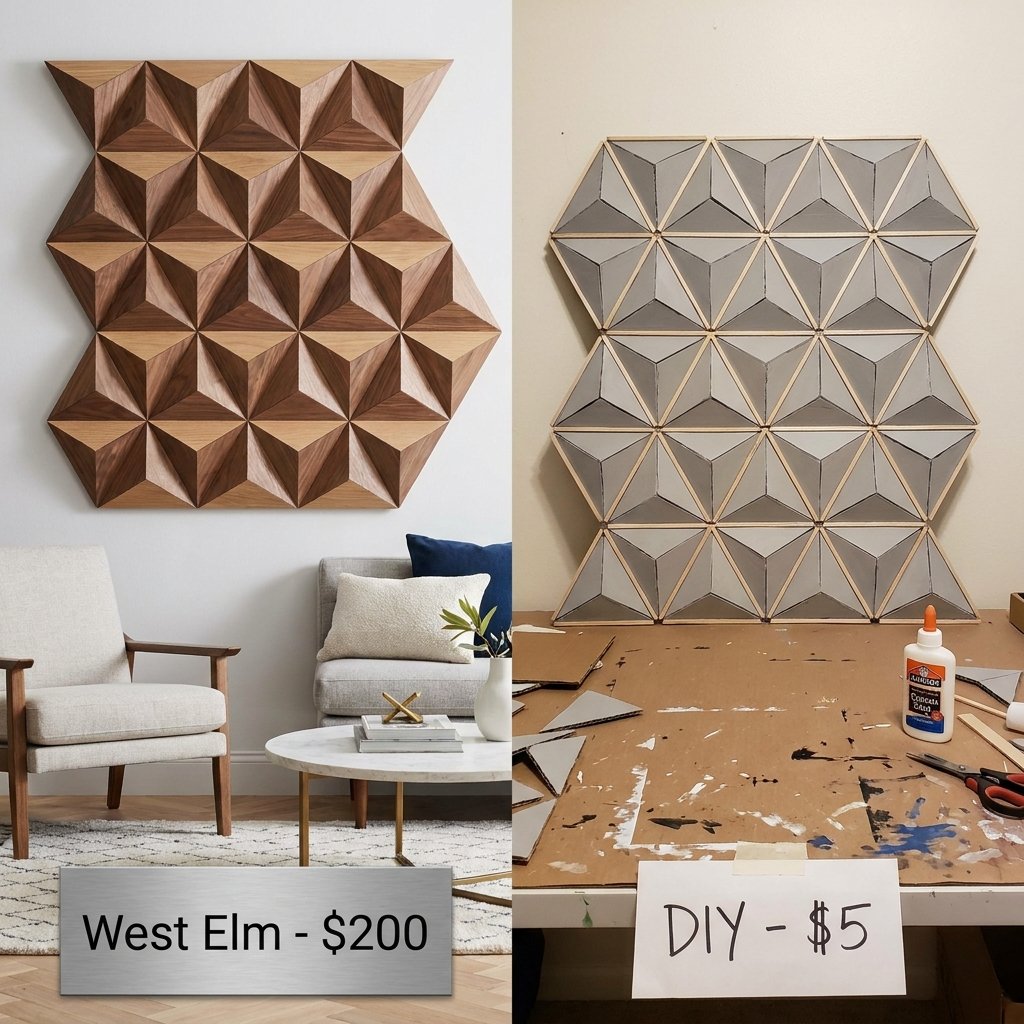
Before we pick up the glue gun, let’s look at why we are doing this. In the world of interior design, ‘Geometric Relief Art’ is a massive trend. Retailers like West Elm, Pottery Barn, and CB2 sell these pieces for astronomical sums. By understanding their construction, we can replicate the masculine-elegant vibe for a fraction of the cost. Check out this comparison to see the power of frugal DIYing.
| Retailer / Brand | Product Name | Retail Price | Our DIY Cost |
|---|---|---|---|
| West Elm | Abstract Wood Relief Art | $199.00 | $5.00 |
| Pottery Barn | Modern Geometric Panel | $145.00 | $5.00 |
| Target (Threshold) | Framed Geometric Canvas | $45.00 | $5.00 |
| Average Savings | – | $124.66 | 97% Saved |
Crafty Expert Tip: The difference between ‘cheap’ and ‘chic’ is all in the finish. Never skip the sanding and priming phases; they are the hallmarks of a professional-grade dupe.
Texture is King: The Baking Soda and Paint Alchemy
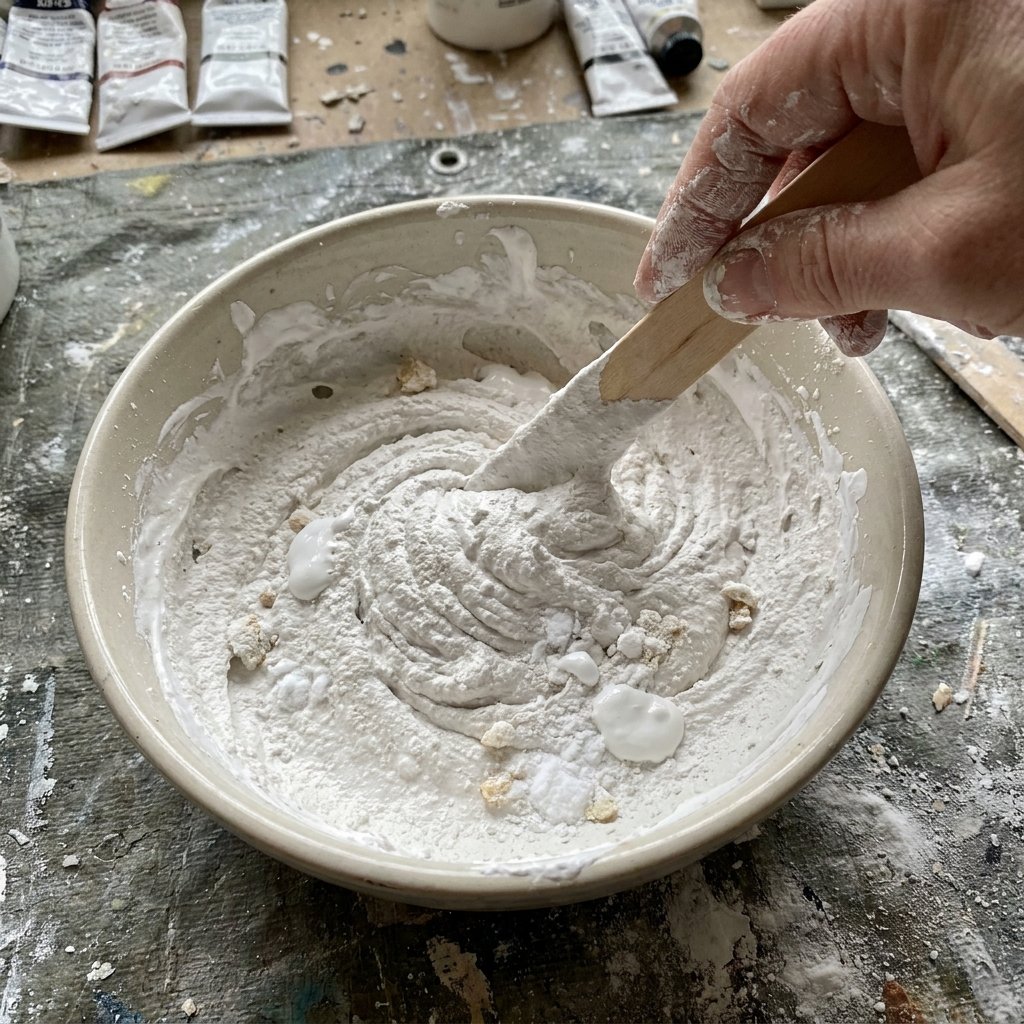
The biggest giveaway of a ‘cheap’ DIY is a flat, plastic-looking finish. To achieve that rugged, stone-like texture seen in high-end galleries, we use the Baking Soda Paint Trick. This adds grit and weight to the visual profile of the piece. This is where the resourceful creator shines.
The Formula for Success
- Step 1: Pour approximately 1 cup of matte black or charcoal grey acrylic paint into a mixing bowl.
- Step 2: Slowly fold in 1/2 cup of baking soda. The mixture should become thick, almost like pancake batter or wet cement.
- Step 3: Apply the mixture to your base board using a sponge or a coarse brush. Don’t aim for perfection; the slight peaks and valleys are what make it look like expensive cast stone or heavy wood.
Safety Note: While these materials are non-toxic, always protect your workspace with old newspapers or a drop cloth. This texture paint can be messy once it starts to dry!
Precision Engineering: Mapping Out Your Geometric Patterns
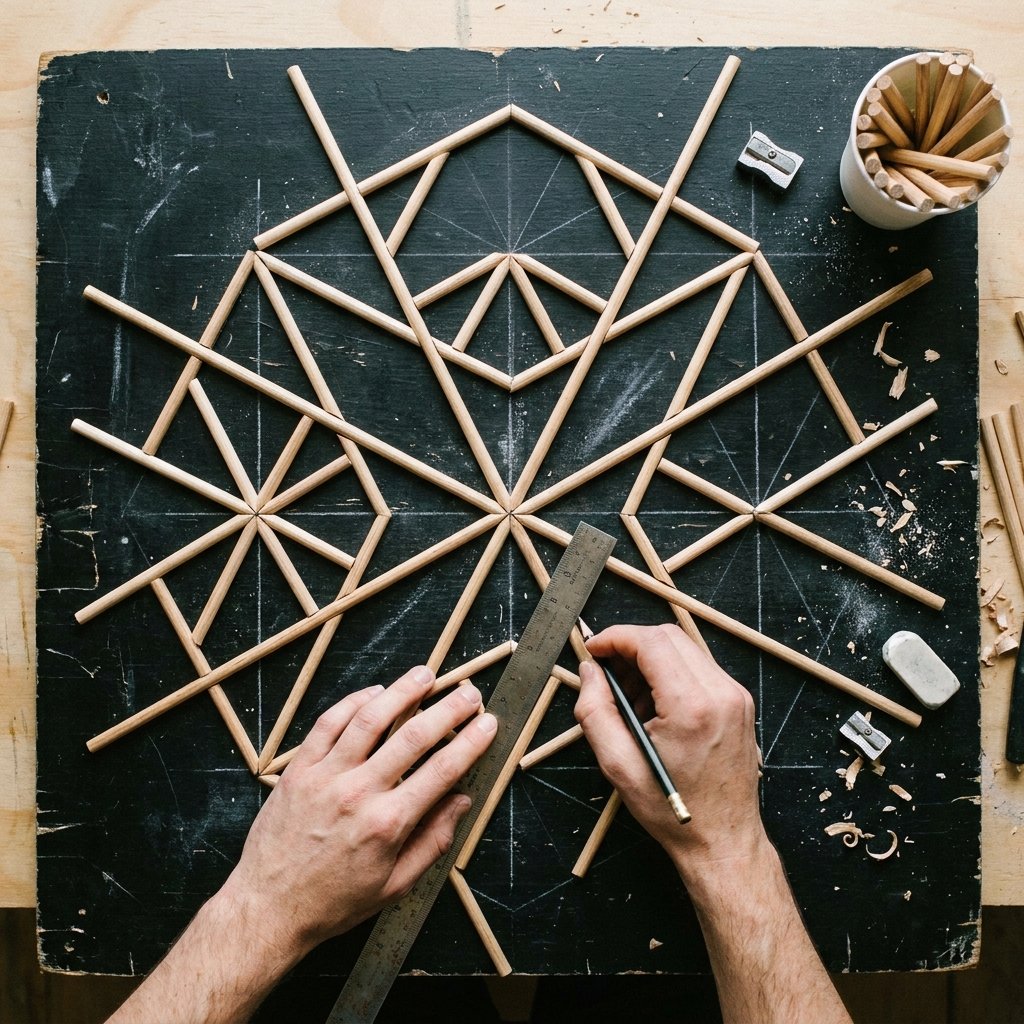
Now we move into the origami-like precision phase. The geometric pattern is what provides the ‘high-end’ look. You want to create a sense of movement and balance. Whether you choose a herringbone pattern, a sunburst, or a minimalist grid, the key is clean cuts and consistent spacing. Follow these steps for a perfect layout:
- Measure Twice: Use a metal ruler to find the exact center of your foam board. Mark it lightly with a pencil.
- Cut the Dowels: Using a pair of heavy-duty snips or a small craft saw, cut your wooden dowels into varying lengths (e.g., 4 inches, 6 inches, and 8 inches).
- Dry Fit: Lay your pieces out on the board before applying any glue. This allows you to adjust the ‘flow’ of the geometry.
- Glue with Purpose: Use a small dab of high-strength super glue at each end of the dowel. Press firmly for 10 seconds to ensure a permanent bond.
- The 3D Layer: For extra depth, stack some dowels on top of others. This creates shadows that make the art ‘pop’ when hung under gallery lighting.
The Master’s Finish: Weathering, Metallics, and Sealing
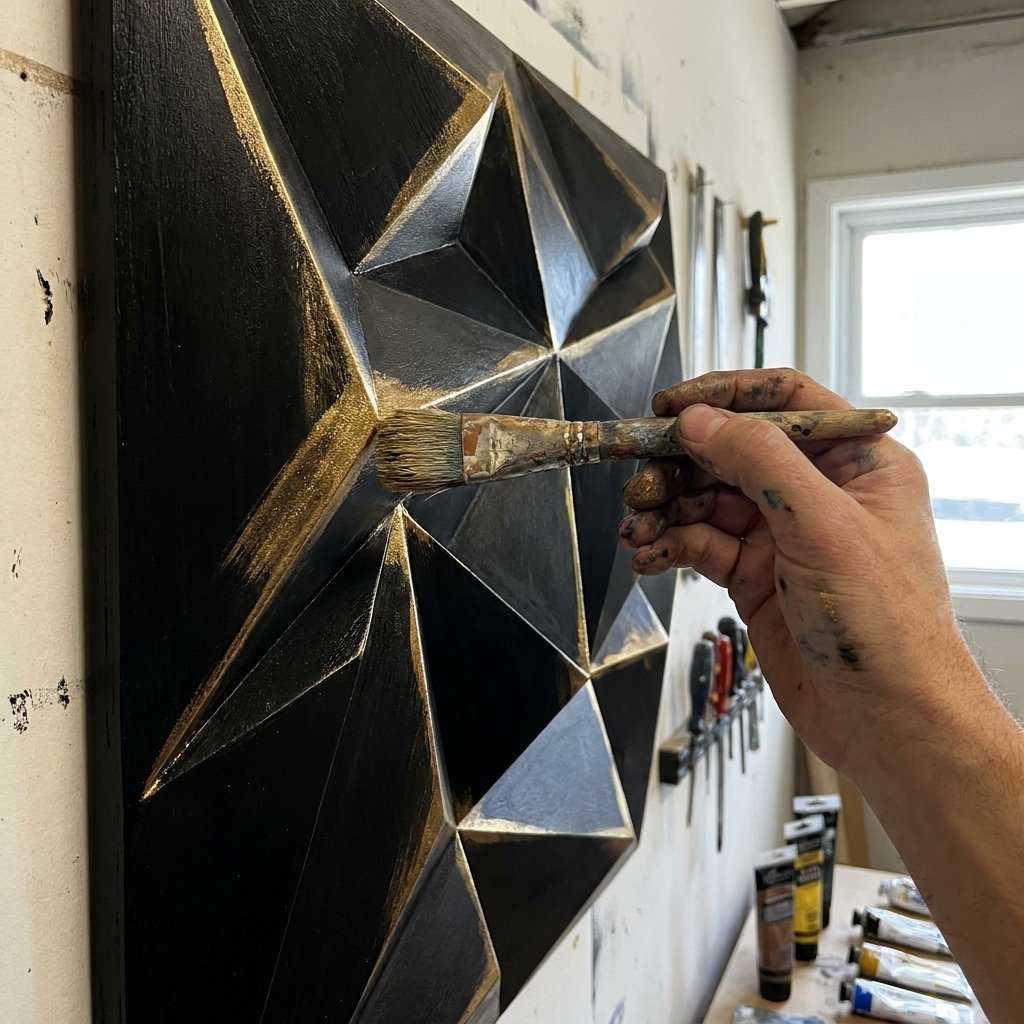
Once your structure is built and your texture is dry, it’s time for the final aesthetic touches. This is where we add that masculine-elegant flair. A solid black piece is bold, but a piece with metallic accents is sophisticated. We want to catch the light just enough to highlight the 3D relief we’ve built.
The Dry-Brush Technique
Take a very small amount of gold or bronze metallic paint on a completely dry brush. Wipe most of the paint off onto a paper towel until the brush looks almost empty. Lightly ‘tickle’ the tops of the wooden dowels and the highest points of the texture. This ‘catches’ the edges and makes the geometric pattern glow without looking ‘crafty’.
| Finish Type | Visual Effect | Best For |
|---|---|---|
| Matte Black | Absorbs light, moody, industrial | Modern bachelor pads |
| Gold Leaf Accents | Reflective, luxurious, warm | Living room focal points |
| White Plaster | Clean, Scandi, minimalist | Bright, airy bedrooms |
| Raw Wood / Clear Coat | Rugged, natural, organic | Home offices and dens |
Curating the Space: Styling Your Rugged-Elegant Gallery
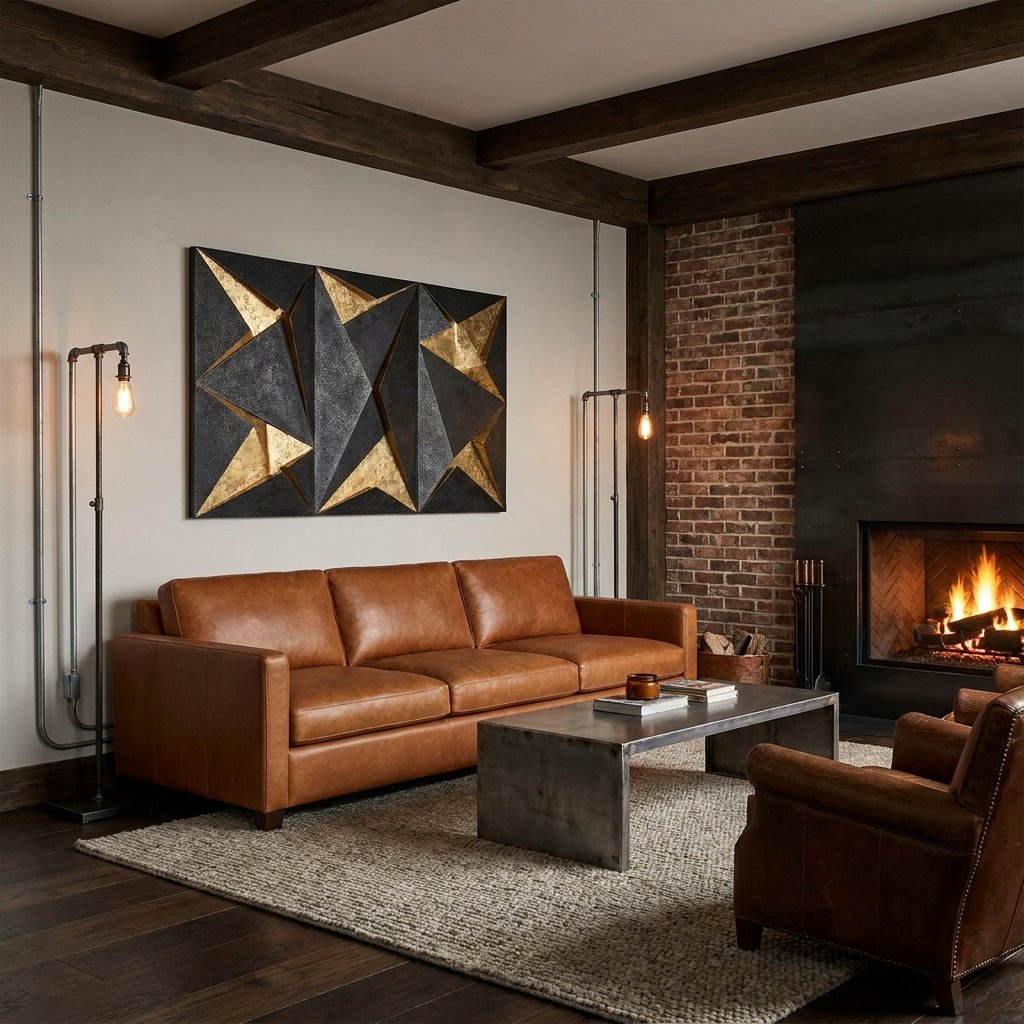
You’ve spent $5 and about 60 minutes of active work time. Now, you need to display it like the masterpiece it is. High-end art looks expensive because of how it is framed and lit. Even a Dollar Tree project can look like a $500 investment if you follow these styling rules.
- The Rule of Three: If you have the time, make three slightly different versions and hang them as a triptych. The repetition creates a massive visual impact.
- Lighting is Everything: Place your art where it will receive directional light—either from a window or a dedicated picture light. This emphasizes the 3D shadows.
- Command Strips: Since our materials (foam and dowels) are incredibly lightweight, you don’t need to drill into your walls. Use heavy-duty Command Strips for a clean, nail-free look.
Encouraging Mantra: You are not just a crafter; you are an architect of your own environment. Every piece you build is a testament to your resourcefulness.
Conclusion
Your Designer Home is Within Reach
By now, you should see that ‘high-end’ is a style, not a price bracket. With just $5 and a few clever hacks like the baking soda texture trick and precision dowel placement, you’ve created a piece of art that rivals the top interior design houses. You’ve saved over $100, kept your hands busy, and added a touch of rugged elegance to your space. This is the heart of the frugal DIYer spirit: taking the mundane and making it magnificent. So, what’s next? A faux-stone planter? A custom leather valet tray? The world is your Dollar Tree—go out there and build something incredible. Happy crafting!

Makenzie is the founder and lead writer at MoneyHackTips.com — a personal finance blog dedicated to delivering street-smart financial wisdom for real people on real budgets. With 300+ published articles covering everything from debt management to investing fundamentals, Makenzie’s mission is to make every dollar work harder. When not writing about money hacks, Makenzie is testing frugal living strategies, optimizing side hustles, and helping readers build financial freedom from scratch.