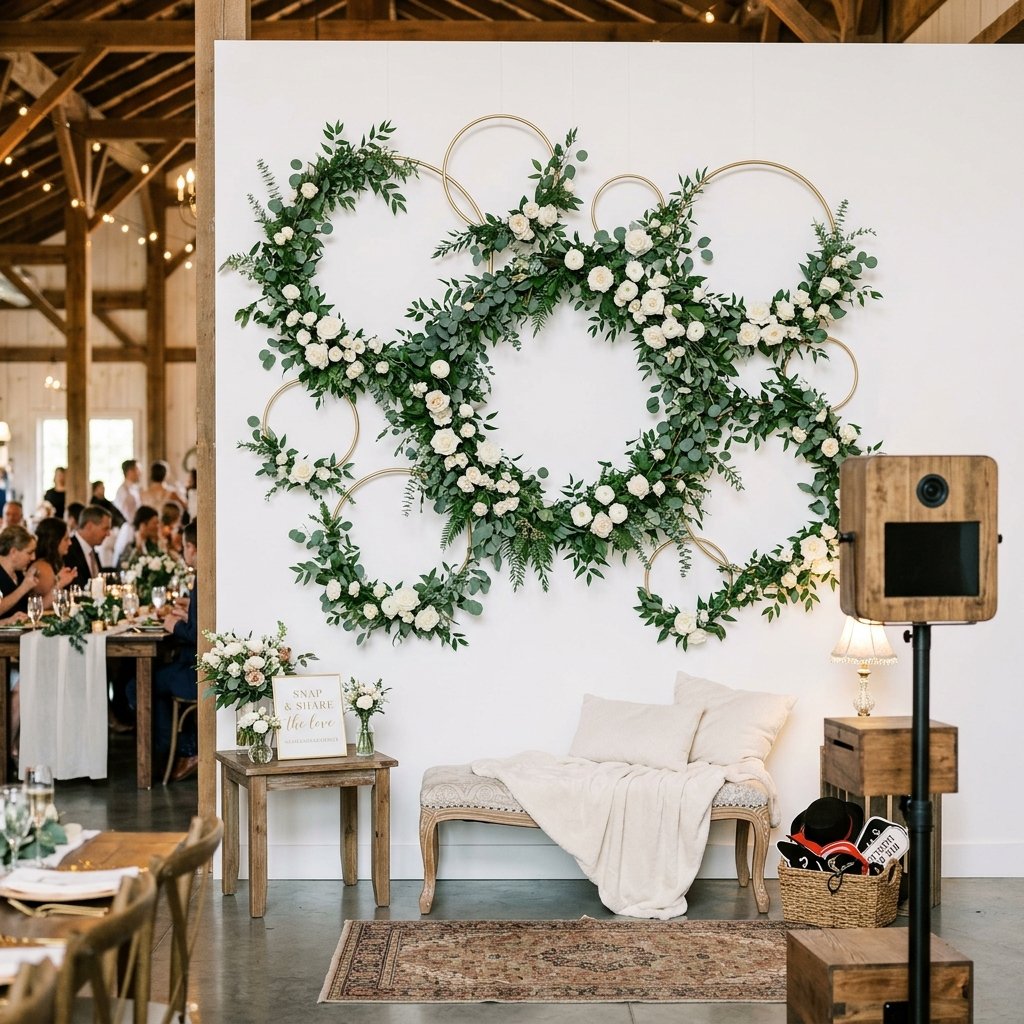

The $1,500 Illusion: High-End Elegance on a Shoestring Budget
Let’s talk numbers. The average wedding florist will quote you anywhere from $800 to $2,500 for a custom photo booth backdrop. While those installations are beautiful, they often consume a massive chunk of a budget that could be better spent on the honeymoon or a down payment. If you are a resourceful DIYer with a knack for clever engineering and a sharp eye for style, you don’t need a four-figure budget to create a ‘Pinterest-perfect’ moment. Welcome to the masterclass on the Floral Hoop Wall—a ruggedly structured yet delicate-looking masterpiece that you can build for under $50.
This project is the ultimate ‘trash-to-treasure’ triumph. We aren’t just throwing flowers at a wall; we are strategically assembling a modular, reusable, and breathtakingly elegant installation using hardware store basics and budget-friendly greenery. Whether you’re a handy parent helping with a daughter’s big day or a budget-savvy bride yourself, this guide will walk you through the practical steps to achieve a masculine-elegant structure with a feminine-floral finish. We’re going to swap the florist’s invoice for a little bit of ‘sweat equity’ and a lot of creative genius.
The Strategic Budget: Professional vs. Shrewd DIY
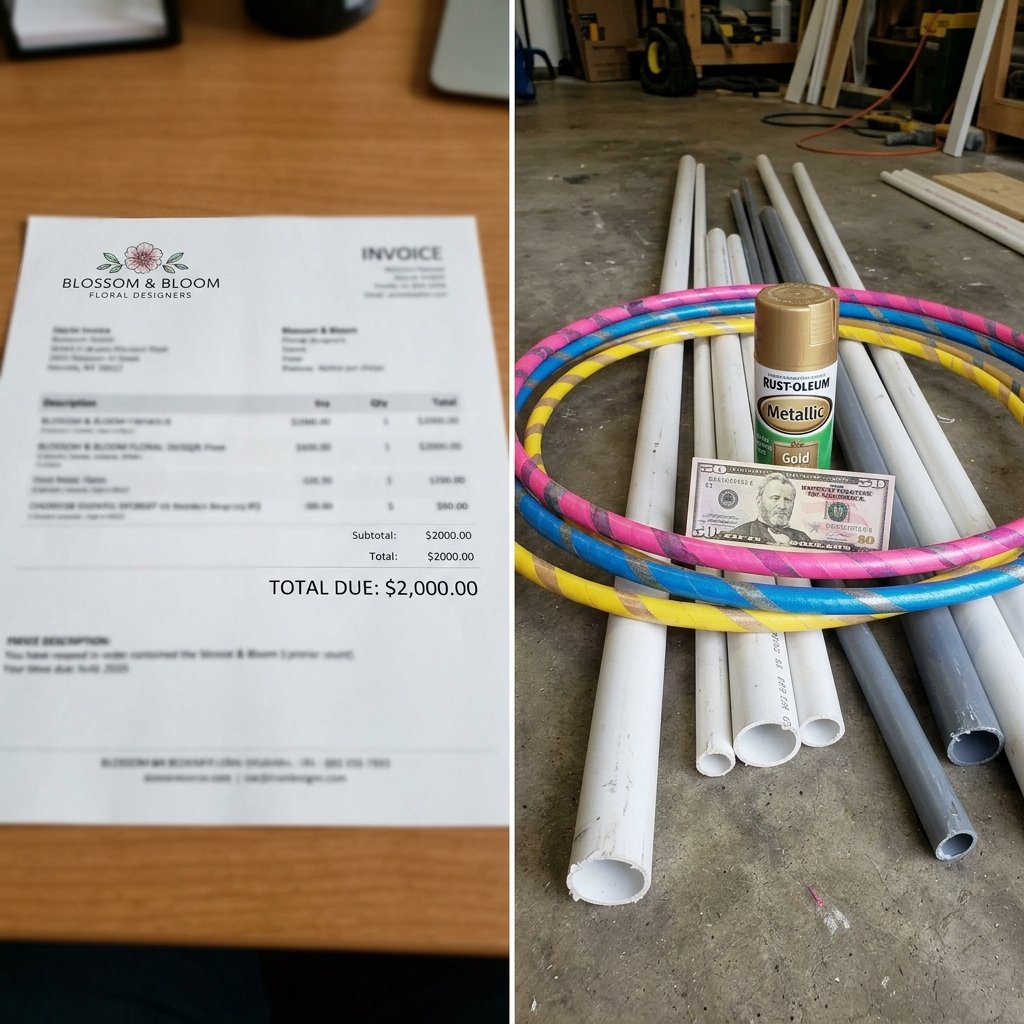
Before we pick up a single sprig of eucalyptus, we need to understand the financial landscape. A professional floral wall is expensive because of labor, premium fresh-cut stems, and rental fees for the heavy-duty framing. By pivoting to a DIY floral hoop design, we utilize negative space—the air inside the hoops—to create a sense of scale without needing thousands of individual flowers. This is the secret to the ‘High-End’ look: focus on the geometry, not just the volume.
| Expense Item | Professional Rental/Florist | Our DIY Budget Solution |
|---|---|---|
| Support Frame | $250 – $500 (Rental) | $12.00 (PVC/Wood) |
| Floral Materials | $600 – $1,500 (Fresh) | $25.00 (Bulk Faux/Dried) |
| Hoops/Structure | Included in labor | $8.00 (Upcycled/Dollar Store) |
| Labor & Setup | $300+ | $0.00 (Your Crafty Hands) |
| Total Estimated Cost | $1,150 – $2,300 | $45.00 |
The Frugal Mantra: “Don’t pay for the name; pay for the components. If you can build the skeleton, the skin is just decoration.”
The Arsenal: Sourcing Your Materials Like a Pro
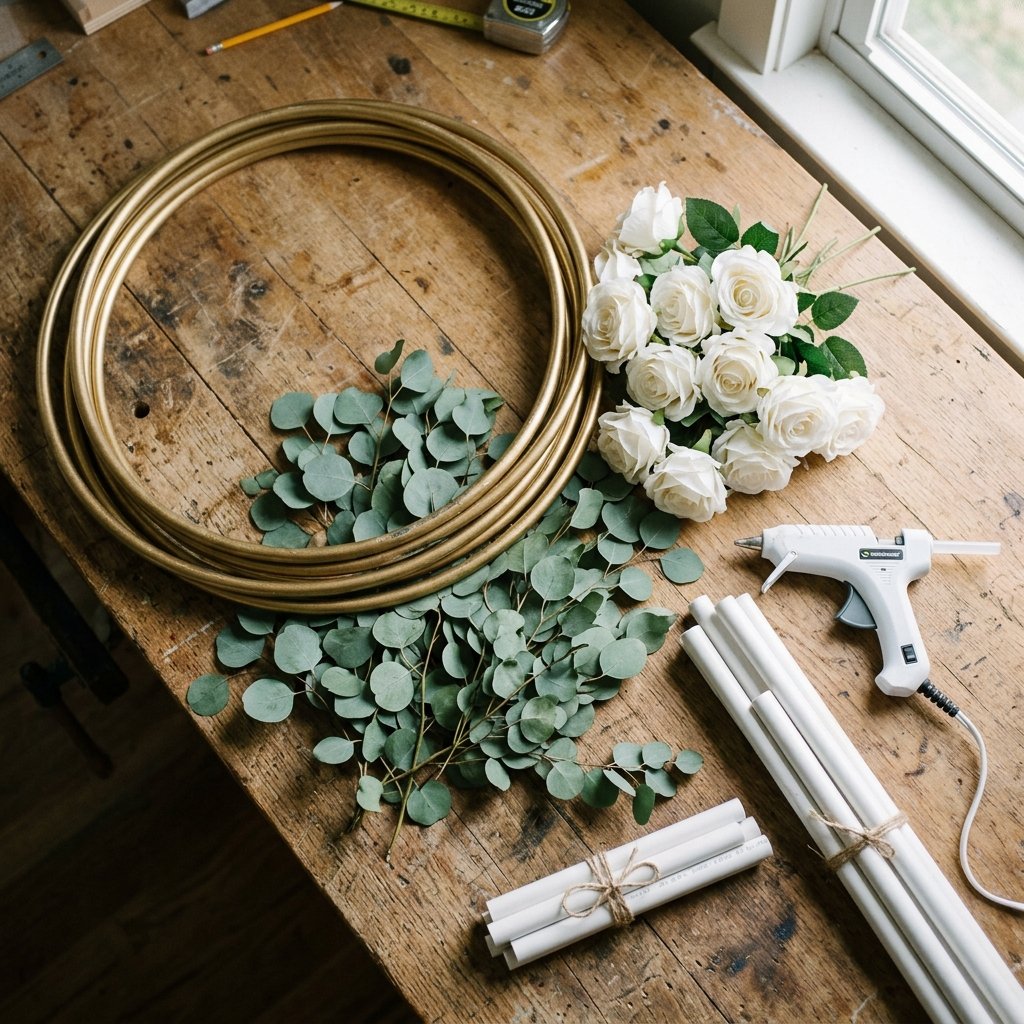
The Skeleton: Hula Hoops & PVC
The secret to those perfectly circular floral hoops? Dollar Tree hula hoops. At $1.25 each, they are the cheapest geometric forms you can find. We will be spray-painting these to look like heavy brass or wrought iron. For the frame, we head to the local hardware store for 3/4-inch PVC pipe. It’s lightweight, incredibly strong, and fits into the trunk of a sedan once disassembled.
The Greenery & Florals
To stay under budget, we avoid the ‘per stem’ cost at craft stores. Instead, look for ‘bushes’ or ‘garlands’ at discount retailers. One 6-foot eucalyptus garland can be snipped into 15-20 individual pieces to cover multiple hoops. Focus on three textures: a base leaf (Eucalyptus), a filler flower (Baby’s Breath), and a focal bloom (White Peonies or Roses).
- 6-8 Hula Hoops (various sizes if possible): $10.00
- 2 Cans of Metallic Gold Spray Paint: $12.00
- PVC Pipe & Connectors: $10.00
- Bulk Faux Greenery (Amazon or Dollar Store): $15.00
- Zip Ties & Hot Glue: $3.00
Phase 1: Engineering the Rugged Support Frame
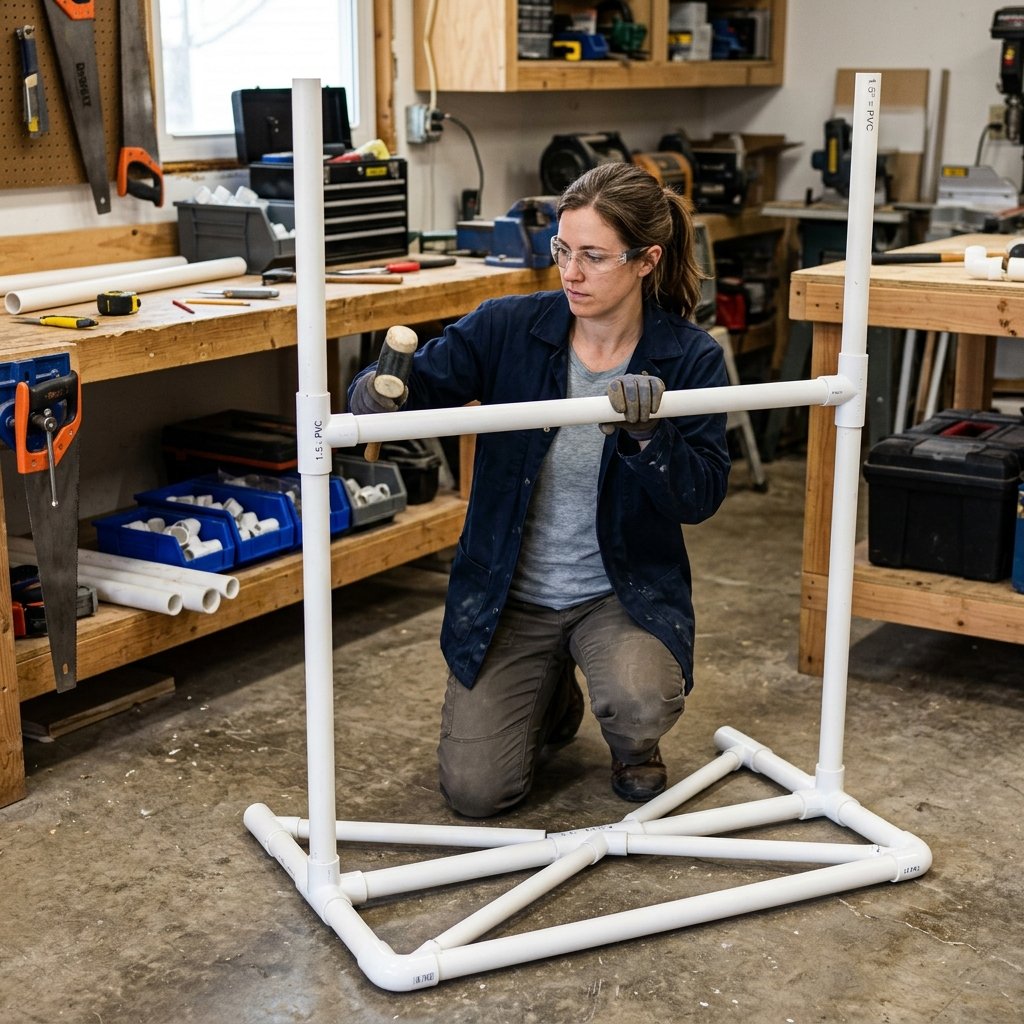
A backdrop is only as good as its stability. We don’t want the wall toppling over when a guest gets too enthusiastic with their posing. We are building a standard H-frame with PVC. This is the ‘rugged’ part of the project—it’s about function and durability.
Step-by-Step Frame Assembly:
- Cut two PVC pipes to 7 feet (the uprights) and one pipe to 5 feet (the crossbar).
- For the base, create two ‘T’ shapes using 1-foot sections of pipe and T-connectors. This ensures the frame won’t tip forward or backward.
- Assemble the pieces but do not glue them. Keeping them unglued allows you to break the frame down for easy transport to the venue.
- Spray paint the entire frame a neutral color (black or gold) so it disappears behind the hoops.
Pro-Tip for Stability: If your event is outdoors, fill the bottom PVC base pipes with dry sand or gravel before capping them. This adds weight and lowers the center of gravity, making it wind-resistant.
Phase 2: The Art of the Hoop—Crafting the Circles
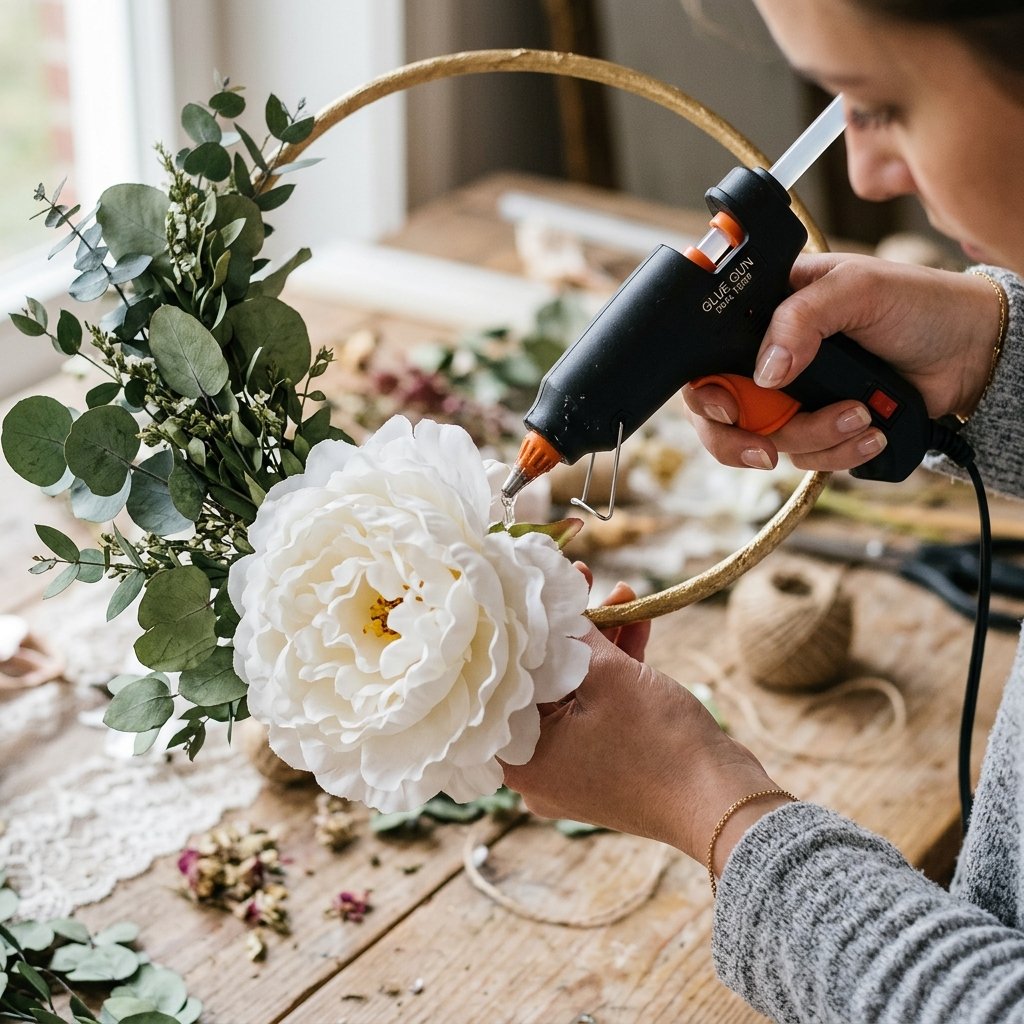
Now we move from engineering to artistry. This is where the $1.25 hula hoops become ‘Boutique’ decor. The key is asymmetry. Do not cover the entire hoop in flowers; leaving 50% of the gold hoop exposed creates a modern, sophisticated look.
The Floral Attachment Process:
- Step 1: The Base Coat. Spray paint your hoops. Use a ‘Metallic Gold’ or ‘Champagne’ finish. Apply two light coats for a professional, non-plastic look.
- Step 2: The Greenery Foundation. Use zip ties to secure your longest greenery stems to the bottom-left or top-right curve of the hoop. Zip ties are superior to floral wire here because they won’t slip on the plastic surface.
- Step 3: The Focal Blooms. Hot glue 3-5 large flowers at the ‘thickest’ part of your greenery cluster. Always use an odd number of flowers; it’s more pleasing to the eye.
- Step 4: The Finishing Touch. Tuck in small sprigs of baby’s breath or berries to hide the zip ties and glue strings.
Repeat this for all 6-8 hoops. Vary the floral placement on each one so they look like a curated collection rather than a carbon copy.
Phase 3: The Master Installation
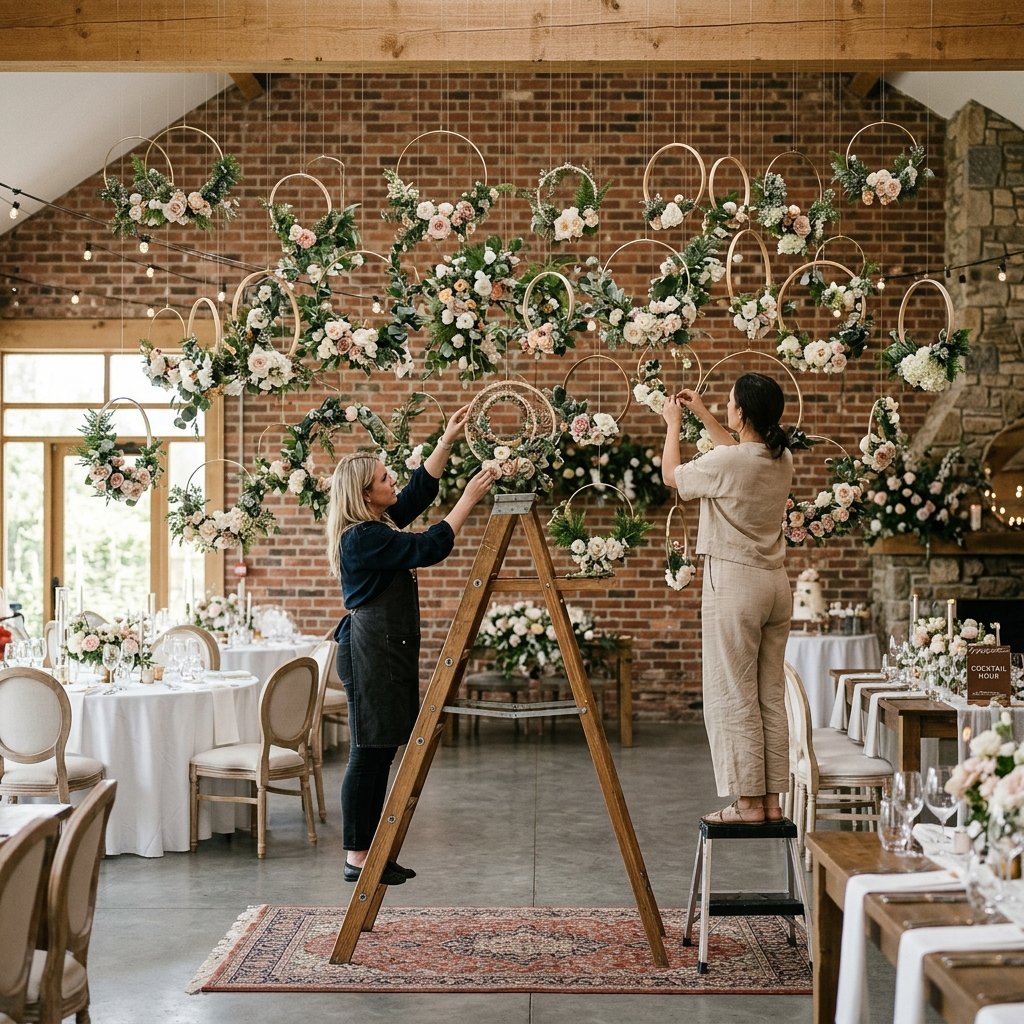
The final step is bringing the individual components together at the venue. This is where your ‘Event Stylist’ hat comes on. You want the hoops to look like they are floating in a cohesive cloud of florals.
Hanging Techniques:
Use clear fishing line to suspend the hoops from the PVC crossbar. By varying the length of the fishing line, you create depth and layers. Hang the largest hoops in the center and slightly overlap the smaller hoops in front of them.
| Hoop Layer | Placement Strategy | Visual Impact |
|---|---|---|
| Back Layer | Largest hoops, long fishing line | Creates the “Wall” effect |
| Middle Layer | Medium hoops, overlapping edges | Adds 3D depth and texture |
| Front Layer | Smallest hoops, focal flowers | Draws the eye to the center |
The Stylist’s Secret: Once the hoops are hung, take a photo of the wall with your phone. The camera lens often sees ‘holes’ or ‘gaps’ in the composition that the human eye misses. Adjust the hoops until the photo looks balanced.
Customization: Tailoring the Look for Any Occasion

While white and gold is a classic wedding palette, this $50 framework is a chameleon. You can adapt this project for Father’s Day, graduations, or even high-end home decor. For a more Masculine-Elegant vibe, swap the gold paint for Matte Black and replace the roses with dried pampas grass, succulents, or leather accents.
The Versatility Guide:
- Boho Chic: Add macramé cords hanging from the bottom of the hoops.
- Industrial: Use copper spray paint and Edison bulb string lights interwoven through the greenery.
- Winter Wedding: Use pine boughs, silver accents, and white ‘flocked’ berries.
Because the PVC frame is modular, you can store it in a small box and reuse it for every family event, making the initial $50 investment pay for itself ten times over.
Conclusion
The Final Reveal: A Masterpiece of Resourcefulness
You have successfully navigated the path from ‘Budget’ to ‘Breathtaking.’ By focusing on structural integrity and strategic floral placement, you’ve created a DIY Wedding Photo Booth Backdrop that rivals any professional installation. You didn’t just save $1,000; you gained the satisfaction of building something lasting and beautiful with your own hands. This floral hoop wall is proof that elegance isn’t about how much you spend, but how cleverly you use what you have. Now, set up the camera, turn on the ring light, and let your guests enjoy the most stylish spot in the venue—knowing that it cost you less than a fancy dinner for two.

Makenzie is the founder and lead writer at MoneyHackTips.com — a personal finance blog dedicated to delivering street-smart financial wisdom for real people on real budgets. With 300+ published articles covering everything from debt management to investing fundamentals, Makenzie’s mission is to make every dollar work harder. When not writing about money hacks, Makenzie is testing frugal living strategies, optimizing side hustles, and helping readers build financial freedom from scratch.