
The High Cost of Organization and the Frugal Fix
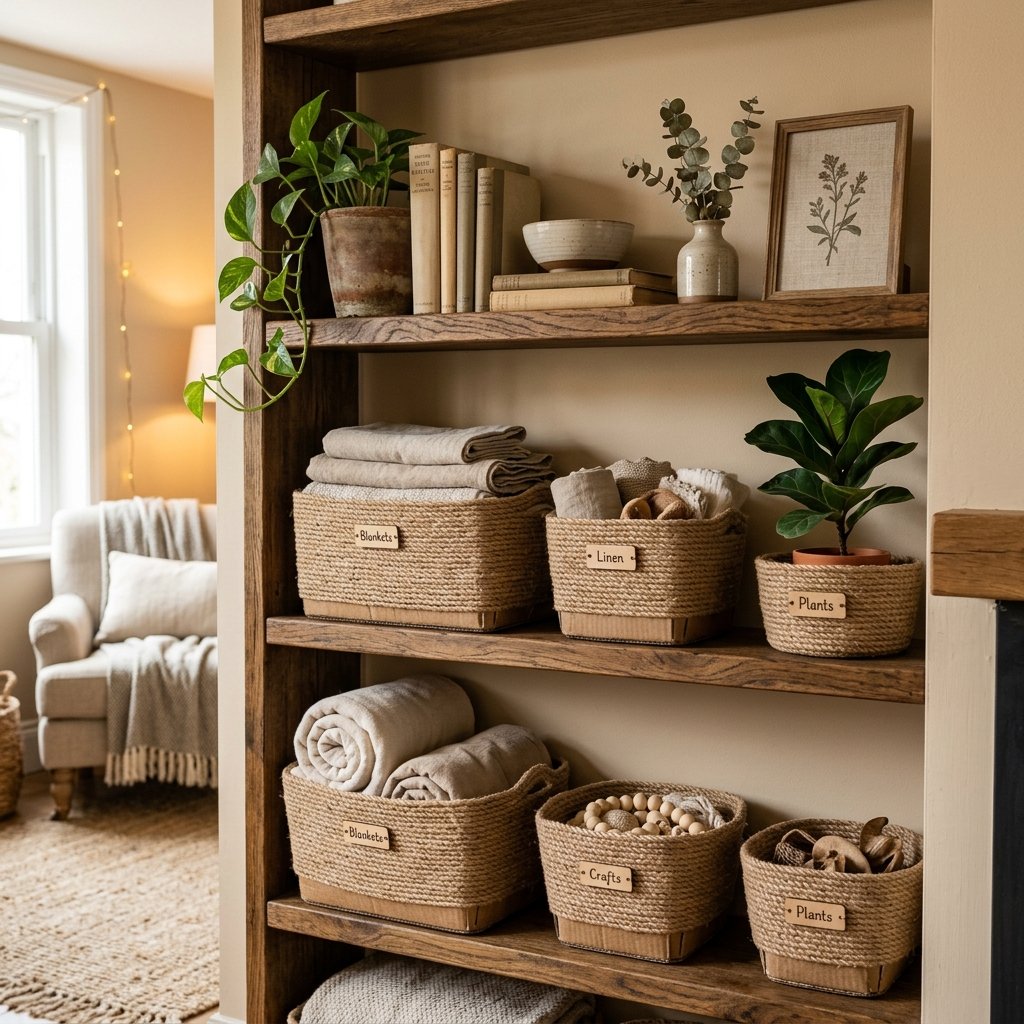
We have all been there: standing in the aisles of a high-end home goods store, staring at a beautiful, hand-woven wicker basket that costs $45. You look at your overflowing pantry or your cluttered craft room and realize you need at least ten of them. That is $450 just to hold your stuff! As a resourceful DIYer, your internal alarm should be ringing. Why spend a week’s worth of grocery money on dried grass and wood when you have a mountain of shipping boxes in your garage? In this guide, we are going to master the art of the ‘Trash-to-Treasure’ transformation. We are taking the humble, rugged cardboard box and elevating it to a piece of masculine-elegant home decor that would look right at home in a Pottery Barn catalog. This is not just about saving money; it is about the clever satisfaction of outsmarting big-box retail with nothing but a hot glue gun and some twine.
Budget Mantra: Your home should be a reflection of your creativity, not the depth of your pockets. A box is only ‘trash’ if you lack the vision to see its potential.
The Anatomy of a High-End Dupe: Materials & Preparation
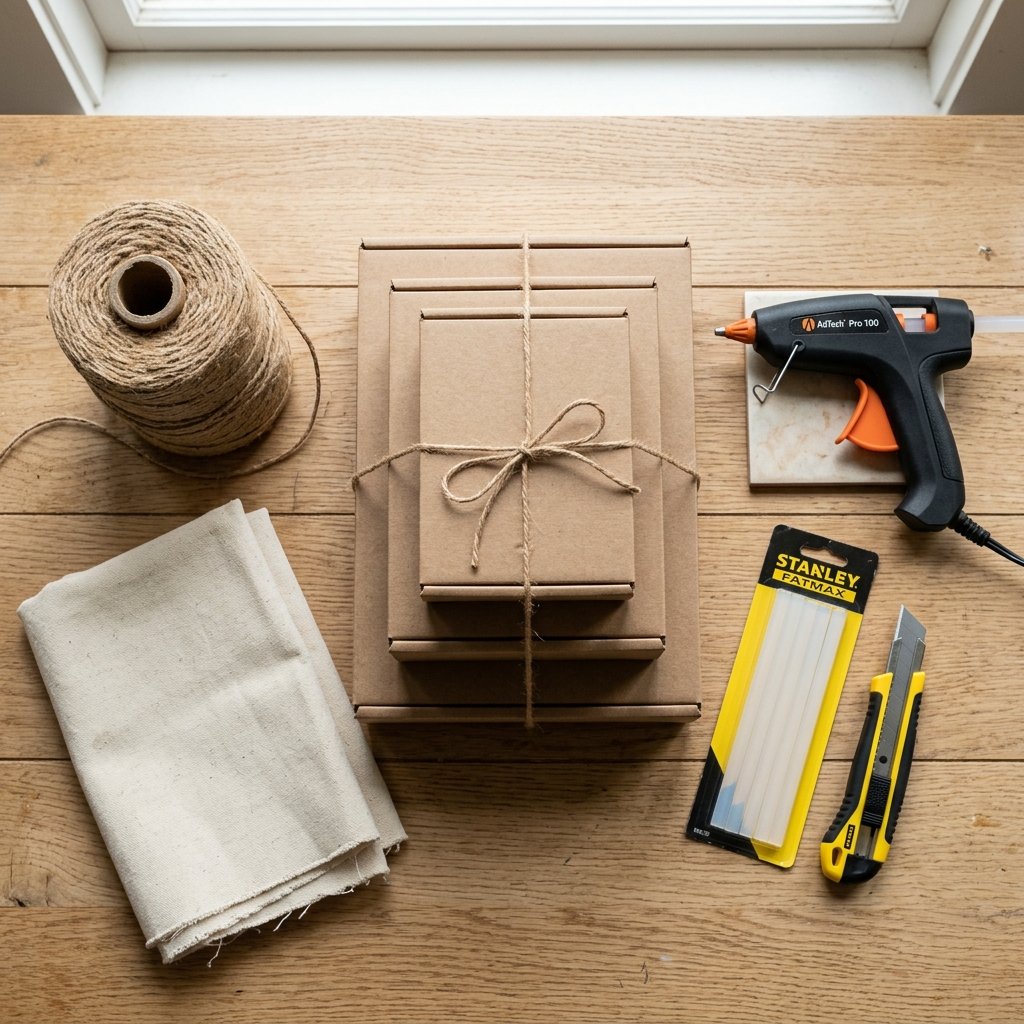
Before we start gluing, we need to gather our supplies. The beauty of this project is that most of these items are already sitting in your recycling bin or your junk drawer. We are aiming for a rugged, durable finish that mimics natural fibers like sea grass or water hyacinth. To achieve this, we need the right weight of cardboard and a sturdy adhesive.
Essential Supply List
- Sturdy Cardboard Boxes: Look for double-walled boxes if you plan on storing heavy items like tools or books.
- Jute Twine or Sisal Rope: This provides the texture. You can find large spools at hardware stores for under $10.
- Hot Glue Gun and Bulk Glue Sticks: You will go through more glue than you think! Buy the 50-count packs to save 30%.
- Fabric for Lining: Old pillowcases, canvas drop cloths, or even outgrown cotton shirts work perfectly.
- Utility Knife: For clean, crisp edges.
| Material | Source | Estimated Cost |
|---|---|---|
| Cardboard Box | Recycling Bin | $0.00 |
| Jute Rope (100ft) | Hardware Store | $6.50 |
| Hot Glue Sticks | Dollar Store | $1.25 |
| Fabric Liner | Old Bedding | $0.00 |
| Total Per Basket | – | $7.75 |
Prepping Your Base: From Amazon Box to Designer Frame
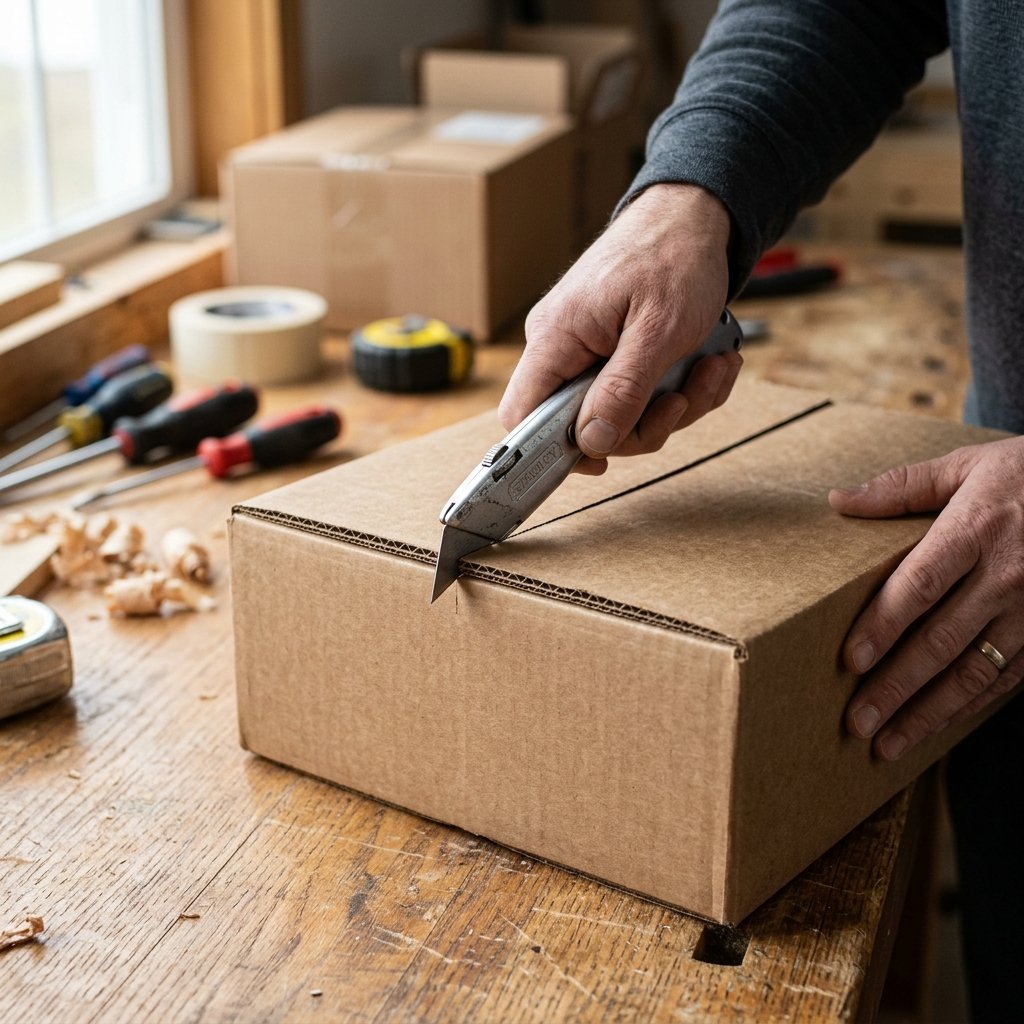
A great basket starts with a solid foundation. If your box is flimsy, your finished product will look amateur. We want a ‘Masculine-Elegant’ structure—square, sturdy, and purposeful. Follow these steps to prep your frame:
- Remove the Flaps: Use your utility knife to cut the top flaps off the box. Do not throw these away! We can use them to reinforce the bottom.
- Reinforce the Bottom: Cut a piece of the discarded flap to fit perfectly inside the bottom of the box. Glue it down. This adds structural integrity for heavier loads.
- Smooth the Edges: If the cut edges are jagged, give them a quick sand or cover them with a thin strip of masking tape to create a smooth surface for the rope.
- Measure Twice: If you are making a set for a specific shelf, ensure all boxes are trimmed to the exact same height. Consistency is the secret to a high-end look.
Pro Tip: If you want a tapered look, you can slightly score the corners of the box and pull them inward, but for a classic wicker look, a clean rectangular shape is the most timeless.
The Art of the Weave: Wrapping for Maximum Texture
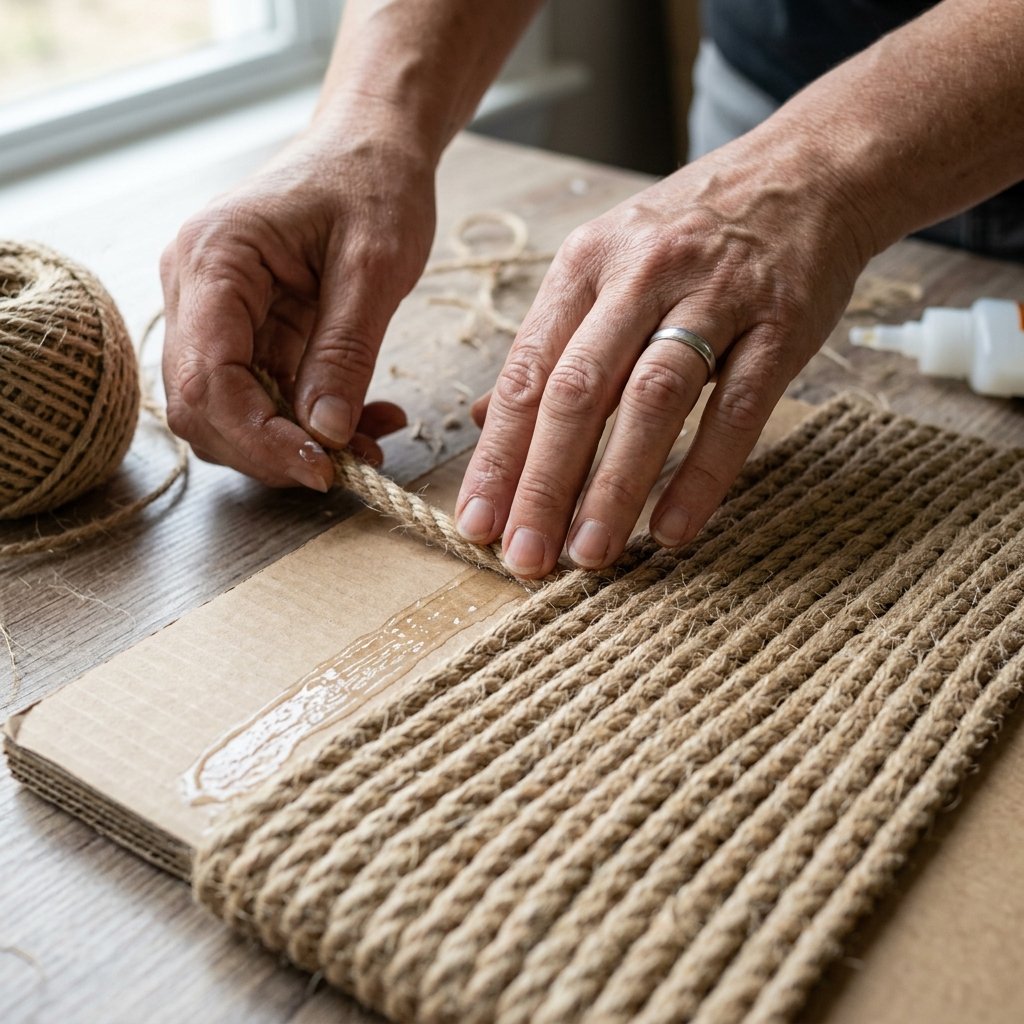
This is where the magic happens. Wrapping the rope requires patience, but the result is a 100% transformation. We aren’t just wrapping; we are building texture. You have two main options: the ‘Simple Spiral’ or the ‘Faux Weave’.
The Simple Spiral Technique
Start at the very bottom of the box. Apply a bead of hot glue along the edge and press the end of the jute rope into it. Continue around the perimeter, applying glue every 2-3 inches. The key is to keep the rope rows as tight as possible. Any gaps will reveal the brown cardboard underneath and ruin the illusion. As you reach the top, wrap the rope over the top edge and slightly into the interior to hide the cardboard rim.
The Store-Bought vs. DIY Comparison
| Feature | Store-Bought Wicker | DIY Cardboard Wicker |
|---|---|---|
| Price | $35 – $60 | $5 – $8 |
| Customization | Fixed Sizes | Any size you want! |
| Durability | High | Medium-High (if reinforced) |
| Time Investment | 0 minutes | 45 minutes |
| Eco-Impact | New Materials | 100% Upcycled |
Lining Your Baskets: The No-Sew Fabric Secret
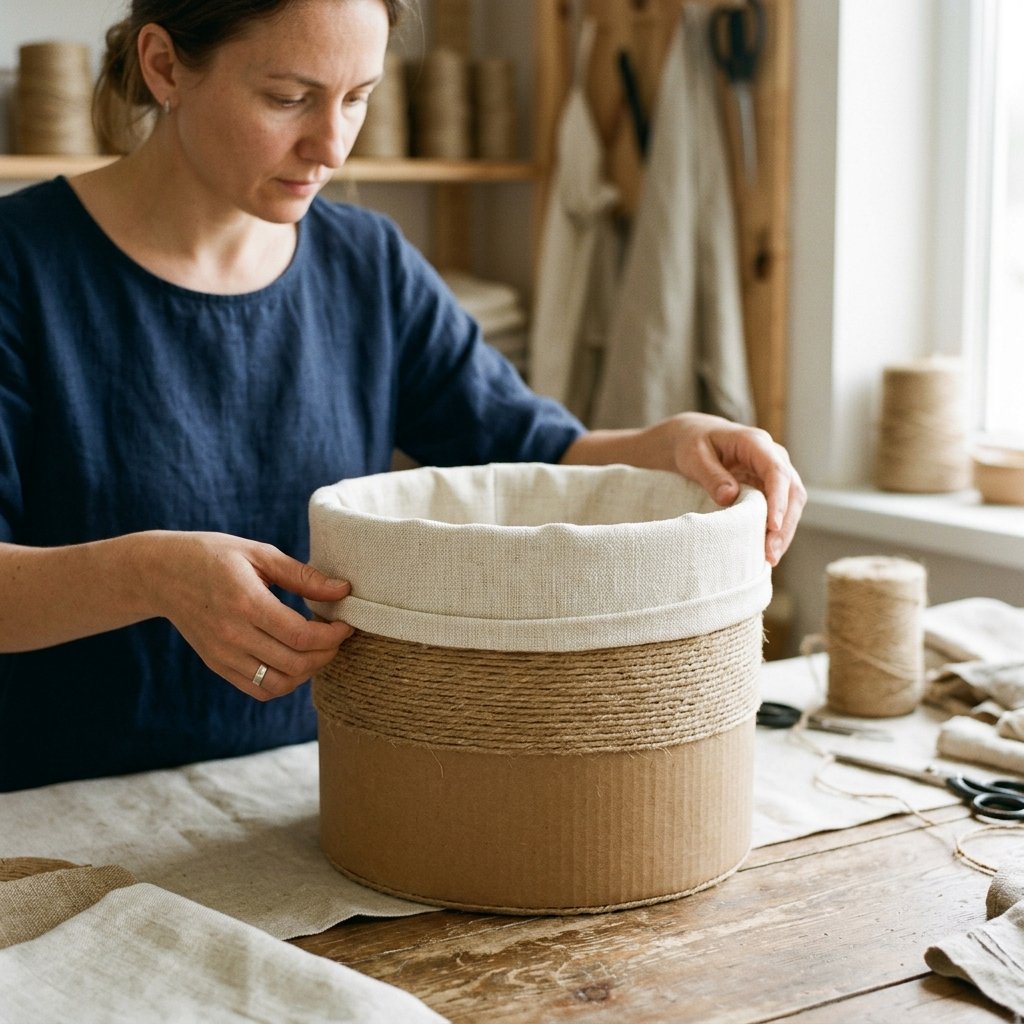
A raw cardboard interior is a dead giveaway that your basket isn’t ‘real.’ A fabric liner adds a soft touch and protects your items from snagging on the rope. You don’t need a sewing machine for this; a ‘handy-mom’ or ‘handy-dad’ can do this with just glue or a few basic stitches.
The Drop-In Liner Method
- Measure: Measure the height, width, and depth of the interior.
- Cut: Cut your fabric into a ‘plus’ shape that corresponds to these dimensions, adding an extra 2 inches for the overhang.
- Glue or Hem: Fold the edges of the fabric over and use a line of hot glue (or a quick iron-on hem tape) to prevent fraying.
- Install: Place the liner inside and fold the 2-inch overhang over the top edge of the basket. This creates a beautiful fabric cuff that hides the top of your rope work.
Mending Mantra: A rough edge is just an opportunity for a beautiful border. Use what you have to cover what you don’t like.
Finishing Touches: Rugged Handles and Custom Labels
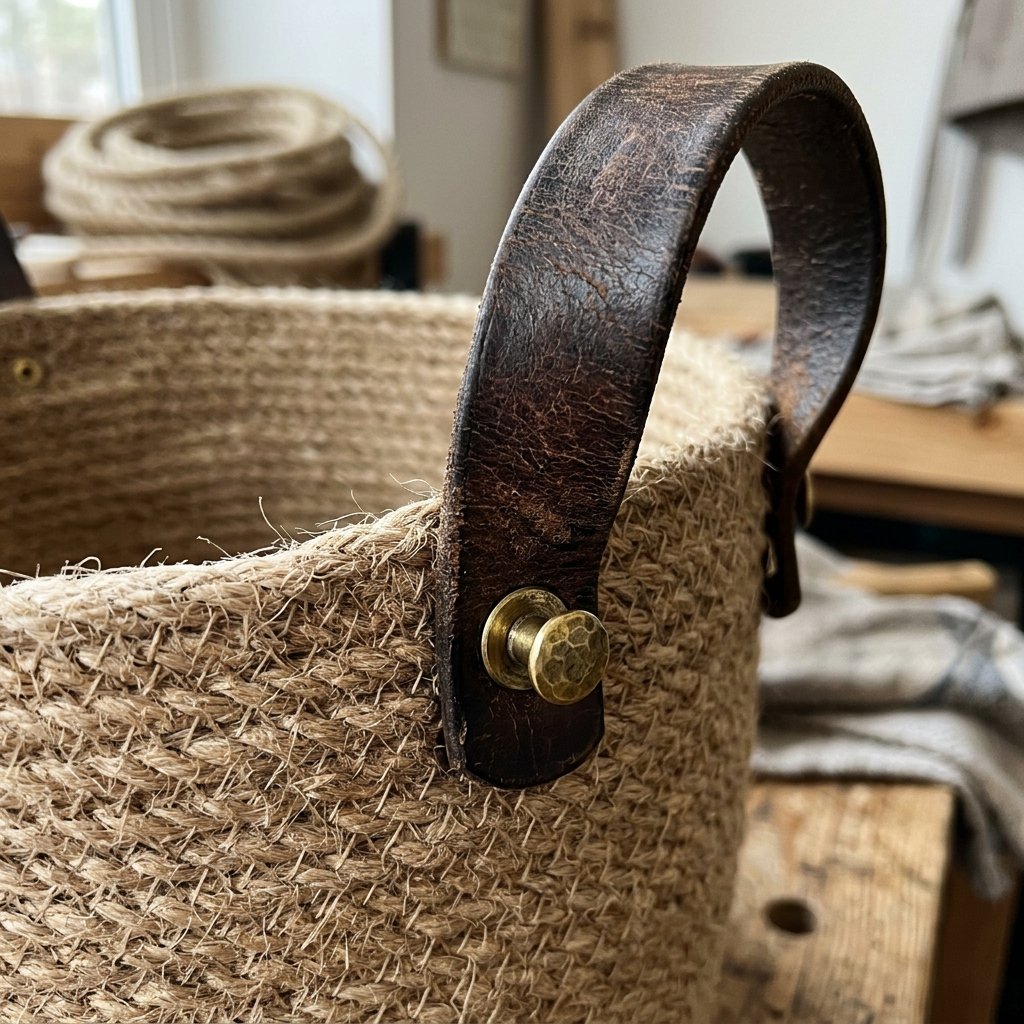
To truly achieve that high-end, masculine-elegant aesthetic, we need to add hardware. This is the difference between a ‘craft project’ and ‘furniture.’ Look through your closet for old leather belts that no longer fit. These make incredible, rugged handles.
Adding Leather Pulls
- Cut: Cut two 6-inch strips from an old leather belt.
- Punch: Use a nail or a leather punch to make a hole at each end of the strips.
- Attach: Use brass fasteners (brads) or small bolts to attach the handles to the sides of the basket. Ensure you go through both the rope and the cardboard for a secure hold.
Labeling for Organization
Use small wooden gift tags or even pieces of chalkboard painted cardboard. Hang them from the handles with a bit of twine. This is perfect for pantries where you need to distinguish between ‘Snacks’ and ‘Baking Supplies’.
Conclusion: The Frugal Guru’s Victory
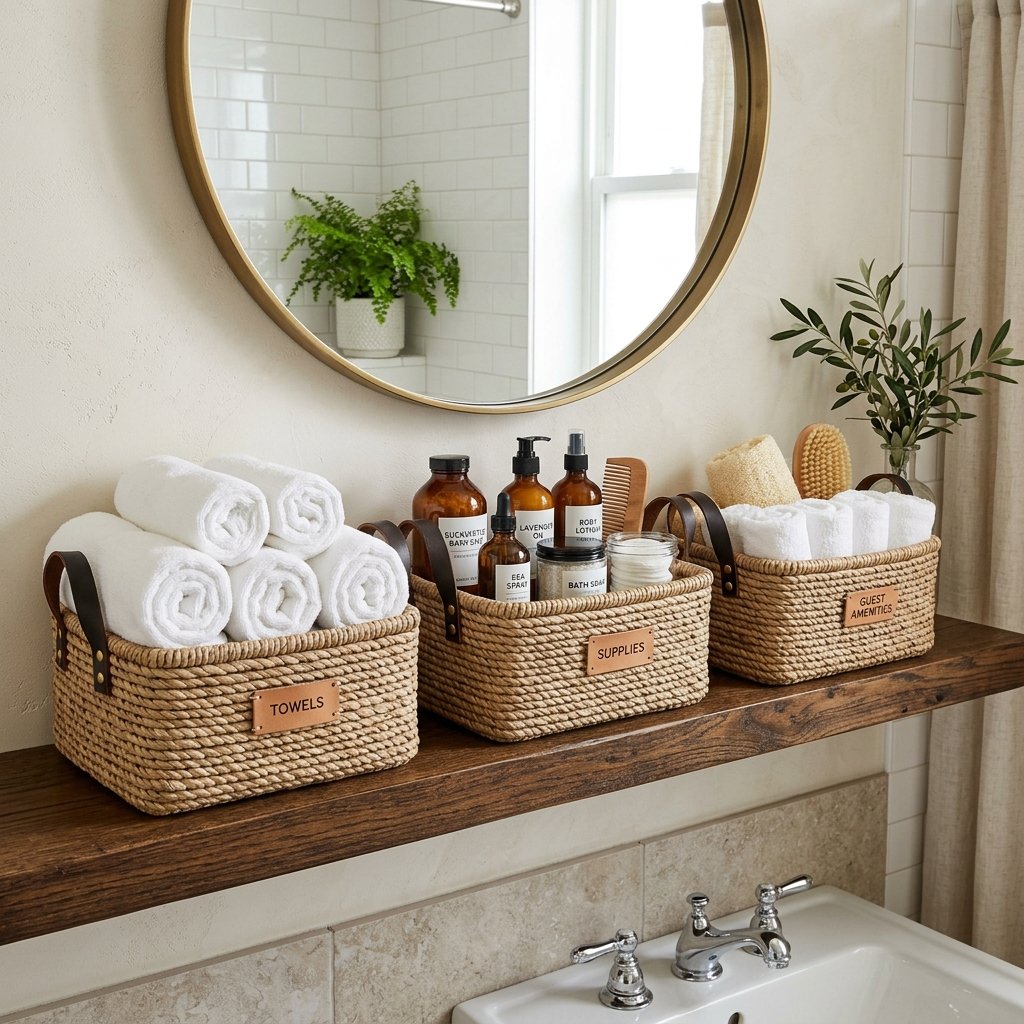
By following these steps, you have successfully turned a piece of waste into a functional work of art. You have saved nearly $40 per basket, kept cardboard out of the landfill, and gained a custom storage solution that fits your space perfectly. This is the essence of being a frugal DIYer: seeing the value in the overlooked and having the skills to bring it to life. Whether you are organizing a nursery, a workshop, or a stylish living room, these faux-wicker baskets prove that elegance doesn’t have to come with a high price tag. Now, go forth and upcycle—your shelves (and your wallet) will thank you!
Conclusion
In conclusion, the journey from a simple shipping box to a high-end storage solution is one of the most rewarding ‘trash-to-treasure’ projects you can undertake. By utilizing inexpensive materials like jute rope and upcycled fabric, you can achieve a designer look for a fraction of the cost. Remember, the key to success lies in the details: tight rope rows, a clean fabric liner, and those rugged leather finishes. Stop letting expensive retailers dictate your home’s style. With a little resourcefulness and a few hours of your time, you can create a beautifully organized home that reflects your craftiness and your commitment to a budget-savvy lifestyle. Happy crafting!

Makenzie is the founder and lead writer at MoneyHackTips.com — a personal finance blog dedicated to delivering street-smart financial wisdom for real people on real budgets. With 300+ published articles covering everything from debt management to investing fundamentals, Makenzie’s mission is to make every dollar work harder. When not writing about money hacks, Makenzie is testing frugal living strategies, optimizing side hustles, and helping readers build financial freedom from scratch.