
In the world of urban living and minimalist dens, floor space is the ultimate currency. We have all faced the struggle of the ‘cluttered nightstand syndrome’—that precarious pile of charging cables, half-read paperbacks, and reading glasses that inevitably tumble into the abyss behind the bed at 3:00 AM. But what if the solution wasn’t a $50 piece of plastic furniture, but rather that old, heavy-duty flannel or denim shirt sitting at the bottom of your donation bin? This is the ultimate ‘Trash-to-Treasure’ project for the resourceful crafter. By repurposing the structural integrity of a well-worn garment, we can create a bespoke, hanging bedside pocket that is as functional as it is handsome. Today, we are going to dive deep into the mechanics of textile upcycling, showing you how to harness the durability of old shirts to clear your floor and organize your life without spending a single dime.
The Raw Materials: Selecting Your Textile Foundation
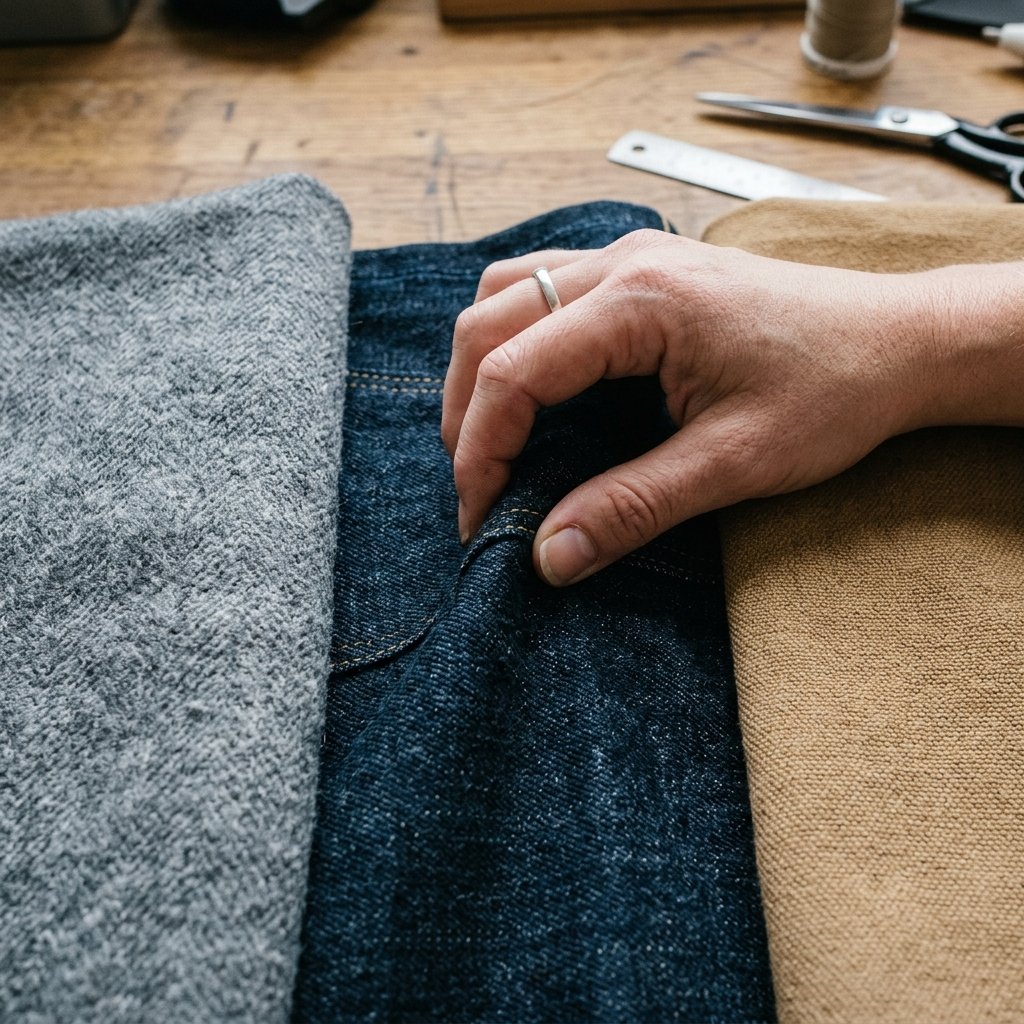
Not every shirt is created equal when it comes to structural engineering. To build a pocket that can support the weight of a tablet, a heavy novel, or a 32-ounce water bottle, you need a fabric with ‘bones.’ Look for materials that have a high thread count or a rugged weave. Think of this as selecting the lumber for a furniture project; you wouldn’t build a bookshelf out of balsa wood, and you shouldn’t build a bedside caddy out of thin, gauzy linen.
Top Fabric Choices for Durability
- Heavy-Duty Flannel: Excellent for its soft touch (important for items like glasses) and its surprising tensile strength.
- Denim: The gold standard for rugged DIY. It resists stretching and provides a masculine, industrial aesthetic.
- Oxford Cloth: A great middle-ground that offers a crisp, clean look for a more modern bedroom.
- Canvas Work Shirts: These are virtually indestructible and perfect for holding heavier items like multi-tools or flashlights.
| Fabric Type | Weight Rating | Best For… |
|---|---|---|
| Heavy Flannel | Medium | Phones, Glasses, Soft-cover books |
| Denim / Canvas | High | Hardcover books, Tablets, Water bottles |
| Poplin / Thin Cotton | Low | Remote controls, Eye masks, Earplugs |
“The secret to a long-lasting upcycle is respecting the grain of the fabric. Always cut your main panels parallel to the selvage to prevent the pocket from sagging over time.”
The Master Blueprint: Tools and Measurements
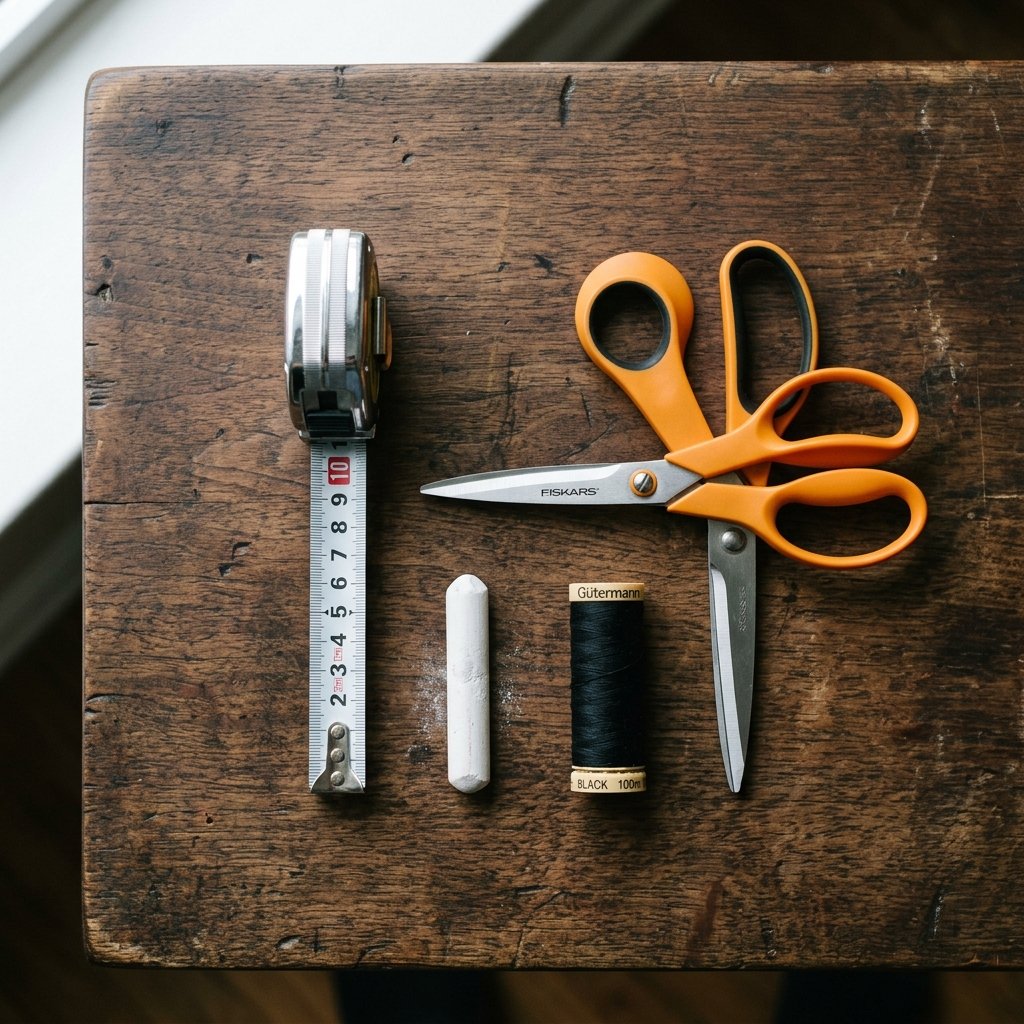
Before we make our first cut, we need to gather our toolkit. This project is designed to be accessible for those without a sewing machine, though you can certainly use one to speed up the process. We are focusing on hand-mending techniques that ensure a rugged, artisanal finish. You likely have everything you need in a kitchen drawer or a basic emergency sewing kit.
Materials Needed & Estimated Cost
| Item | Source | Estimated Cost |
|---|---|---|
| Old Long-Sleeve Shirt | Your Closet | $0.00 |
| Heavy-Duty Thread (or Dental Floss) | Sewing Kit | $0.00 |
| Sharp Fabric Shears | Home Office | $0.00 |
| Cardboard or Plastic Sheet | Recycling Bin | $0.00 |
| Measuring Tape | Toolbox | $0.00 |
| Total Project Cost | Resourceful DIY | $0.00 |
For the dimensions, we are aiming for a main body panel of 12 inches by 18 inches. This allows for a 6-inch flap to tuck between your mattress and box spring, and a 12-inch hanging section that will house the pockets. Remember to leave a 1/2-inch seam allowance on all sides to prevent fraying.
The Deconstruction: Cutting for Maximum Utility
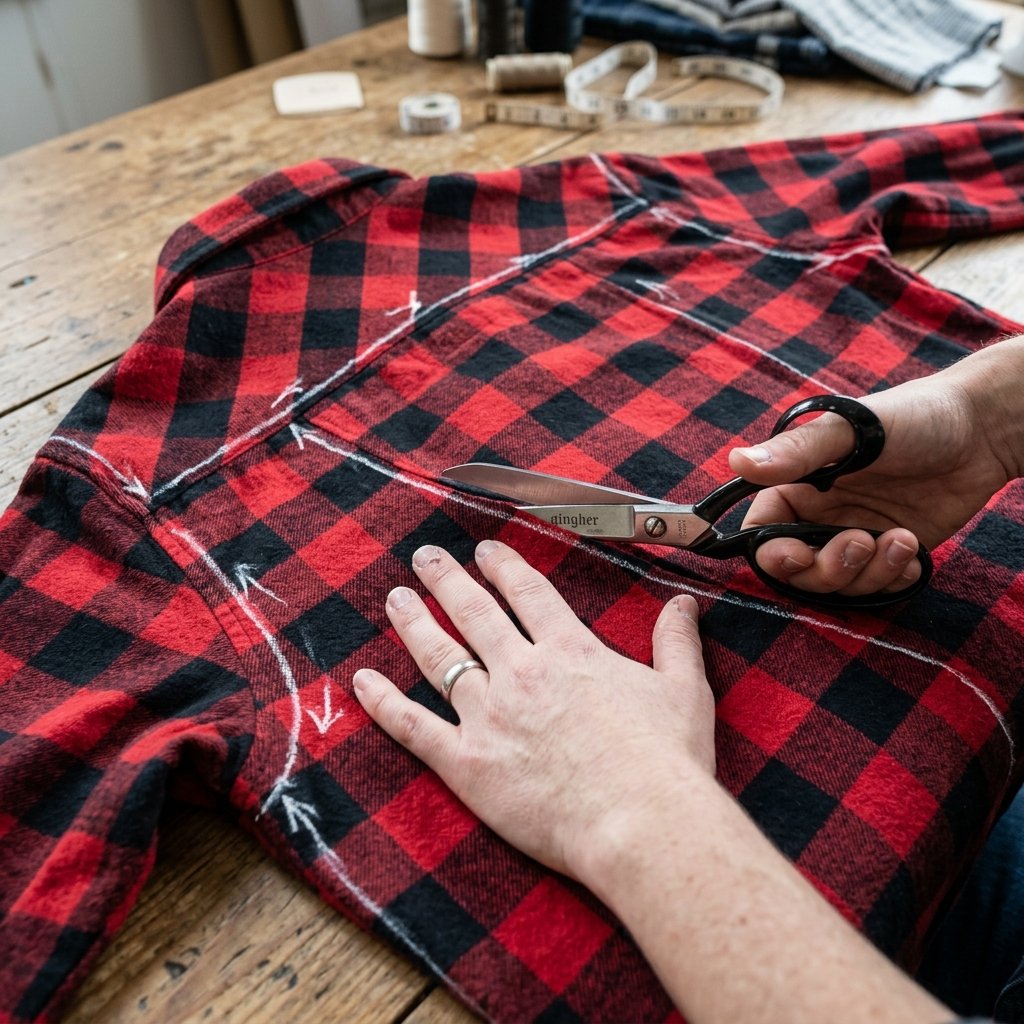
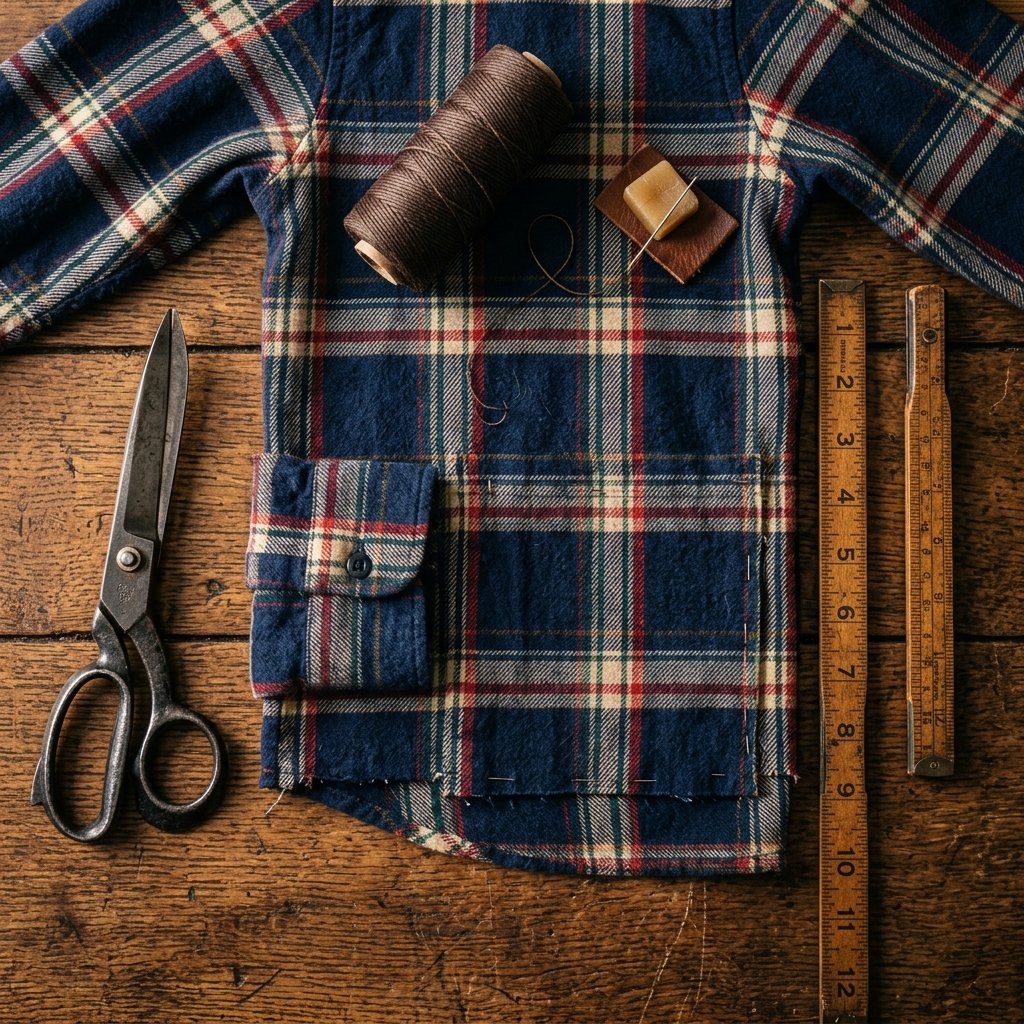
To maximize your materials, we aren’t just cutting a square out of the back of the shirt. We are going to strategically use the existing features of the garment. The back panel of the shirt will serve as our ‘chassis,’ while the sleeves and existing chest pockets will become our organizational compartments. This is where the clever crafter shines.
Step-by-Step Cutting Guide
- Lay the shirt flat on a hard surface, ensuring there are no wrinkles.
- Cut the back panel out in a large rectangle (13″ x 19″ including seam allowances).
- Remove the sleeves. We will use these to create ‘expandable’ pockets for larger items.
- Carefully seam-rip the chest pocket if the shirt has one; this is a ‘free’ pocket we can re-attach later for small items like pens or a stylus.
- Cut a piece of rigid cardboard or thin plastic (like a flexible cutting mat) to 11″ x 5″. This will be the ‘stiffener’ that keeps the pocket flat against the bed frame.
“Don’t throw away the buttons! Save them in a jar for future mending projects or use them as decorative closures for your new bedside pocket.”
The Assembly: Rugged Hand-Stitching Techniques
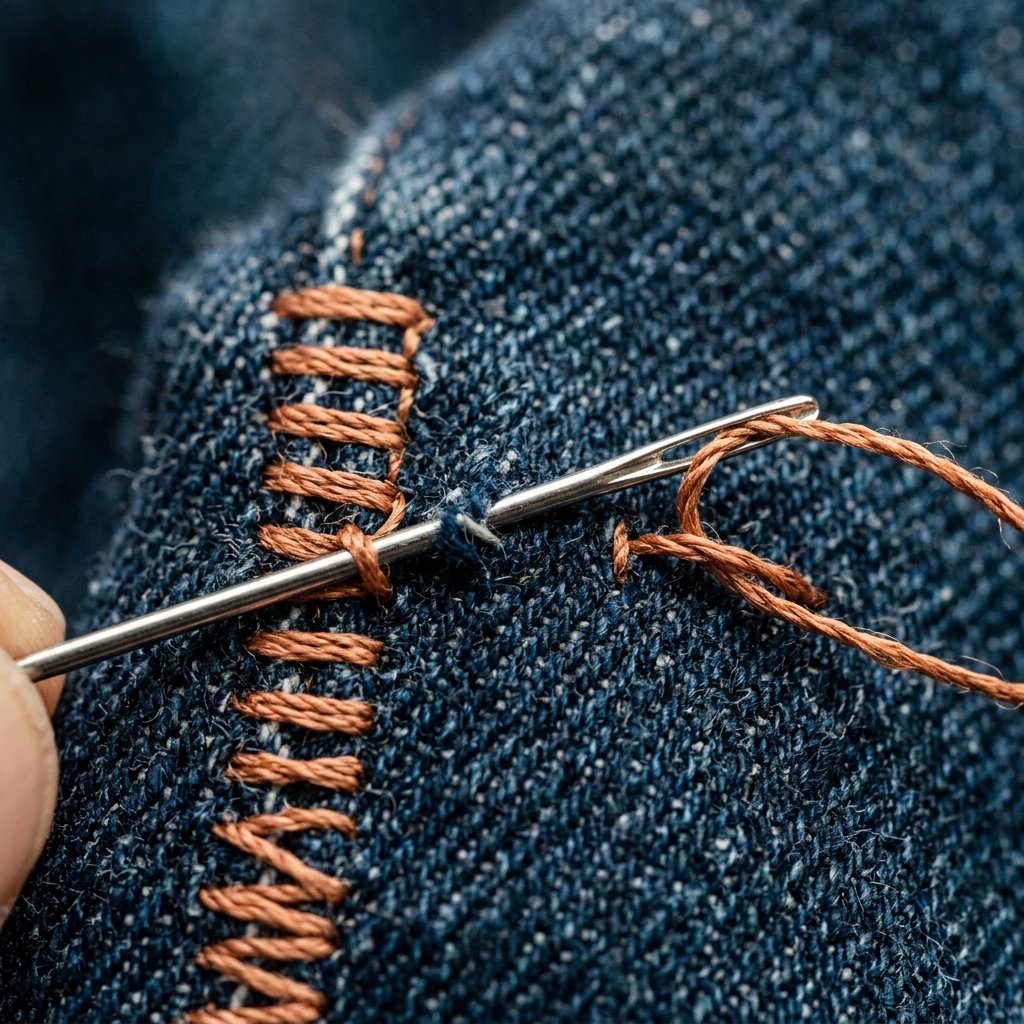
Now we move into the construction phase. Because this pocket will be under constant tension from the weight of your items, we need to use a Backstitch or a Blanket Stitch. These are significantly stronger than a standard running stitch and will provide that ‘masculine-elegant’ hand-sewn look.
Store-Bought vs. Zero-Budget DIY Comparison
| Feature | Store-Bought Organizer | Our DIY Shirt Pocket |
|---|---|---|
| Price | $15 – $45 | $0.00 |
| Material | Polyester / Plastic Mesh | 100% Cotton / Wool / Denim |
| Durability | Glued Seams (Prone to tearing) | Double-Reinforced Hand-Stitching |
| Customization | None (One size fits all) | Bespoke to your specific tech/books |
| Character | Mass-produced | Unique, upcycled story |
First, hem the edges of your main panel by folding the fabric over 1/4 inch twice and pinning. Use a ladder stitch for an invisible finish, or a contrast thread backstitch for a rugged look. Next, take your sleeve segments and box-pleat them onto the bottom half of the main panel. This ‘pleating’ is what allows the pocket to expand outward to hold a thick book without pulling the whole unit tight against the mattress.
The Installation: Friction and Gravity as Your Best Friends
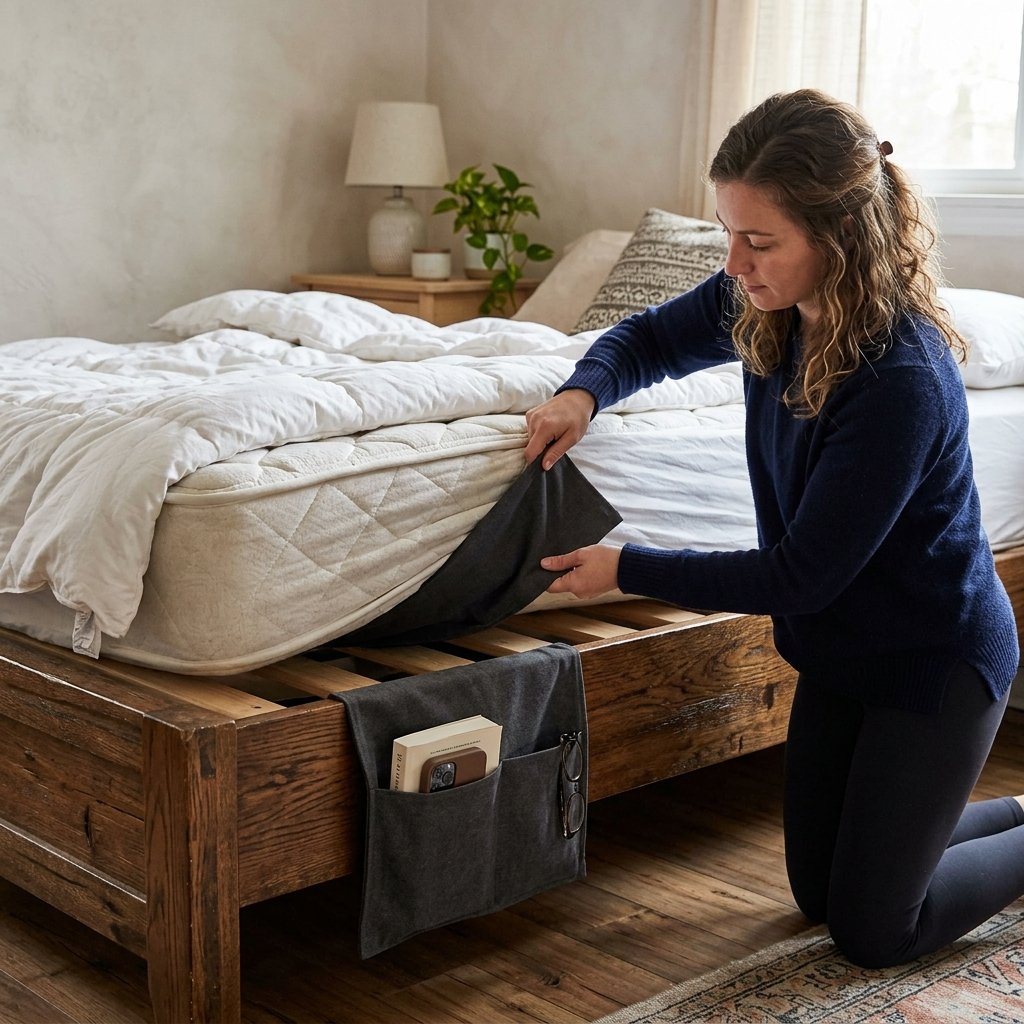
The beauty of the hanging bedside pocket lies in its simplicity. It requires no screws, no adhesive, and no damage to your furniture. It relies entirely on the weight of your mattress to create a ‘friction lock.’ However, to ensure it doesn’t slide out when you put a heavy tablet inside, we need to add a non-slip element to the tuck-in flap.
Securing Your Pocket
- The Cardboard Trick: Insert the cardboard stiffener we cut earlier into a small sleeve at the top of the tuck-in flap. This creates a ‘T-anchor’ that makes it much harder for the fabric to slip out.
- The Button Anchor: If your bed frame has slats, you can sew two long strips of fabric (leftover from the shirt sleeves) to the top of the flap and tie them directly to the slats for 100% security.
- Friction Boost: If you have an old piece of rubberized shelf liner, glue or sew a small strip to the underside of the flap.
“A well-installed pocket should feel like a part of the bed itself. If it sags, your anchor flap isn’t deep enough—aim for at least 8 inches of fabric under the mattress for maximum stability.”
Refined Customization: Adding the Finishing Touches
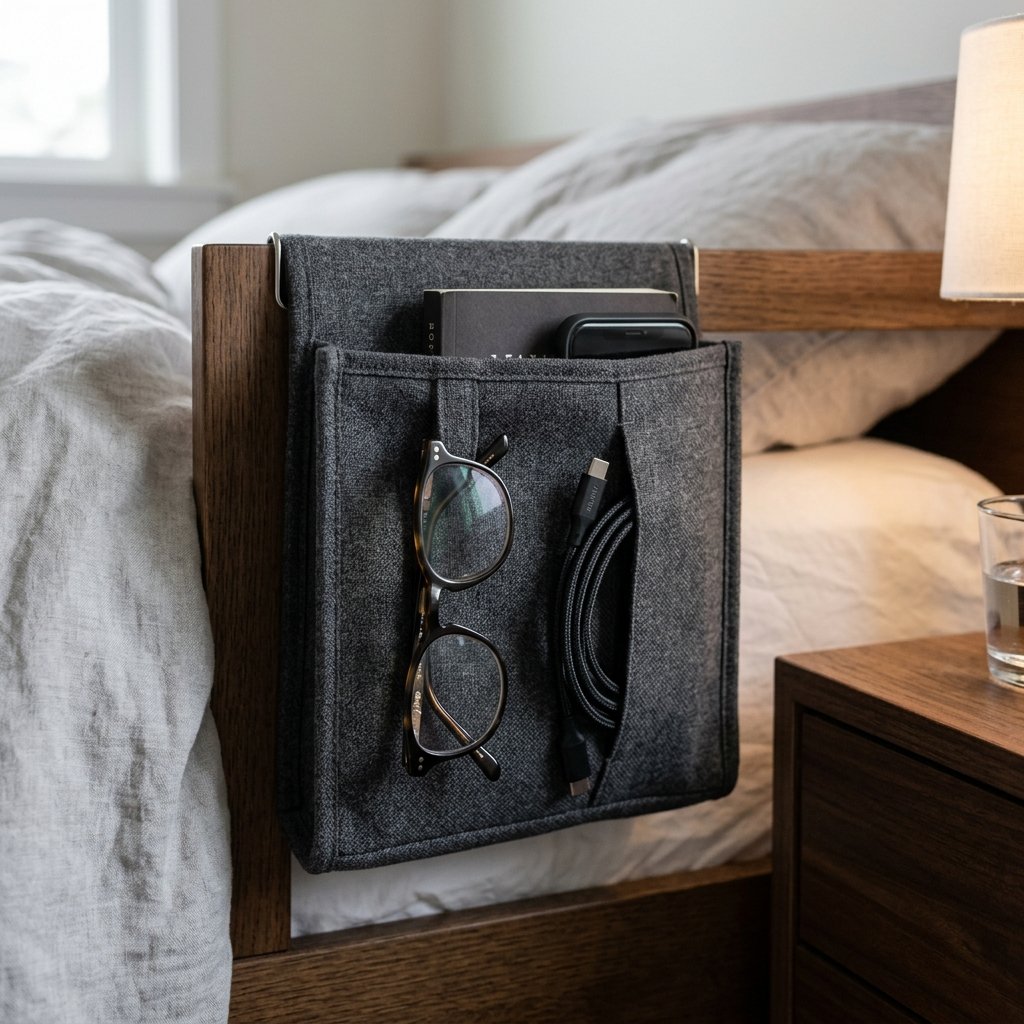
A true craftsman knows that the details make the product. To take this from a ‘scrap of fabric’ to a ‘high-end organizer,’ we can add specialized loops and reinforced sections. This is the stage where you tailor the project to your specific lifestyle needs.
Smart Add-Ons for the Modern Maker
- The Glasses Loop: Take a 2-inch strip of the shirt’s cuff or placket and sew it vertically on the side. This creates a perfect, scratch-free holster for your reading glasses.
- The Cable Management Port: Cut a small ‘buttonhole’ in the bottom corner of the main pocket. This allows you to thread your phone charger through the pocket so your phone charges while tucked away, keeping the cord off the floor.
- Reinforced Corners: If you plan on carrying heavy items, sew small triangles of leftover fabric (leather scraps work beautifully here too) onto the top corners of the pockets where the most stress occurs.
By spending an extra 15 minutes on these details, you elevate the project from a simple hack to a sophisticated piece of functional art. You’ve saved a shirt from the landfill, saved $30 on a store-bought alternative, and reclaimed your nightstand’s surface area. That is the definition of a budget-savvy win.
Conclusion
Upcycling is more than just a way to save money; it is a mindset that sees potential where others see waste. By transforming a humble old shirt into a functional bedside pocket, you have proven that style and organization don’t require a trip to a big-box store or a massive budget. You’ve used rugged practicality and clever design to solve a modern problem. Whether you are a student in a cramped dorm, a parent trying to keep a nursery organized, or a minimalist looking to declutter, this hanging pocket is a testament to the power of DIY. So, grab those shears, find that old flannel, and start crafting. Your nightstand—and your wallet—will thank you.

Makenzie is the founder and lead writer at MoneyHackTips.com — a personal finance blog dedicated to delivering street-smart financial wisdom for real people on real budgets. With 300+ published articles covering everything from debt management to investing fundamentals, Makenzie’s mission is to make every dollar work harder. When not writing about money hacks, Makenzie is testing frugal living strategies, optimizing side hustles, and helping readers build financial freedom from scratch.