
The $2,000 Secret Hiding in Your Paint Can
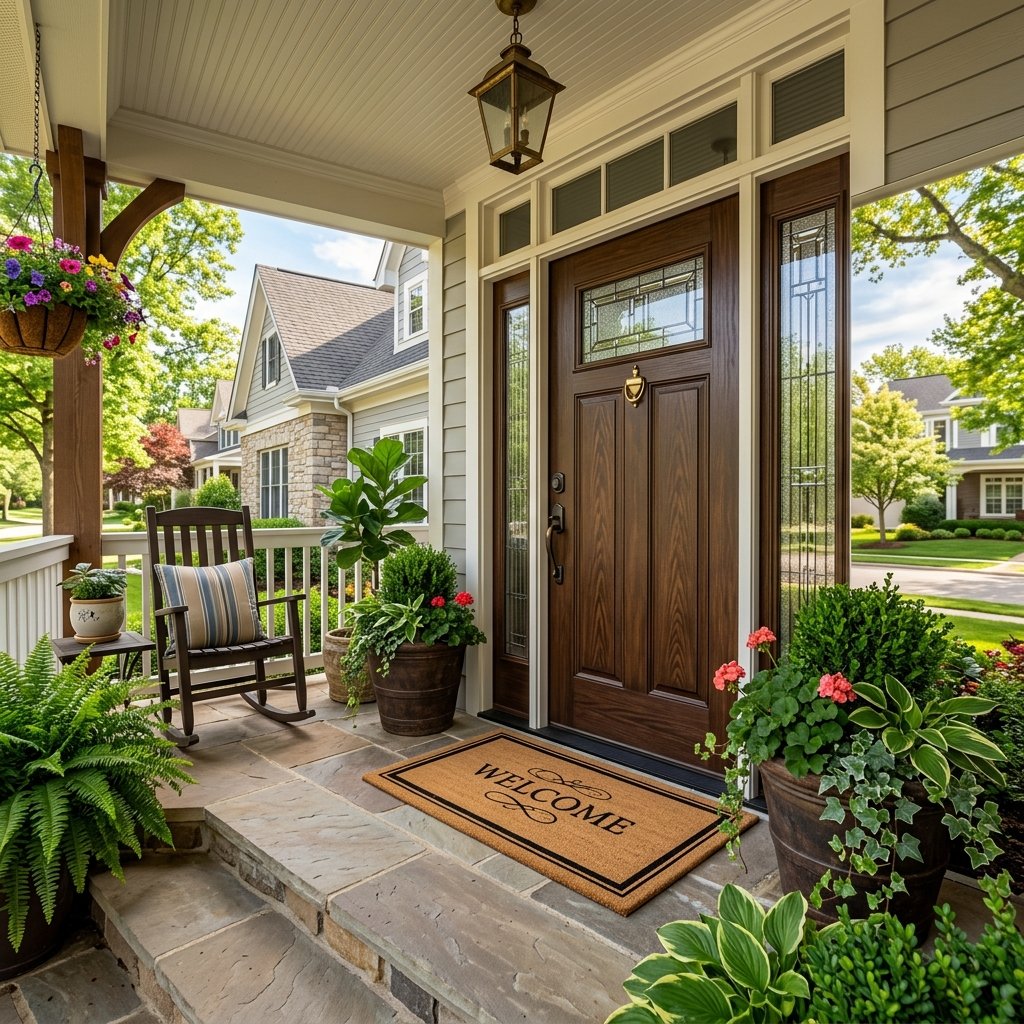
Let’s be honest: first impressions are everything when it comes to your home. You’ve seen those stunning, heavy mahogany or white oak doors in architectural magazines that cost upwards of $2,500. Meanwhile, your home is sporting a standard, dent-prone, flat-white metal door that looks like it belongs in a hospital hallway. What if I told you that with $45 in materials and a single Saturday, you could fool even the most eagle-eyed neighbor into thinking you’ve installed a custom-carved timber masterpiece? This isn’t just a ‘paint job’; it’s a structural illusion. We are going to use a rugged, crafty-expert technique involving layered glazes and specialized graining tools to turn that cold steel into warm, inviting ‘wood.’ This is the ultimate budget-savvy hack for the frugal DIYer who refuses to settle for ‘cheap-looking’ results. Get your brushes ready—we’re about to add some serious masculine-elegant soul to your entryway.
The Master Craftsman’s Toolkit: Materials and Budget
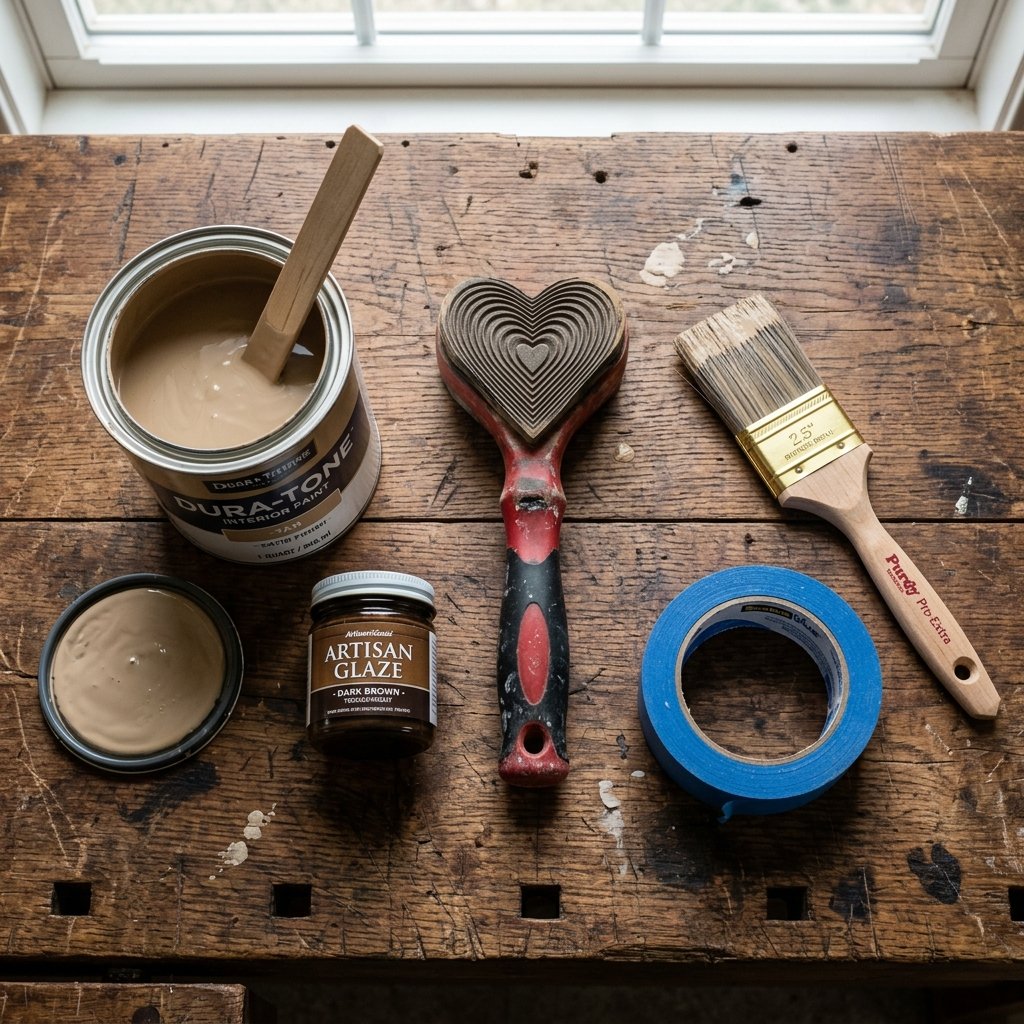
Before we slap any paint on that metal, we need the right chemicals and tools. The secret isn’t just the paint; it’s the open time of the glaze. A standard latex paint dries too fast to manipulate into wood grains. We need a slow-drying medium that allows us to ‘sculpt’ the look of grain. Below is your shopping list to achieve that high-end Pottery Barn look on a Dollar Tree budget.
| Item | Purpose | Estimated Cost |
|---|---|---|
| Exterior Primer (Bonding) | Ensures paint sticks to metal | $12.00 |
| Satin Base Coat (Tan/Ochre) | The ‘undertone’ of the wood | $15.00 |
| Water-Based Grout/Glaze | The medium for the grain | $10.00 |
| Wood Graining Tool Set | Creates the ‘heart’ and ‘cathedral’ grain | $6.00 |
| UV-Resistant Clear Coat | Protects the finish from sun/rain | $10.00 |
| Total Investment | Professional Grade Result | $53.00 |
Choosing Your Wood Species
Your base coat color determines the ‘species’ of your faux wood. For a Classic Oak, choose a warm, yellowish-tan base. For Dark Walnut, go with a medium chocolate base. For Modern Mahogany, select a base coat with deep red undertones. This ‘undertone’ will peek through the grain, giving it the 3D depth of real timber.
Phase 1: The ‘No-Fail’ Prep Sequence
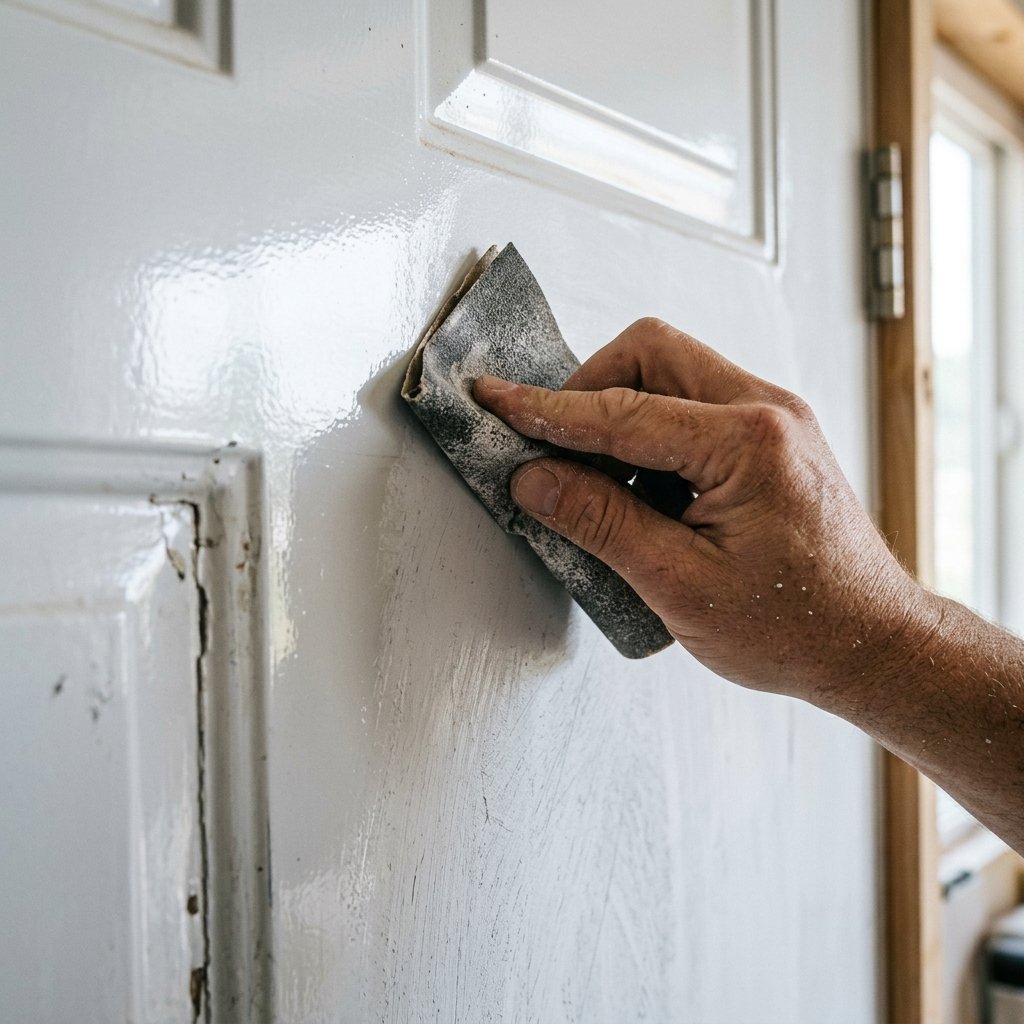
If you skip the prep, your ‘wood’ will peel off like a bad sunburn by next July. Metal doors are often coated in a factory oil or wax that repels paint. We need to strip that back to create a ‘rugged’ surface for the bonding primer to grab onto.
- Degrease: Wash the door thoroughly with TSP (Trisodium Phosphate) or a heavy-duty dish soap. This removes finger oils and road grime.
- The Scuff Sand: Use 220-grit sandpaper. You aren’t trying to remove the factory paint; you are just creating ‘tooth.’ If you see silver metal, you’ve gone too far.
- Tack Cloth Magic: Use a tack cloth to remove every single microscopic speck of dust. If dust gets under your glaze, it will look like a splinter in your ‘wood.’
- Tape the Hardware: Use high-quality painter’s tape to mask off the hinges, lockset, and weatherstripping. Pro Tip: If you can remove the handle and deadbolt entirely, do it. It takes 5 minutes and results in a much cleaner finish.
Safety First: When using TSP or sanding metal surfaces, always wear protective eyewear and work in a well-ventilated area to avoid inhaling fine particulates.
Phase 2: Laying the Foundation (The Base Coat)
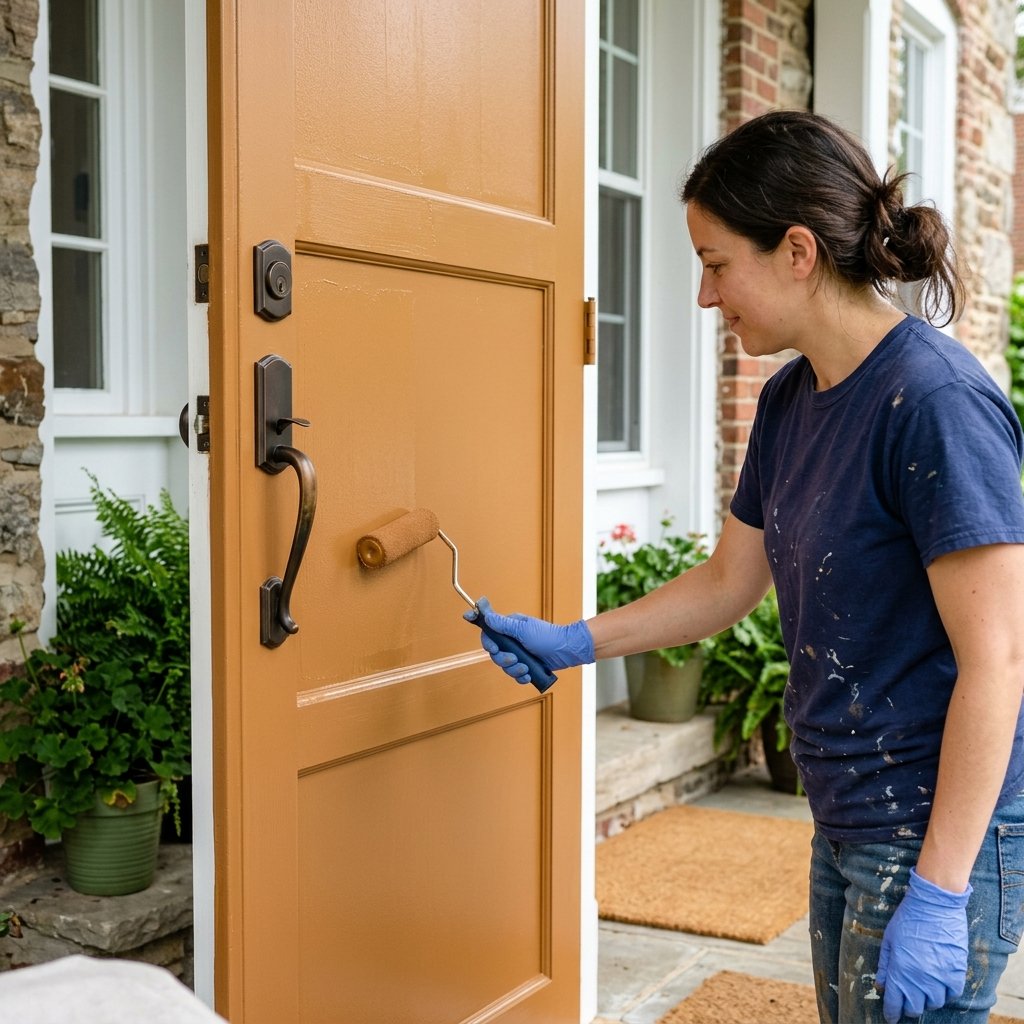
The base coat is the light that shines through the grain. Think of it as the ‘raw wood’ color before the stain is applied. You want a Satin finish—not flat (too porous) and not glossy (too slippery for the glaze).
Application Technique
- Apply the primer first and let it cure for at least 4 hours.
- Apply two thin coats of your chosen base color (e.g., ‘Harvest Gold’ for Oak).
- Use a foam roller for the main panels to avoid brush marks, then use a 2-inch angled brush for the recessed ‘nooks and crannies.’
- Wait 24 hours. This is the most important part. If the base coat isn’t fully cured, the glaze will ‘re-wet’ it and turn your door into a muddy mess.
Phase 3: The Secret Technique—Graining Like a Pro
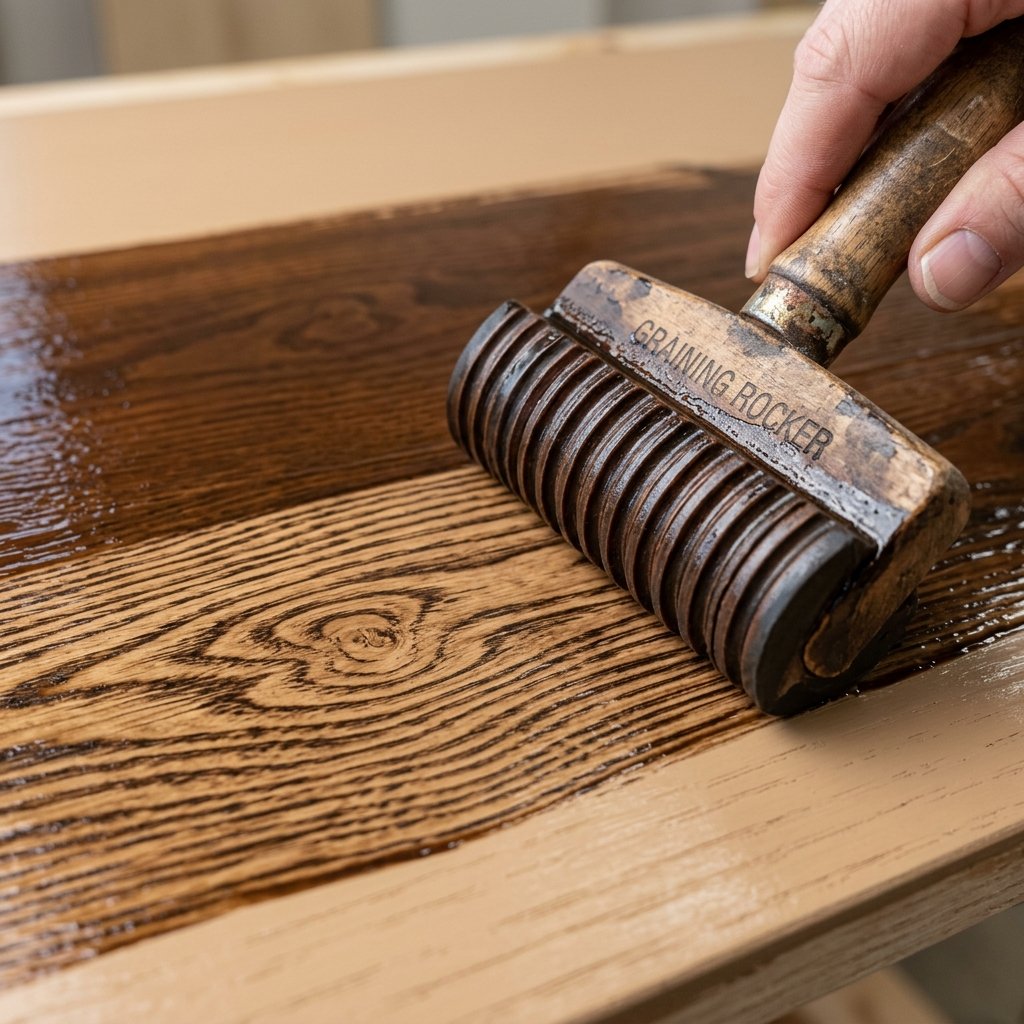
Mastering the Rock and Glide
This is where the magic happens. We are going to mix our ‘stain’ using 1 part dark brown acrylic paint and 2 parts clear acrylic glazing liquid. This gives us a 20-minute window to work before it sets.
Step-by-Step Graining
- Work in Sections: Only apply the glaze to one panel or one vertical rail at a time. Do not paint the whole door with glaze at once.
- Apply the Glaze: Brush on a generous layer of the dark glaze. It should look messy and opaque.
- The Graining Tool: Hold the rubber graining tool at the top of the panel. As you pull it down slowly, gently rock the tool forward and backward. This rocking motion creates the ‘knots’ and ‘cathedrals’ found in real wood.
- The ‘Dry Brush’ Blend: Take a clean, dry, soft-bristled brush and very lightly ‘whisker’ the edges of your grain. This softens the lines so they don’t look like a cartoon.
- Direction Matters: Always grain in the direction that real wood would grow. Vertical rails should be grained vertically; horizontal rails should be grained horizontally.
Mantra for the Maker: ‘Imperfection is authenticity. Real wood isn’t perfect, so don’t sweat a slightly wobbly line.’
Phase 4: Sealing the Deal for Maximum Curb Appeal
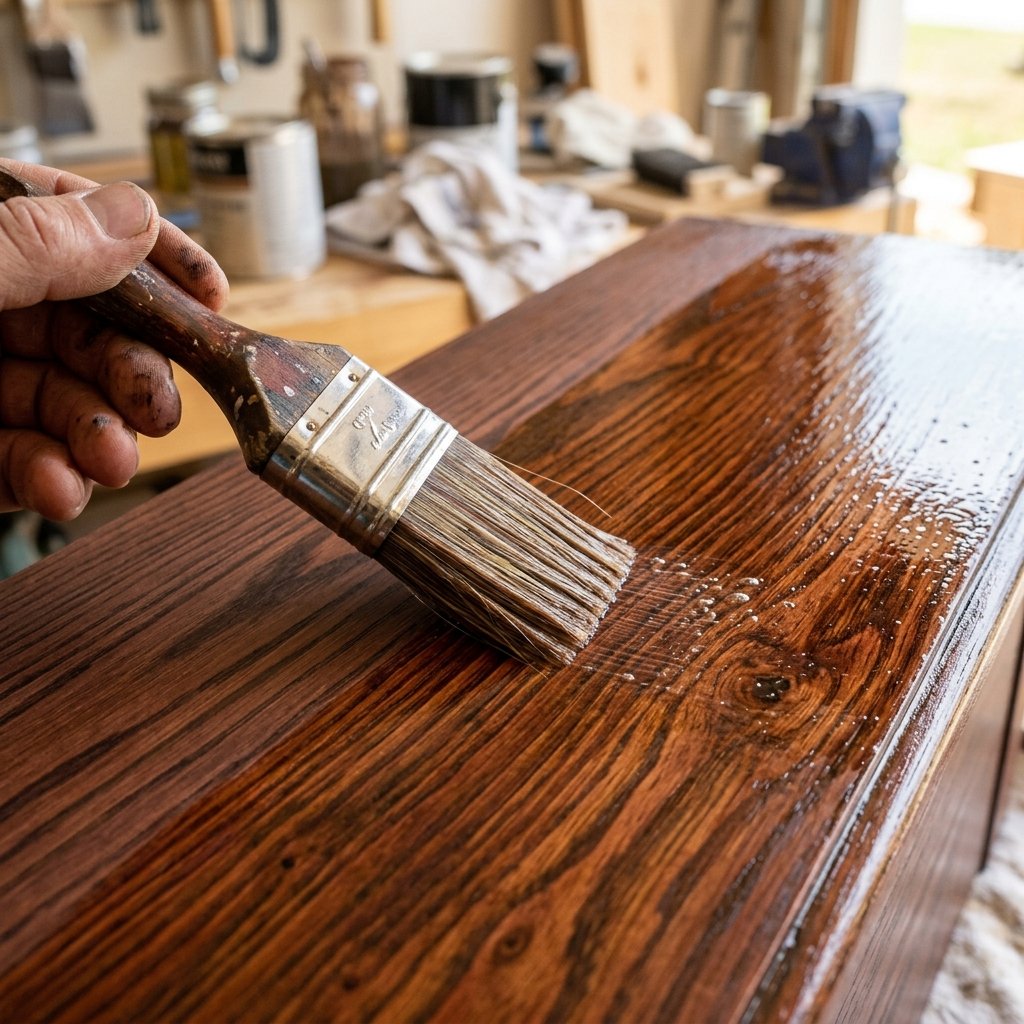
Your door is now an art piece, but it’s an art piece that has to survive rain, UV rays, and the occasional kick from a heavy boot. Without a topcoat, your glaze will fade within a season. We need a Rugged Protection Layer.
The Finish Selection
| Finish Type | Visual Effect | Best For |
|---|---|---|
| Satin Clear | Low-luster, natural look | Craftsman or Farmhouse styles |
| Semi-Gloss Clear | Polished, high-end look | Traditional or Colonial homes |
| High-Gloss Clear | Grand, piano-finish look | Modern or Regency styles |
Apply three thin layers of water-based Spar Urethane. Unlike regular polyurethane, Spar Urethane contains blockers that protect against the sun’s harsh rays. Allow 2 hours between coats. Once finished, wait a full 48 hours before closing the door tightly against the weatherstripping to prevent sticking.
Conclusion
A Grand Entrance on a Shoestring Budget
Step back and take a look. What was once a cold, industrial slab of metal is now a warm, sophisticated focal point that screams ‘custom craftsmanship.’ By using the glaze-and-rock technique, you’ve saved yourself over $1,500 while significantly boosting your home’s value. This project proves that you don’t need a massive bank account to have a home that looks like a million bucks—you just need a little grit, the right ‘secret’ technique, and a Saturday afternoon. Now, wait for the neighbors to walk by; the double-take is the best part of the job. Happy crafting!

Makenzie is the founder and lead writer at MoneyHackTips.com — a personal finance blog dedicated to delivering street-smart financial wisdom for real people on real budgets. With 300+ published articles covering everything from debt management to investing fundamentals, Makenzie’s mission is to make every dollar work harder. When not writing about money hacks, Makenzie is testing frugal living strategies, optimizing side hustles, and helping readers build financial freedom from scratch.