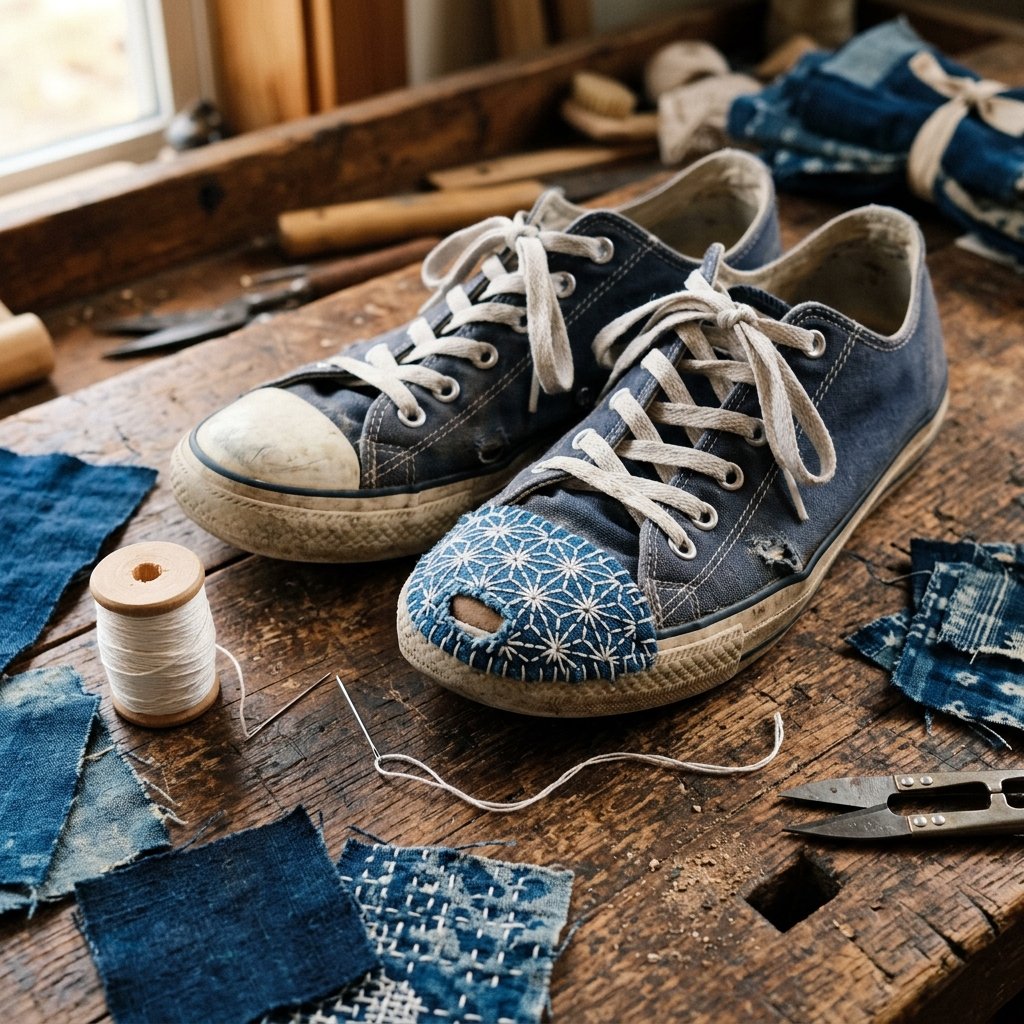

In a world of fast fashion and disposable footwear, there is something profoundly satisfying about taking a pair of beat-up, hole-riddled canvas sneakers and transforming them into a piece of wearable art. We’ve all been there: that favorite pair of high-tops or slip-ons finally gives way at the pinky toe or the heel. Most people would toss them in the bin. But for the resourceful DIYer, those holes aren’t the end—they are an invitation to innovate.
Enter Sashiko. Originally a Japanese folk-mending technique born out of necessity during the Edo period, Sashiko (meaning “little stabs”) uses a simple running stitch to reinforce points of wear or to patch tears. It turns the act of mending into a decorative statement. By applying this rugged, practical, and masculine-elegant aesthetic to your old shoes, you aren’t just saving $60 or $100 on a new pair; you are creating a one-of-a-kind, boho-chic masterpiece that tells a story of resilience and craft.
This guide will walk you through the process of turning your ‘trash’ sneakers into ‘treasure’ using minimal tools and a whole lot of creative grit. Whether you’re a budget-savvy parent looking to extend the life of your kid’s shoes or a crafty gift-giver making a custom pair for a friend, this method is 100% budget-friendly and infinitely rewarding.
The Master Mender’s Kit: Materials and Budget Breakdown
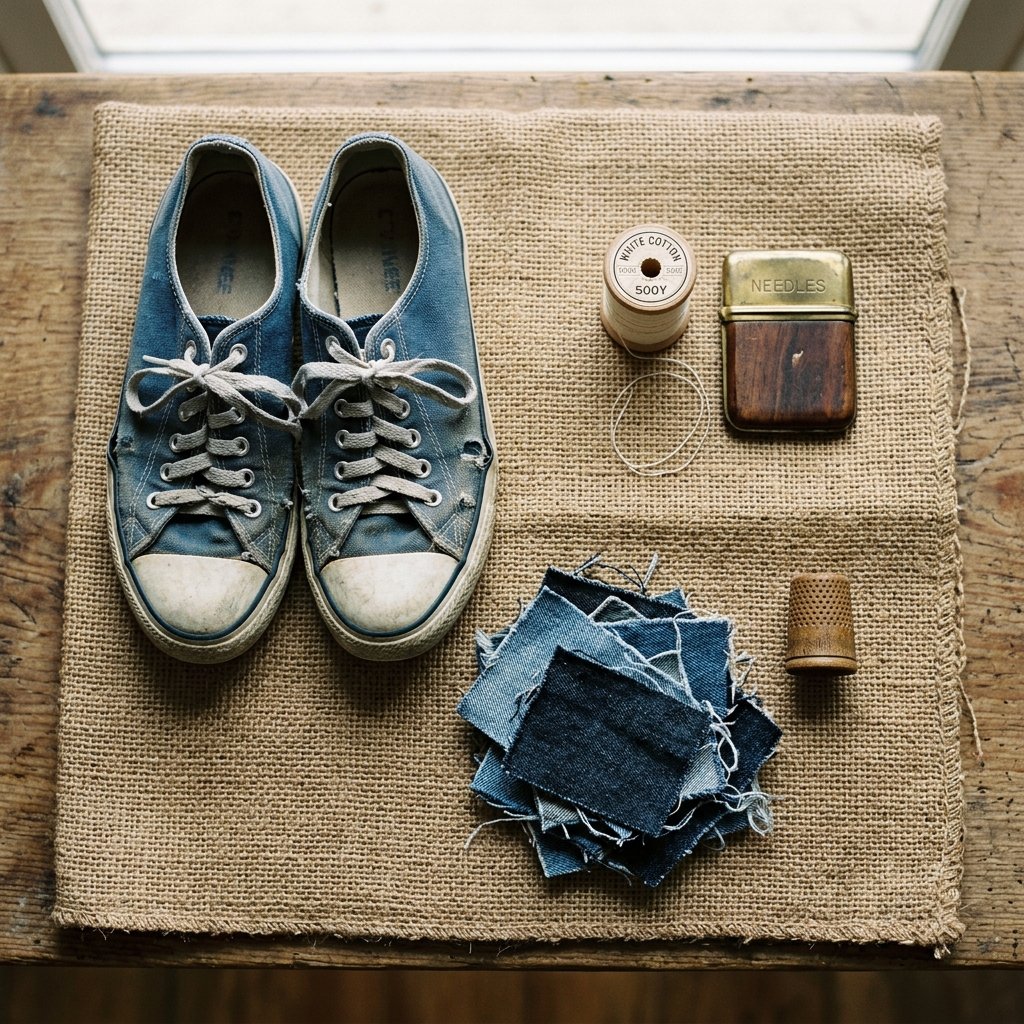
One of the greatest joys of Sashiko is its simplicity. You don’t need an expensive sewing machine or a specialized workshop. Most of these materials are likely already hiding in your junk drawer or can be sourced for less than $5 at a local craft store. The goal is to keep the cost near zero by upcycling fabric scraps from old jeans or canvas bags.
Essential Tools for the Job
- Sashiko Needles (or Sharp Embroidery Needles): You need something sturdy enough to pierce thick canvas.
- Sashiko Thread (or Cotton Embroidery Floss): Traditional thread is matte and non-sheen, but standard 6-strand floss works perfectly if you use all 6 strands for a rugged look.
- Fabric Scraps: Heavy cotton, denim, or canvas scraps are best. Contrast colors (like indigo on white or white on navy) provide that classic boho pop.
- Fabric Glue or Pins: To hold your patch in place before you start the first ‘stab’.
- Thimble or Coin: Pushing a needle through sneaker canvas is tough work; your fingers will thank you.
| Item | Store-Bought Replacement | DIY Sashiko Repair |
|---|---|---|
| New Canvas Sneakers | $55.00 – $95.00 | $0.00 (Upcycled) |
| Repair Materials | N/A | $2.50 – $4.00 |
| Professional Cobbler | $30.00+ | $0.00 (Your Labor) |
| Total Investment | $85.00+ | ~$3.50 |
Budget Mantra: “A stitch in time saves nine… and keeps fifty bucks in your pocket.”
Prep the Canvas: Cleaning and Patch Placement
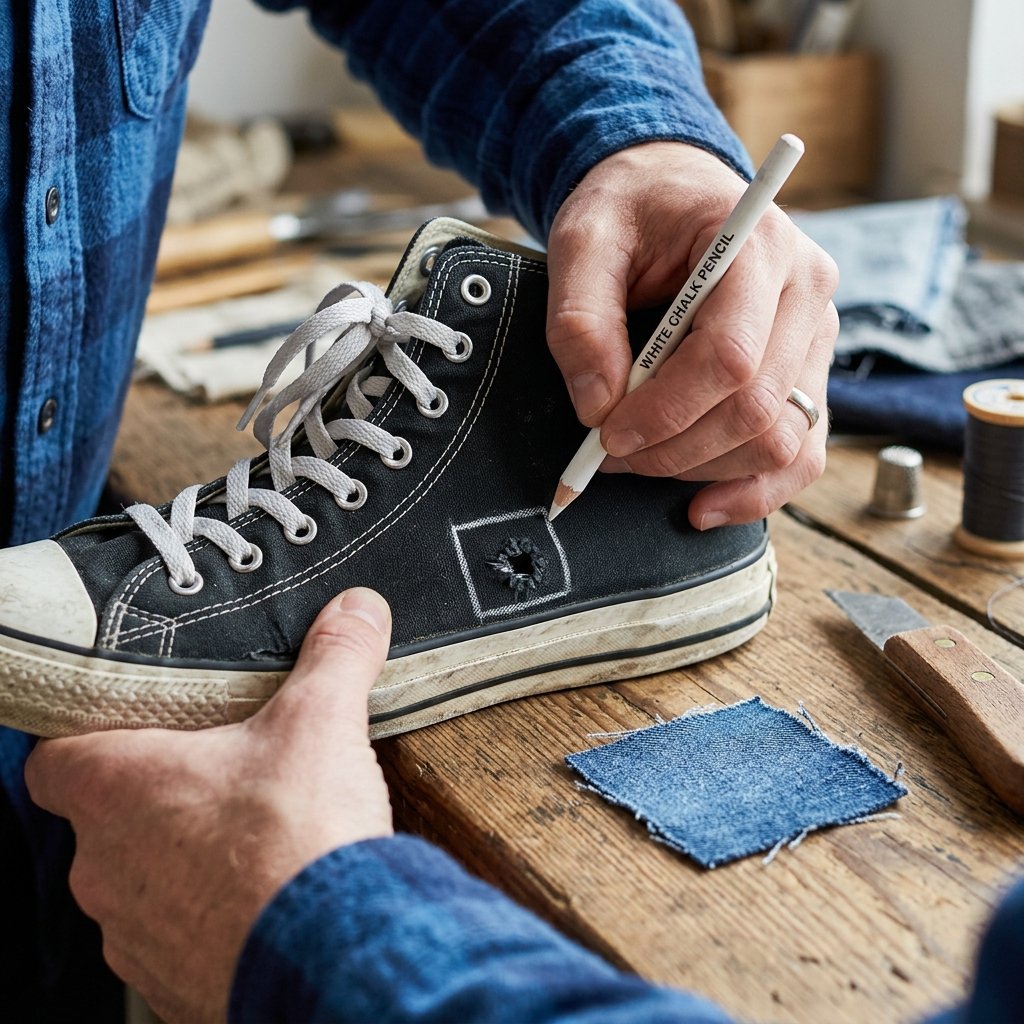
Before you dive in with your needle, you need a clean slate. Working on dirty, salty, or muddy sneakers is a recipe for broken needles and stained thread. Start by removing the laces and giving the shoes a thorough scrub with warm soapy water and an old toothbrush. Let them air dry completely—never put them in the dryer, as the heat can warp the rubber soles.
Assessing the Damage
Identify the areas that need help. Common ‘blowout’ spots include:
- The Pinky Toe: Where the foot widens and rubs against the canvas.
- The Heel Counter: Where the friction of putting the shoe on wears down the fabric.
- The Flex Point: Where the shoe bends near the ball of the foot.
Once dry, cut your patch fabric. Pro-Tip: Always cut your patch at least 1/2 inch larger than the hole on all sides. This ensures you are anchoring your stitches into strong, healthy canvas rather than the frayed edges of the tear.
“When patching the flex point of a shoe, always use a slightly thinner fabric scrap to ensure the shoe remains comfortable and pliable when you walk.”
The Mechanics of the Sashiko Stitch
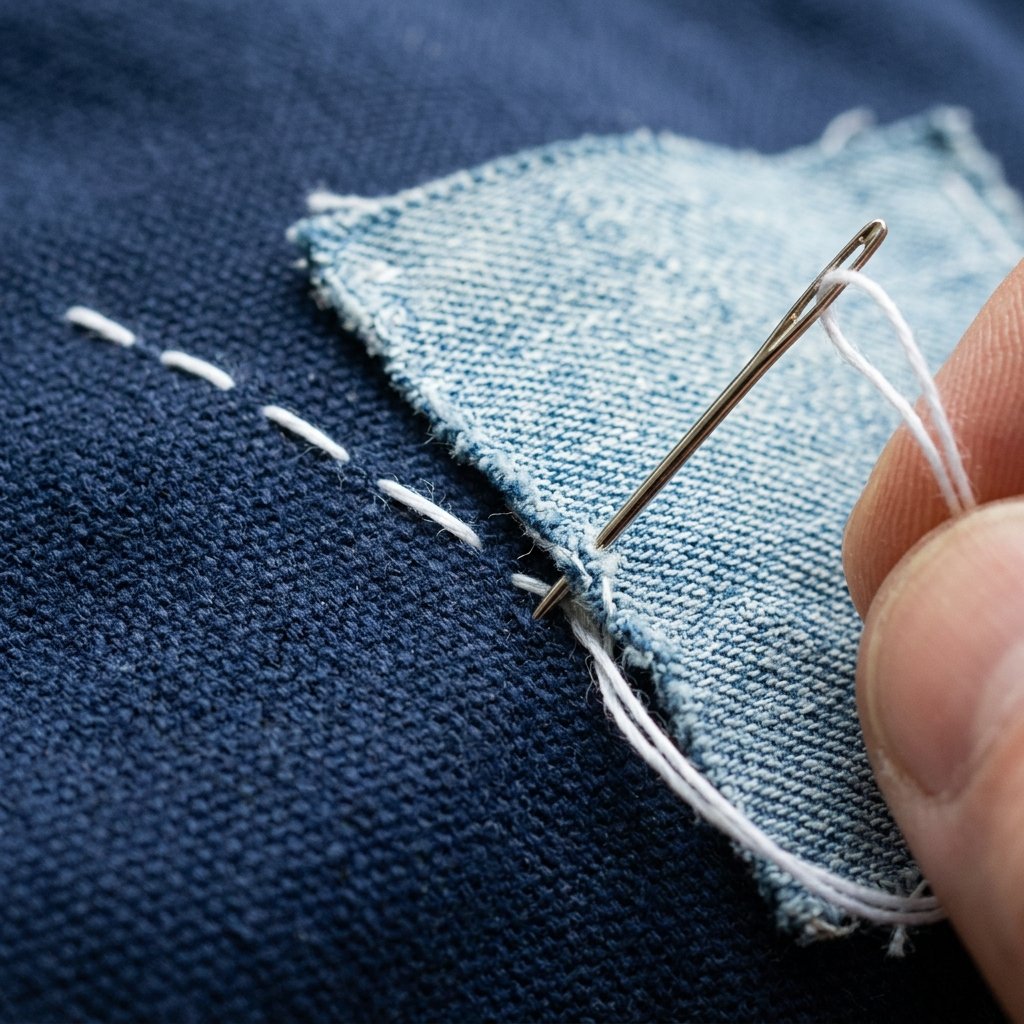
Sashiko is essentially a running stitch, but the secret lies in the rhythm and the spacing. In traditional Sashiko, the gap between stitches should be about half the length of the stitch itself. This creates a dashed-line effect that is both structural and beautiful.
Step-by-Step Stitching Guide
- Secure the Patch: Place your scrap fabric underneath the hole for a ‘reverse applique’ look, or over the hole for a traditional patch. Use a tiny dab of fabric glue to hold it.
- Thread the Needle: Use a long length of thread (about the length of your arm). Do not knot the end yet; we will weave it in for a cleaner finish.
- The First Pass: Start from the inside of the shoe. Push the needle through both layers.
- Loading the Needle: Instead of pulling the thread through for every single stitch, ‘pleat’ the canvas onto the needle, taking 3 or 4 stitches at once before pulling the thread through. This keeps your lines straight and your tension even.
- The Turn: When you reach the edge of your patch, leave a small loop of thread on the inside before turning back. This prevents the fabric from puckering as the shoe flexes.
Safety Note: Canvas is thick. If the needle feels stuck, use a pair of small pliers to pull it through rather than forcing it with your fingers. Always stitch away from your body.
Pattern Play: Adding the Boho Aesthetic
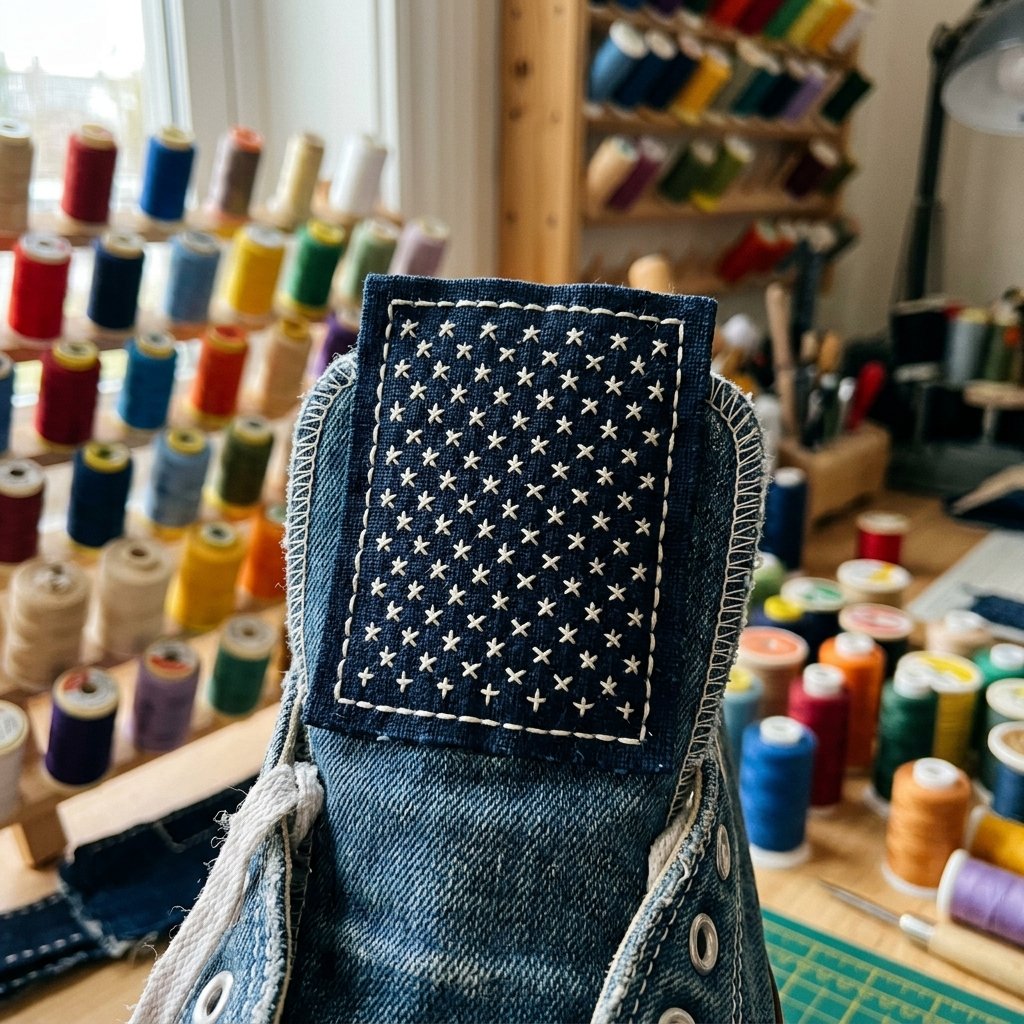
While functional straight lines are great, the true ‘Boho’ look comes from geometric patterns. You don’t need to be an artist to achieve this; simple shapes repeated across the patch create a high-end, designer look that mimics brands like Visvim or Kapital for a fraction of the cost.
Popular Sashiko Patterns for Shoes
- Kome-zashi (Rice Grain): A series of small crosses that look like scattered rice. It is incredibly strong and perfect for high-wear areas like the toe.
- Asa-no-ha (Hemp Leaf): A more complex star-like pattern. Use a ruler to mark your grid first!
- Free-form Boro: Layer multiple small scraps of different colored fabrics and stitch over them in random directions. This is the ultimate ‘resourceful’ look, using every last bit of your scrap pile.
For a truly masculine-elegant finish, stick to a monochromatic palette—white thread on dark denim, or black thread on olive drab canvas. If you want a more vibrant, festival-ready vibe, mix your thread colors with ochre, terracotta, or turquoise.
Final Touches: Laces, Waxing, and Longevity
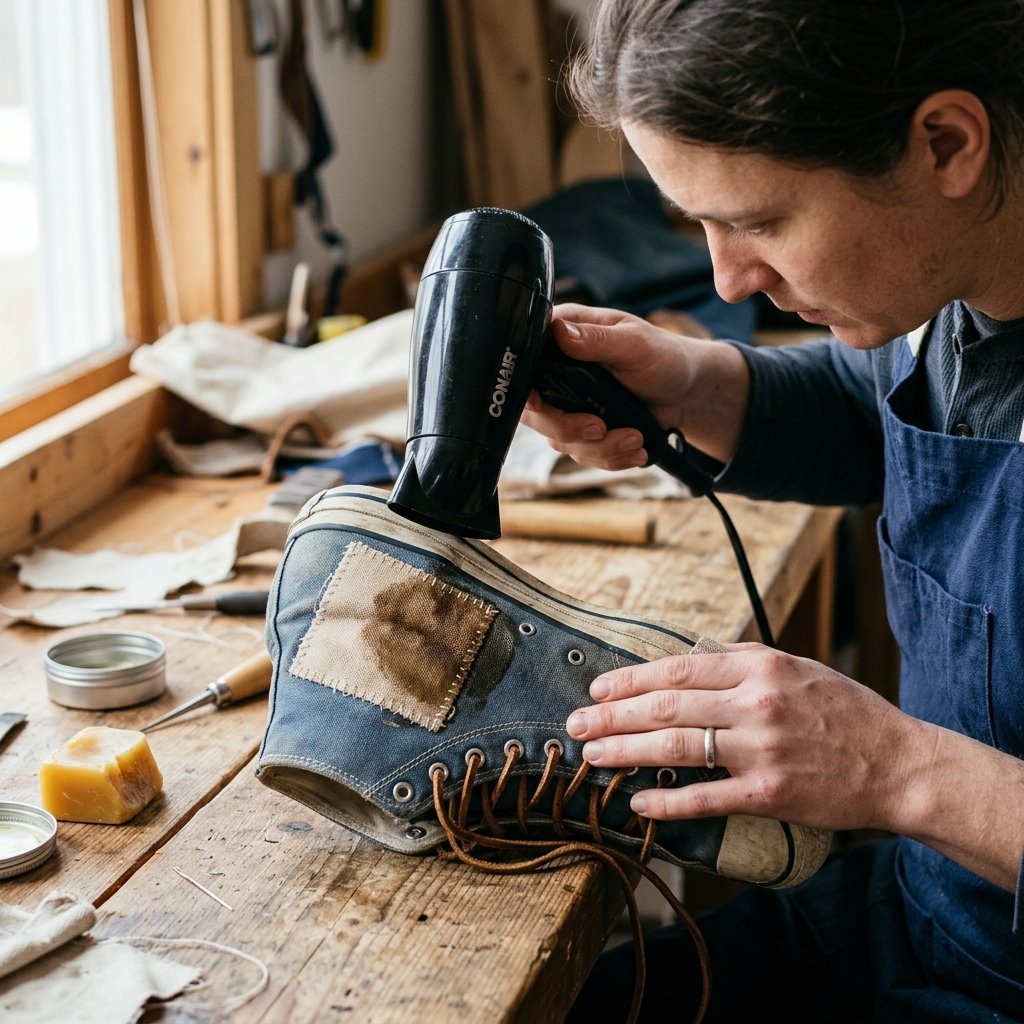
Your stitching is done, but we aren’t finished yet. To truly elevate these sneakers from ‘mended’ to ‘bespoke’, we need to address the details. A rugged pair of shoes needs rugged accessories.
The Finishing Flourishes
- Ditch the Synthetic Laces: Replace those cheap polyester laces with leather cords or heavy-duty cotton twine. It instantly changes the silhouette of the shoe.
- Wax the Canvas: Rub a bit of beeswax or specialized fabric wax over your new patches and the surrounding canvas. Use a hair dryer to melt the wax into the fibers. This makes your repair water-resistant and gives the shoe a beautiful, aged patina.
- Seal the Knots: On the inside of the shoe, add a tiny drop of clear nail polish or super glue to your finishing knots. This prevents them from unraveling due to the friction of your socks.
By taking these extra steps, you ensure that your $3.50 investment lasts for another two or three years of heavy wear.
Conclusion
There is a profound sense of pride that comes from wearing something you’ve repaired with your own two hands. By choosing to patch your old canvas sneakers with Sashiko, you’ve done more than just save money; you’ve rebelled against the ‘throwaway’ culture and embraced the beauty of the imperfect and the enduring. These shoes are no longer just footwear—they are a testament to your resourcefulness and your eye for style.
So, the next time you see a hole in your favorite pair of kicks, don’t reach for the trash bag. Reach for your needle and thread. Your wallet, the planet, and your personal style will all be better for it. Happy mending, you crafty legend!

Makenzie is the founder and lead writer at MoneyHackTips.com — a personal finance blog dedicated to delivering street-smart financial wisdom for real people on real budgets. With 300+ published articles covering everything from debt management to investing fundamentals, Makenzie’s mission is to make every dollar work harder. When not writing about money hacks, Makenzie is testing frugal living strategies, optimizing side hustles, and helping readers build financial freedom from scratch.