
The Art of the High-Margin Hustle
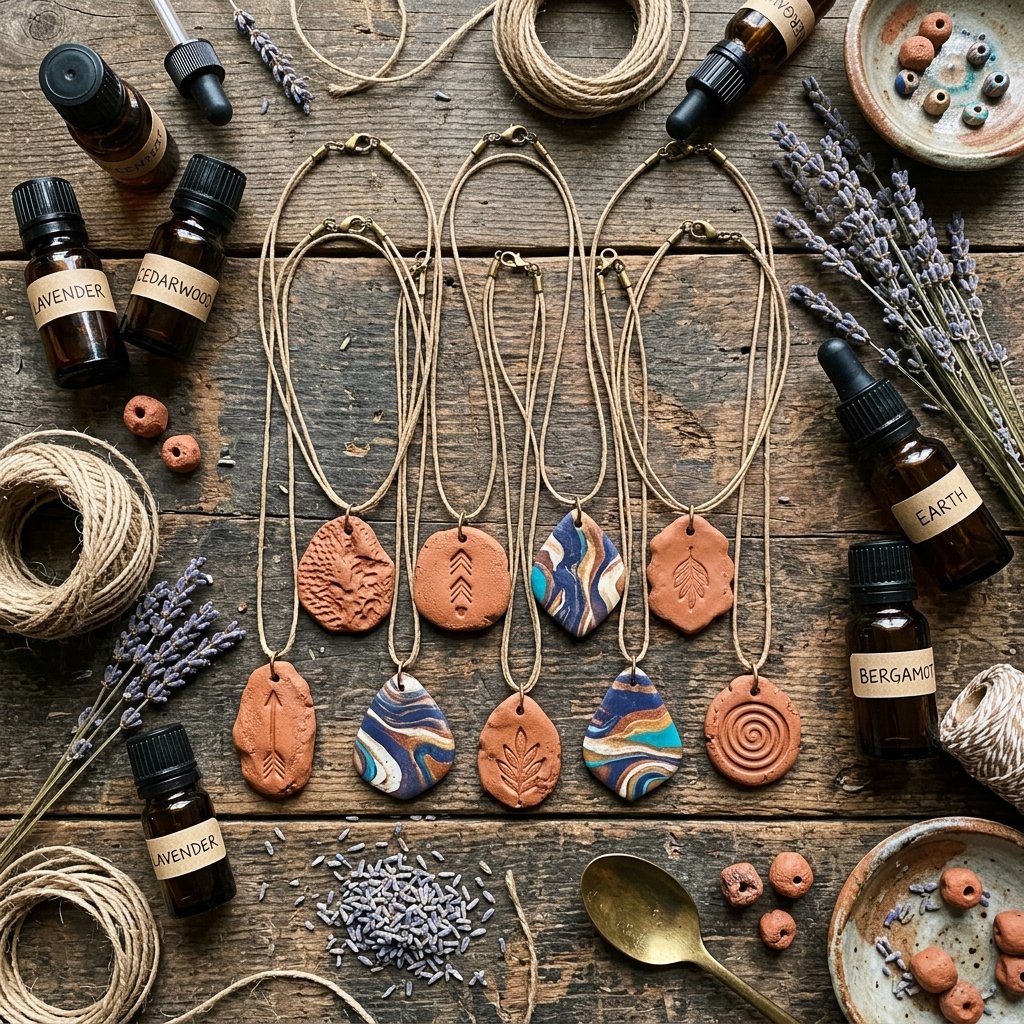
In the world of DIY, there is a holy grail: a project that costs less than $1 to produce but commands a premium price at the local boutique or farmers’ market. Welcome to the world of clay diffuser necklaces. These aren’t just pieces of jewelry; they are portable, wearable wellness tools. By utilizing the porous nature of air-dry terracotta or the versatile aesthetic of polymer clay, we can create sophisticated, rugged, and minimalist pieces that appeal to everyone from the crunchy-cool yoga crowd to the masculine-elegant outdoorsman. This guide isn’t just about making a necklace; it’s about mastering a craft that turns raw earth into a high-demand commodity. Whether you’re a budget-savvy parent looking for a side hustle or a crafty gift-giver aiming to impress, this is your blueprint for success.
Sourcing Materials: The Rugged & Resourceful Inventory
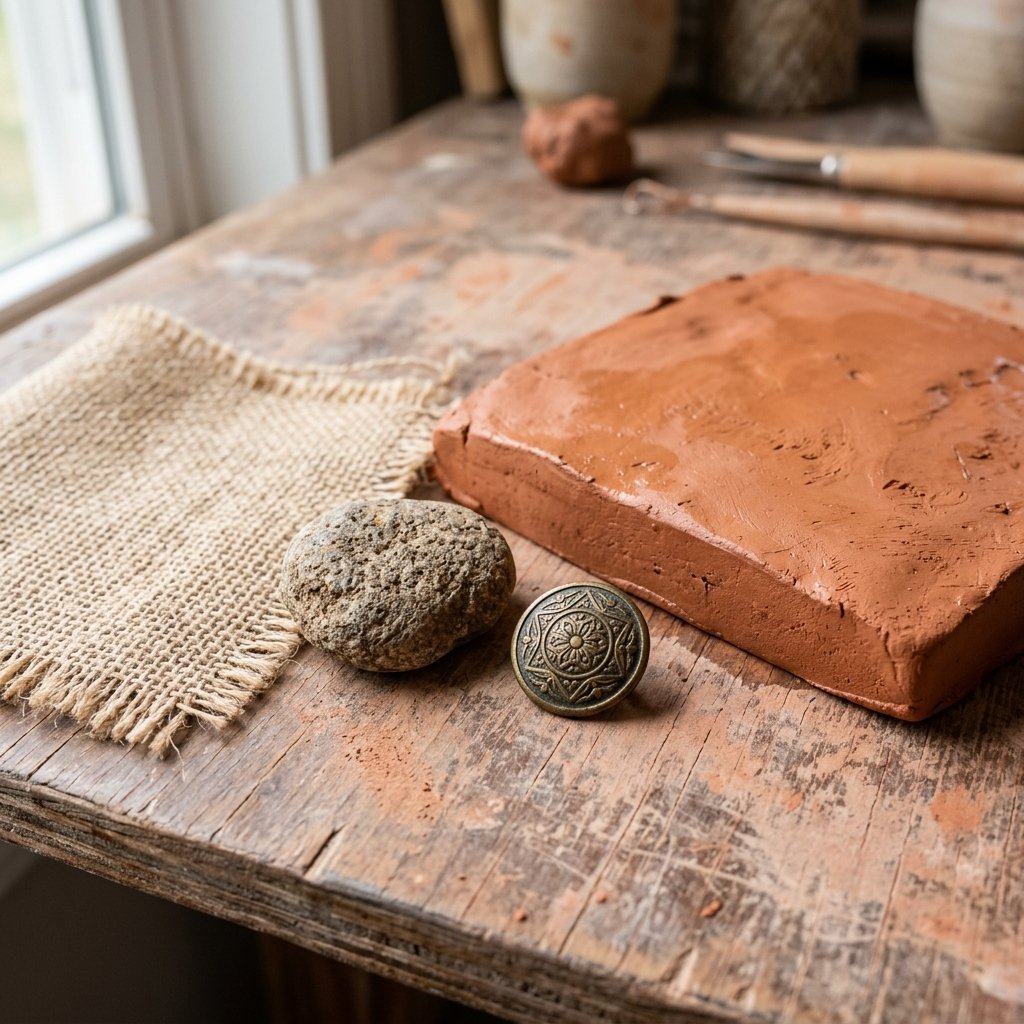
To build a profitable jewelry line, you must stop shopping like a consumer and start sourcing like a manufacturer. You don’t need a high-end studio; you need a few strategic staples. The beauty of diffuser jewelry lies in the porousness of the material. Terracotta is the gold standard because it absorbs oils naturally, but we can also ‘hack’ polymer clay for a more modern, polished look.
| Material | Bulk Cost | Cost Per Unit | The ‘Frugal Guru’ Hack |
|---|---|---|---|
| Air-Dry Terracotta Clay (5lbs) | $12.00 | $0.06 | Buy in bulk at art supply outlets, not hobby stores. |
| Hemp or Waxed Cotton Cord | $8.00/100yd | $0.08 | Use hardware store twine for a rugged, masculine look. |
| Essential Oil Samples | $15.00/set | $0.12 | Offer ‘tester’ drops to customers to seal the deal. |
| Total Investment | $35.00 | $0.26 | 98% Profit Margin Potential |
Essential Tool Kit
- Rolling Pin: A smooth PVC pipe or a heavy glass bottle works just as well as a professional tool.
- Texture Tools: Look around your house. A piece of burlap, a cedar branch, or even a vintage button makes an incredible stamp.
- The Punch: A plastic straw or a toothpick is perfect for creating the cord hole.
“The best tools aren’t bought; they’re found. A weathered rock from your backyard can create a more unique texture than any $20 silicone mold.”
The Sculpting Masterclass: Shaping for Durability and Style
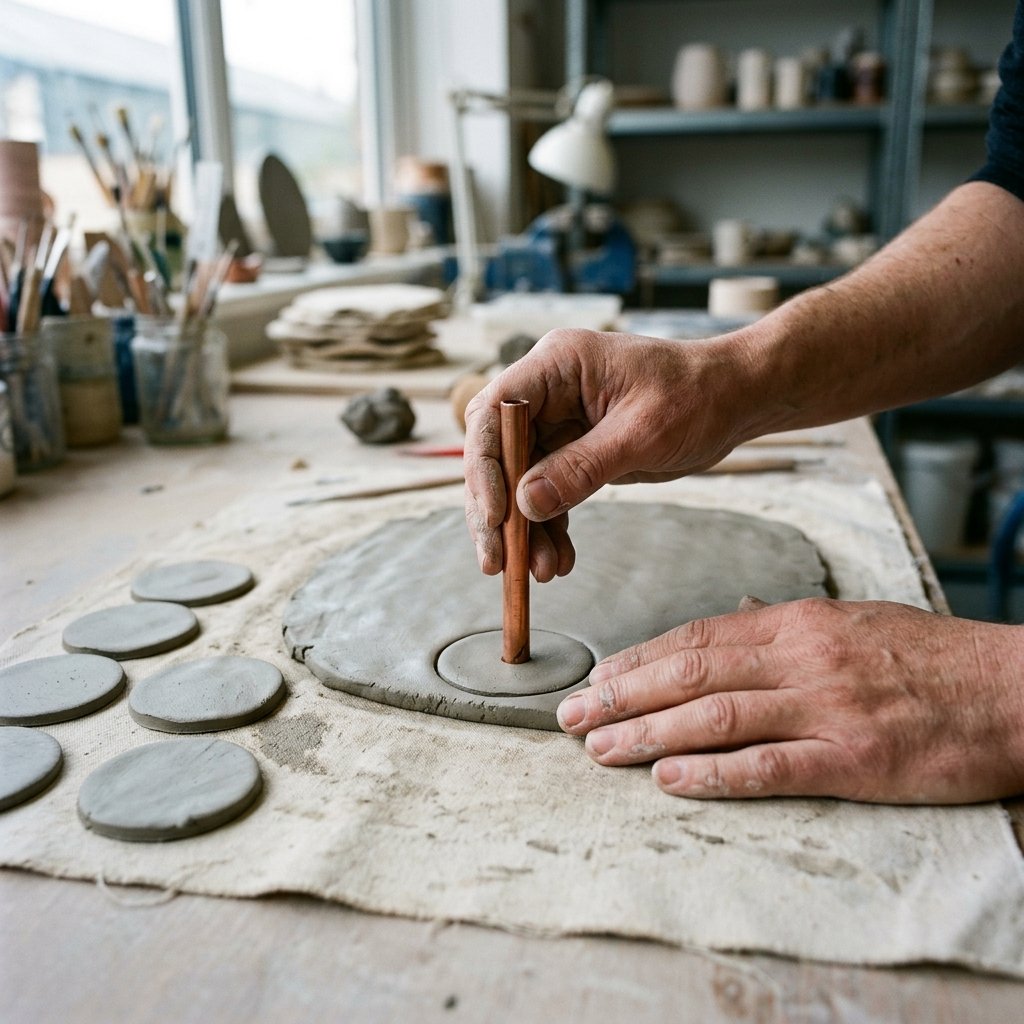
Creating a necklace that ‘sells like crazy’ requires a focus on consistency and aesthetic. We are aiming for a minimalist, organic feel. Follow these steps to ensure your pieces don’t look like a second-grade art project.
Step 1: Conditioning the Earth
Knead your clay for at least 3 minutes. This removes air bubbles and ensures the piece won’t crack when it dries. If using terracotta, keep a small spray bottle of water nearby. You want the clay supple, not sticky.
Step 2: The Perfect Slab
Roll the clay to a consistent 1/4 inch thickness. If it’s too thin, it will snap; too thick, and it feels clunky. Use two magazines of equal thickness on either side of your clay as ‘rails’ for your rolling pin to ensure a perfectly level surface.
Step 3: Cutting and Texturing
Use a circular cutter (or a shot glass) to press out your pendants. While the clay is still wet, press your organic textures into the surface. Pro Tip: For a masculine-elegant look, use a leather stamping kit to indent a single initial or a geometric chevron pattern.
Step 4: The Scent Reservoir
Using a toothpick, create a small indentation in the center of the design—not a hole all the way through, but a ‘cup’ to hold the oil. Then, use a straw to punch the cord hole at the top, leaving at least 3mm of space from the edge to prevent breakage.
Curing and Finishing: From Raw Clay to Wearable Art
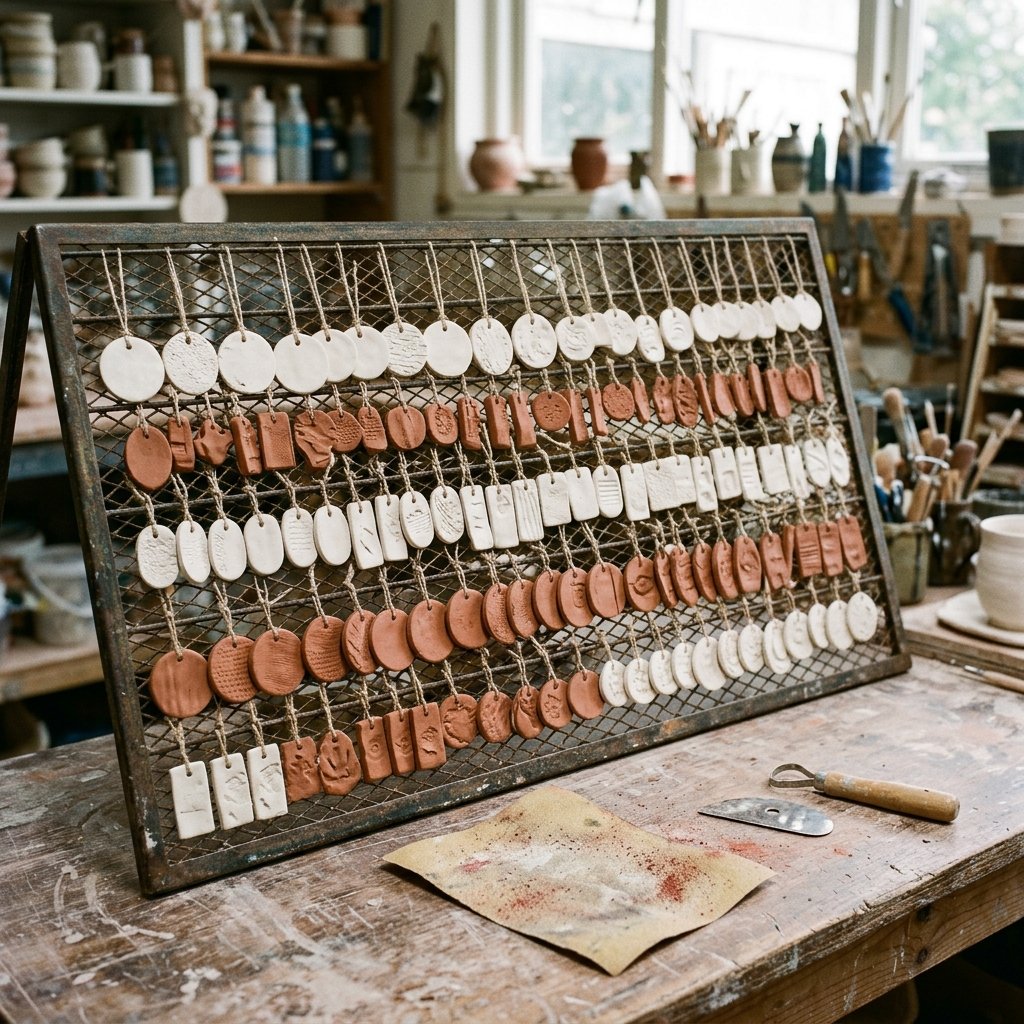
How you dry and finish your pieces determines their longevity. Air-dry clay is convenient, but it requires patience. Do not rush this process with a hairdryer, or you will invite structural cracks.
- Air Drying: Place your pendants on a wire cooling rack. This allows airflow to reach both sides, preventing the edges from curling upward. Let them cure for 24 to 48 hours.
- Sanding: Once bone-dry, use a 400-grit sandpaper to smooth the edges. This is what separates ‘homemade’ from ‘hand-crafted.’
- The No-Seal Rule: CRITICAL: Do not use glaze or sealant on the face of the necklace. If you seal the clay, the essential oils cannot soak in, and your diffuser necklace becomes just a regular necklace.
“Patience is the cheapest ingredient in your workshop. Let the air do the work, and the clay will reward you with strength.”
The Science of Scent: Formulating the Experience
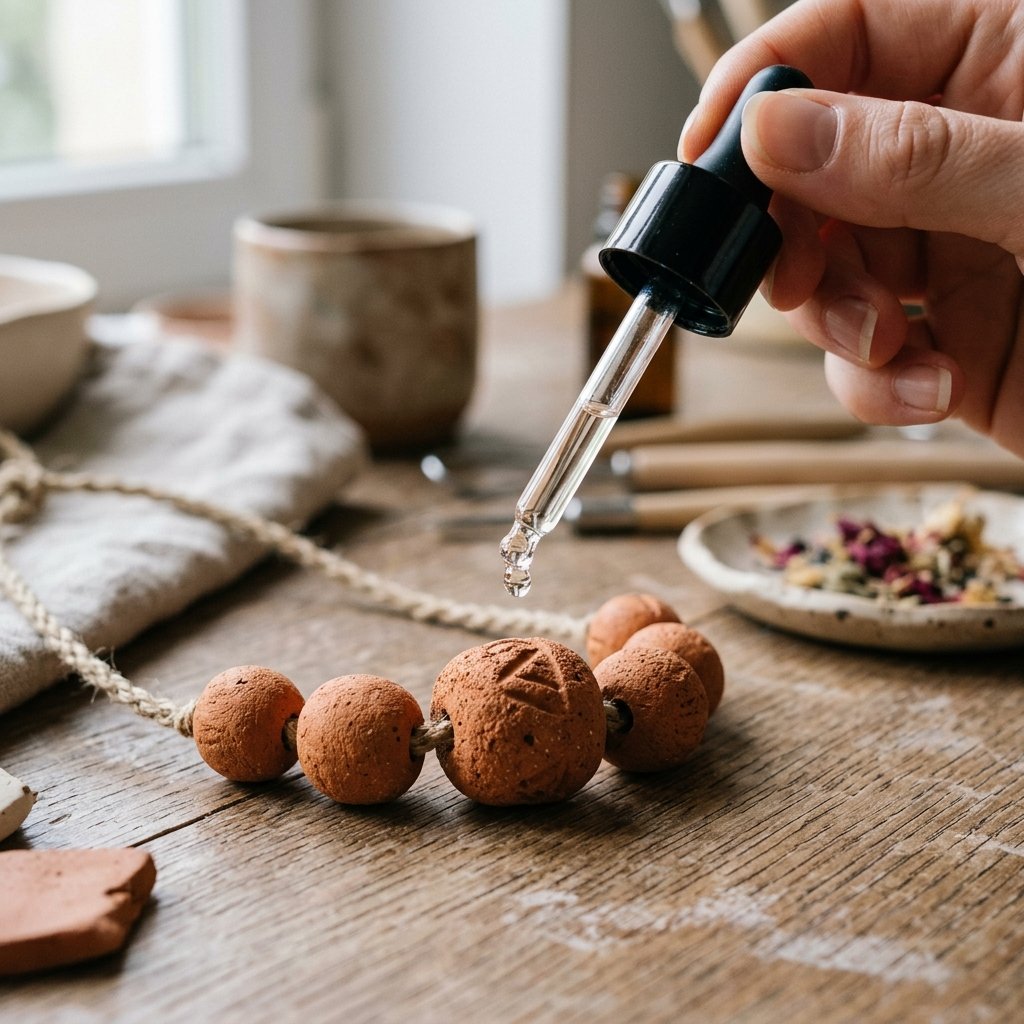
Your customers aren’t just buying a necklace; they are buying a mood. To sell these like crazy, you need to educate your buyers on Aromatherapy 101. Provide a small ‘recipe card’ with every purchase.
| The Vibe | Oil Blend | The Benefit |
|---|---|---|
| The Woodsman | Cedarwood & Bergamot | Grounding, focus, and rugged confidence. |
| The Zen Master | Lavender & Frankincense | Stress reduction and deep meditation. |
| The Energizer | Peppermint & Wild Orange | Mid-day mental clarity and fatigue fighting. |
When applying the oil, instruct the user to place 1-2 drops directly onto the porous clay. The scent will naturally diffuse over 24 to 48 hours. As the scent fades, they can switch oils, making this a customizable experience.
Safety Note: Always advise customers to let the oil soak in completely before wearing against clothing to avoid staining delicate fabrics like silk.
Assembly: Masculine-Elegant Cordage and Knots
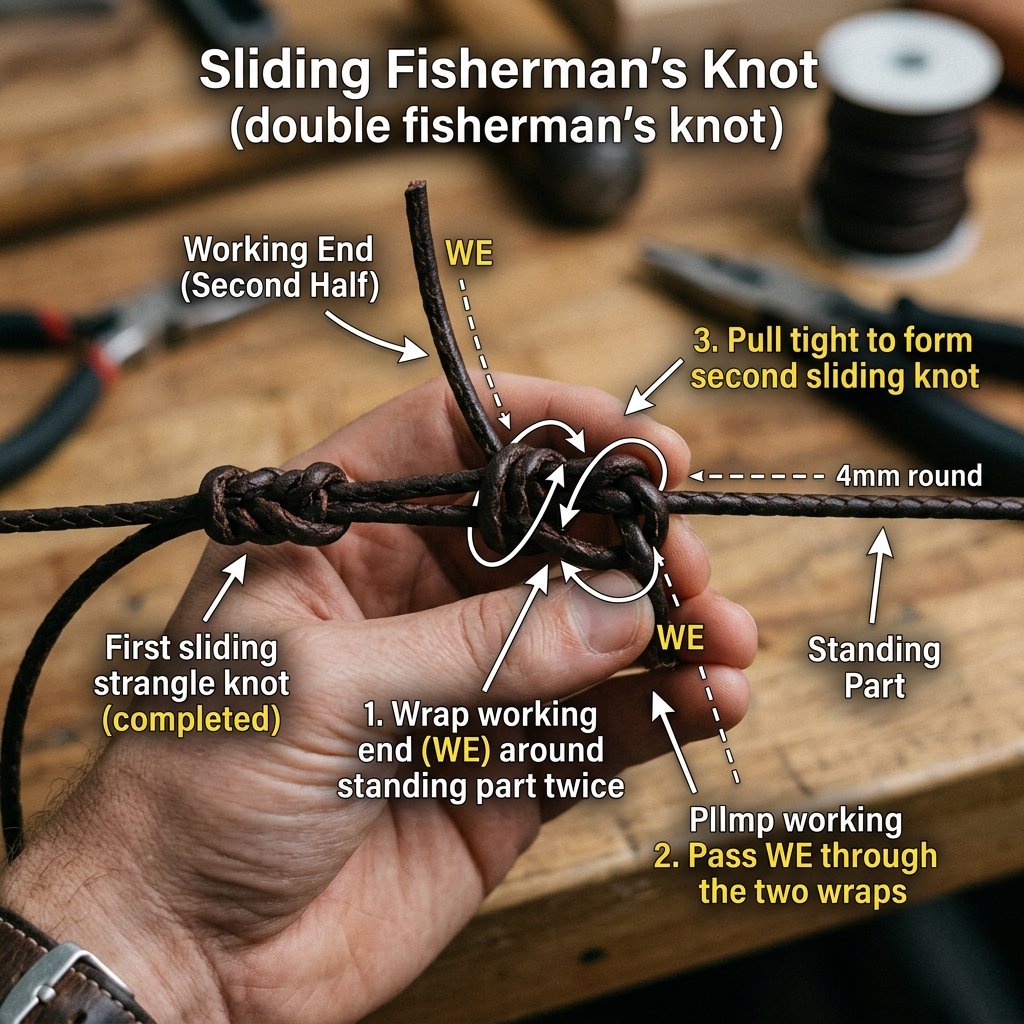
The cord is 50% of the design. A cheap-looking string will kill your profit margin. We want adjustable, durable, and stylish cordage. The ‘Sliding Fisherman’s Knot’ is the gold standard for this project.
The Adjustable Sliding Knot Instructions:
- Cut a 30-inch length of waxed cotton or hemp cord.
- Thread the cord through the pendant hole.
- Overlap the two ends of the cord by about 4 inches.
- Take the left end and wrap it around the main cord twice, then tuck it back through the loops you just created. Pull tight.
- Repeat the process with the right end, wrapping it around the main cord on the opposite side.
- The two knots should now slide along the main cord, allowing the wearer to adjust the length from a choker to a long pendant.
This ‘one size fits all’ approach is a budget-savvy dream—you don’t have to stock different sizes, and it appeals to both men and women who prefer different lengths.
Marketing Strategy: Packaging to Sell Like Crazy
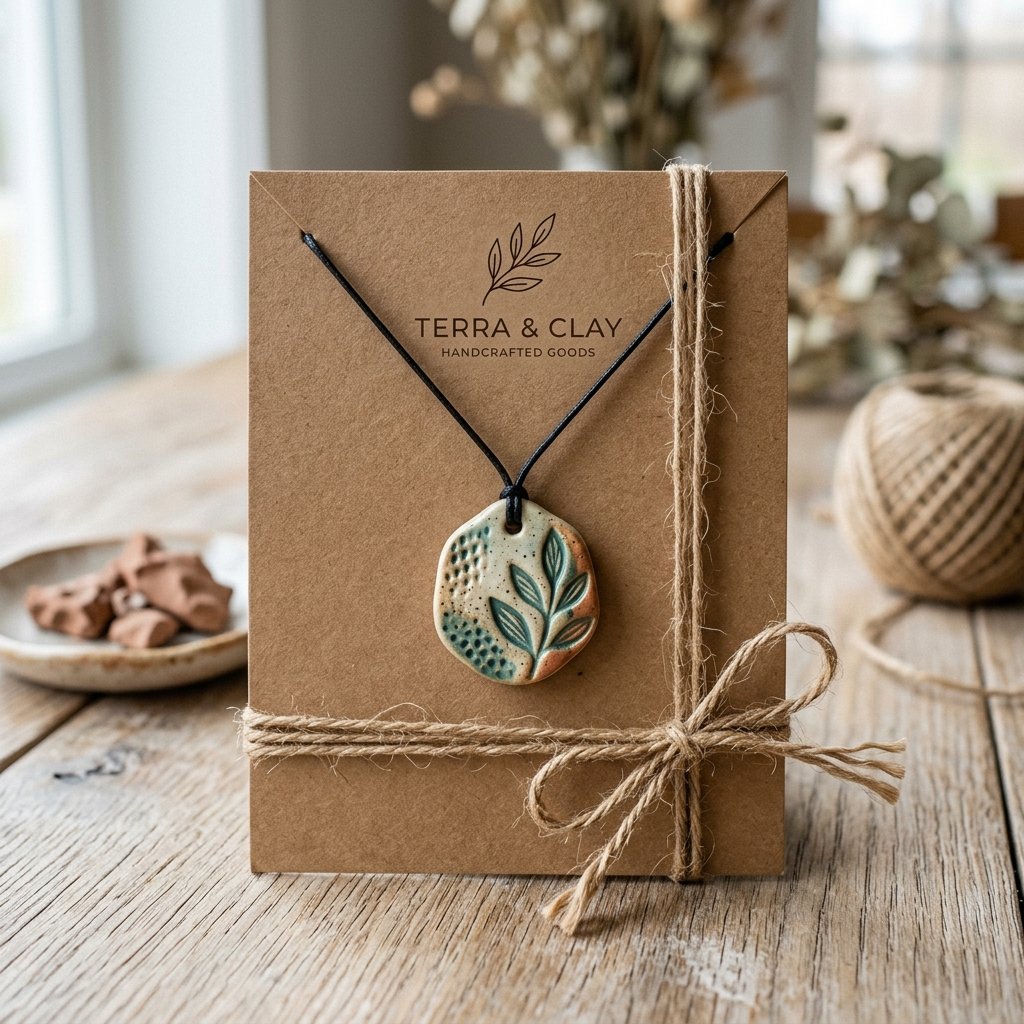
To sell these at a premium, your packaging must scream ‘High-End Boutique’ while costing you pennies. Use the ‘Frugal Guru’ packaging method to maximize your ROI.
The $0.15 Packaging Suite
- Kraft Paper Cards: Buy a pack of heavy brown cardstock and cut it into rectangles. Use a $10 custom rubber stamp with your logo to brand them.
- Clear Compostable Bags: Give it a professional retail look while staying eco-friendly.
- The Story: On the back of the card, write a short blurb: “Hand-sculpted in small batches. Infuse with your favorite oil. Wear your wellness.”
By presenting your $0.30 necklace on a branded card, you can easily justify a price point of $18.00 to $25.00. That is the power of clever branding.
Conclusion
Your Path to Creative Freedom
Making gorgeous clay diffuser necklaces is more than just a craft; it’s a lesson in resourceful entrepreneurship. You’ve taken basic elements—earth, cord, and oil—and transformed them into a product that offers genuine value to the modern, stressed-out consumer. By keeping your overhead low and your aesthetic high, you’ve created a sustainable business model that can be scaled from a kitchen table to a full-time career. Now, grab that clay, find a unique texture in your backyard, and start sculpting your success. The world is waiting for your unique scent.

Makenzie is the founder and lead writer at MoneyHackTips.com — a personal finance blog dedicated to delivering street-smart financial wisdom for real people on real budgets. With 300+ published articles covering everything from debt management to investing fundamentals, Makenzie’s mission is to make every dollar work harder. When not writing about money hacks, Makenzie is testing frugal living strategies, optimizing side hustles, and helping readers build financial freedom from scratch.