
The Magic of Trash-to-Treasure Play
In an age of high-tech gadgets and expensive plastic toys that often end up at the bottom of the toy box within a week, there is something profoundly satisfying about the simplicity of a cardboard box. As a resourceful DIYer, you know that the best tools for imagination aren’t bought; they are built. Today, we are diving into the ultimate upcycling project for the handy parent: DIY Cardboard Binoculars. This project is the epitome of budget-savvy crafting, requiring exactly $0 in new materials if you scavenge your recycling bin correctly. We aren’t just making a toy; we are crafting a vessel for discovery. Whether your little one is scouting for backyard tigers or tracking ‘rare’ birds in the living room, these binoculars are the perfect rugged accessory for any mission. By using materials like empty toilet paper rolls and scrap twine, you are teaching your children the value of resourcefulness and the thrill of creating something from nothing. This guide will walk you through the precision construction, high-end customization, and durability hacks to ensure these binoculars survive even the most rigorous ‘expeditions’ through the hallway jungle.
The Scavenger Hunt: Gathering Your Zero-Cost Materials
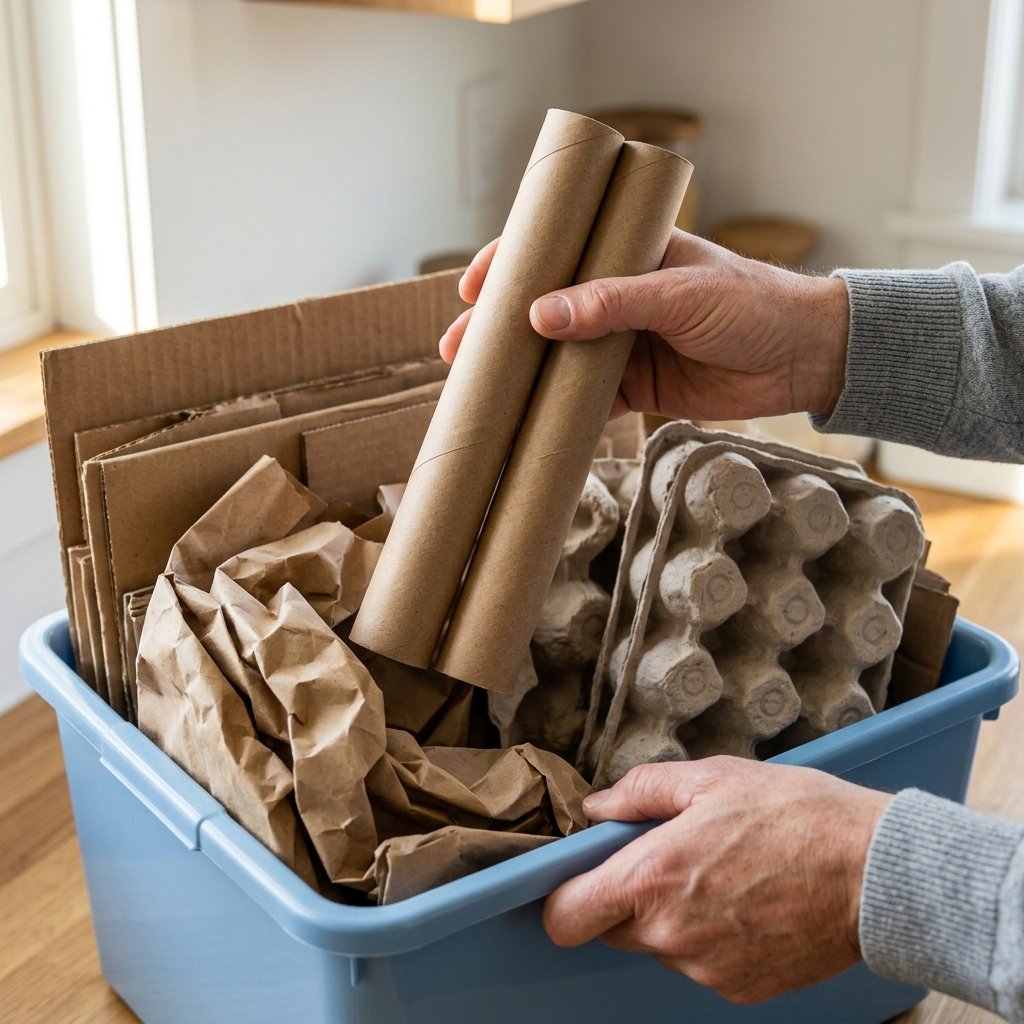
Inventory of the Explorer’s Workshop
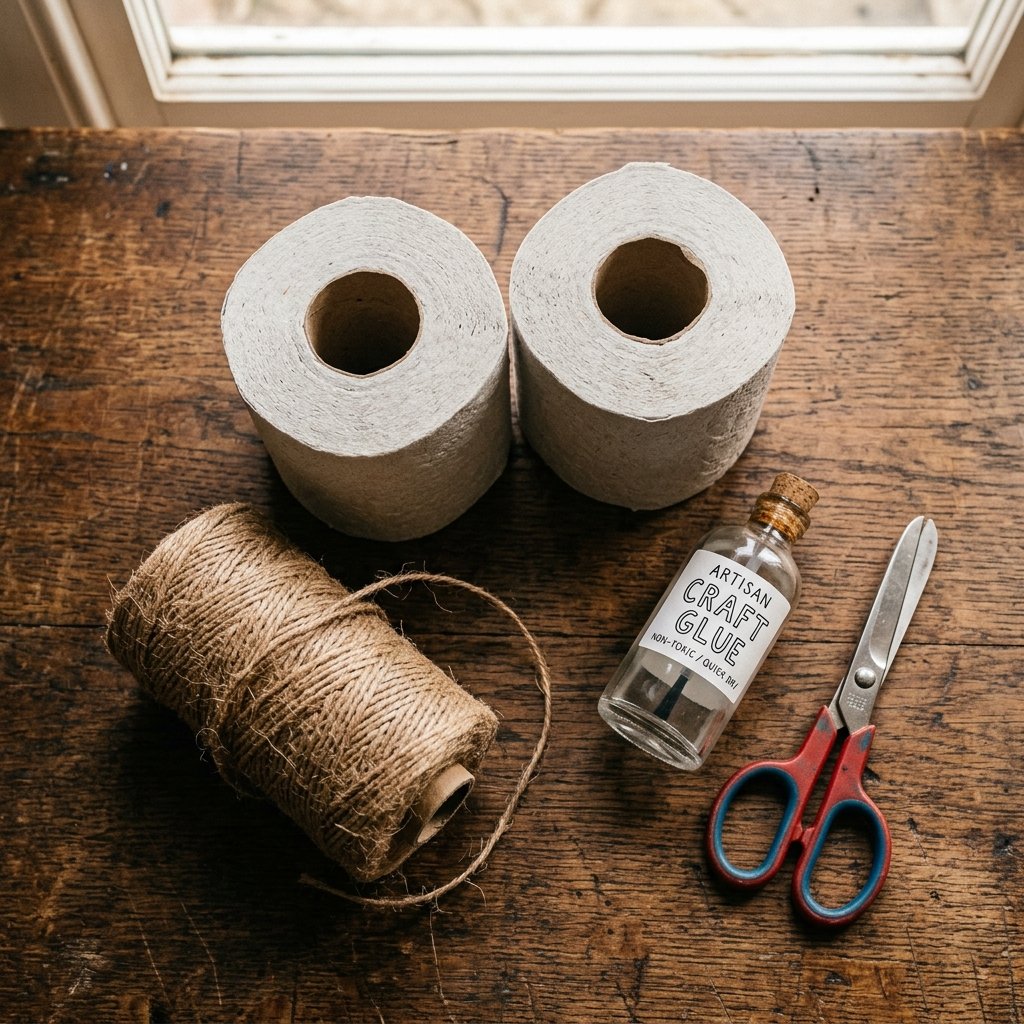
Before we begin construction, we must gather our supplies. The beauty of this project lies in its accessibility. You likely have everything you need sitting in your pantry or junk drawer right now. A clever crafter never overlooks the potential of a ‘spent’ item. For this build, we are looking for structural integrity and comfort. We want rolls that haven’t been crushed and adhesives that will stand the test of a toddler’s grip. Below is the definitive list of what you will need to assemble a professional-grade pair of pretend optics.
Materials Needed & Estimated Cost
| Material | Source | Estimated Cost |
|---|---|---|
| 2 Cardboard Tubes | Empty Toilet Paper or Paper Towel Rolls | $0.00 |
| Adhesive | Hot Glue, School Glue, or Double-Sided Tape | $0.00 (In-house) |
| Connecting Bridge | Scrap Cardboard or a Wine Cork | $0.00 |
| Neck Strap | Twine, Old Shoelace, or Yarn | $0.00 |
| Reinforcement | Rubber Bands or Masking Tape | $0.00 |
| Total Project Cost | Recycling Bin | $0.00 |
When selecting your tubes, ensure they are of equal length. If you are using a paper towel roll, you will need to measure and cut it into two 4-inch sections using a utility knife for a clean, professional edge. For the neck strap, 30 inches of twine is usually the sweet spot for a child, providing enough length to hang comfortably without becoming a tripping hazard.
Budget Mantra: The most expensive toy in the world cannot compete with the one a child helps build with their own two hands.
The Blueprint: Step-by-Step Construction Guide

Engineering the Perfect View
Precision is what separates a ‘craft’ from a ‘tool.’ To ensure your binoculars feel rugged and functional, follow these steps to create a solid bond between the optics. We will use a ‘bridge’ technique to give the binoculars the correct width for a child’s face, ensuring they can actually peer through both tubes simultaneously.
- Prep the Tubes: Clear off any remaining paper bits from your rolls. Use a piece of 100-grit sandpaper if you want a perfectly smooth surface for painting later.
- Establish the Bridge: You can glue the tubes directly together, but for a more ‘pro’ look, cut a small 1-inch by 2-inch strip of heavy cardboard. Fold it into a slight ‘U’ shape. This acts as the bridge.
- The Bonding Phase: Apply a generous bead of hot glue (or craft glue) to the sides of the bridge and press it firmly against the inner sides of the two tubes. If you are using school glue, use 2 rubber bands to hold the tubes in place while they dry for at least 30 minutes.
- The Strap Attachment: Use a hole punch or a sharpened pencil to poke a hole 0.5 inches from the top outer edge of each tube.
- Threading the Needle: Thread your twine through the holes. Tie a double-overhand knot on the inside of the tube to ensure it doesn’t pull through during a high-speed chase through the garden.
DIY vs. Store-Bought Comparison
| Feature | Plastic Store-Bought | DIY Upcycled Binoculars |
|---|---|---|
| Price | $12.99 – $19.99 | $0.00 |
| Repairability | Impossible (Plastic snaps) | Easy (More glue/tape) |
| Customization | None (Fixed colors) | Infinite (Paint, fabric, ink) |
| Educational Value | Passive Play | Active Building & STEM |
| Weight | Heavy/Bulky | Ultra-Lightweight |
Safety Note: When using a utility knife or hot glue gun, ensure small children are at a safe distance. Let them be the ‘Creative Director’ while you handle the ‘Lead Engineer’ tasks involving sharp or hot tools.
Customization & Style: From Jungle Camo to Steampunk Explorer
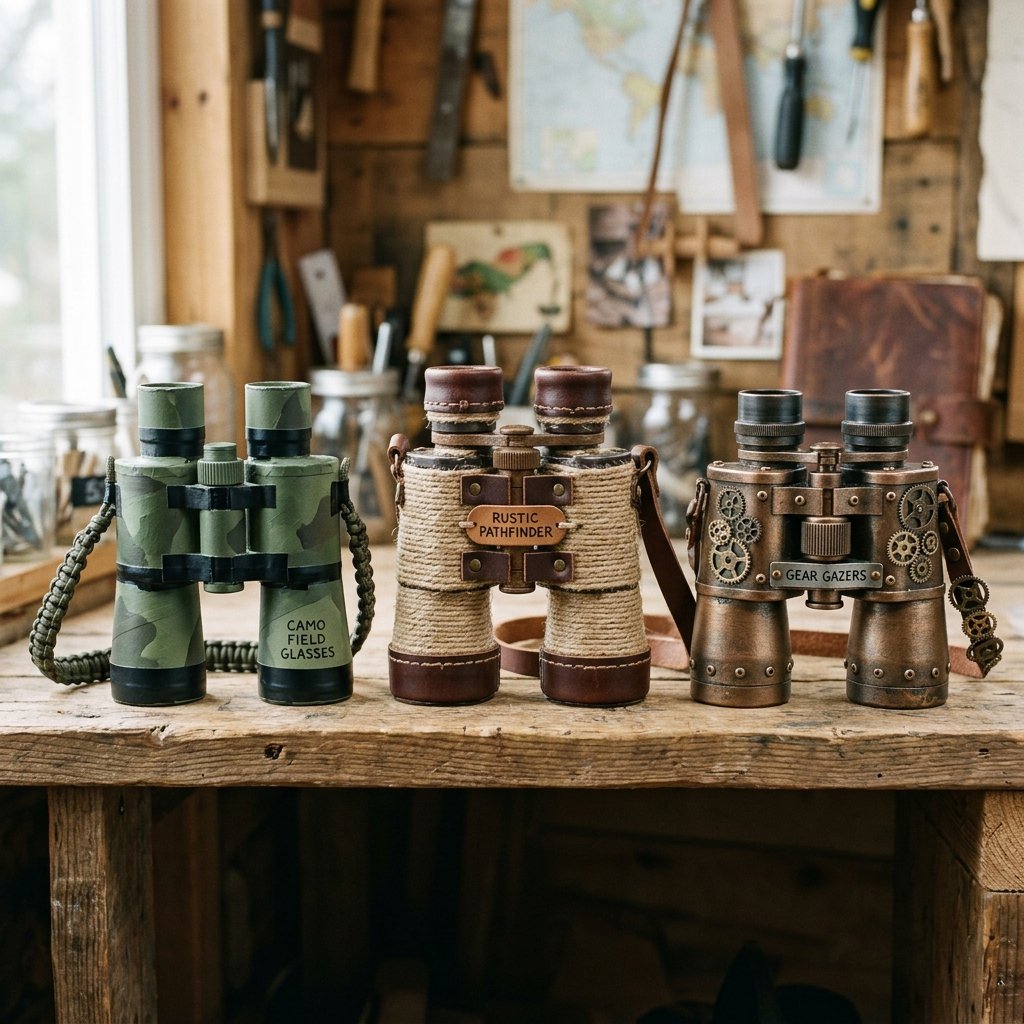
Elevating the Aesthetic
Now that the structure is sound, it is time for the ‘Masculine-Elegant’ finish. We want these to look like they belong in the hands of a 19th-century explorer or a modern-day tactical scout. Avoid the ‘glitter and neon’ trap; instead, opt for textures and tones that evoke adventure. A clever trick is to use a brown paper grocery bag to wrap the tubes, giving them a rugged, leather-like appearance.
Three High-End Style Profiles
- The Tactical Scout: Paint the tubes in matte black or olive drab. Use black electrical tape around the ‘lenses’ (the ends of the tubes) to mimic rubber armor. This gives them a modern, military feel that kids love.
- The Vintage Naturalist: Wrap the tubes in natural burlap or twine. Use a dark brown marker to draw ‘rivets’ or wood grain patterns. This style is perfect for a ‘safari’ themed playroom.
- The Steampunk Aviator: Use metallic copper or gold acrylic paint. Glue small metal washers or spare gears (from the junk drawer) to the sides. This creates a Victorian-tech look that is visually stunning.
For a functional ‘lens’ effect without the cost of glass, you can stretch clear plastic wrap over the ends and secure it with a black rubber band. It adds a layer of realism that makes the ‘pretend’ feel much more ‘real.’ Pro Tip: Use a permanent marker to draw a small ‘crosshair’ on the plastic wrap for that tactical sniper-scout feel.
The Science of Play: Why These Binoculars Matter
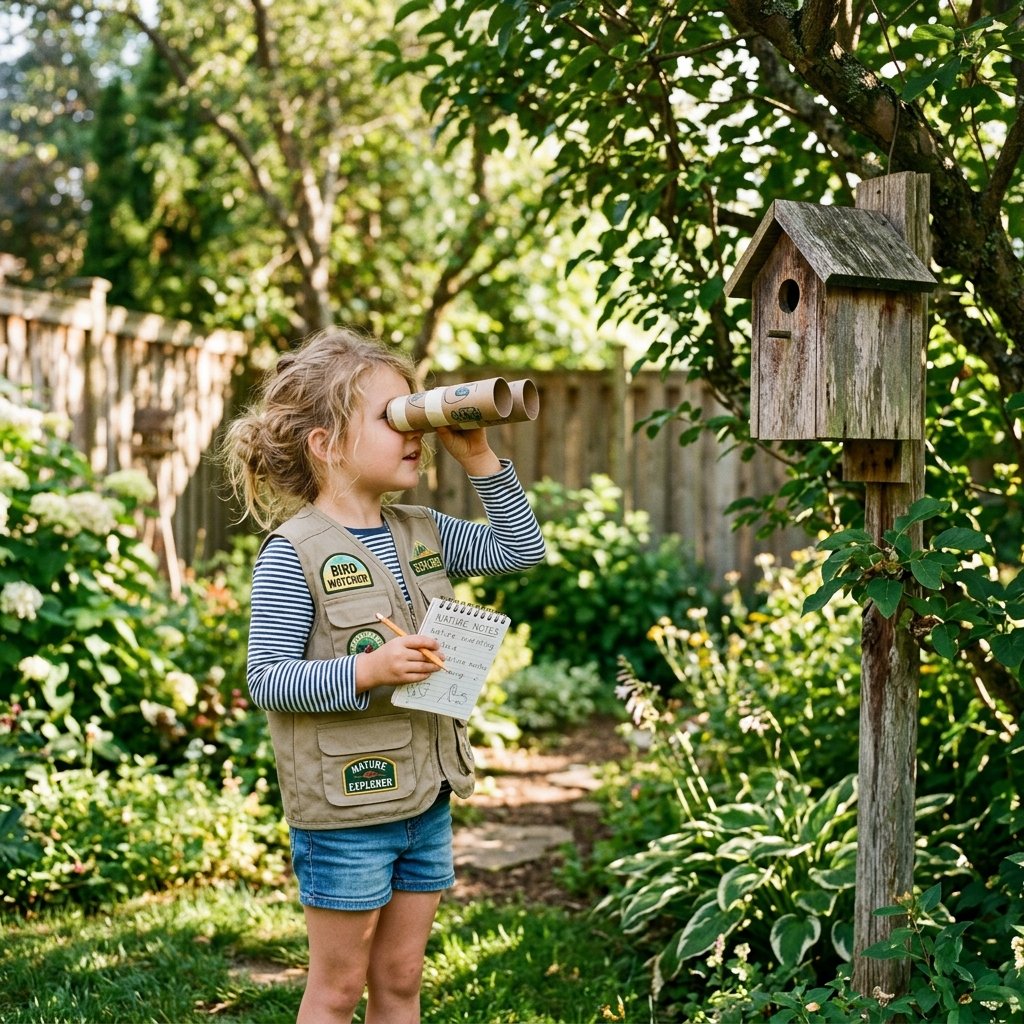
Developing Focus and Spatial Awareness
While we see two cardboard tubes and a piece of string, a child sees a tool that changes their perspective. There is significant developmental value in pretend play tools. By narrowing their field of vision, binoculars help children practice visual tracking and sustained attention. They encourage the ‘explorer’ mindset—observing details, staying quiet, and respecting nature.
Adventure Missions & Skills Learned
| Mission Idea | Activity Description | Skill Developed |
|---|---|---|
| Backyard Bird Count | Identify 5 different birds using the binoculars. | Observation & Patience |
| The Floor is Lava | Navigate a room using binoculars to find ‘safe’ spots. | Spatial Reasoning |
| I-Spy Scavenger Hunt | Find specific hidden items around the house. | Focus & Detail Orientation |
| Alphabet Safari | Find objects that start with every letter of the alphabet. | Literacy & Scanning |
Encourage your little explorer to keep a ‘Field Journal’ alongside their binoculars. Every time they ‘spot’ something through their DIY optics, they can draw it in their notebook. This turns a simple 10-minute craft into a 4-hour educational experience. It’s about building a narrative, not just a toy.
Durability Hacks: Making Cardboard Last Through the Wild

Reinforcing Your Build for the Long Haul
Cardboard’s greatest weakness is moisture and crushing forces. To ensure your hard work doesn’t end up as a soggy mess after one trip to the park, we need to apply some rugged engineering. A crafty expert knows that a little reinforcement goes a long way. If you want these binoculars to last for months rather than days, follow these ‘handy dad’ durability hacks.
The ‘Hardened’ Cardboard Method
- The Shellac Trick: If you have any leftover clear polyurethane or even a simple mixture of 50/50 white glue and water (Mod Podge style), coat the exterior of the tubes. This creates a water-resistant barrier that hardens the cardboard significantly.
- Internal Bracing: If your child is particularly ‘hands-on,’ slide a slightly smaller ring of cardboard inside the ends of the tubes to prevent them from being crushed if stepped on.
- Duct Tape Reinforcement: A single wrap of high-quality duct tape around the center of the unit provides incredible structural integrity. Opt for ‘Gaffer Tape’ for a matte, professional finish that doesn’t leave sticky residue.
Remember, the goal is to create a tool that feels substantial. Adding a bit of weight—perhaps by gluing a few metal nuts inside the bridge—gives the binoculars a ‘heft’ that mimics real optical equipment. It’s these small, clever details that elevate a project from ‘trash’ to ‘treasure.’
The Gift of Experience: Packaging Your DIY Creation
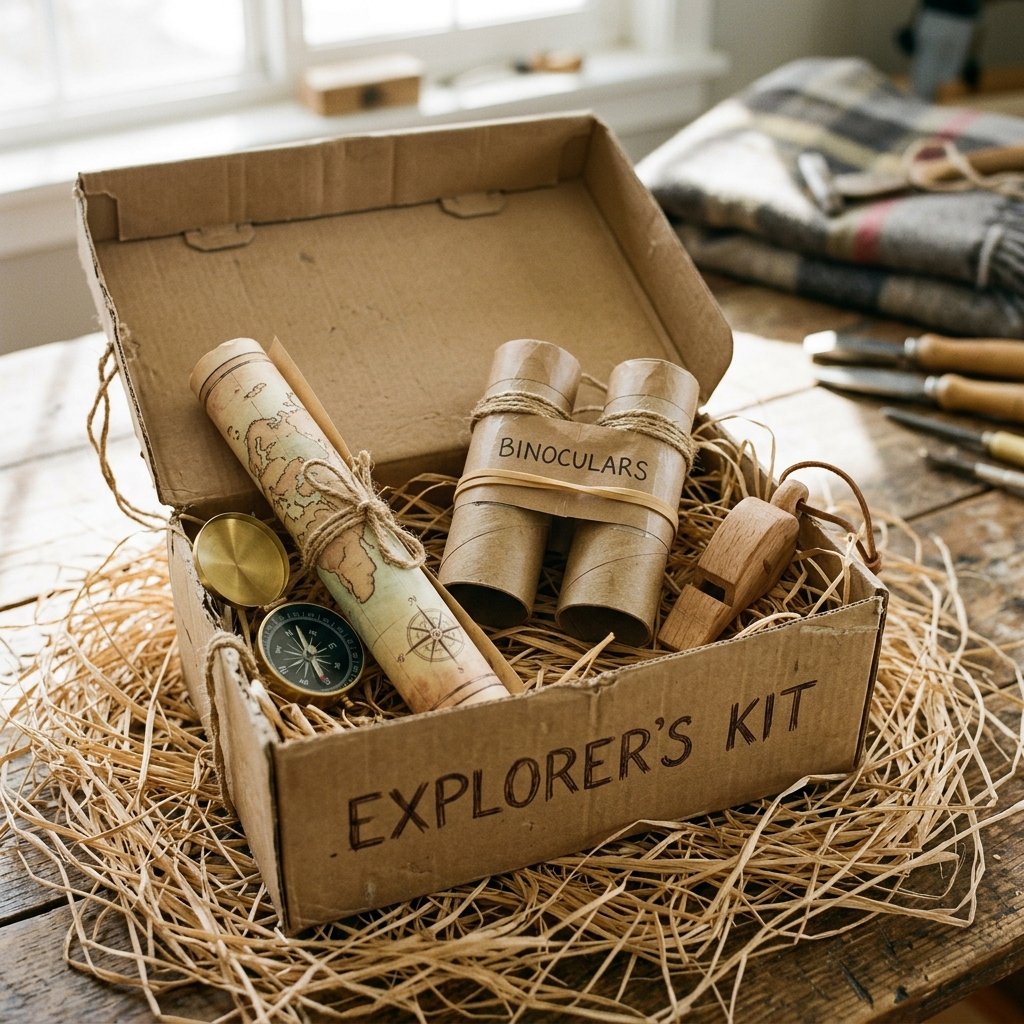
A Thoughtful Gift for Little Adventurers
If you are making these as a gift—perhaps for a birthday or a Father’s Day ‘Adventure Kit’—presentation is everything. Instead of just handing them over, create a ‘Survival Kit’ box. This is the ultimate move for the creative gift-giver on a budget. Use a small shoebox and line it with some shredded brown paper or dried leaves for an authentic explorer feel.
The Explorer Kit Contents
- The DIY Binoculars (The centerpiece).
- A small Compass (can also be made from a bottle cap!).
- A Magnifying Glass (Dollar Tree find).
- A Whistle for signaling ‘danger.’
- A Hand-Drawn Map of the local park or your backyard.
By framing the gift as an ‘Expedition Ready’ kit, you are giving the child more than just a toy; you are giving them a prompt for hours of screen-free play. It costs you nearly nothing, but the memory of the ‘first expedition’ is priceless. This is the essence of frugal, crafty expertise—maximizing impact while minimizing waste.
Conclusion
The Horizon Awaits
Creating these DIY Cardboard Binoculars is a reminder that we don’t need a massive budget to provide our children with massive adventures. With just two tubes, some glue, and a bit of clever ingenuity, you’ve built a tool that opens up a world of pretend play. You’ve practiced the art of upcycling, saved $15 or more on a store-bought alternative, and likely spent a high-quality afternoon with your little explorer. As a handy parent, your greatest tool isn’t your hammer or your drill—it’s your ability to see the potential in a piece of ‘trash.’ So, grab your binoculars, head out into the ‘wild’ of your backyard, and see what you can discover together. The world is a big place, and now your little one has the perfect view of it. Happy Exploring!

Makenzie is the founder and lead writer at MoneyHackTips.com — a personal finance blog dedicated to delivering street-smart financial wisdom for real people on real budgets. With 300+ published articles covering everything from debt management to investing fundamentals, Makenzie’s mission is to make every dollar work harder. When not writing about money hacks, Makenzie is testing frugal living strategies, optimizing side hustles, and helping readers build financial freedom from scratch.