
The Art of the High-Stakes Handout
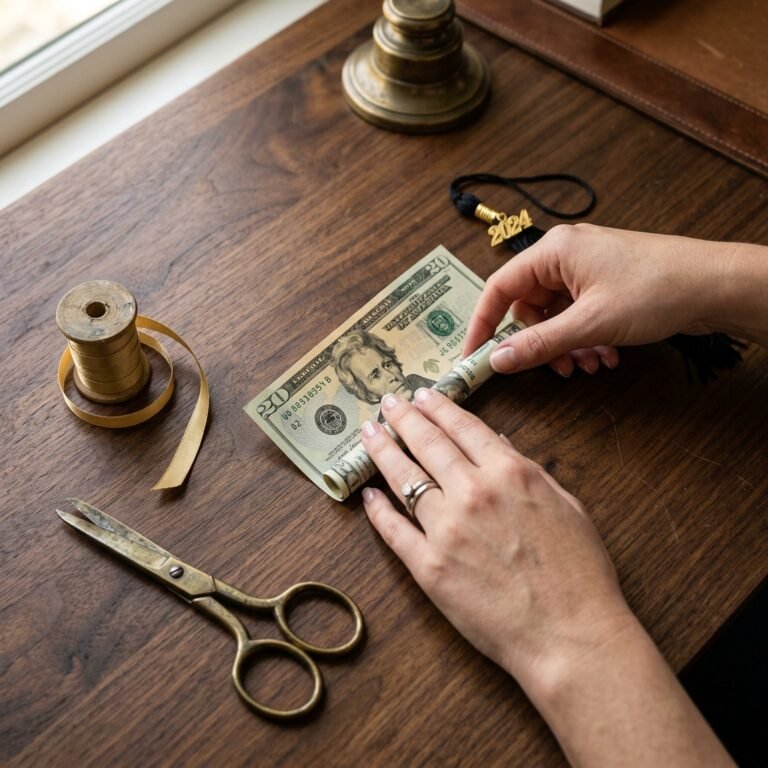
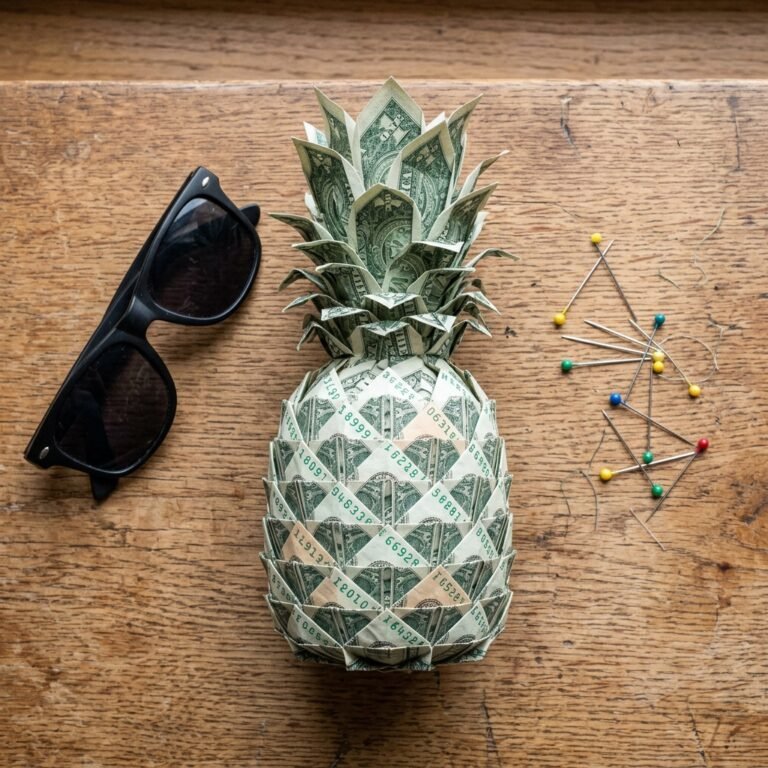
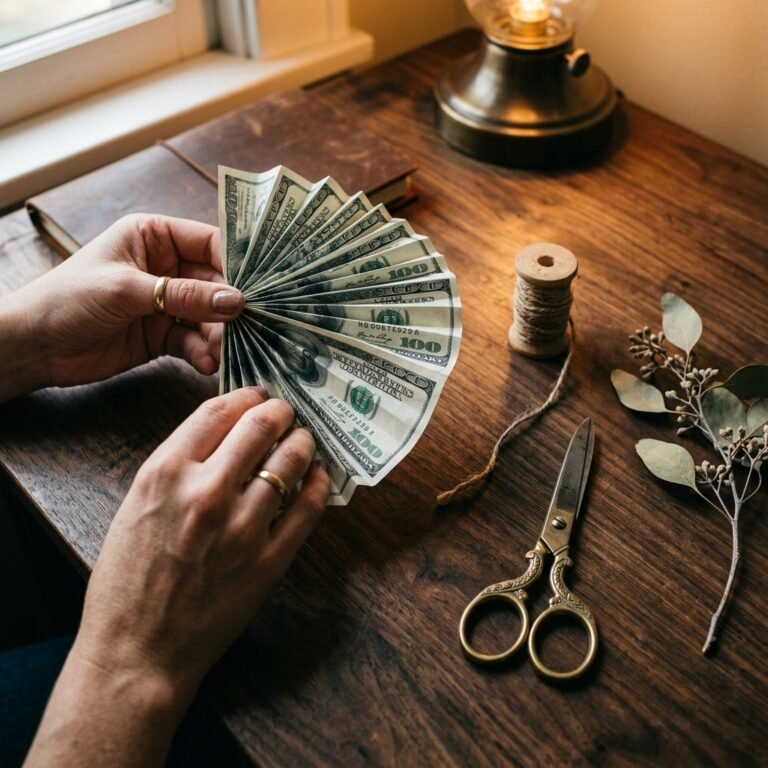
Let’s be honest: handing someone a plain white envelope with a $20 bill inside feels a bit like a business transaction. It’s practical, sure, but it lacks that ‘wow’ factor that makes a gift memorable. As frugal DIYers, we know that the best gifts aren’t just about the monetary value; they are about the effort, the creativity, and the clever presentation. That is where money origami comes into play. By transforming a flat piece of legal tender into a three-dimensional work of art, you are turning a simple currency exchange into a conversation piece.
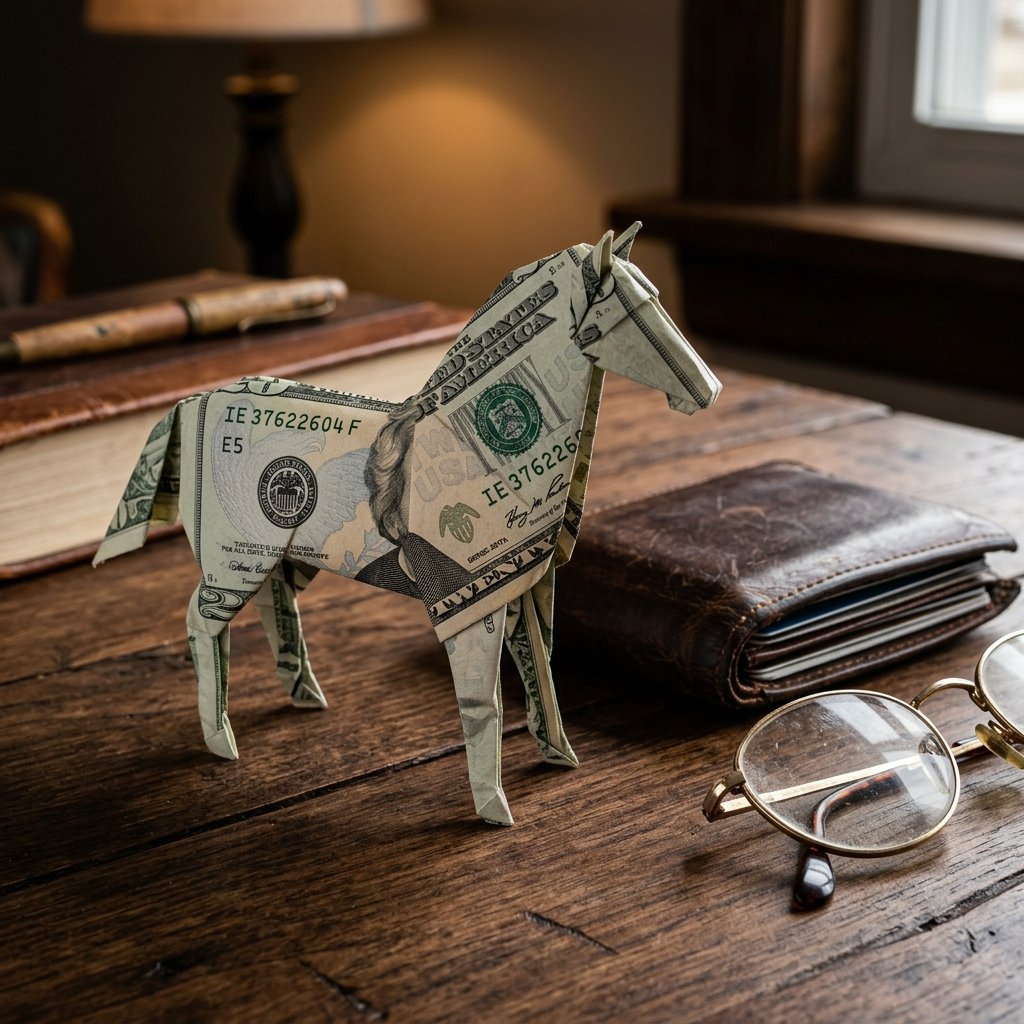
Today, we are tackling the origami horse. Why a horse? Because it represents strength, freedom, and a rugged elegance that suits everyone from a graduate heading out into the ‘wild’ world to a handy dad who appreciates the precision of a well-executed fold. Whether you are using a humble $1 bill or a high-impact $100, this tutorial will guide you through the process of creating a paper stallion that looks like it cost a fortune in time, even if it only took you 15 minutes to master.
Strategic Selection: Choosing Your Denomination
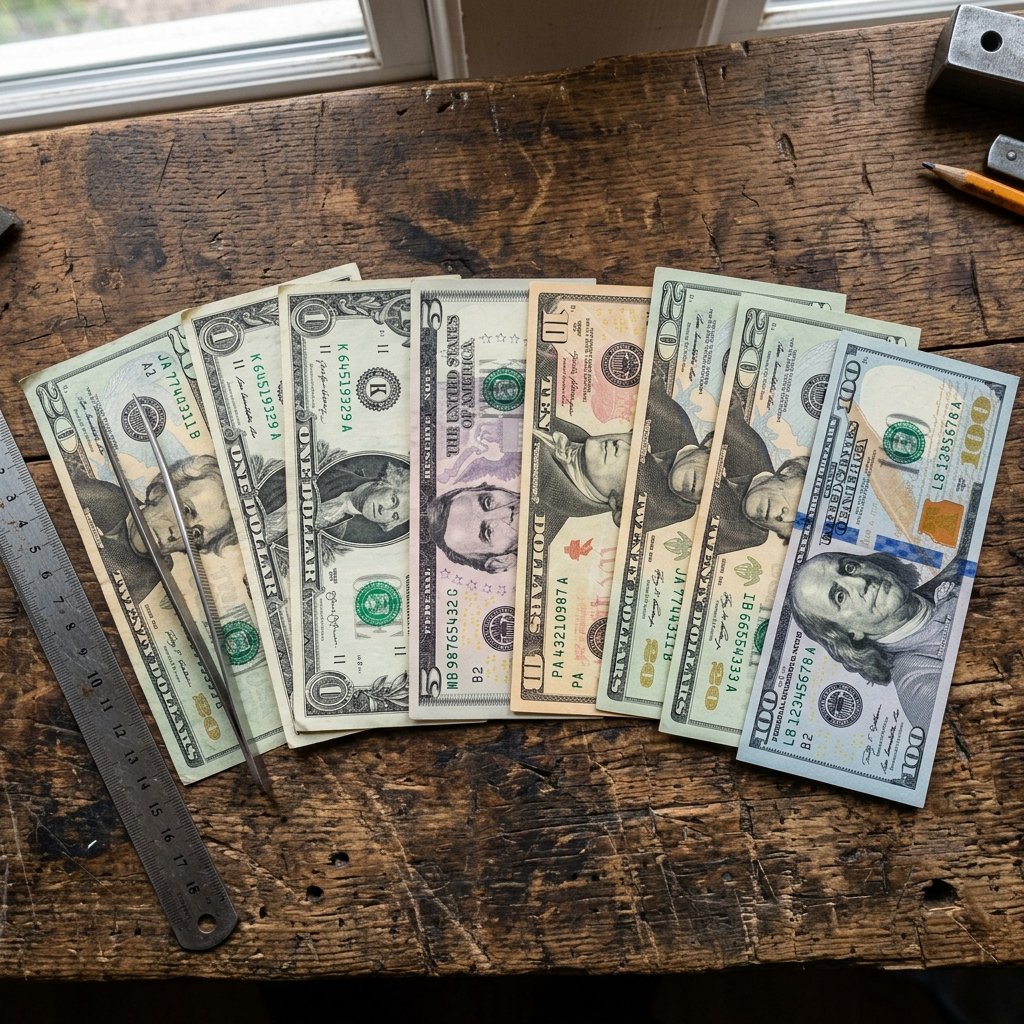
Before we start folding, we need to talk strategy. Not all bills are created equal when it comes to origami. While you can fold any denomination, the visual impact varies based on the color and the ‘crispness’ of the paper. A limp, wrinkled bill will result in a horse that looks more like a tired pony. For the best results, visit your bank and request new, crisp bills. The starch in new currency holds a crease significantly better than a bill that has been through a hundred vending machines.
Below is a matrix to help you decide which bill fits your gifting occasion and the visual impact you can expect:
| Bill Denomination | Visual Impact | Best Occasion |
|---|---|---|
| $1 Bill | Classic Greenery | Stocking stuffers or ‘just because’ gifts. |
| $5 Bill | Subtle Purple Hues | Small birthdays or ‘lunch on me’ gestures. |
| $10 Bill | Warm Gold Tones | Graduations or thank-you gifts. |
| $20 Bill | Deep Green Contrast | Weddings or significant milestones. |
| $50/$100 Bill | High Stakes Elegance | Major anniversaries or ‘The Big One’ gifts. |
Regardless of the value, the technique remains the same. The goal is to maximize the 100% free creative labor you put in to elevate the value of the cash itself.
The Toolkit: Essentials for Precision Folding
“A sharp fold is the difference between a masterpiece and a mess.” — The Budget-Savvy Crafter’s Motto
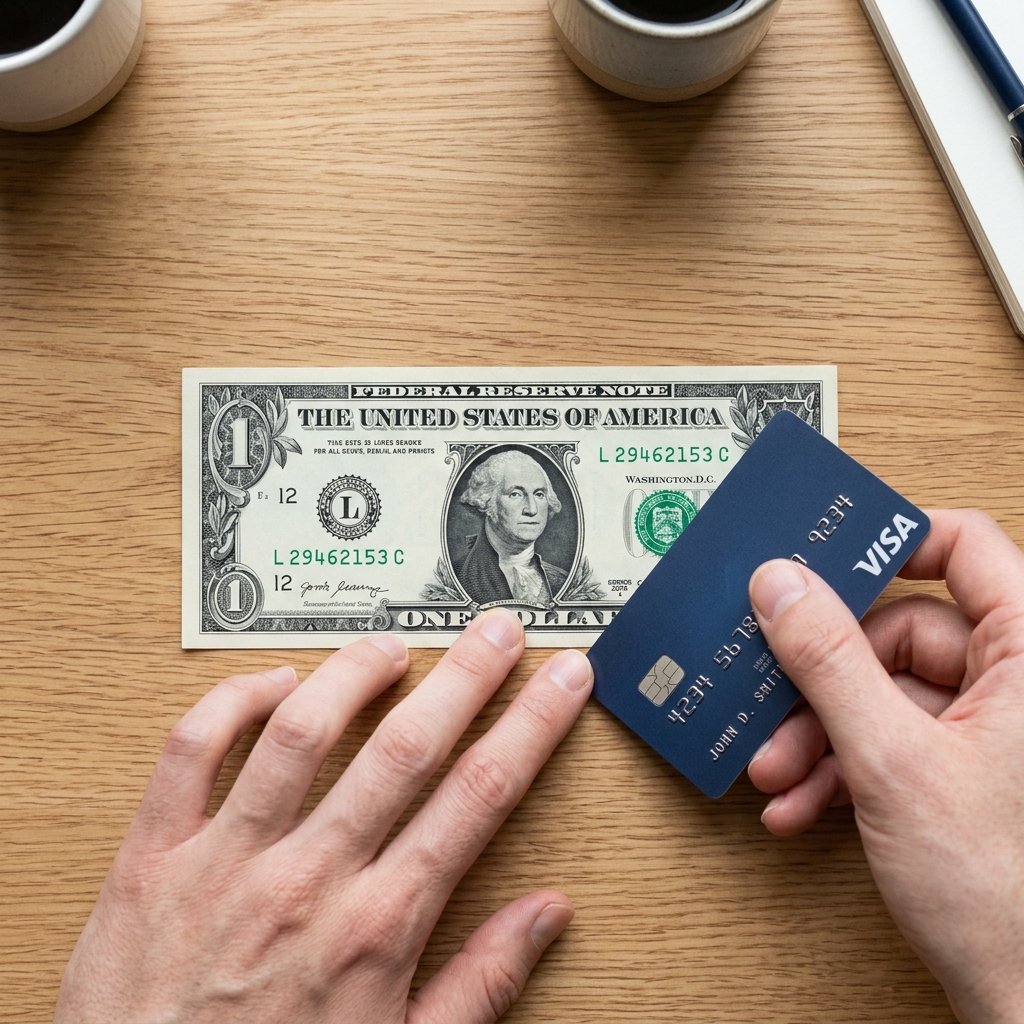
You don’t need a workshop full of tools, but a few household items will make your horse look professional rather than amateur. Because we are working with small surface areas, precision is key. If your fingers are a bit too rugged for delicate work, use a bone folder or the edge of a clean credit card to burnish your creases.
- A Crisp Bill: As mentioned, the newer the better.
- A Flat Surface: A hard table or desk is mandatory. Do not try to fold this in your lap!
- A Straight Edge: For those razor-sharp folds that make the horse stand on its own.
- Patience: Budget 10 to 20 minutes for your first attempt.
Safety Note: Never use tape, glue, or staples on the bill. Not only does this make it difficult for the recipient to eventually spend the money, but it can also technically be considered defacing currency. A true origami master relies solely on the integrity of the fold.
Step-by-Step: Breaking the Stallion
Follow these steps carefully. If you make a mistake, don’t panic—just unfold, flatten the bill, and try again. The beauty of cotton-linen blend currency is its durability.
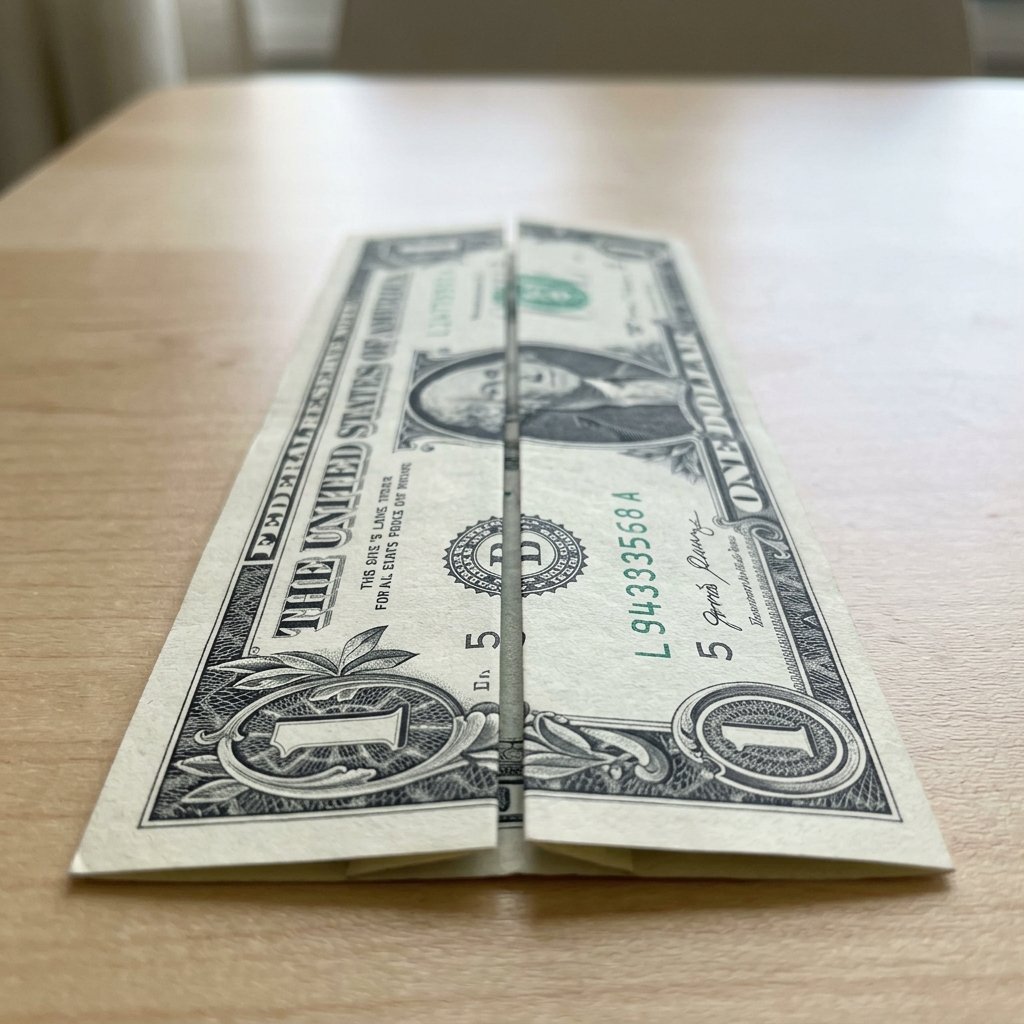
- The Initial Vertical Fold: Lay the bill horizontally. Fold it in half lengthwise (hot dog style), then unfold it to create a center crease.
- The Cabinet Fold: Fold the top and bottom edges inward to meet at that center crease. Your bill should now be a long, skinny rectangle.
- The Halfway Mark: Fold the bill in half widthwise (hamburger style) to find the center point, then unfold.
- Creating the Neck: Take the right side of the bill and fold it upwards at a 45-degree angle from the center point. This will eventually become the horse’s neck and head.
- Forming the Rear: Take the left side and fold it downwards at a slight angle to create the hindquarters.
- The Leg Work: This is the trickiest part. You will need to perform ‘inside reverse folds’ on the ends of the bill to create the front and back legs. Fold the tips inward and downward so the horse can stand.
- The Head Tuck: At the very top of the ‘neck’ section, fold the tip downward and inward to create a blunt nose and ears.
- Final Grooming: Pinch the spine of the horse to give it body and ensure the legs are symmetrical so it stands upright without wobbling.
Once finished, you should have a sturdy, 3D money horse that stands approximately 2 inches tall. It’s a rugged little sculpture that commands respect.
Presentation: Stabling Your Gift
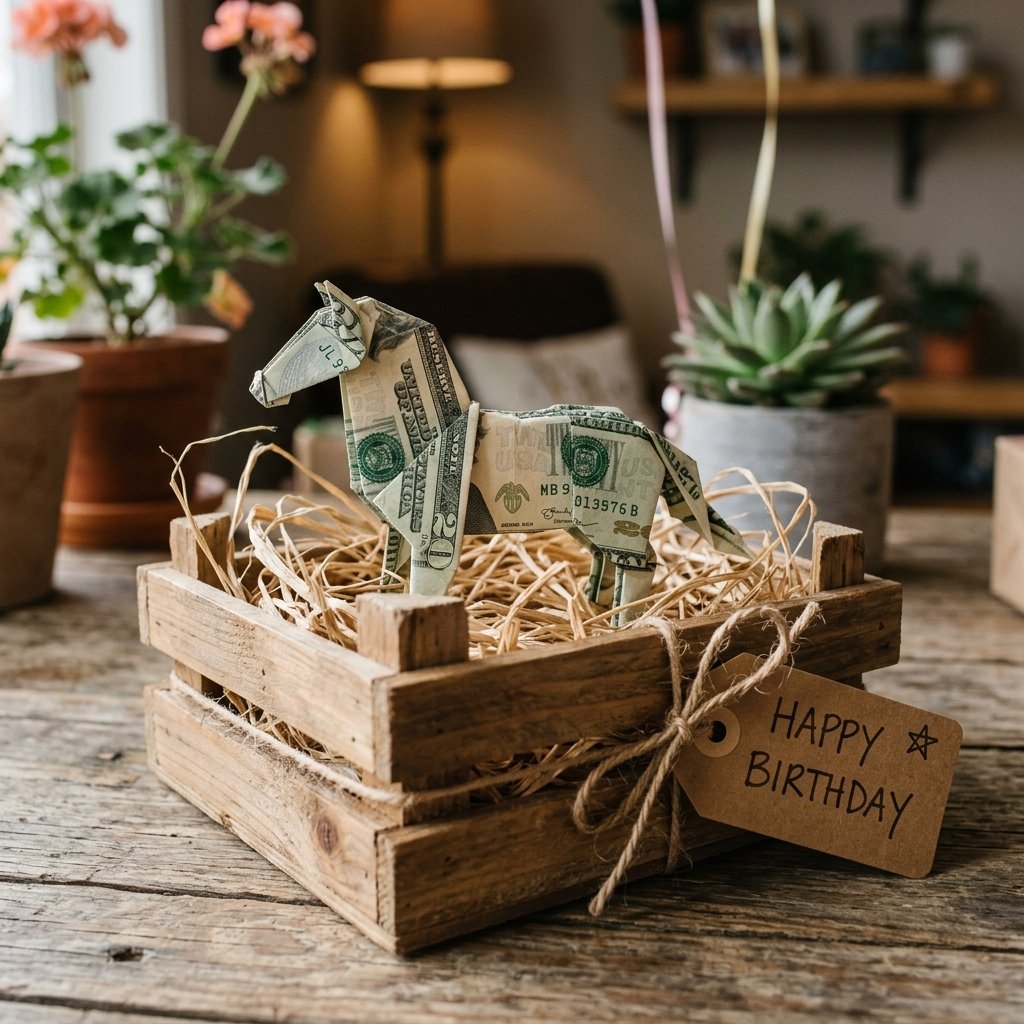
Now that you’ve folded a masterpiece, don’t just toss it back into an envelope. Presentation is where the resourceful crafter truly shines. You want to create a ‘scene’ for your gift. This adds perceived value and shows the recipient you didn’t just throw this together at the last second.
Creative Display Ideas:
- The Matchbox Stable: Decorate a large matchbox with craft paper or a bit of twine to look like a tiny barn. Place the horse inside on a bed of shredded brown paper (to look like hay).
- The Shadow Box: For a wedding or a major graduation, place the money horse inside a small shadow box with a backdrop of a vintage map.
- The Greeting Card Pasture: Cut a small slit in the front of a card and tuck the horse’s legs into it so it looks like it is running across the card’s design.
By spending just $1 or $2 on a box or some twine, you’ve increased the ‘gift experience’ by tenfold. That is the definition of being budget-savvy.
Troubleshooting & Expert Tips
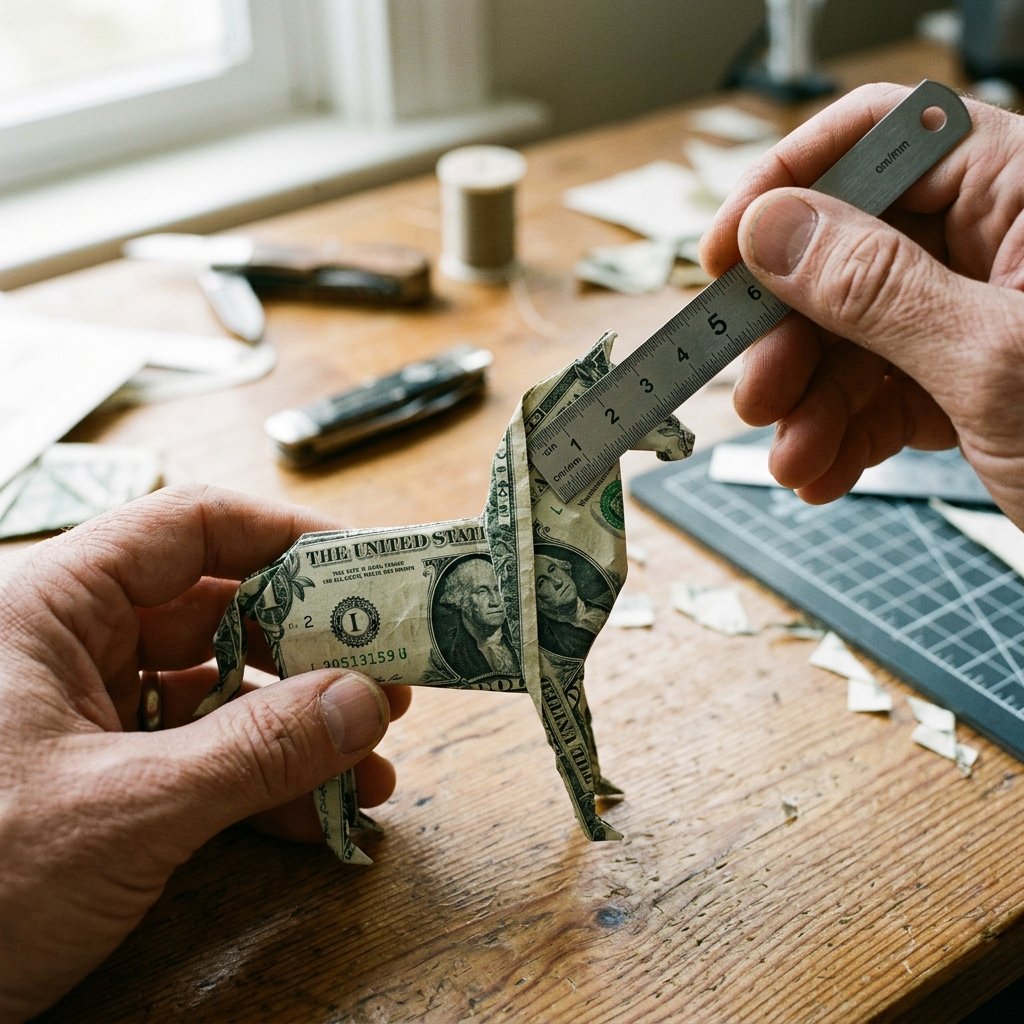
Is your horse looking more like a crumpled napkin? Don’t worry, even the pros have ‘bad fold days.’ Here is how to fix common issues without spending a dime.
| Problem | The Fix |
|---|---|
| Soggy Legs | The bill is too old. Try lightly dampening the folds and pressing them under a heavy book for 1 hour. |
| Wobbly Stance | Check your symmetry. Ensure the ‘inside reverse folds’ on the legs are at the exact same height. |
| Unfolding Head | Give the head fold a very firm pinch with your fingernails or a pair of pliers (carefully!) to set the memory of the paper. |
“In the world of DIY, persistence is your most valuable currency.” — The Crafty Expert
If you are struggling with the small size of a bill, practice first with a piece of printer paper cut to the same dimensions (6.14 x 2.61 inches). This allows you to see the folds clearly without worrying about damaging your cash.
Conclusion
The Finishing Gallop
Folding a money origami horse is more than just a clever trick; it is a way to show the people in your life that they are worth the extra time and effort. In a world of digital transfers and boring gift cards, a hand-folded stallion stands out as a testament to your resourcefulness and creativity. Whether you’re a parent looking to make a tooth-fairy visit extra special or a friend looking for a rugged, masculine way to gift cash, this tutorial gives you the tools to succeed.
Remember, the best gifts don’t have to be expensive—they just have to be cleverly delivered. Now, grab a crisp bill, find a flat surface, and start folding. Your next gift is sure to be a winner! Happy crafting!

Makenzie is the founder and lead writer at MoneyHackTips.com — a personal finance blog dedicated to delivering street-smart financial wisdom for real people on real budgets. With 300+ published articles covering everything from debt management to investing fundamentals, Makenzie’s mission is to make every dollar work harder. When not writing about money hacks, Makenzie is testing frugal living strategies, optimizing side hustles, and helping readers build financial freedom from scratch.