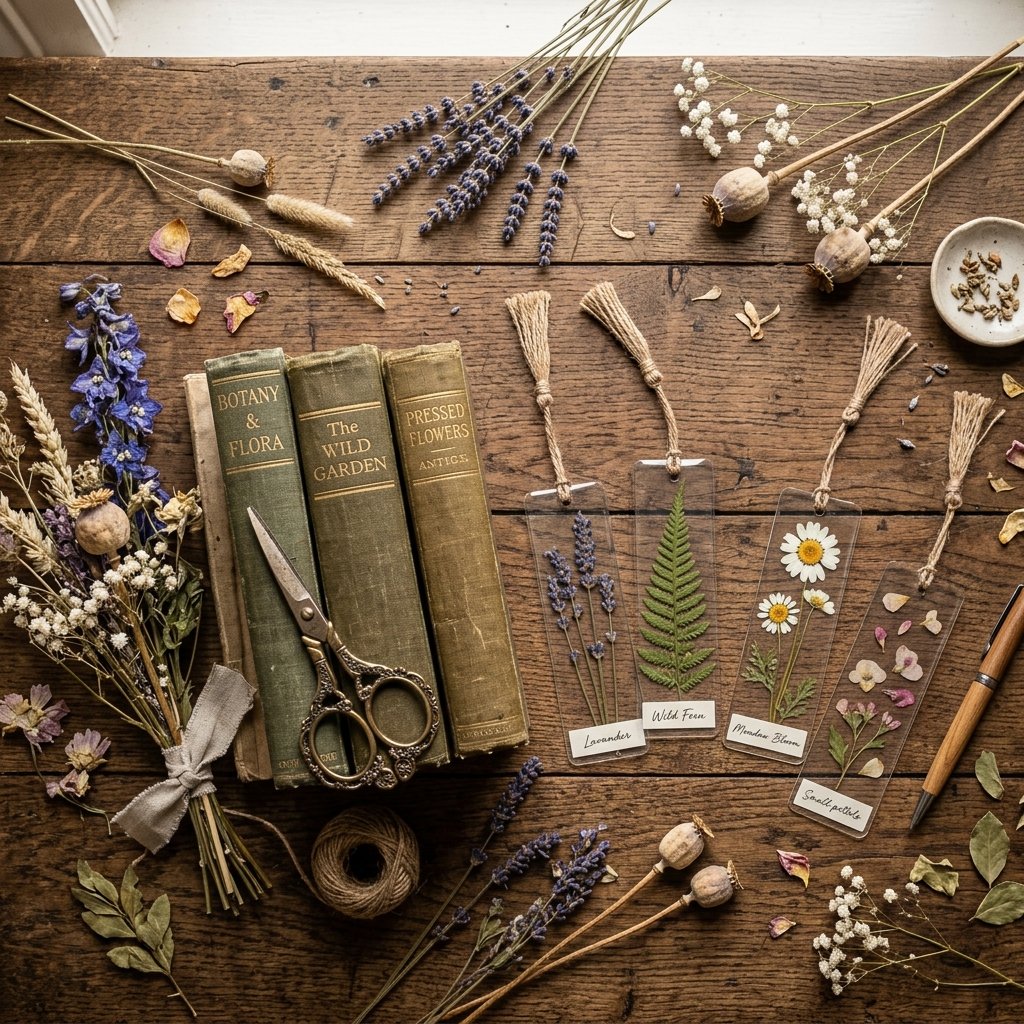

In a world of mass-produced plastic, there is something profoundly sophisticated and resourceful about a gift that literally grows from the earth. As a dedicated trash-to-treasure guru, I’ve found that the most cherished gifts aren’t the ones that break the bank, but the ones that capture a moment in time. Whether you are a budget-savvy crafter looking to clear out your scrap bin or a handy parent teaching your kids the value of nature, this dried flower bookmark project is your secret weapon. We are going to take the humble wildflower—or even those slightly wilted grocery store petals—and turn them into a masculine-elegant or vintage-chic accessory that any bookworm would be proud to tuck into their favorite hardback. Best of all? We are doing this for nearly $0 using items you likely already have in your junk drawer.
The Botanical Bounty: Sourcing Materials for Pennies
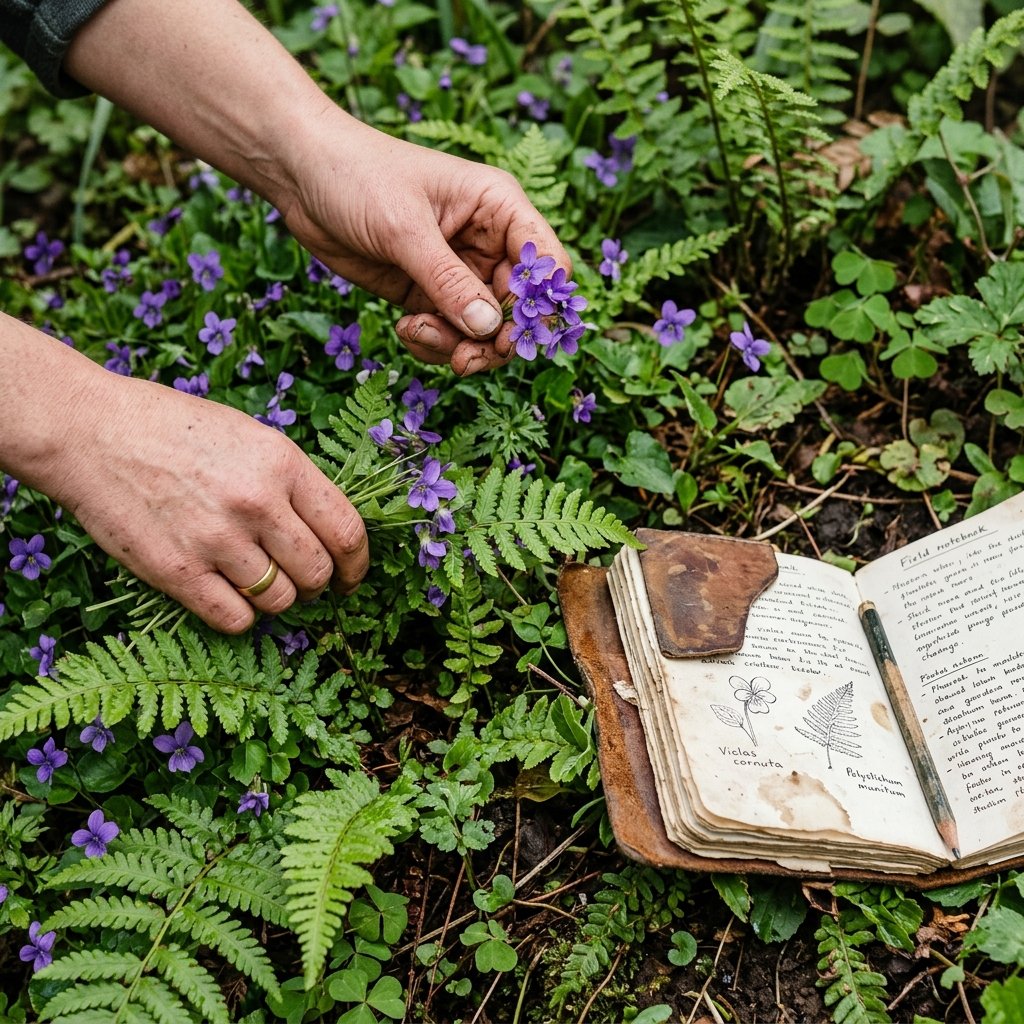
Before we dive into the assembly, we need to talk about the ‘inventory.’ You don’t need a florist’s budget for this. In fact, the best specimens are often found in your own backyard or on the edges of a local park. Look for flowers with a naturally flat profile—think pansies, violas, Queen Anne’s Lace, or even clover. If you’re working with thicker blooms like roses, we simply use the petals. This is upcycling at its finest: giving a second life to nature’s temporary beauty.
| Material Item | DIY Source / Upcycle Trick | Estimated Cost |
|---|---|---|
| Flowers/Greenery | Backyard, Sidewalk, or Old Bouquets | $0.00 |
| Base Cardstock | Old Greeting Cards or Cereal Boxes | $0.00 |
| Clear Overlay | Clear Packing Tape or Contact Paper | $0.10 |
| Tassel/String | Leftover Yarn or Jute Twine | $0.05 |
| Total Per Gift | Resourceful Sourcing | ~$0.15 |
When compared to a boutique bookstore price of $12.00 to $18.00, you are achieving a 99% savings while delivering a product with significantly more heart and character.
The ‘Old School’ Press vs. The ‘Modern Hustle’: Drying Techniques
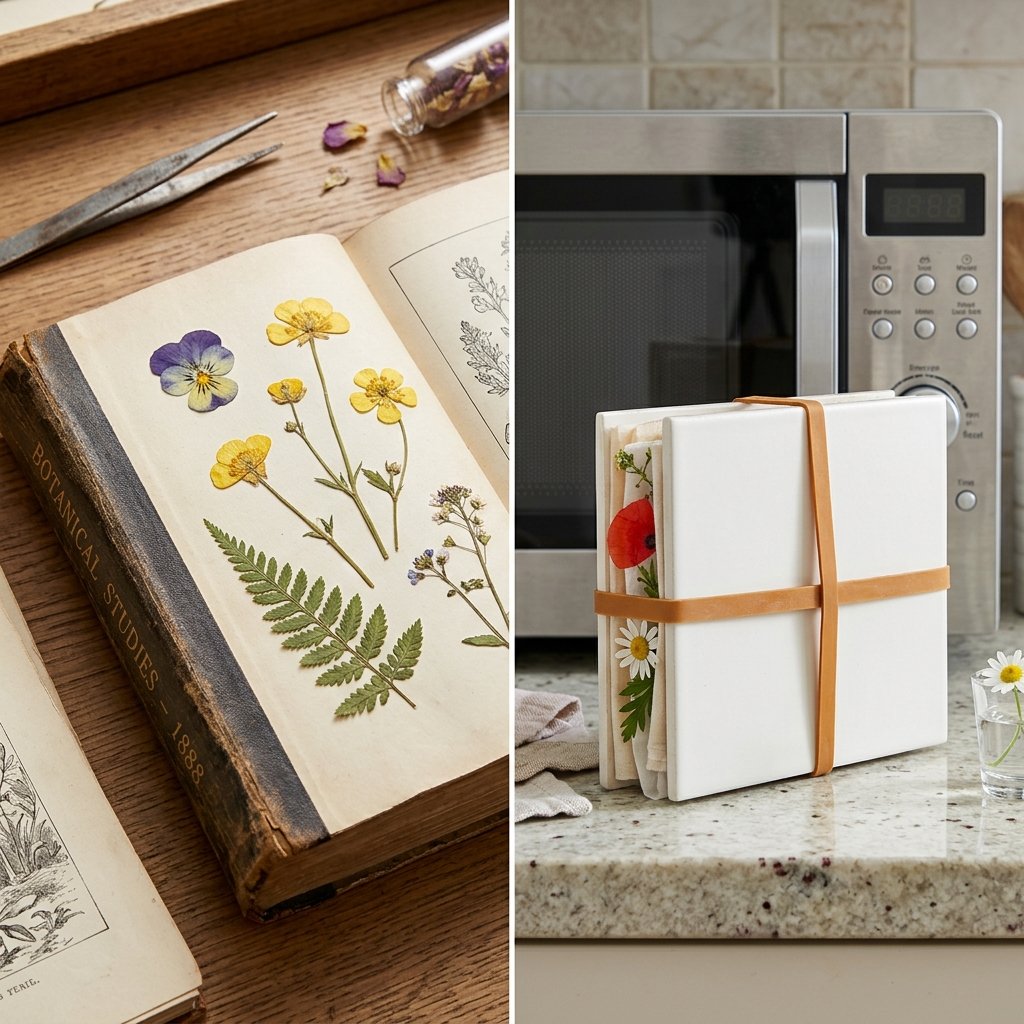
To get that professional, crisp look, your flowers must be moisture-free. Moisture is the enemy of the frugal crafter; it leads to mold and browning. I recommend two primary methods depending on your timeline. The ‘Old School’ method is the rugged, patient approach, while the ‘Modern Hustle’ gets you gifting in minutes.
The Heirloom Press Method
- Place your flowers between two sheets of parchment paper (or plain printer paper).
- Tuck them inside the heaviest book you own—think an old dictionary or an unused encyclopedia.
- Stack 3-5 more heavy books on top.
- Wait 7 to 14 days. This results in the best color retention.
The Microwave Quick-Dry Hack
“For the crafter in a hurry: Sandwich your flowers between two ceramic tiles held together by rubber bands, with paper towels inside. Microwave in 20-second bursts at 50% power until the petals feel like tissue paper.”
Always ensure your flowers are 100% dry before sealing. Even a hint of dampness will ruin the bookmark over time. This is where your crafty expertise shines—knowing when the material is perfectly cured.
The Master Blueprint: Assembling Your Botanical Bookmark
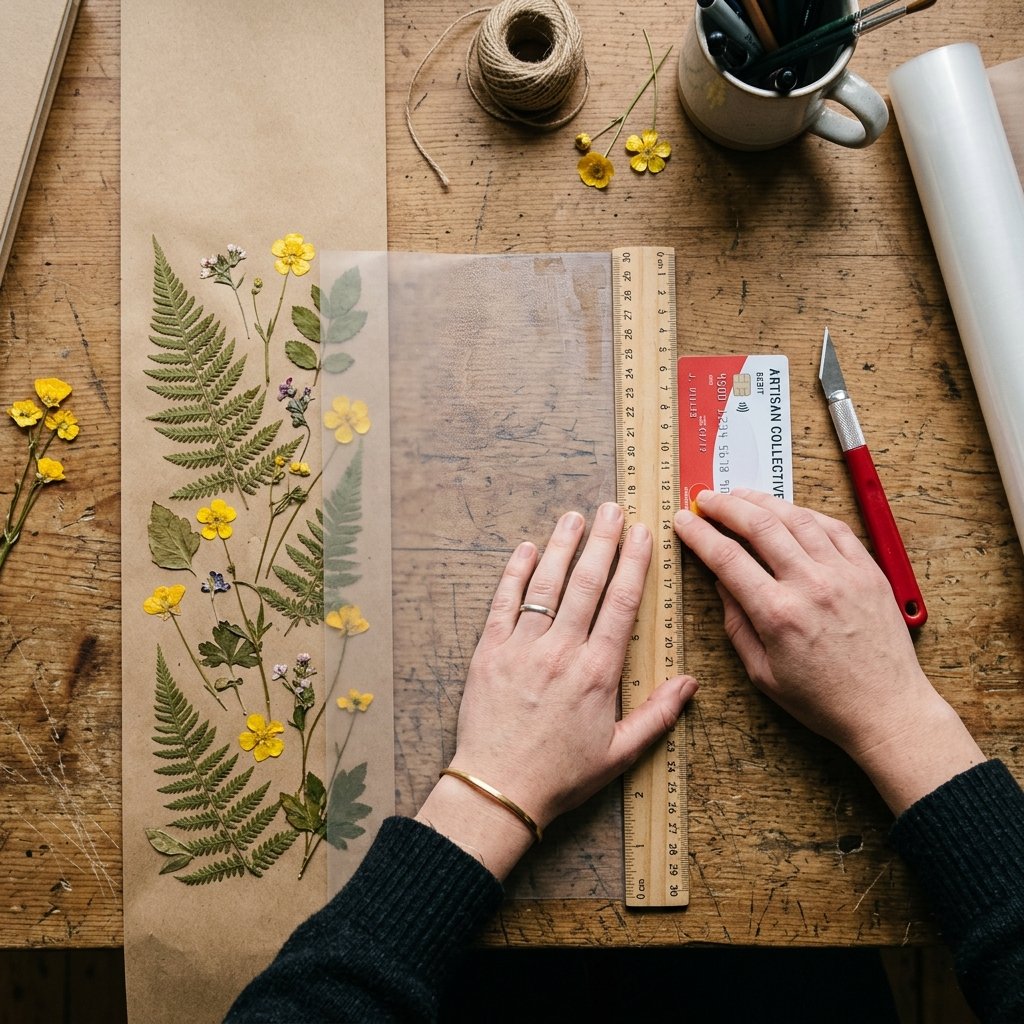
Now we get to the handy part. This is where we combine our pressed specimens with a sturdy base. For a masculine-elegant look, use kraft paper or the inside of a clean cardboard box. For something more whimsical, use white cardstock or even a page from a discarded, damaged book.
- Measure and Cut: Cut your base material to 2 inches by 6 inches. This is the standard ‘sweet spot’ for most novels.
- The Layout: Arrange your dried flowers on the cardstock. Use a tiny dot of glue (a toothpick is perfect for this) just to hold them in place. Pro Tip: Don’t over-glue; the moisture can discolor the petals.
- The Seal: Carefully apply clear contact paper or wide packing tape over the top. Start from one end and smooth it down with a credit card to avoid air bubbles.
- The Trim: Flip it over and trim the excess tape with a sharp craft knife or scissors for a flush, professional edge.
- The Punch: Use a hole punch at the top center, roughly 0.25 inches from the edge.
This process takes approximately 10 minutes once your flowers are dry, making it the perfect ‘assembly line’ project for holiday gifting.
The Boutique Finish: Tassels and Packaging on a Dime
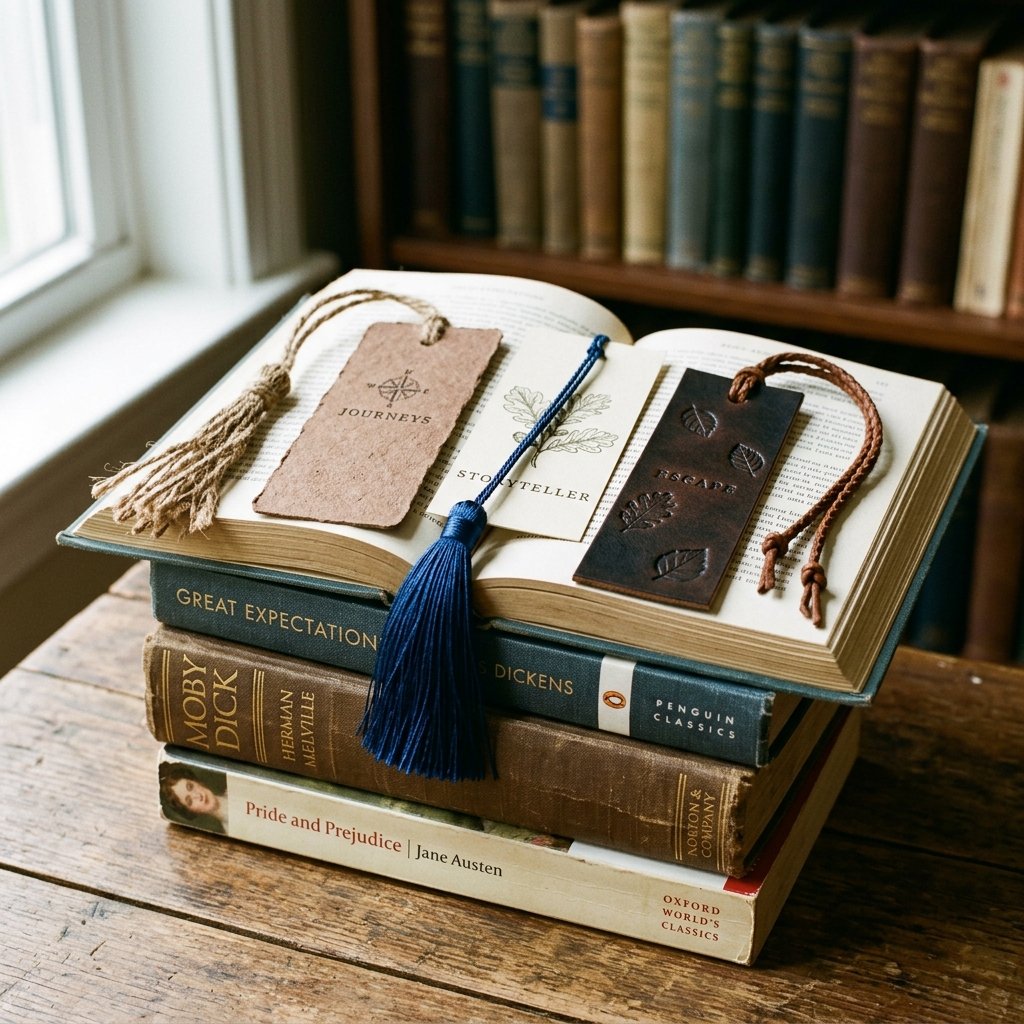
A bookmark without a tassel is just a strip of paper. To give this a high-end boutique feel, we need a tactile element. This is where you can flex your creative, budget-savvy muscles. Instead of buying pre-made tassels, we make our own using scraps.
Custom Tassel Ideas
- Rugged Jute: Use natural twine for a rustic, outdoorsy vibe.
- Embroidery Floss: Use 6-strand floss for a silky, colorful finish that matches the flowers.
- Leather Scraps: A thin strip of leather or suede cord adds a masculine-elegant touch.
“The Secret Loop: Fold your 10-inch cord in half, push the loop through the hole from back to front, then pull the loose ends through the loop and tug tight. This creates a clean, ‘no-knot’ look that stays flat inside the book.”
For packaging, slide the bookmark into a simple envelope made from a brown paper grocery bag. Stamp it with the name of the flower or a clever book-related quote to elevate the presentation from ‘homemade’ to ‘handcrafted masterpiece.’
Conclusion
Creating the perfect gift doesn’t require a trip to a luxury department store; it requires a resourceful eye and a bit of crafty patience. By following this tutorial, you’ve turned free natural elements and scrap materials into a thoughtful, functional piece of art. Whether you’re gifting these for Father’s Day with a rugged leather cord or as a budget-friendly wedding favor, you are proving that frugal DIY can be incredibly sophisticated. Now, go raid your garden, crack open those heavy books, and start pressing! Your favorite bookworm—and your wallet—will thank you.

Makenzie is the founder and lead writer at MoneyHackTips.com — a personal finance blog dedicated to delivering street-smart financial wisdom for real people on real budgets. With 300+ published articles covering everything from debt management to investing fundamentals, Makenzie’s mission is to make every dollar work harder. When not writing about money hacks, Makenzie is testing frugal living strategies, optimizing side hustles, and helping readers build financial freedom from scratch.