
The Timeless Appeal of the Upcycled Suitcase
There is something inherently romantic about a vintage suitcase. It evokes images of grand voyages, steam engines, and the beginning of a new journey—a perfect metaphor for a wedding day. However, if you have browsed wedding boutiques or high-end artisan sites lately, you have likely seen these charming card boxes retailing for $75 to $150. As a resourceful DIYer, you know better. Why pay a premium for someone else’s ‘find’ when you can rescue a piece of history yourself for under $15? This tutorial is designed for the budget-savvy couple who appreciates the rugged elegance of aged leather and the crafty satisfaction of a weekend project. We are going to take a piece of discarded luggage and transform it into a sophisticated centerpiece for your gift table that guests will be talking about long after the cake is cut.
| Material | Source | Estimated Cost |
|---|---|---|
| Vintage Suitcase | Thrift Store / Attic | $5 – $15 |
| Fabric for Lining | Remnant Bin / Old Sheet | $0 – $5 |
| Cardstock & Twine | Craft Drawer | $2 |
| Cleaning Supplies | Kitchen Pantry | $0 |
| Total Project Cost | Resourceful DIY | $7 – $22 |
The Hunt: Sourcing the Perfect Diamond in the Rough
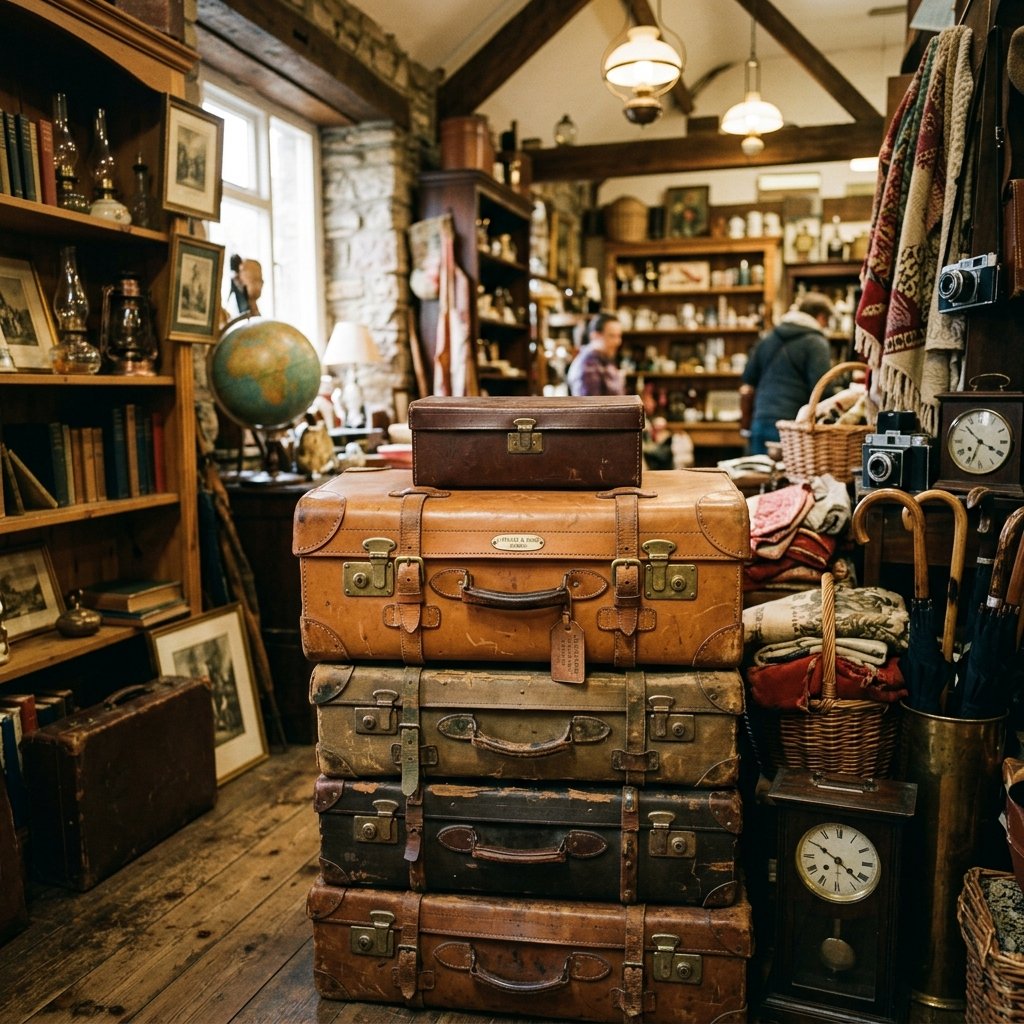
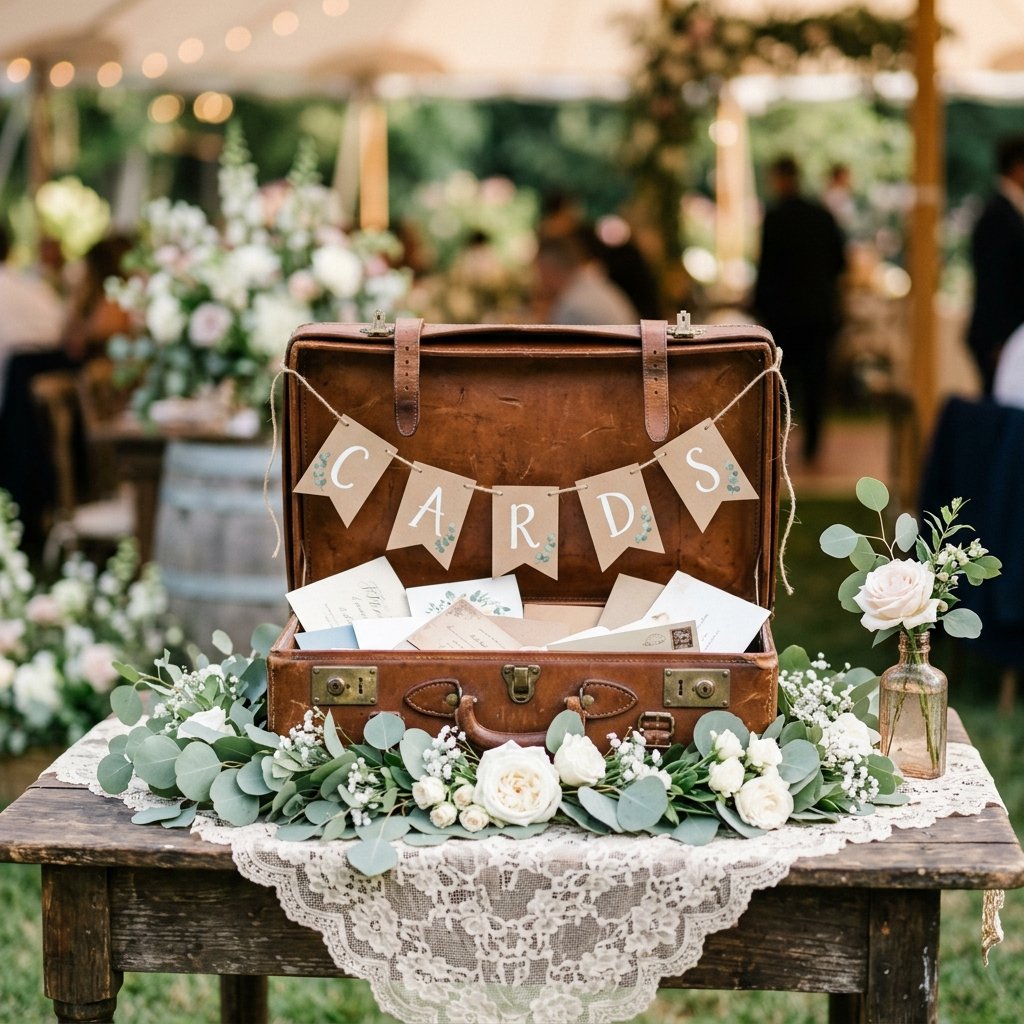
The foundation of this project is the suitcase itself. You aren’t looking for a modern rolling bag; you want character. Look for hard-shell cases from the 1940s through the 1960s. These often feature beautiful brass latches, reinforced corners, and a sturdy structure that holds its shape. Visit local thrift stores, estate sales, or even your grandparents’ attic. Don’t be deterred by a bit of dust or a musty smell—we will tackle those shortly. Focus on the integrity of the frame and the functionality of the latches. If the suitcase doesn’t stay open on its own, it can be fixed, but a broken hinge is a much more difficult repair for a quick DIY.
What to Look For:
- Hard-Sided Construction: Provides a stable base for cards and decor.
- Small to Medium Size: A ‘vanity case’ or ‘train case’ is often the perfect size for a guest list of 100-150.
- Unique Hardware: Brass or nickel-plated latches add an instant touch of masculine elegance.
- Texture: Look for tweed, faux-alligator, or worn leather finishes.
Budget Mantra: A little bit of grime is just a discount in disguise. If it’s ugly but structurally sound, it’s a winner.
Reclaiming History: Deep Cleaning and Deodorizing
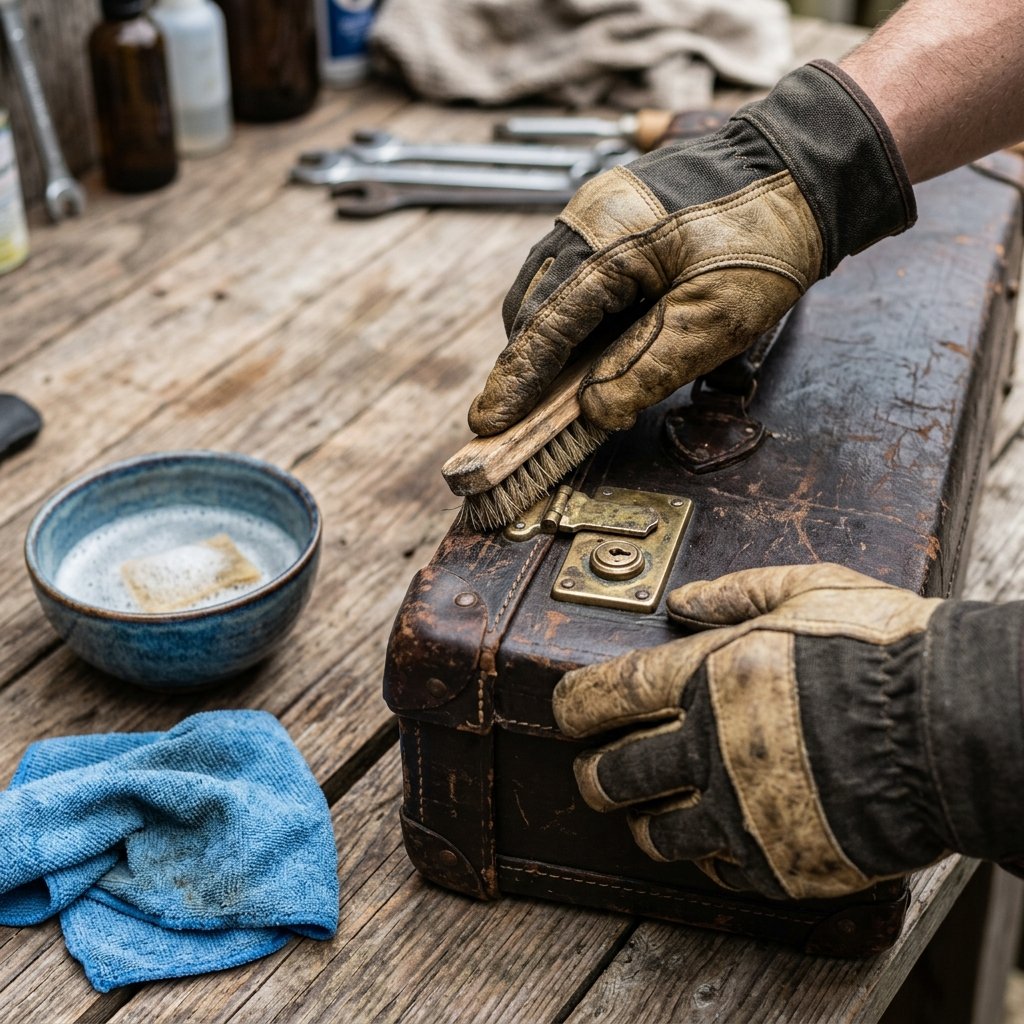
Old suitcases often carry the scent of decades spent in a basement. To make this wedding-ready, we need to strip away the ‘old’ without losing the ‘vintage.’ Start by vacuuming the interior thoroughly. If the original paper or fabric lining is torn or badly stained, your best bet is to remove it entirely using a putty knife. This gives you a clean slate. For the exterior, a simple solution of mild dish soap and warm water works wonders on most surfaces. If you are dealing with real leather, use a dedicated leather cleaner or a tiny amount of saddle soap to restore the oils and prevent cracking.
The Deodorizing Process:
- The Baking Soda Blast: Sprinkle a generous amount of baking soda inside the case and close it for 48 hours.
- The Vinegar Wipe: For stubborn smells, wipe the interior with a 1:1 ratio of white vinegar and water.
- Sunlight Therapy: Leave the suitcase open in a sunny, dry spot for a full afternoon. UV rays are excellent at neutralizing odors.
Safety Note: When removing old glue or linings, wear a simple dust mask to avoid inhaling aged adhesive particles.
Exterior Refinement: From Scuffed to Sophisticated
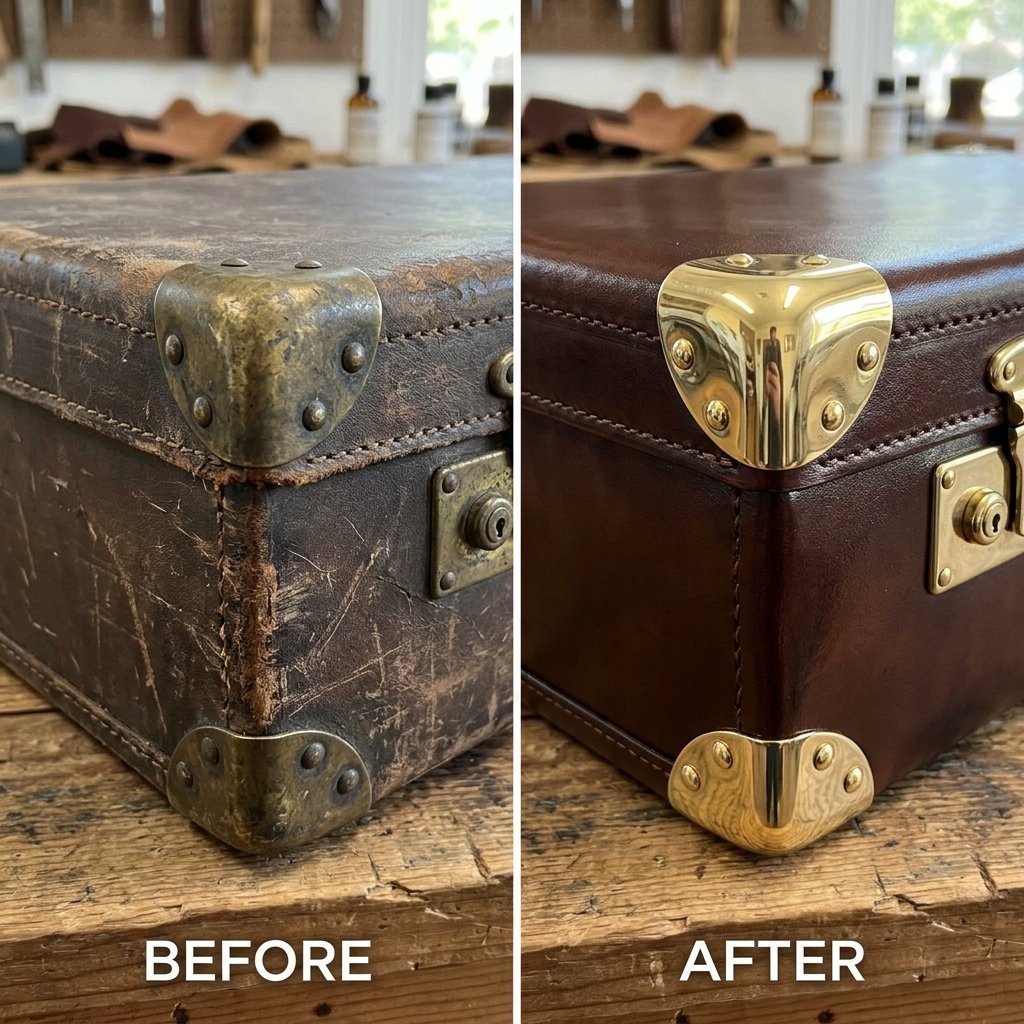
Once clean, you can decide how much ‘patina’ you want to keep. Some DIYers prefer the rugged, beat-up look, while others want a polished finish. If the exterior color doesn’t match your wedding palette, chalk paint is your best friend. It adheres to almost any surface—leather, vinyl, or wood—without the need for heavy sanding. For a masculine-elegant look, consider a deep navy, forest green, or a classic slate grey. If you love the original color but it looks dull, a coat of clear wax will bring back the luster and provide a protective seal.
Hardware Polishing:
Don’t ignore the metalwork. Use a bit of extra-fine steel wool (0000 grade) or a dedicated metal polish to scrub the latches. You don’t want them to look brand new; you want them to look cared for. If the metal is pitted, you can even use a metallic gold or silver wax (like Rub ‘n Buff) to highlight the details and cover imperfections. This small step adds a ‘high-end’ feel that separates a DIY project from a professional-looking piece of decor.
Interior Transformation: Lining and Card Slot Engineering
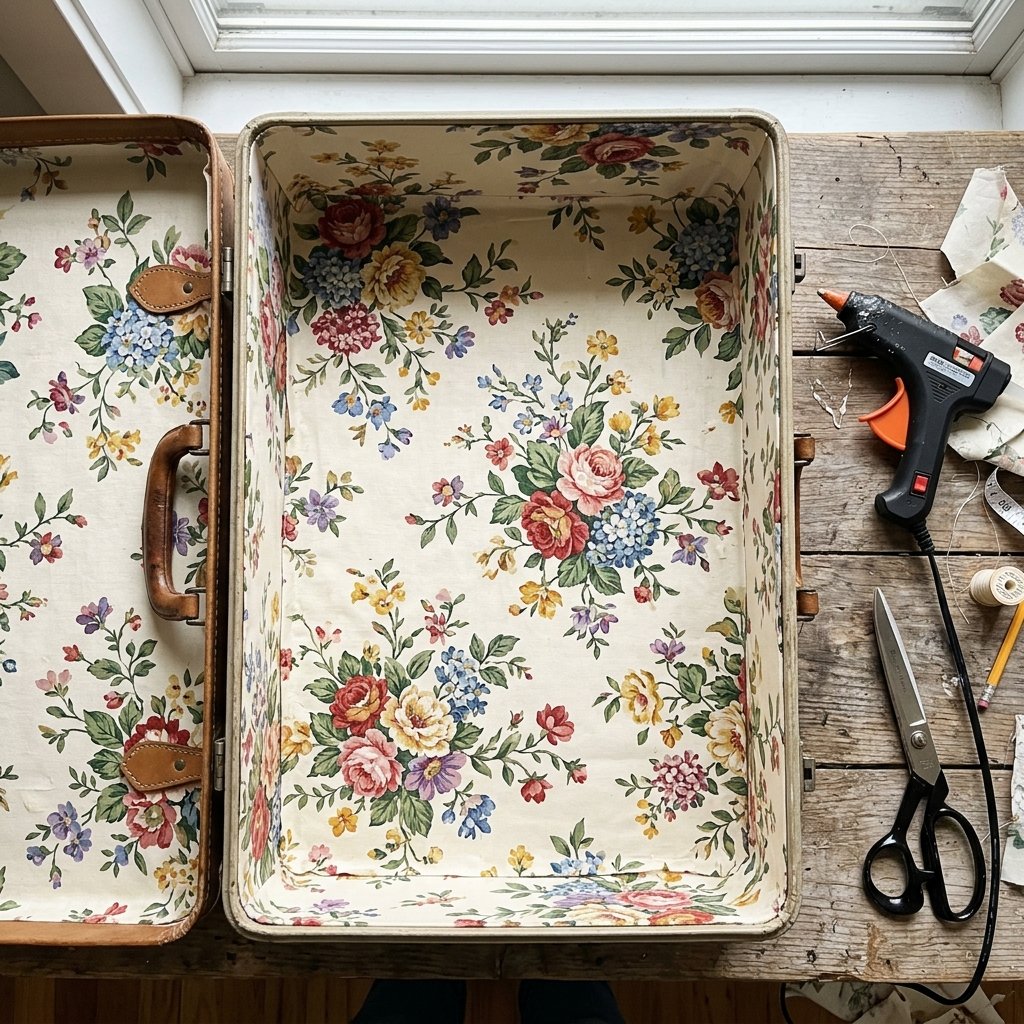
The interior is where the magic happens. Since the suitcase will be open during the reception, the inside needs to be as beautiful as the outside. If you removed the old lining, you can now replace it with fabric that matches your wedding colors. Linen, lace, or even a vintage map make excellent liners. Use a spray adhesive for a smooth, professional finish. To ensure the suitcase stays open at the perfect angle, you may need to attach a small length of ribbon or twine between the lid and the base to act as a ‘stop.’
Creating the Card Slot (Optional):
Some couples prefer to keep the suitcase closed and cut a slot in the top. However, for a truly vintage look, we recommend keeping it propped open. This allows guests to see the beautiful interior and makes it easier to retrieve cards later. If you choose the open-lid method, ensure you have a weighted object in the bottom (like a few heavy books hidden under the lining) to prevent the suitcase from tipping backward when it’s empty.
- Step 1: Measure the interior panels.
- Step 2: Cut cardboard templates to fit.
- Step 3: Wrap fabric around the templates and secure with hot glue.
- Step 4: Press the fabric-covered panels into the suitcase for a snug, custom fit.
The Finishing Touches: Signage and Styling Secrets
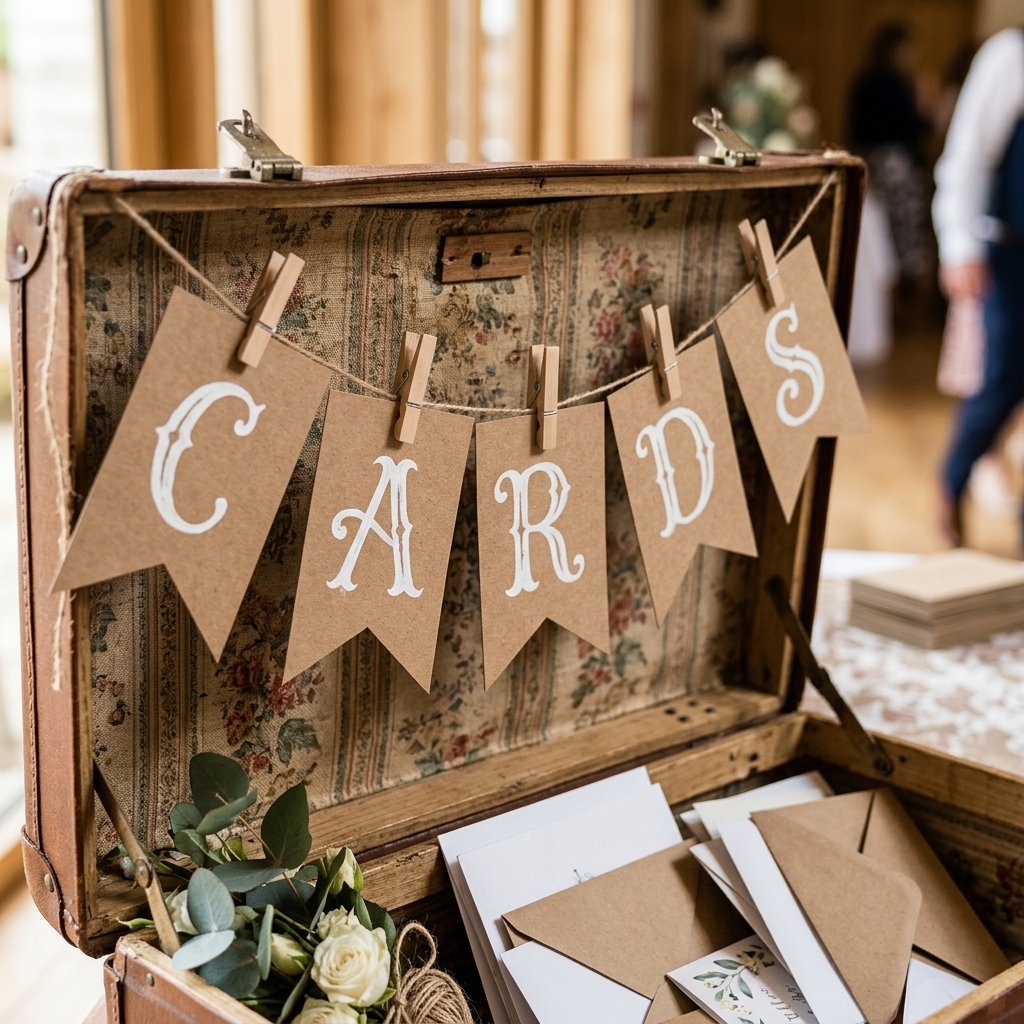
Now for the ‘Absolutely Charming’ part. You need to clearly identify the suitcase as the card box. A popular and budget-friendly method is a mini-bunting banner. Use small triangles of cardstock or burlap, stamp them with the letters C-A-R-D-S, and string them across the inside of the lid using tiny clothespins or a few dabs of glue. For a more sophisticated look, use a vintage picture frame placed inside the suitcase with a printed ‘Cards & Gifts’ sign. Adding a few sprigs of dried lavender or eucalyptus not only looks beautiful but adds a subtle, pleasant scent as guests approach the table.
Styling Tips for the Gift Table:
- Elevation: Place the suitcase on a wooden crate or a stack of vintage books to give it height.
- Lighting: Tuck a small strand of battery-operated fairy lights around the base of the suitcase for a magical evening glow.
- Security: If you are worried about the suitcase being moved, you can subtly weight the bottom with a decorative brick or stone hidden under the fabric lining.
The Financial Victory: DIY vs. Boutique Pricing
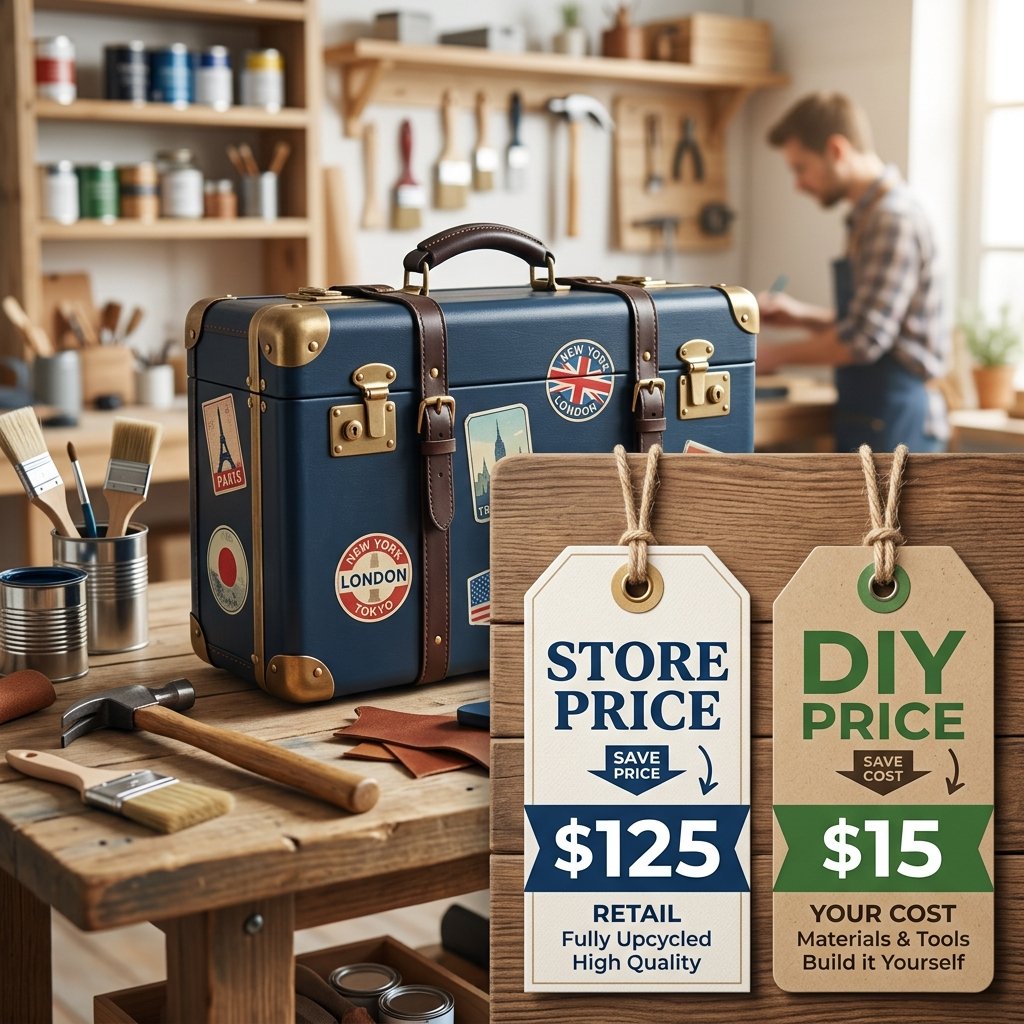
The best part of this project isn’t just the aesthetic—it’s the savings. When you choose to upcycle, you are not only being environmentally conscious but also financially brilliant. By sourcing a suitcase for a few dollars and using materials you likely already have in your craft bin, you can save over $100. That is money that can be redirected toward your honeymoon, the photography, or a higher-quality floral package. Below is a comparison of what you might expect to spend at a high-end wedding retailer versus your DIY triumph.
| Feature | Boutique Card Box | DIY Vintage Suitcase |
|---|---|---|
| Purchase Price | $120.00 | $12.00 |
| Customization | Limited / Extra Fee | Unlimited / Free |
| Authenticity | Mass-produced ‘Vintage Style’ | Genuine Heirloom Piece |
| Post-Wedding Use | Often sits in attic | Home Decor / Storage |
| Total Savings | $0.00 | $108.00 |
This project proves that elegance doesn’t have to be expensive. With a little elbow grease and a clever eye, you can create a piece of wedding decor that is truly one-of-a-kind and deeply personal.
Conclusion
Your Journey Begins Here
Creating your own vintage suitcase wedding card box is more than just a craft project; it is a way to infuse your special day with personality and history. By following these steps, you have transformed a forgotten object into a functional piece of art that serves as a beautiful vessel for your guests’ well-wishes. Remember, the beauty of DIY lies in the imperfections—the slightly weathered leather and the hand-stamped letters tell a story of care and creativity. Once the wedding is over, this suitcase doesn’t have to go back into storage. It can live on in your home as a stylish memory box for your wedding cards, photos, and mementos. Congratulations on being a savvy, stylish, and resourceful maker!

Makenzie is the founder and lead writer at MoneyHackTips.com — a personal finance blog dedicated to delivering street-smart financial wisdom for real people on real budgets. With 300+ published articles covering everything from debt management to investing fundamentals, Makenzie’s mission is to make every dollar work harder. When not writing about money hacks, Makenzie is testing frugal living strategies, optimizing side hustles, and helping readers build financial freedom from scratch.