
The Architecture of Generosity
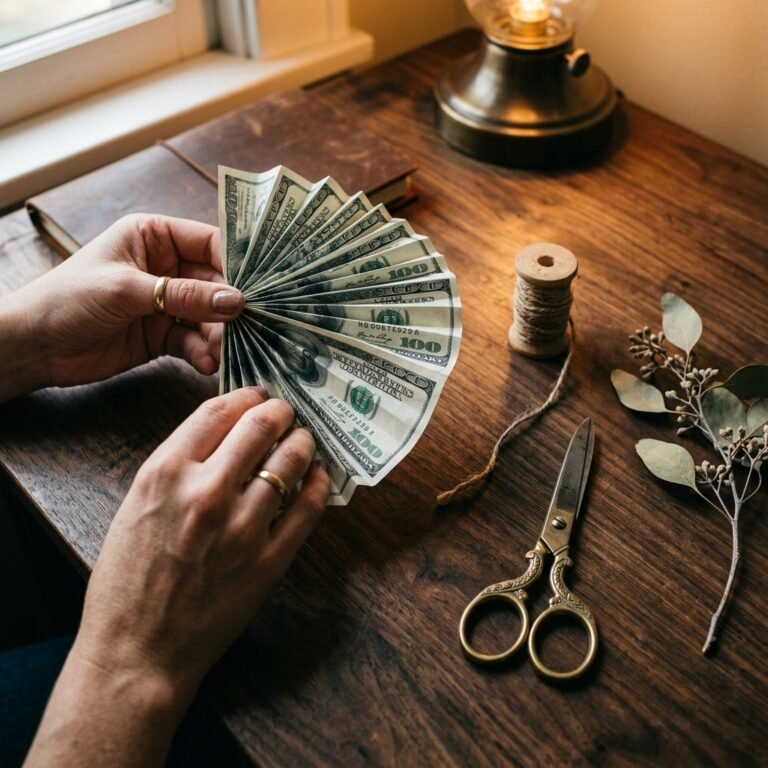
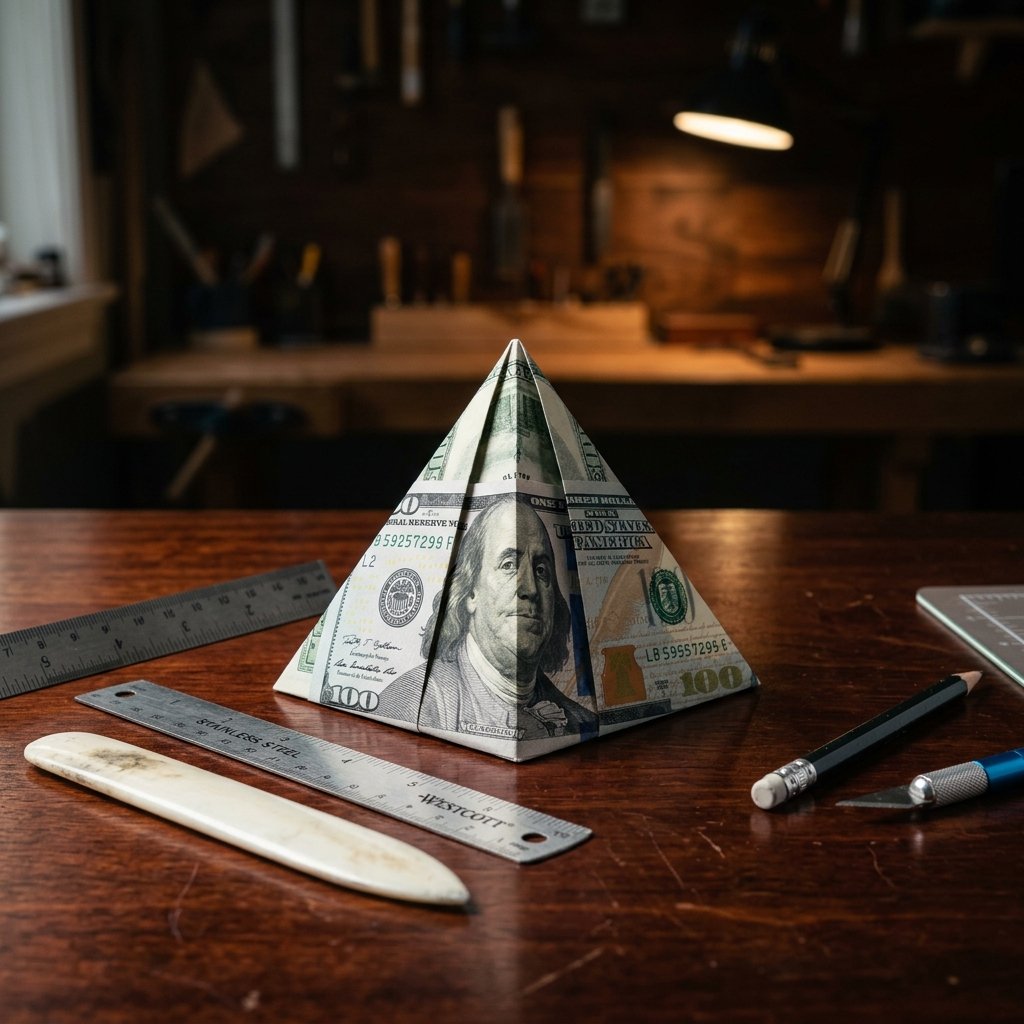
Let’s be honest: sliding a $20 bill into a generic store-bought card is the gifting equivalent of a white flag. It says you care, but perhaps not enough to break a sweat. But what if that same bill was transformed into a structural marvel? Enter the Money Origami Pyramid. This isn’t just about paper folding; it’s about tactical gifting. We are taking the utility of currency and merging it with the precision of geometry to create a gift that commands respect. Whether you are a frugal DIYer looking to impress at a wedding or a handy dad wanting to make a graduation gift memorable, this guide will turn you into a master of the fold. We don’t do ‘cute’ here; we do sophisticated engineering with paper. By the end of this tutorial, you’ll be able to take a flat piece of legal tender and turn it into a 3D conversation piece that your recipient might actually hesitate to spend.
The Strategic Advantage: Why the Pyramid?
More Than Just a Shape
In the world of origami, the pyramid represents stability, strength, and longevity. When you give a cash gift in this form, you aren’t just giving money; you’re giving a symbol of a solid foundation. From a practical standpoint, the pyramid is one of the most stable 3D structures you can fold, meaning it won’t collapse the moment it’s touched. This makes it ideal for display on a gift table or inside a shadow box.
Impact vs. Effort
While some origami projects require hours of frustration, the pyramid is a high-impact, medium-effort build. It requires precision, yes, but it is achievable for anyone with a steady hand and a bit of patience. Below is a breakdown of why this specific shape wins every time.
| Feature | Pyramid Benefit |
|---|---|
| Visual Impact | Stands tall and catches light from all angles. |
| Durability | Interlocking folds mean no tape or glue is needed. |
| Versatility | Works with any rectangular currency (USD, EUR, GBP). |
| Psychology | Suggests the gift is an ‘investment’ in the recipient’s future. |
‘A gift is only as valuable as the thought that shaped it.’ — The Frugal Guru’s Mantra
The Toolkit: Preparing Your Currency
The Secret is in the Crispness
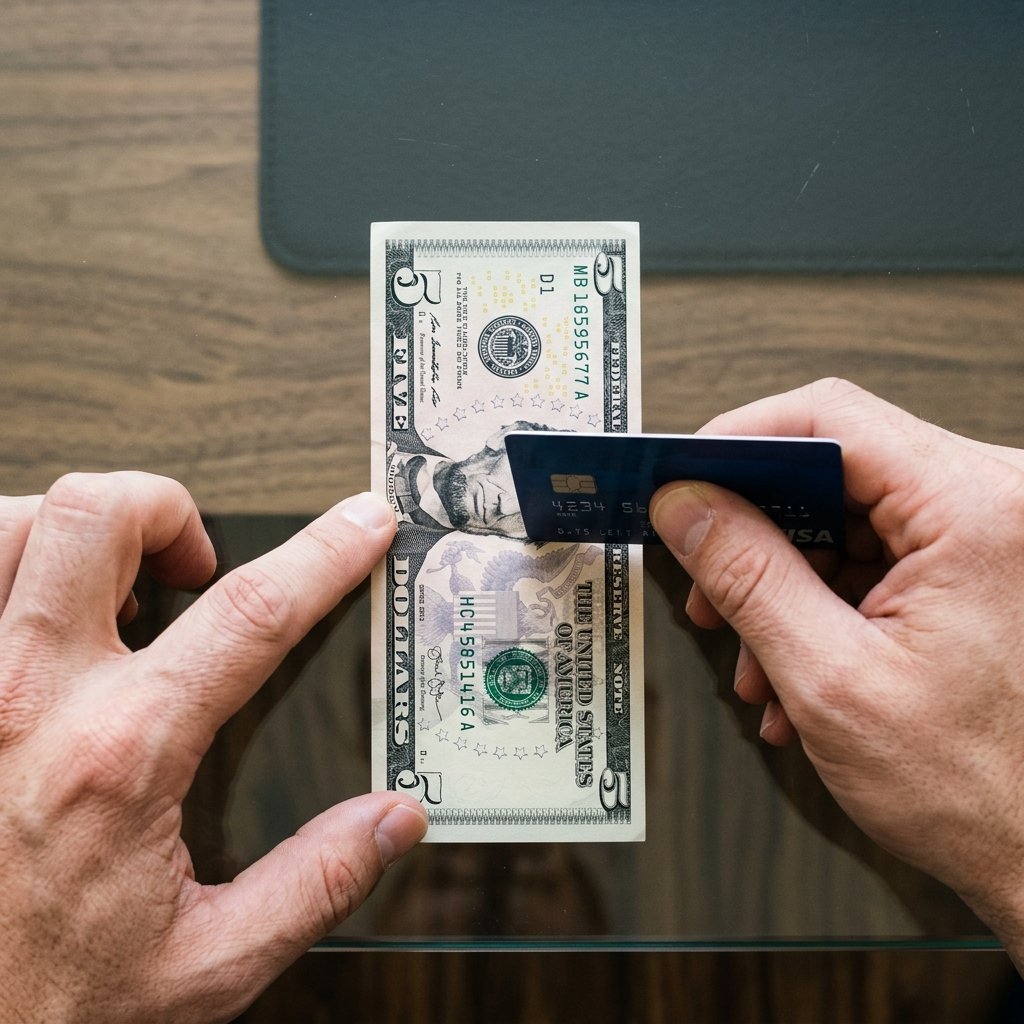
You cannot build a skyscraper on a swamp, and you cannot fold a perfect pyramid with a limp, wrinkled bill. The quality of your starting material dictates the quality of your finished product. For the ultimate result, you want a bill that is uncirculated. If you can’t get to a bank, you can ‘restore’ an old bill.
The Restoration Process
- Step 1: Lightly mist the bill with a tiny amount of water (do not soak it).
- Step 2: Place the bill between two pieces of clean white printer paper.
- Step 3: Use a clothes iron on the lowest heat setting (no steam) to press the bill flat.
- Step 4: Let it cool completely before folding. This ‘sets’ the fibers and makes them hold a crease like a razor edge.
SAFETY NOTE: Modern bills contain security strips and plastic elements. Never use high heat, as you risk melting the bill or scorched ink. Always use the paper-sandwich method.
Materials Checklist
| Item | Purpose | Cost |
|---|---|---|
| Crisp Banknote | The primary building material. | Face Value |
| Bone Folder (or a Credit Card) | To create sharp, professional creases. | $0 (if using a card) |
| Flat Surface | A sturdy table is essential for alignment. | Free |
The Blueprint: Step-by-Step Pyramid Construction
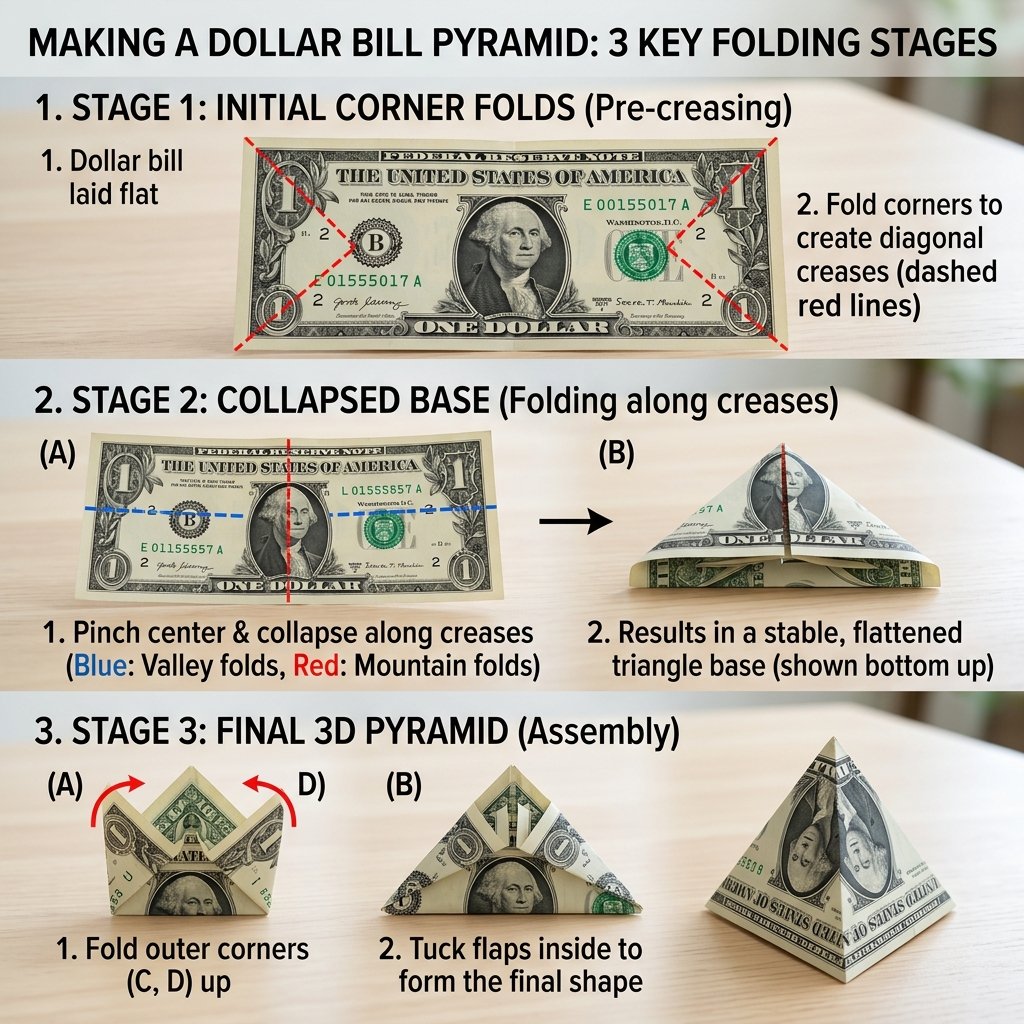
Engineering the Fold
Follow these steps with the focus of a master tailor. Every millimeter matters. We are aiming for symmetry and structural integrity.
- The Long Axis: Lay the bill flat, face up. Fold it in half lengthwise (hot dog style). Crease it firmly with your bone folder or card, then unfold. This center line is your guide.
- The Vertical Divide: Fold the bill in half widthwise (hamburger style). Crease and unfold. You now have a crosshair in the center of your bill.
- The Corner Tucks: Fold all four corners inward so that the edges meet the horizontal center crease. This should create a shape that looks like a long hexagon or a double-ended arrow.
- The Base Formation: Fold the pointed ends toward the center vertical crease. This creates a smaller, thicker rectangle.
- The Triangle Geometry: This is the ‘magic’ step. You must fold the corners again to create a triangular profile. You are essentially creating a series of nested triangles that will interlock.
- The 3D Expansion: Gently pull the center of the folds outward while pushing the base together. The bill will begin to rise into a 3D tetrahedron (pyramid).
- The Final Lock: Tuck the remaining flaps into the opposite folds. If your creases are sharp enough, the tension of the paper will hold the pyramid together without any adhesive.
Troubleshooting Common Fails
- Sloppy Peaks: Usually caused by not folding the corners precisely to the center line in Step 3. Re-align and re-crease.
- Collapsing Base: The bill is likely too soft. Try the ironing trick mentioned in the previous section.
- Asymmetry: Ensure you are folding away from yourself for valley folds and toward yourself for mountain folds as specified.
The Value Matrix: Choosing the Right Bill

Strategic Denominations
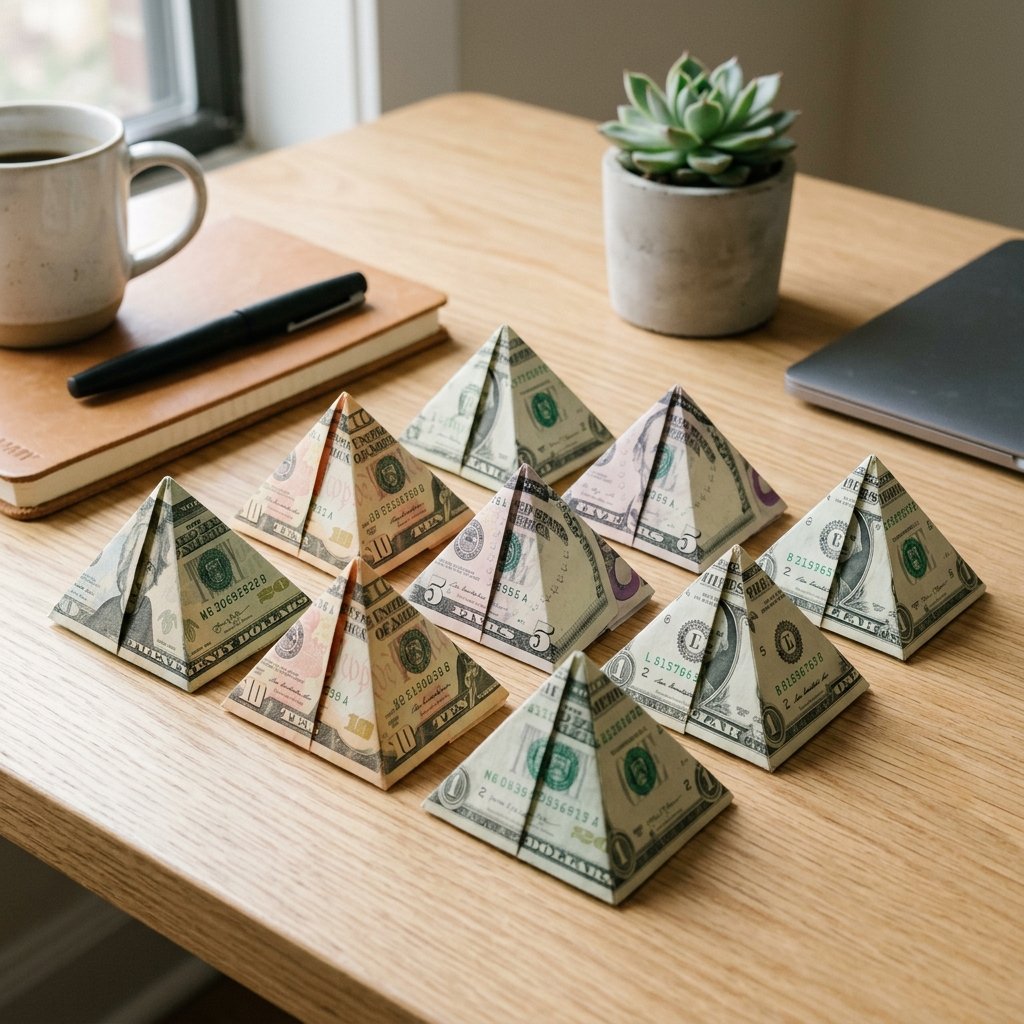
Not all bills are created equal when it comes to visual aesthetics. Depending on the occasion, the color and design of the bill can change the ‘vibe’ of the pyramid.
| Denomination | Visual Character | Best For… |
|---|---|---|
| $1 Bill | High detail, classic green/white contrast. | Practice and ‘Money Trees’. |
| $2 Bill | Rare, conversational, historical. | Good luck gifts and birthdays. |
| $10 Bill | Warm tones, distinct portraiture. | Simple ‘Thank You’ gestures. |
| $20 Bill | The ‘Gold Standard’ for gifts. | Weddings and graduations. |
| $100 Bill | Blue security ribbon adds a ‘high-tech’ look. | Major milestones and ‘Big’ birthdays. |
Pro-Tip: If you are feeling particularly resourceful, you can fold multiple pyramids of different sizes (using different international currencies) to create a ‘Giza Plateau’ display inside a small box. It turns a $50 gift into a $500 looking experience.
Presentation: The Curator’s Finish
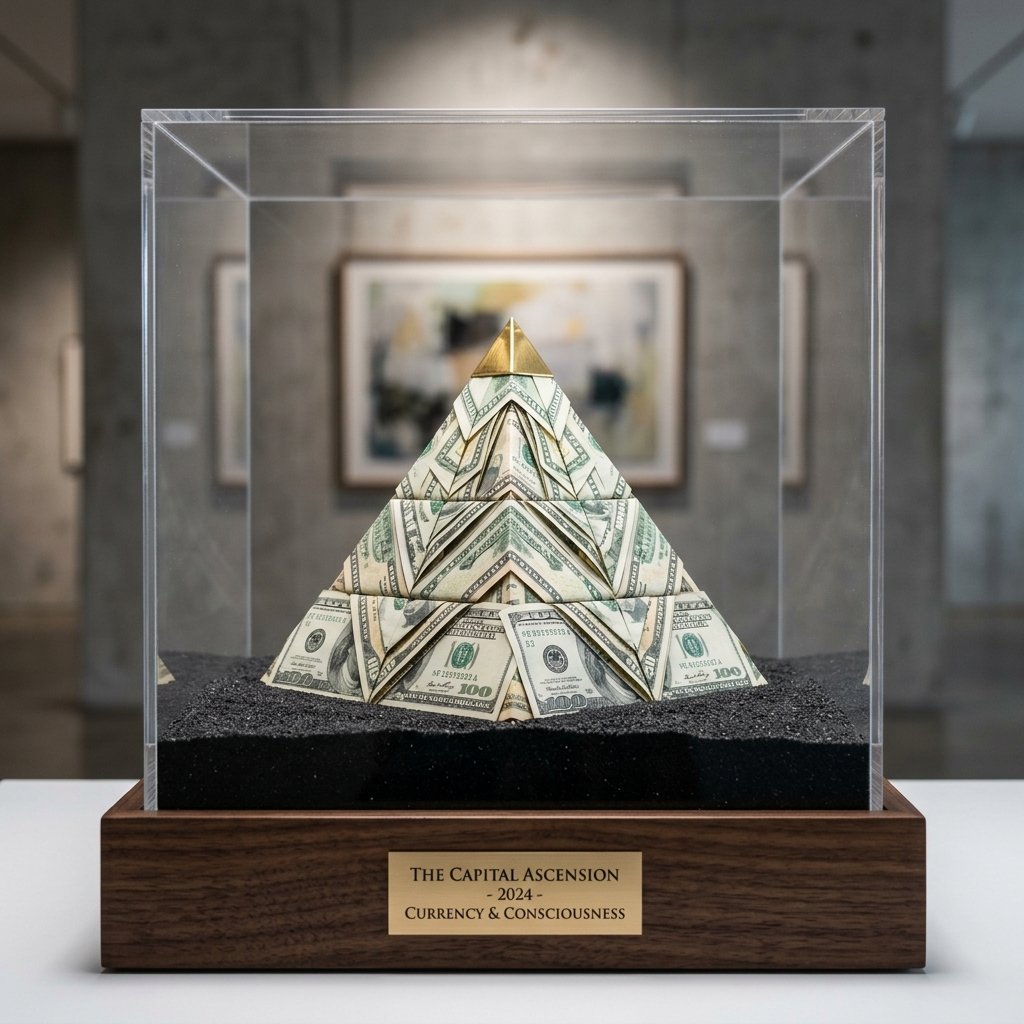
From Paper to Pedestal
You’ve spent the time to engineer a masterpiece; don’t just throw it in an envelope. The presentation is what separates the amateurs from the pros. Here is how to style your money pyramid for maximum impact.
The Dollar Tree Shadow Box Hack
- Purchase a small 4×4 shadow box or a clear acrylic display cube from a discount store (usually $1.25).
- Place a piece of black velvet or dark cardstock at the bottom.
- Center your money pyramid on the dark background. The contrast will make the ink and geometry pop.
- Secure the top. It now looks like a museum artifact.
The ‘Exploding’ Gift Box
Place the pyramid inside a small jewelry box. When the recipient lifts the lid, the 3D shape is immediately visible, unlike a flat bill that they have to pull out. It creates an instant ‘wow’ factor that budget-savvy givers live for.
‘The goal is to make the recipient feel like they are receiving an experience, not just a transaction.’
Maintenance and Reversibility
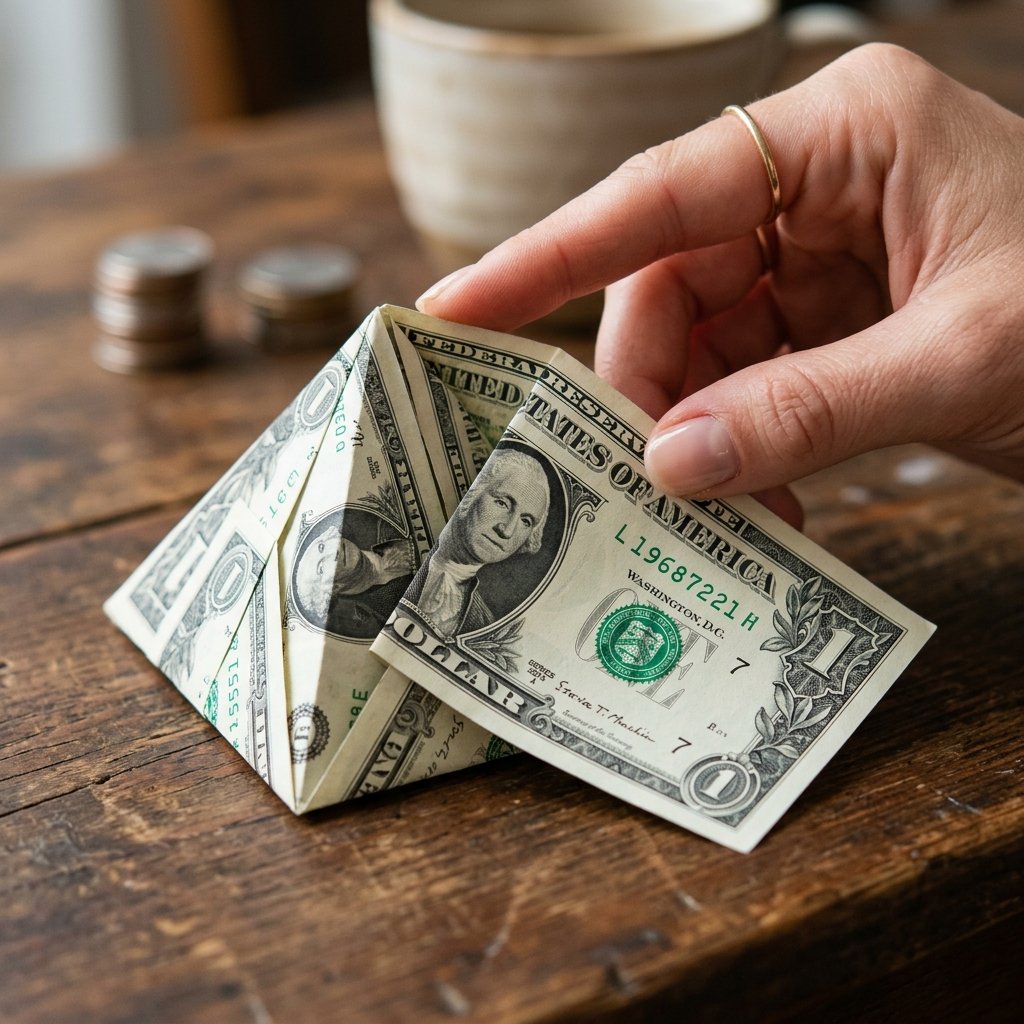
The Ethical Folder
As a master of money origami, you must respect the currency. The goal is to create a beautiful gift that is still spendable. Avoid using tape, glue, or staples at all costs. A true origami artist relies solely on the integrity of the fold.
How to Unfold Without Damage
If you are the recipient of such a gift, do not rip it open. Gently un-tuck the final locking flaps and reverse the folds. If the folds were made with a bone folder, the bill will have ‘memory’ lines. To return it to a flat state for a vending machine or bank, simply repeat the ironing process (low heat, paper sandwich). It will look as good as new.
Environmental Impact
By using the money itself as the ‘wrapping,’ you are practicing zero-waste gifting. There are no ribbons to throw away and no plastic packaging. It is the ultimate eco-friendly, frugal, and clever way to show you care.
Conclusion
The Final Crease
Folding a money origami pyramid is a skill that pays dividends. It transforms a simple, utilitarian object into a symbol of effort and architectural beauty. You’ve learned how to prep your ‘lumber’ (the bill), execute the blueprint (the folds), and curate the gallery (the presentation). This budget-savvy hack is your secret weapon for every wedding, graduation, and birthday on your calendar. Remember, anyone can give money, but only a true crafty expert gives a pyramid. Now, go forth and fold with precision. Your reputation as the most thoughtful (and frugal) gift-giver is officially secure.

Makenzie is the founder and lead writer at MoneyHackTips.com — a personal finance blog dedicated to delivering street-smart financial wisdom for real people on real budgets. With 300+ published articles covering everything from debt management to investing fundamentals, Makenzie’s mission is to make every dollar work harder. When not writing about money hacks, Makenzie is testing frugal living strategies, optimizing side hustles, and helping readers build financial freedom from scratch.