The Art of the Thrifted Flip
There is a specific thrill that comes with digging through a dusty bin of accessories at a local thrift store and pulling out a 100% silk scarf. To the untrained eye, it is a dated piece of neckwear; to the resourceful crafter, it is a goldmine of high-end textile. In boutiques like Slip or Anthropologie, a single mulberry silk scrunchie can retail for anywhere from $25 to $45. By mastering the art of the upcycle, you can produce a dozen of these luxury items for the price of a single $1.25 scarf. This guide is designed for the budget-savvy artisan who appreciates the rugged durability of hand-sewn goods and the elegant luster of genuine silk. We are going to dive deep into the mechanics of fabric identification, the chemistry of silk care, and the precise geometry of the perfect ‘Cloud’ scrunchie.
“Frugality is not about spending less; it is about making the most of what you have to create something better than you could buy.”
Scouting the Silk: How to Spot a $100 Scarf in a $1 Bin
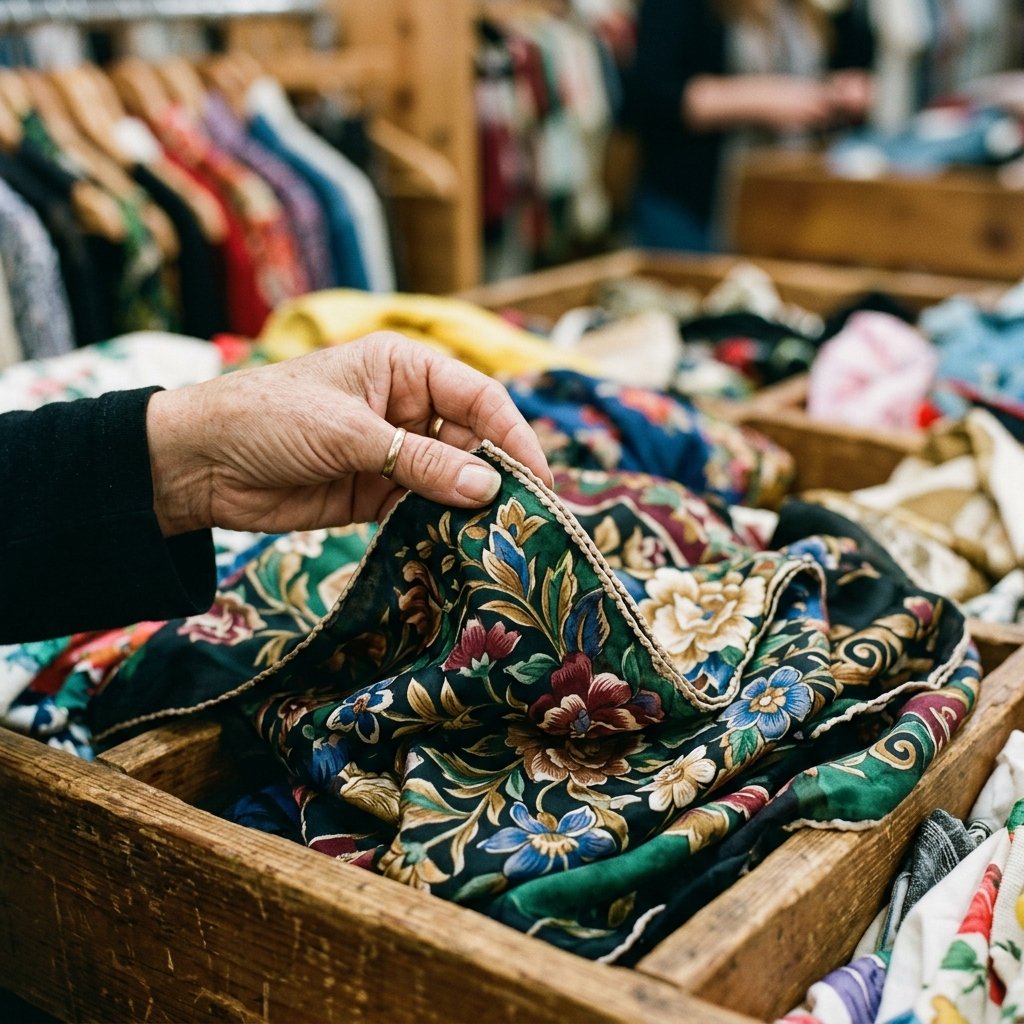
Not all scarves are created equal. To the clever upcycler, the first step is material authentication. Many modern scarves are made of polyester or ‘satin-weave’ synthetics which lack the breathability and hair-protecting properties of real silk. When scouting your local thrift shop, look for the following indicators of quality:
- The Hand-Rolled Hem: Genuine luxury scarves (like those from Hermès or Liberty London) feature edges that are rolled by hand and stitched with tiny, invisible stitches. Machine-hemmed edges often signal lower-quality polyester.
- The Luster: Real silk has a multi-dimensional sheen that reflects light in a soft, pearlescent way. Synthetics often have a ‘plastic’ shine or look dull under fluorescent lights.
- The Temperature Test: Silk is a natural protein fiber. If you hold it in your hand, it will quickly warm up to your body temperature. Polyester will feel cold and clammy for much longer.
| Fabric Type | Visual Characteristic | DIY Potential |
|---|---|---|
| Mulberry Silk | Soft, pearly sheen, buttery feel | High-End Luxury |
| Silk Twill | Visible diagonal ribs, structured | Durable Everyday Wear |
| Polyester Satin | High-gloss, slippery, plastic feel | Budget Practice |
| Chiffon (Silk) | Sheer, matte, delicate | Elegant Evening Wear |
The Secret Burn Test
If the tag is missing and you are at home, you can perform a burn test on a tiny thread from the hem. Safety first: always perform this over a sink with water nearby. Real silk will smell like burning hair and leave a brittle, black ash that crumbles easily. Polyester will smell like sweet chemicals or burning plastic and melt into a hard, unyielding black bead.
The Anatomy of a Luxury Scrunchie: Materials & Budgeting
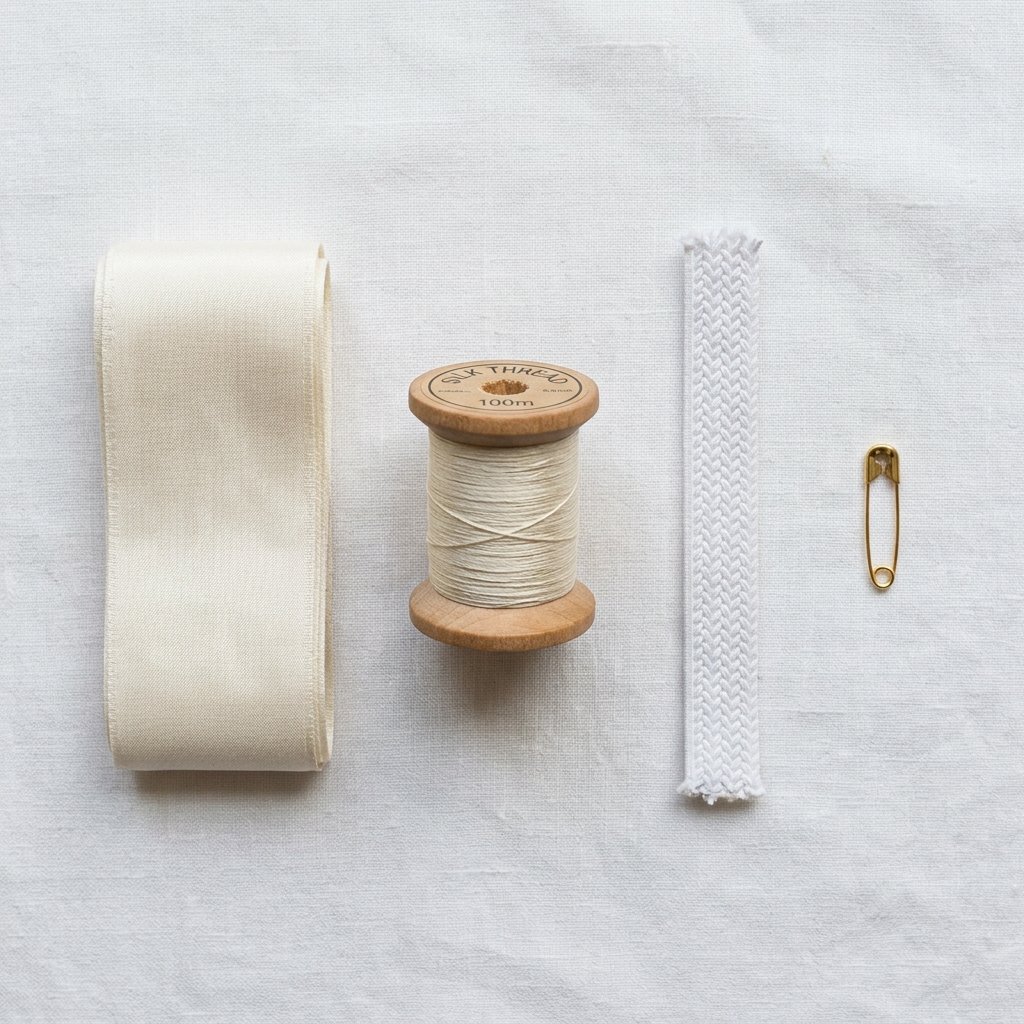
Creating a professional-grade scrunchie requires more than just fabric; it requires the right internal structure. We aren’t just making hair ties; we are making investment pieces. To ensure your scrunchie doesn’t lose its ‘snap’ after three wears, you need to invest in high-quality braided elastic. Avoid the thin, clear plastic elastics found in the hair aisle; they snap under the weight of silk.
| Material | Purpose | Estimated Cost per Scrunchie |
|---|---|---|
| Thrifted Silk Scarf | Outer casing | $0.15 – $0.30 |
| 1/4″ Braided Elastic | Internal tension | $0.10 |
| Silk Thread | Seam strength | $0.05 |
| Safety Pin | Turning tool | $0.00 (Reusable) |
| TOTAL | Luxury Accessory | $0.30 – $0.45 |
“The difference between a homemade craft and a handmade masterpiece lies in the quality of the hidden components.”
By spending less than $0.50 per unit, you are achieving a 98% savings compared to retail prices. This is the frugal crafter’s ultimate win.
Step-by-Step: The Masterful ‘Donut’ Construction Method
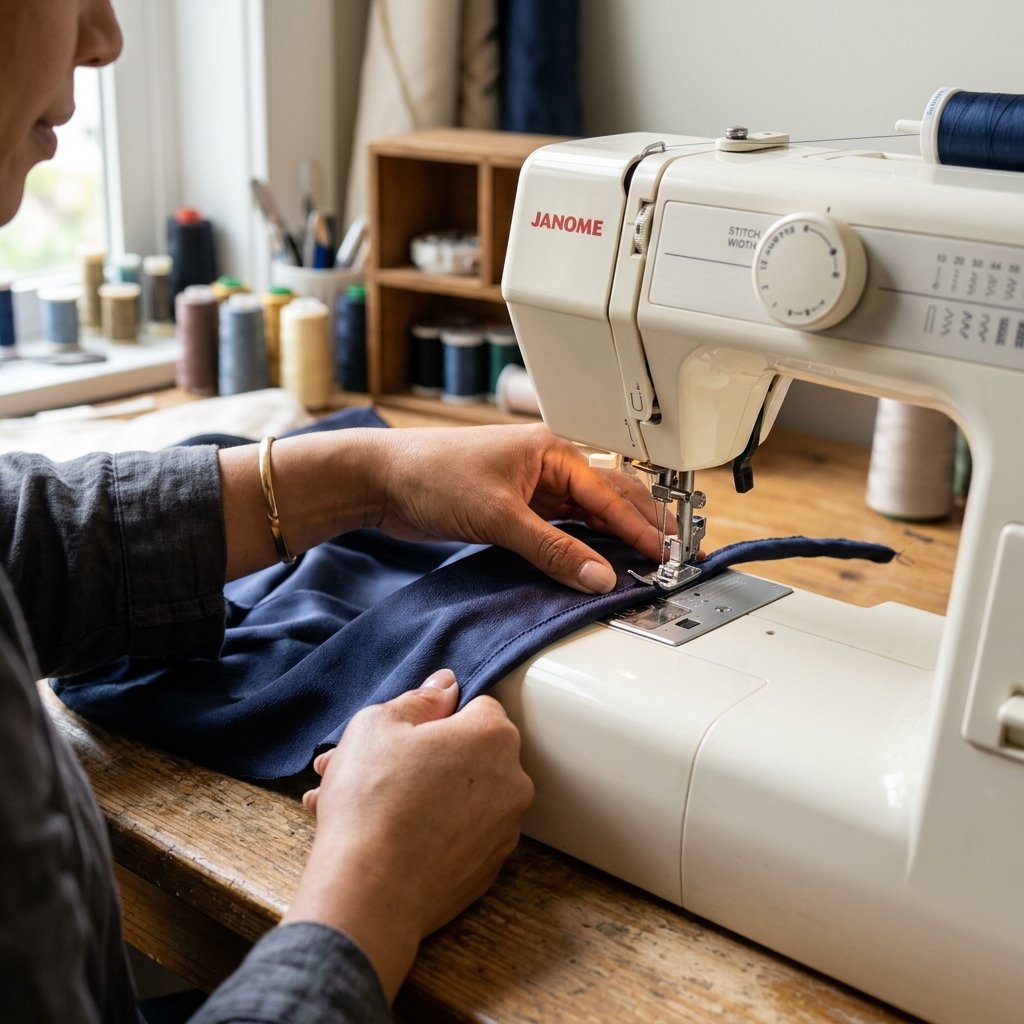
While many tutorials suggest simply sewing a tube and threading elastic through it, the ‘Donut’ method (also known as the burrito method) creates a much cleaner finish with fewer exposed seams. Follow these steps for a rugged, professional result:
- Cutting the Fabric: Cut a rectangle of silk measuring 22 inches by 4 inches. For a ‘Cloud’ (oversized) look, increase the width to 6 inches.
- The Inner Fold: Lay your fabric right-side up. Fold the long edges toward the center so they meet in the middle, but do not overlap.
- The Outer Wrap: Fold the outer ‘shell’ of the fabric over the inner folds, pinning the long raw edges together. You are essentially creating a tube with the rest of the fabric tucked inside.
- Sewing the Long Seam: Using a 1/4 inch seam allowance, sew along the pinned edge. As you sew, reach inside and pull the inner tucked fabric through the tube, continuing to sew the raw edges together until you have circled the entire piece.
- The Gap: Leave a 1.5-inch opening near the end to turn the fabric right-side out.
- The Elastic: Cut a 8-inch piece of elastic. Attach a safety pin to one end and feed it through the tube. Secure the ends of the elastic with a triple-reinforced square knot or a zig-zag stitch.
To ensure the elastic never snaps, pull it firmly after knotting. If it holds, it’s ready for the ‘rugged’ life of a daily hair accessory.
Invisible Finishing: The Ladder Stitch Technique

To truly achieve a luxury boutique look, you must close the turning gap with an invisible ladder stitch. This is where the hand-sewing expert shines. A machine-closed gap leaves a visible bump that screams ‘homemade.’ A ladder stitch is the secret of master tailors.
How to Execute the Ladder Stitch
- Thread your needle with a single strand of matching silk thread and knot the end.
- Bring the needle up through the fold of the fabric on one side of the gap.
- Take a small stitch (about 1/8 inch) directly across on the opposite fold.
- Move back to the first side and take another small stitch.
- Continue this ‘ladder’ pattern for the length of the gap.
- The Magic Moment: Pull the thread taut. The two sides will zip together, making the seam completely disappear.
This attention to detail is what allows you to gift these items to even the most sophisticated recipients. They will never guess it started as a stained scarf from the bottom of a clearance bin.
Caring for Your Goldmine: Cleaning and Maintenance
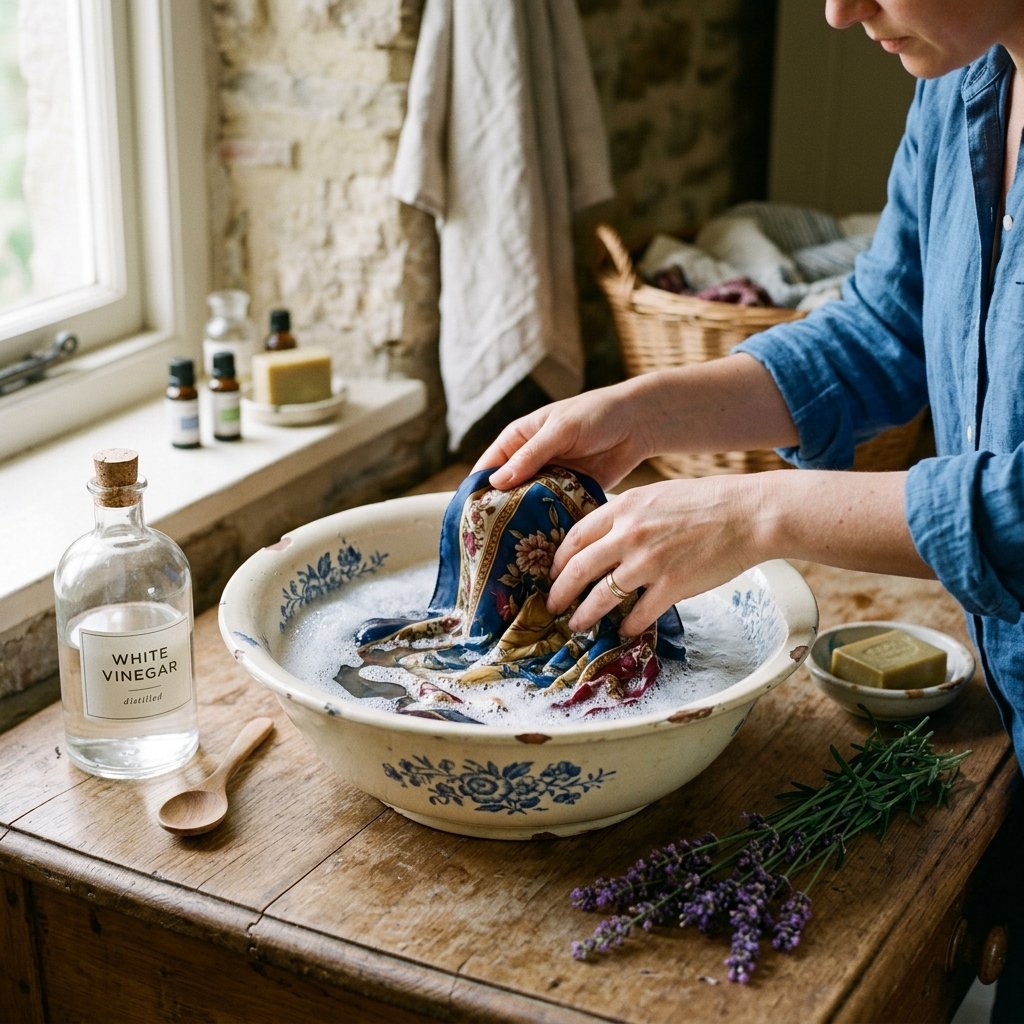
Vintage silk can be finicky. Before you begin cutting, you must treat the fabric to remove decades of ‘thrift store smell’ and potential oils. However, never throw vintage silk in a washing machine. The agitation will shred the delicate fibers.
The Gentle Restoration Formula
| Ingredient | Amount | Purpose |
|---|---|---|
| Lukewarm Water | 1 Gallon | Base Solvent |
| Baby Shampoo or Woolite | 1 Teaspoon | Gentle Surfactant |
| White Vinegar | 1 Tablespoon | Restores pH & Shine |
| Essential Oil (Lavender) | 2 Drops | Natural Fragrance |
Submerge the scarf for 5 minutes, gently swirling. Do not wring or twist. Lay the scarf flat on a clean white towel, roll it up like a sleeping bag to absorb excess moisture, and then hang to air dry. Once dry, use a cool iron (silk setting) to remove wrinkles before cutting your rectangles. This ensures your measurements are precise and your finished scrunchies look crisp.
Conclusion
From Trash to Treasure
Upcycling is more than just a hobby; it is a clever strategy for living a high-end life on a shoestring budget. By rescuing these silk scarves, you are participating in a circular economy that values craftsmanship over fast fashion. Whether you are building a collection for yourself, stocking an Etsy shop, or preparing thoughtful, handmade gifts for the holidays, the silk scrunchie is the perfect entry point into the world of luxury upcycling. You’ve taken something forgotten and turned it into something extraordinary. Now, go forth and find your next thrift store goldmine!

Makenzie is the founder and lead writer at MoneyHackTips.com — a personal finance blog dedicated to delivering street-smart financial wisdom for real people on real budgets. With 300+ published articles covering everything from debt management to investing fundamentals, Makenzie’s mission is to make every dollar work harder. When not writing about money hacks, Makenzie is testing frugal living strategies, optimizing side hustles, and helping readers build financial freedom from scratch.