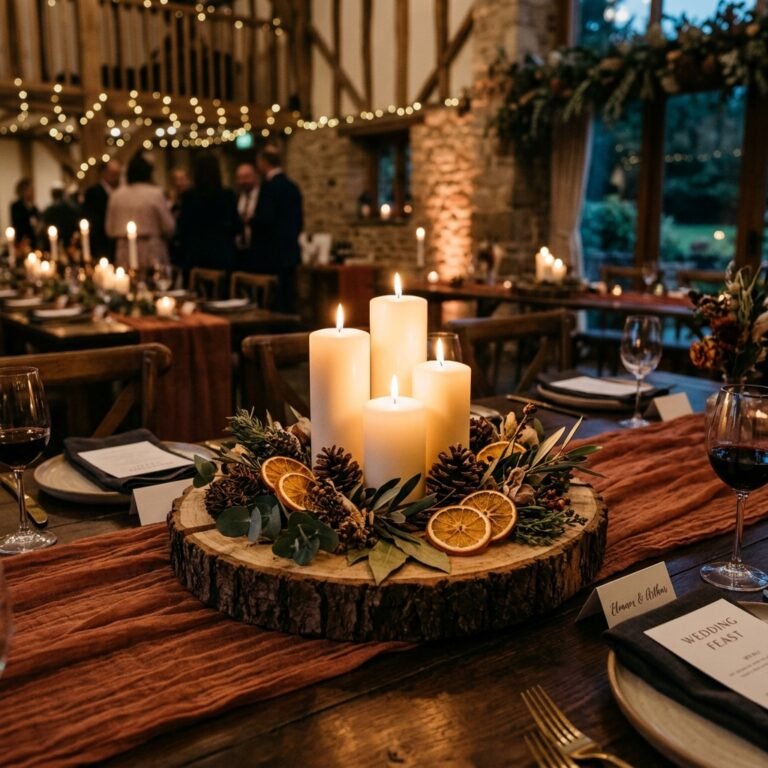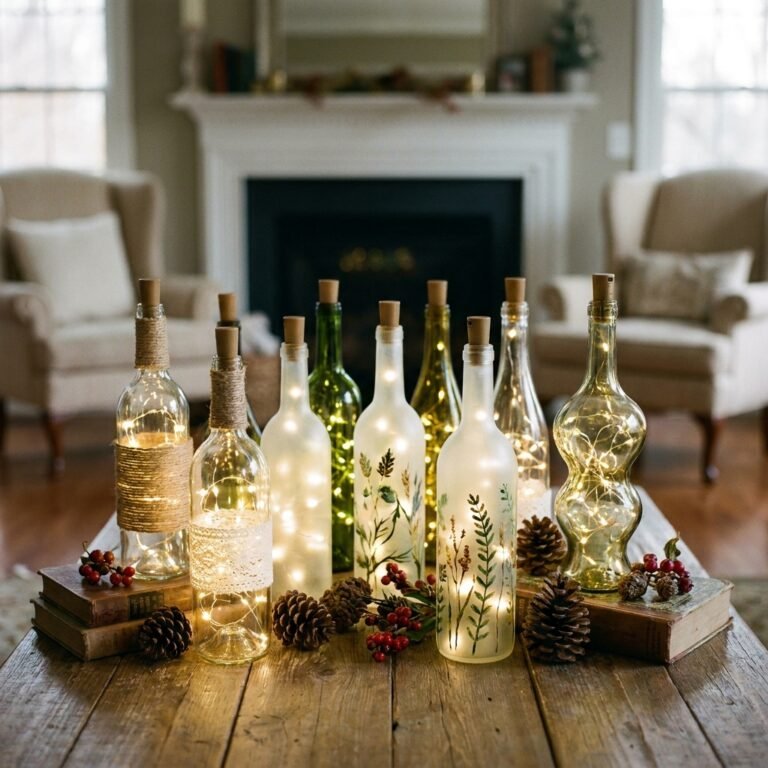

There is something undeniably sophisticated about the scent of sun-dried citrus and the rugged charm of natural textures. If you have ever walked into a high-end boutique or scrolled through a luxury wedding blog, you have likely seen those stunning, translucent citrus garlands draped over mantels or adorning wedding altars. They look expensive, curated, and timeless. But here is the crafty expert secret: you can recreate that exact look for the price of a bag of oranges and a little bit of patience. As a frugal DIYer, you know that the best decor is not bought; it is built with precision and a budget-savvy eye. Whether you are a bride-to-be looking to save thousands on floral arrangements or a handy parent wanting to add a rustic touch to your home, this dried citrus garland is your ultimate ‘trash-to-treasure’ project. We are taking simple fruit and turning it into a masculine-elegant masterpiece that smells like heaven and costs less than a fancy latte.
Budget Mantra: Elegance is not about the price tag; it is about the execution. A well-made DIY piece beats a mass-produced store-bought item every single time.
The Resourceful Shopper’s Guide to Materials

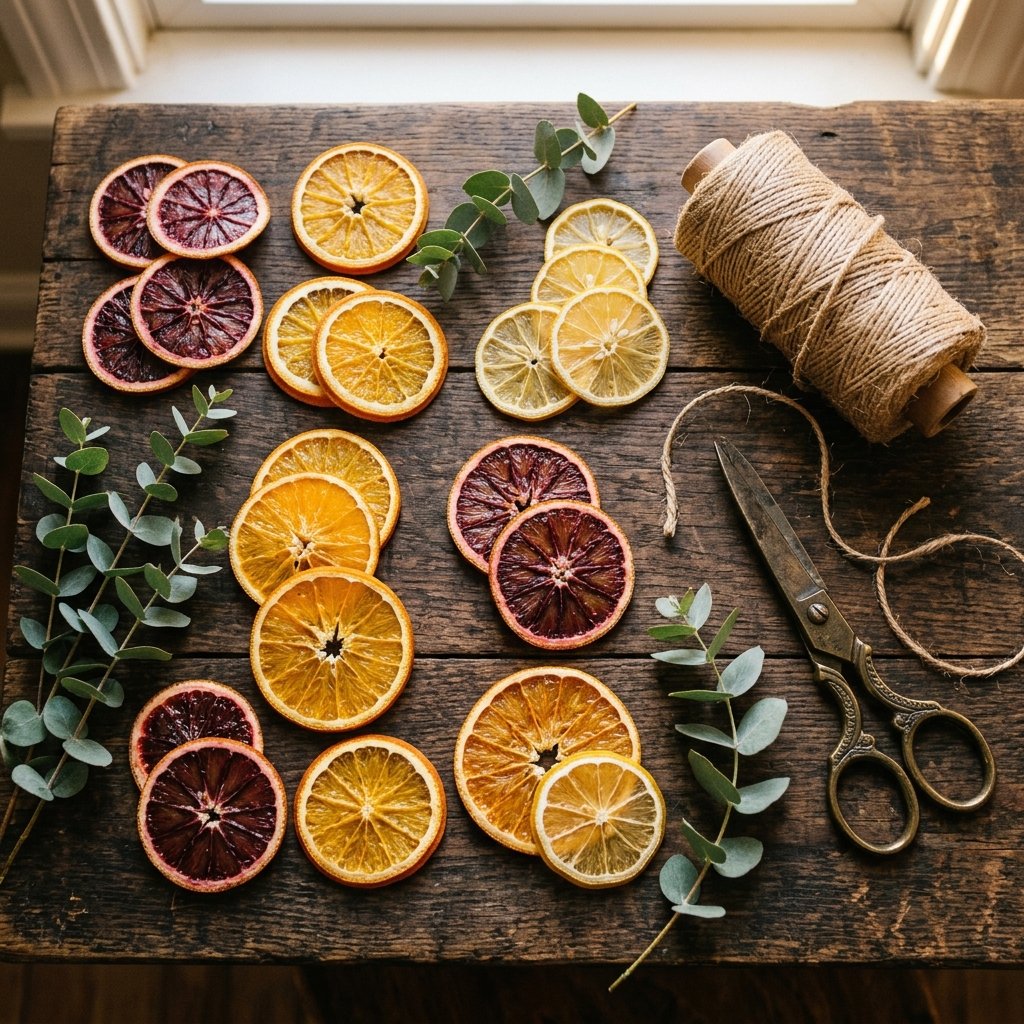
Before we pick up a knife, we need to gather our supplies. The beauty of this project lies in its simplicity. We are looking for high-impact, low-cost items. You do not need a professional dehydrator to achieve professional results; your kitchen oven is more than capable of the task. For a truly ‘rugged-elegant’ look, mix your citrus types. The deep reds of blood oranges, the bright yellows of lemons, and the classic orange of Navels create a visual depth that looks incredibly sophisticated.
| Material | Source | Estimated Cost |
|---|---|---|
| Navel Oranges (5-7) | Grocery Store / Clearance Bin | $3.00 |
| Lemons or Limes (3-4) | Pantry Staples | $1.50 |
| Jute Twine or Hemp Cord | Dollar Store / Craft Bin | $1.25 |
| Large Embroidery Needle | Sewing Kit | $0.00 |
| Optional: Cinnamon Sticks | Bulk Spice Section | $2.00 |
| TOTAL ESTIMATED COST | $7.75 |
Pro-Tip for the Frugal Crafter
Check the ‘manager’s special’ or the ‘quick sale’ produce rack. Since we are drying these slices, the fruit doesn’t need to be perfectly firm or pretty on the outside—it just needs to be colorful on the inside. This is upcycling at its finest.
The Anatomy of a Perfect Slice: Precision Cutting

To get that ‘stained glass’ effect when the light hits your garland, your slices must be uniform. This is where your inner craftsman comes out. Too thick, and they will take days to dry (and might mold); too thin, and they will shrivel into nothingness. We are aiming for a consistent 1/8 inch to 1/4 inch thickness.
- Step 1: Wash and dry your fruit thoroughly to remove any wax or residue.
- Step 2: Use a sharp, non-serrated knife. A dull blade will squash the fruit, losing those precious juices that keep the color vibrant.
- Step 3: Slice horizontally (across the ‘equator’) to reveal the starburst pattern of the segments.
- Step 4: Pat each slice firmly with a clean kitchen towel or paper towel. Removing excess moisture now saves 30-45 minutes of oven time later.
Technique Note: If you have a mandolin slicer, use it! It ensures perfect uniformity, but be sure to use the safety guard. Safety first, even in budget crafting.
The Low-and-Slow Masterclass: Drying Techniques
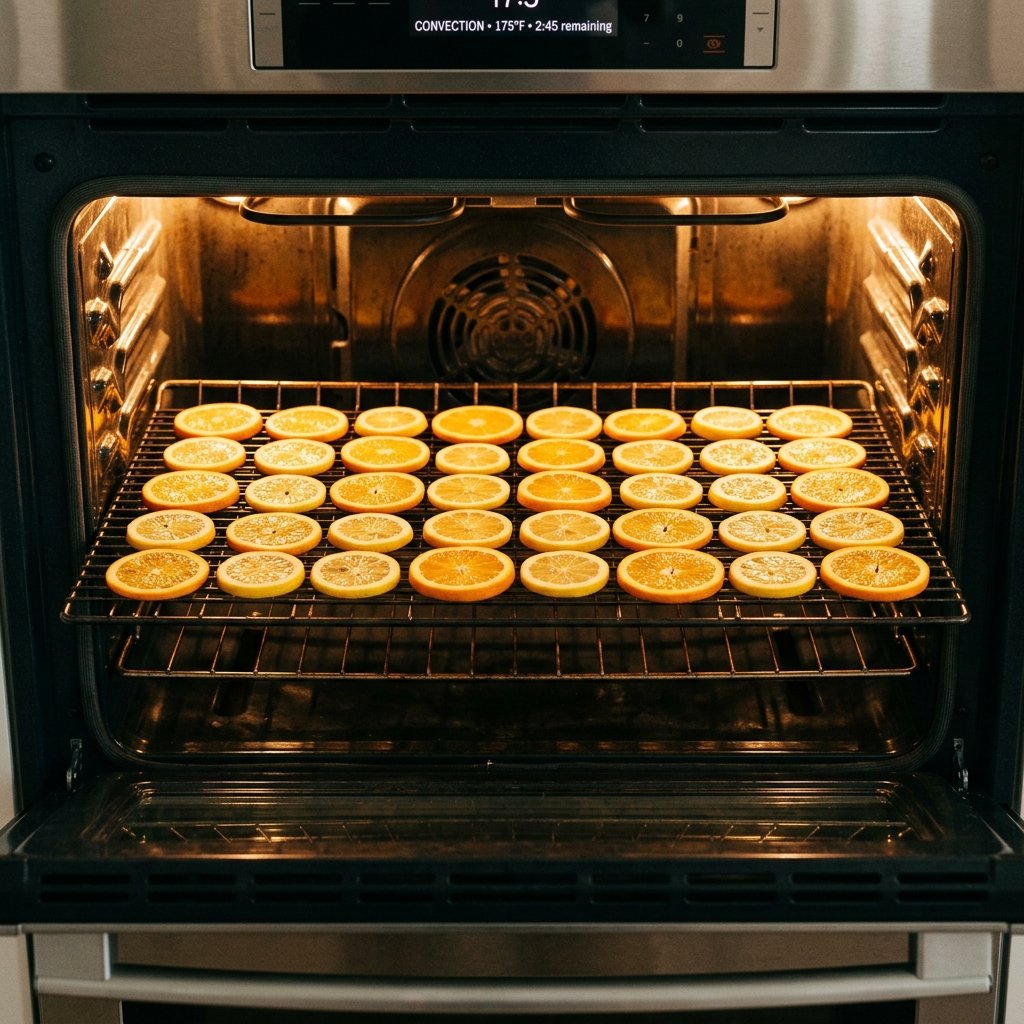
Drying citrus is an exercise in patience, but the payoff is a house that smells incredible. We are using the ‘low and slow’ method to preserve the color. If the heat is too high, the sugars in the fruit will caramelize, turning your beautiful oranges a muddy brown. We want vibrant, translucent jewels.
| Method | Temperature | Time Estimate |
|---|---|---|
| Conventional Oven | 175°F (80°C) | 3 to 5 Hours |
| Convection/Fan Oven | 150°F (65°C) | 2.5 to 4 Hours |
| Food Dehydrator | 135°F (57°C) | 8 to 12 Hours |
The Oven Process
- Preheat your oven to the lowest possible setting (usually 170°F – 200°F).
- Place a wire cooling rack on top of a baking sheet. This allows air to circulate around the entire slice, preventing the need to flip them constantly.
- Arrange slices in a single layer, ensuring they don’t touch.
- Check every hour. You are looking for a ‘leathery’ texture. They should be firm to the touch but not brittle enough to snap like a cracker.
Rugged & Refined: Stringing and Styling Your Garland

Now comes the creative assembly. This is where you can tailor the look to your specific event or room. For a masculine-elegant vibe, we recommend pairing the citrus with dark greens or natural wood elements. If you are a budget bride, this is where you turn a $10 project into a $100-looking centerpiece.
The ‘Invisible’ Threading Technique
Using your embroidery needle and jute twine, pierce the fruit through the flesh of the segment, not the pith (the white part). By going through the ‘meat’ of two different segments near the top, the slice will hang straight and won’t spin around on the string.
- For a Minimalist Look: String only the citrus slices, spaced 2 inches apart with a simple knot between each to hold them in place.
- For a Lush Wedding Garland: Alternate citrus slices with dried bay leaves, eucalyptus sprigs, and cinnamon sticks. The contrast of the green leaves against the orange fruit is stunning.
- For a Father’s Day or Study Decor: Use dark leather cord instead of twine and add wooden beads for a more rugged, grounded aesthetic.
The Budget Breakdown: DIY vs. Store-Bought
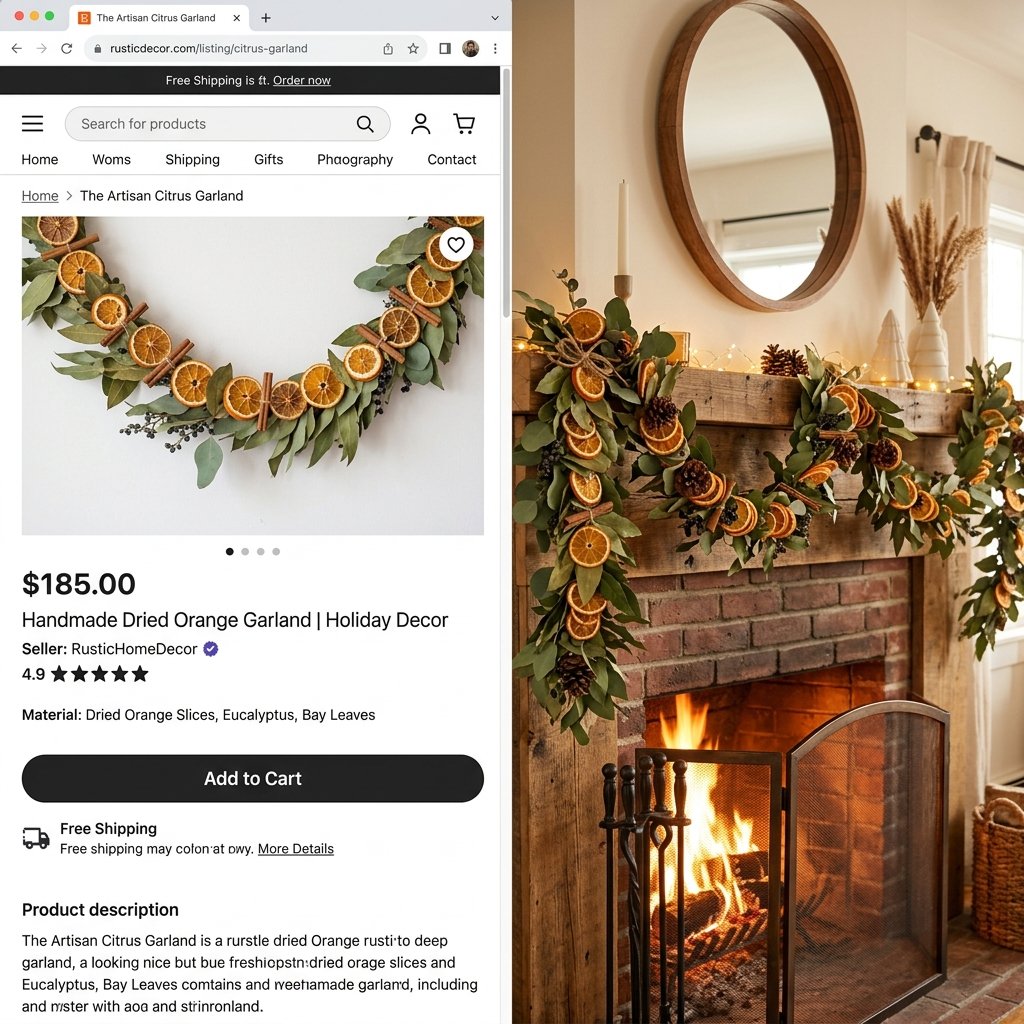
As a frugal guru, you know the numbers matter. Let’s look at why making this yourself is a no-brainer. Not only do you save money, but you also control the quality—no broken slices or artificial scents here.
| Item | Retail Price (Etsy/Boutique) | DIY Cost | Savings |
|---|---|---|---|
| 6ft Citrus Garland | $35.00 – $55.00 | $4.50 | 90% |
| Citrus & Greenery Mix | $65.00 – $85.00 | $12.00 | 82% |
| Bulk Wedding Decor (10 units) | $500.00+ | $60.00 | $440.00 |
By investing a few hours of your time, you are essentially ‘paying’ yourself $40-$50 an hour in savings. That is smart resource management that any handy parent or budget-savvy crafter can appreciate.
Conclusion
Creating a DIY dried citrus garland is the perfect marriage of frugality and high-end design. It proves that with a sharp knife, a warm oven, and a bit of creative grit, you can transform the most basic ingredients into something truly ‘heavenly.’ Whether these garlands are draped over your wedding arch, winding through a holiday centerpiece, or simply brightening up your kitchen window, they serve as a fragrant reminder of what is possible when you choose to make instead of buy. So, head to the produce aisle, grab a bag of oranges, and start slicing. Your home (and your wallet) will thank you. Stay crafty, stay resourceful, and keep making the world a little more beautiful, one slice at a time.

Makenzie is the founder and lead writer at MoneyHackTips.com — a personal finance blog dedicated to delivering street-smart financial wisdom for real people on real budgets. With 300+ published articles covering everything from debt management to investing fundamentals, Makenzie’s mission is to make every dollar work harder. When not writing about money hacks, Makenzie is testing frugal living strategies, optimizing side hustles, and helping readers build financial freedom from scratch.