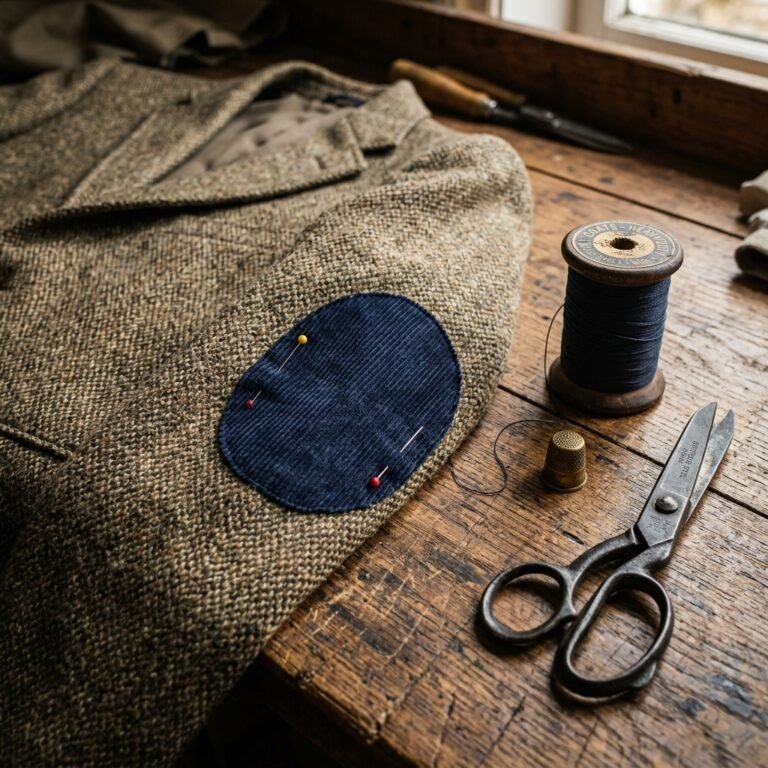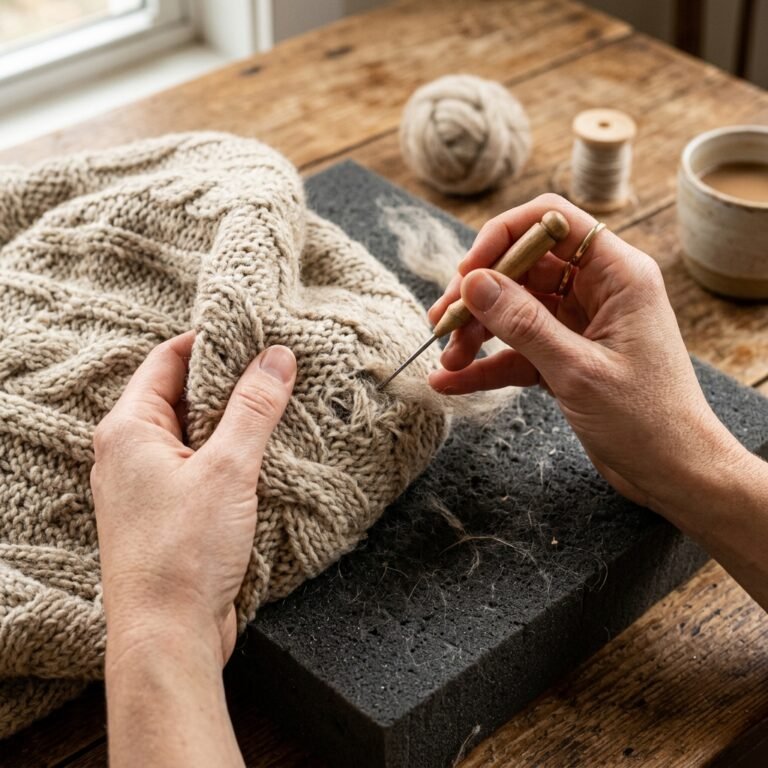

We have all been there. You pull your absolute favorite, most perfectly broken-in sweater out of the drawer as the autumn chill sets in, only to realize a tragic truth: the bottom hem has completely lost its shape. What was once a snug, flattering, cold-blocking rib-knit has transformed into a sad, wavy, stretched-out bell shape. It happens to the best of garments, from high-end merino wool pullovers to your trusty, rugged thrift-store finds. But before you relegate that beloved piece of knitwear to the donation bin or the rag bag, stop right there. As frugal DIYers and resourceful upcyclers, we know that true value lies not in buying new, but in the clever maintenance of what we already own.
Welcome to the ultimate grandma’s secret tailoring guide, upgraded for the modern, budget-savvy fixer. Today, we are going to dive deep into a brilliant, nearly invisible mending technique that will resurrect your stretched-out sweater hems in exactly 5 minutes. The magic ingredient? A simple spool of elastic thread that costs mere pennies per use. This practical, zero-waste clothing hack requires absolutely no sewing machine, no advanced tailoring degree, and no expensive alterations tailor. Whether you are a handy parent trying to extend the life of your kids’ rapidly worn clothes, or a rugged individualist who prefers to maintain their own gear, this guide is your blueprint to sartorial independence.
By weaving a hidden lifeline of elasticity back into the ribs of your sweater, you are not just saving money; you are actively participating in a rich history of mending, darning, and making do. You are keeping textiles out of landfills and proving that a little bit of crafty expertise can outsmart the fast-fashion cycle. So, clear off your workbench, grab your favorite stretched-out knit, and let us get to work saving your sweaters!
The Anatomy of a Stretched Sweater: Why Knits Lose Their Bounce
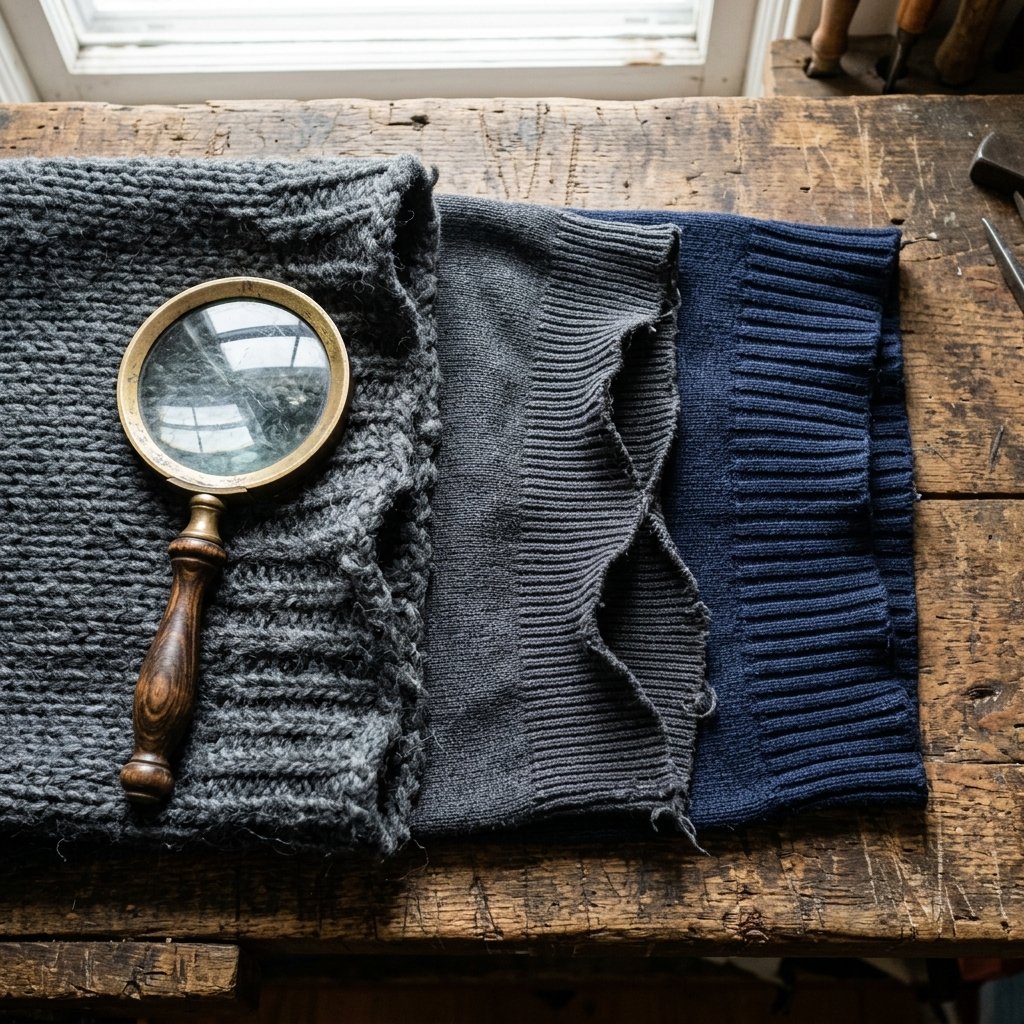
To truly master the art of mending, one must first understand the enemy. Why exactly do our favorite sweaters succumb to the dreaded “bacon hem”? The answer lies in the fundamental architecture of knitted fabrics. Unlike woven fabrics (like the rigid denim of your favorite jeans or the crisp cotton of a button-down shirt), knits are constructed from a continuous series of interlocking loops. This looping structure is precisely what gives sweaters their glorious, comfortable stretch. The ribbed hem at the bottom of your sweater, as well as the cuffs and neckline, is usually knit in a specific pattern—alternating knit and purl stitches—designed to act like a natural accordion, hugging your body and keeping cold air out.
The Culprits of Sagging
Over time, these interlocking loops endure significant mechanical stress. Every time you pull the sweater over your head, yank it down over your hips, or shove your hands into the pockets of a cardigan, you are forcing those loops to expand. Depending on the fiber content, these loops may eventually lose their “memory”—their ability to snap back into their original, tight configuration. Heat and improper laundering are also massive culprits. Hanging a heavy, wet sweater on a wire hanger is a surefire way to stretch the fibers beyond the point of no return, as gravity pulls the water-logged yarn downward.
Fiber Matters: Not All Yarns Are Created Equal
Understanding what your sweater is made of is crucial before you begin any mending project. Natural animal fibers like wool and cashmere have incredible natural elasticity and memory, but even they can stretch if abused. Plant fibers like cotton are notoriously prone to stretching out and staying stretched, as cotton lacks natural bounce. Synthetic fibers like acrylic are essentially spun plastic; they can hold their shape well initially but can permanently warp if exposed to high heat in the dryer.
| Fabric Type | Natural Elasticity | Susceptibility to Stretching | Compatibility with Elastic Thread Fix |
|---|---|---|---|
| 100% Wool / Merino | High (Excellent Memory) | Moderate (Usually from improper washing/hanging) | Perfect. The elastic thread hides beautifully in the lofty yarn. |
| 100% Cotton | Low (Poor Memory) | High (Stretches easily with wear) | Excellent. Cotton desperately needs the structural help of elastic. |
| Acrylic / Synthetics | Moderate | Moderate (Prone to heat damage) | Very Good. Be careful not to pull the elastic too tight to avoid puckering. |
| Cashmere | High | Moderate (Delicate fibers can break) | Excellent, but requires a gentle hand and a very thin needle. |
Regardless of the fiber, the elastic thread method we are about to employ acts as an artificial skeleton, providing the snap-back memory that the yarn has lost. It is a brilliant, resourceful way to bypass the limitations of the fabric itself.
Gathering Your Frugal Tailoring Arsenal
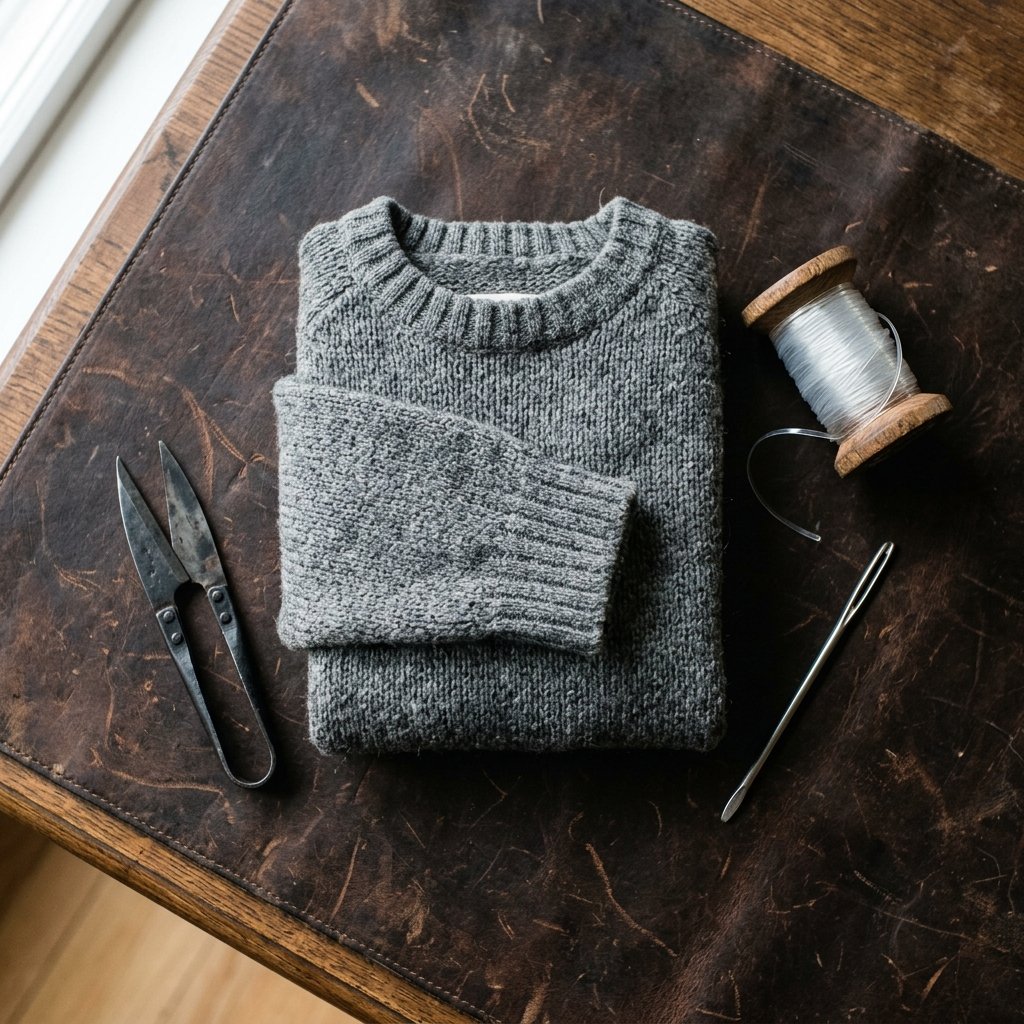
One of the most satisfying aspects of this DIY clothing hack is the incredibly low barrier to entry. You do not need a $500 serger or a dedicated sewing room. In fact, you likely already have half of what you need sitting in a junk drawer or a basic sewing kit. For less than the cost of a cup of coffee, you can assemble a mending kit that will save hundreds of dollars worth of clothing over its lifetime.
The Tools of the Trade
- Elastic Thread: This is the star of the show. You can find this at any craft store, dollar store craft aisle, or online. It looks like normal thread but stretches like a rubber band. For the most invisible mend, look for clear elastic thread (often used for jewelry making, around 0.5mm thickness is ideal) or a fabric-covered shirring elastic that closely matches the color of your sweater. A spool costs roughly $3 to $5 and will fix dozens of garments.
- A Tapestry Needle (or Darning Needle): This is crucial. Do not use a standard, sharp sewing needle. You need a needle with a large eye (to accommodate the elastic) and a blunt tip. A blunt tip ensures that you are sliding between the yarns of the sweater rather than piercing and splitting the individual fibers, which can cause structural damage and unraveling.
- Small Scissors or Thread Snips: For cleanly cutting the elastic.
- The Stretched Sweater: Washed and laid flat.
Safety & Care Disclaimer: While hand-sewing is generally safe, always keep needles and scissors out of reach of small children and pets. When working with vintage or highly delicate heirloom knits, test this elastic method on an inconspicuous area first (like the inside of a cuff) to ensure the thread does not snag the delicate fibers.
The Budget Breakdown: Why We Mend
Let us look at the raw numbers. The frugal mindset is all about calculating the return on investment (ROI) for your time and materials. Replacing a high-quality, heavy-duty winter sweater can easily run you anywhere from $40 to well over $150. Taking it to a professional tailor to have the hem re-knit or taken in? That is a minimum $25 to $40 job. Our method?
| Repair Method | Estimated Cost | Time Required | Skill Level |
|---|---|---|---|
| Buy a New Sweater | $40 – $150+ | Hours (Shopping) | None |
| Professional Tailor Alteration | $25 – $40 | 1-2 Weeks (Turnaround) | None |
| The 5-Minute DIY Elastic Fix | $0.25 (Cost of thread used) | 5 Minutes | Beginner / Frugal Crafter |
When you view it through this lens, learning this simple, masculine-elegant tailoring trick isn’t just a craft project; it is a highly efficient financial strategy. You are essentially paying yourself a massive hourly wage for 5 minutes of clever handiwork.
The 5-Minute Elastic Thread Magic: Step-by-Step Instructions
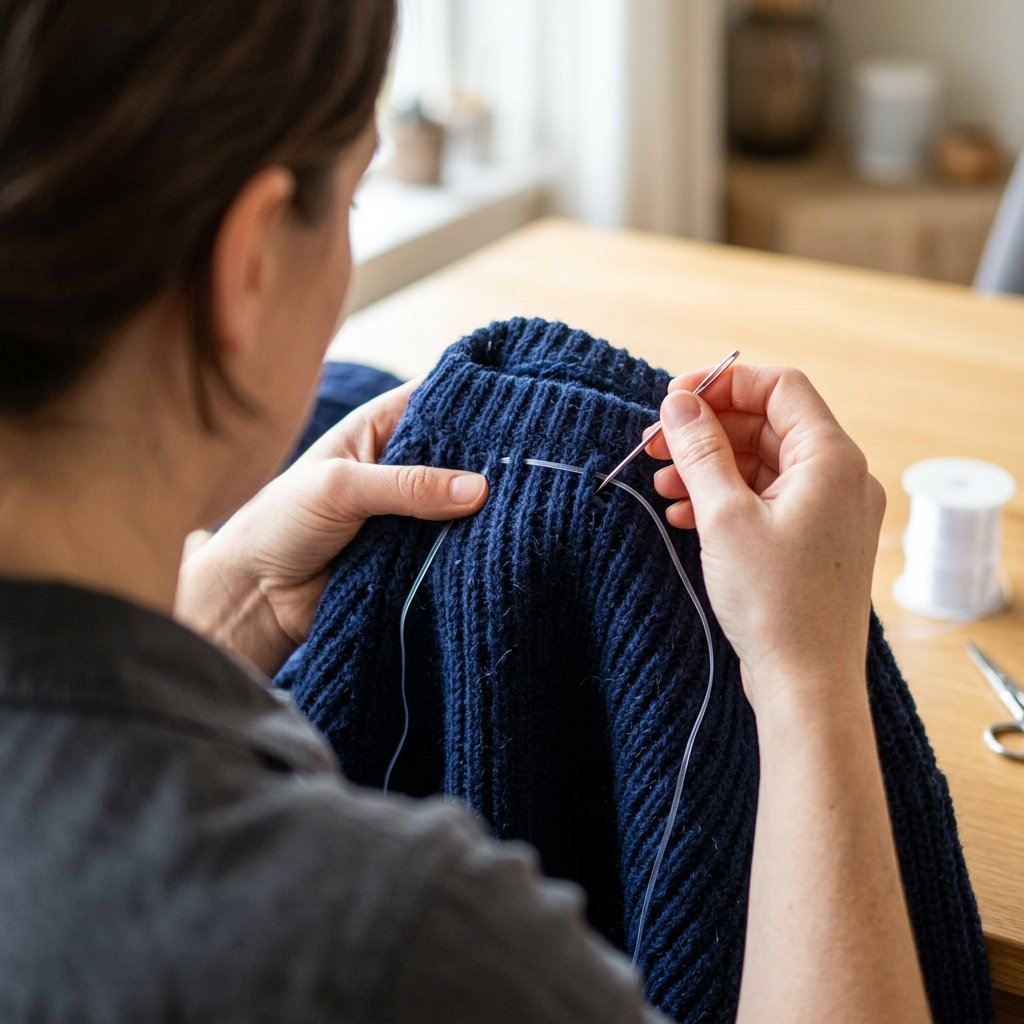
Now we arrive at the main event. Clear off a flat workspace—a clean kitchen table or a sturdy workbench is perfect. Ensure you have good lighting so you can clearly see the ribbed structure of your sweater’s hem. Put on a pot of coffee, roll up your sleeves, and let us breathe new life into your knitwear.
Step 1: Measure and Cut Your Elastic
First, determine how tight you want the hem to be. Wrap the elastic thread around your waist (or wherever the hem of the sweater naturally falls) to gauge a comfortable but snug fit. Cut the elastic thread to this length, plus an extra 6 to 8 inches of tail to give yourself plenty of room to tie a secure knot later. It is always better to cut too much than too little.
Step 2: Thread the Blunt Needle
Thread your clear or color-matched elastic through the large eye of your blunt tapestry needle. Pull about 3 inches through so the needle doesn’t slip off while you are working. Do not tie a knot in the thread just yet; we will be working with a single strand.
Step 3: Locate the Starting Point
Turn your sweater inside out. This is the golden rule of invisible mending: all the magic happens behind the scenes. Locate the side seam of the sweater’s hem. If your sweater is knit in the round and has no side seams, simply pick a discreet spot near the back hip. You will be working horizontally along the very middle of the ribbed hem section.
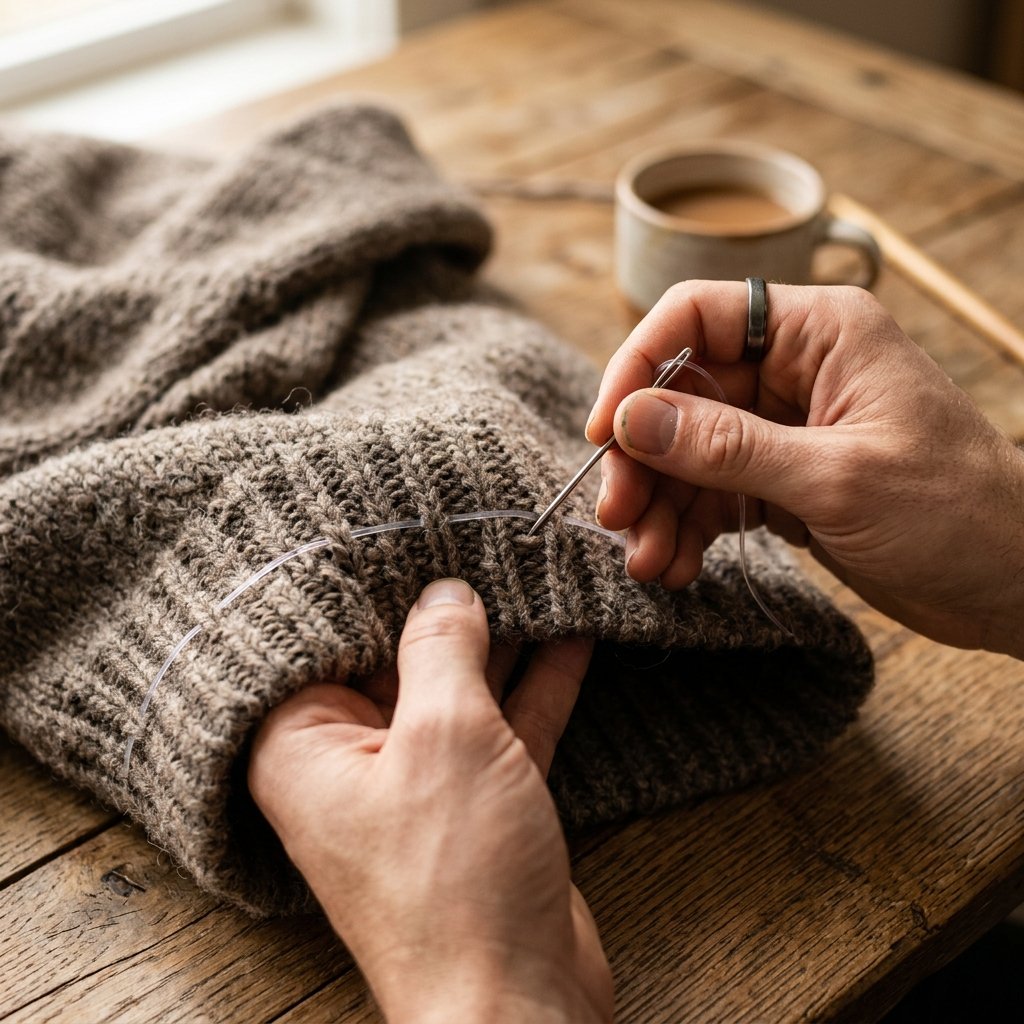
Step 4: The Weaving Process (The “Over-Under” Technique)
This is where your blunt needle proves its worth. Look closely at the ribbed knitting; you will see vertical columns of “V” shapes (knit stitches) protruding outward, and recessed vertical valleys (purl stitches) between them.
- Insert the blunt needle into the fabric at your starting point, catching just the inside loops of the yarn.
- Begin weaving the needle horizontally across the hem. Guide the needle under the protruding knit columns and over the recessed purl valleys.
- Keep the needle in a straight, horizontal line. You are essentially creating an invisible internal belt for the sweater.
- Pull the elastic thread through every few inches, leaving a 3-inch tail hanging out at your starting point.
- Continue this over-and-under weaving process all the way around the circumference of the sweater hem until you return to your exact starting point.
The Mender’s Maxim: “Weave with patience, pull with purpose.” Do not pull the elastic tight as you weave. Let it lay flat and loose inside the loops. The gathering happens only at the very end.
Step 5: Cinch, Tie, and Hide
Once you have returned to the starting point, you should have two tails of elastic thread sticking out of the same spot on the inside of the sweater. Now comes the satisfying part.
- Gently pull both tails of the elastic thread simultaneously. You will immediately see the stretched, wavy hem begin to gather and snap back into a crisp, tight, factory-fresh shape.
- Try the sweater on carefully (while holding the strings tight) to ensure the tension is comfortable around your hips. It should hug the body without feeling restrictive.
- Once you are happy with the tension, tie the two ends of the elastic thread together using a secure square knot (right over left, left over right). Tie it a second or third time for rugged durability.
- Trim the excess elastic tails, leaving about half an inch. Because we are on the inside of the sweater, these tiny tails will be completely invisible from the outside.
And just like that, in under 5 minutes, you have executed a flawless, zero-budget rescue mission on your favorite garment.
Advanced Mending: Troubleshooting Common Sweater Woes
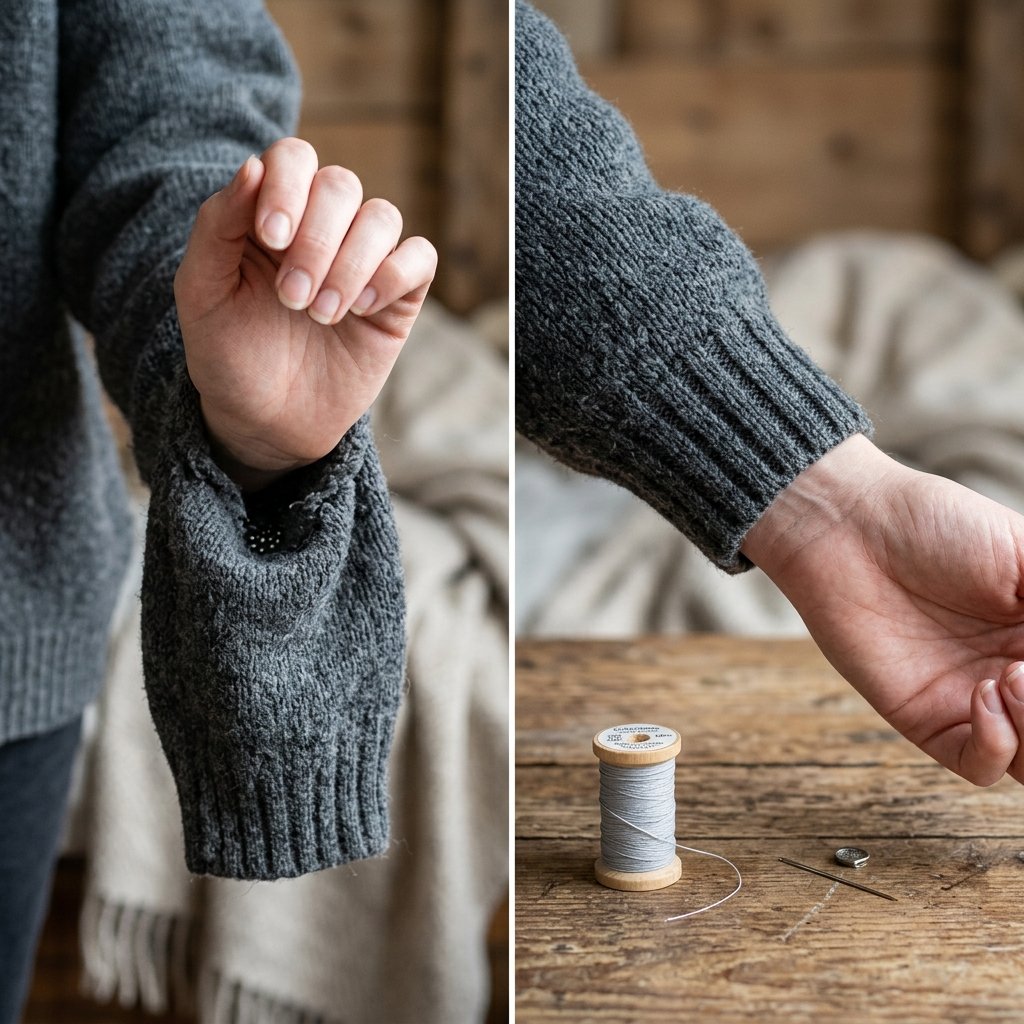
Now that you have mastered the basic hem fix, you are officially a resourceful mending expert. But what happens when the damage extends beyond a simple wavy bottom hem? A true frugal crafter knows how to adapt their techniques to solve a variety of structural clothing failures. Let us look at some advanced troubleshooting for your knitwear, applying the same masculine-elegant, practical mindset to other common sweater problems.
Tackling Baggy Cuffs and Stretched Necklines
The elastic thread technique is incredibly versatile and is not limited to the bottom hem. If you have a favorite rugged work sweater where the cuffs have become loose and drafty (a nightmare when you are doing outdoor chores or woodworking), you can apply the exact same method. Simply weave the elastic thread around the inside of the wrist ribbing. Because the circumference is much smaller, this takes barely 2 minutes per sleeve.
For a stretched-out, gaping neckline—often caused by pulling a tight sweater over a large head or hanging it improperly—you can weave the elastic thread through the inside of the collar band. Pro Tip: When working on a neckline, use an incredibly light touch when cinching the elastic. You want to restore the original shape, not turn a comfortable crewneck into a choking turtleneck.
The Chunky Knit vs. Fine Knit Dilemma
Different weights of yarn require slight modifications to our strategy. A heavy, chunky Irish fisherman’s sweater will hide mistakes easily, but a fine-gauge merino wool or cashmere cardigan requires a bit more finesse.
| Sweater Problem / Type | Tailoring / Stitch Solution | Key Adjustment for Success |
|---|---|---|
| Chunky / Heavy Cable Knit | Standard Elastic Weave | Use a thicker elastic cord or double up the thin elastic thread for extra pulling power. |
| Fine Gauge / Cashmere | Micro Elastic Weave | Use the thinnest clear elastic available. Weave through every single stitch loop to prevent puckering. |
| Severely Blown-Out Cuffs | Multi-Row Elastic Weave | Instead of one horizontal line, weave two or three parallel lines of elastic spaced half an inch apart. |
| Broken Yarn / Small Hole | Swiss Darning (Duplicate Stitch) | Use matching yarn and a tapestry needle to mimic the “V” shape of the knit over the hole before applying elastic. |
What If the Elastic Breaks?
Nothing lasts forever, especially under heavy use. If your elastic thread eventually snaps after a few years of rugged wear, do not panic. The beauty of this zero-budget DIY repair is that it is 100% reversible and repeatable. Simply pull out the broken pieces of elastic—they will slide right out of the yarn loops without damaging the sweater—and re-string it with a fresh piece. It is the ultimate sustainable clothing hack.
Preventative Maintenance: Caring for Your Resurrected Knitwear

An ounce of prevention is worth a pound of cure, especially when it comes to maintaining a frugal, budget-savvy wardrobe. You have just invested your time and crafty expertise into saving your sweater; now it is time to ensure you never have to do it again. Proper knitwear care is a lost art, but it is one that any handy upcycler or practical dresser must learn. Treating your clothes right extends their lifespan exponentially, keeping money in your wallet and fast fashion out of the landfill.
The Golden Rule: Never Hang Your Sweaters
If you take away only one piece of advice from this entire guide, let it be this: Never, ever put a knit sweater on a hanger. Hangers are the mortal enemy of knits. Gravity is a relentless force, and when a sweater is suspended by its shoulders, the weight of the garment pulls downward, stretching the torso, elongating the sleeves, and completely destroying the shape of the ribbed hem you just fixed. Instead, always fold your sweaters and stack them on a shelf or in a drawer. If you absolutely must use closet rod space, fold the sweater in half vertically and drape it over the bottom bar of a sturdy wooden hanger, like you would a pair of trousers.
Washing: The Gentle Approach
Heat and agitation are the two things that destroy the elastic memory of yarn. When it comes time to clean your rugged woolens or daily-wear cardigans, step away from the harsh top-loading washing machine.
- Hand Wash When Possible: Fill a clean sink or basin with lukewarm water (never hot) and a small amount of gentle, no-rinse wool wash (like Soak or Eucalan). Submerge the sweater and gently squeeze the suds through the fibers. Do not wring, twist, or scrub, as this causes felting and stretching.
- The Towel Roll Trick: To dry, lift the sweater carefully, supporting its weight from underneath so it doesn’t stretch out of the water. Lay it flat on a clean, dry bath towel. Roll the towel up like a sleeping bag with the sweater inside, and press down firmly to squeeze out excess water.
- Dry Flat: Unroll the towel and transfer the damp sweater to a mesh drying rack or a fresh, dry towel. Gently push and pat the sweater back into its proper shape (blocking) while it is damp. Let it air dry completely away from direct sunlight or heat sources.
Budget-Savvy Laundry Hack: You do not need to wash sweaters after every wear. Wool is naturally antimicrobial and odor-resistant. Simply airing your sweater out overnight on a chair or giving it a quick spritz with a homemade fabric refresher (a 50/50 mix of cheap vodka and water with a drop of cedar essential oil) will keep it fresh for weeks, saving water, energy, and the fabric itself.
By combining our 5-minute elastic thread mending hack with these rugged, practical care techniques, your sweaters will easily outlast the trends, providing you with years of cozy, perfectly fitted warmth.
Conclusion
There is a profound, quiet satisfaction that comes from fixing something with your own two hands. In a world that constantly pushes us to throw away the old and buy the new, taking 5 minutes to weave a simple piece of elastic thread through a stretched-out sweater hem is a small but mighty act of rebellion. It is the essence of the frugal DIY spirit: looking at a problem, utilizing inexpensive, resourceful materials, and applying a bit of clever craftsmanship to restore value to what we already own.
You have now added a powerful new skill to your mending arsenal. You have learned the anatomy of knits, the correct tools for the job, the step-by-step invisible weaving technique, and the proper ways to care for your garments moving forward. The next time you pull a baggy, misshapen sweater out of storage, you won’t feel frustration—you will feel the confidence of a master tailor ready to work their magic. So go ahead, rescue that favorite old pullover, fix up those drafty cuffs, and wear your newly resurrected knitwear with the rugged pride of someone who knows the true value of a dollar and the power of a practical hack. Happy mending, and keep creating treasure out of the worn and weary!

Makenzie is the founder and lead writer at MoneyHackTips.com — a personal finance blog dedicated to delivering street-smart financial wisdom for real people on real budgets. With 300+ published articles covering everything from debt management to investing fundamentals, Makenzie’s mission is to make every dollar work harder. When not writing about money hacks, Makenzie is testing frugal living strategies, optimizing side hustles, and helping readers build financial freedom from scratch.