
Welcome to the ultimate trash-to-treasure masterclass for handy parents and frugal educators! If you have ever browsed high-end Montessori catalogs, you know that beautifully crafted wooden educational toys come with a hefty price tag. A simple wooden balancing scale—a fundamental tool for teaching early mathematics, physics, and comparative reasoning—can easily set you back $40 to $60. But what if I told you that you could build a highly accurate, incredibly durable, and aesthetically pleasing scale using nothing but the Amazon boxes sitting in your garage?
As resourceful upcyclers, we know that corrugated cardboard is the unsung hero of the crafting world. It is lightweight, structurally sound, and 100% free. Building a DIY cardboard balancing scale is not just a clever budget-savvy hack; it is a fantastic engineering project that you can do with your kids. By constructing the tool themselves, children gain a deeper understanding of the mechanics of balance, gravity, and leverage before they even start weighing their toys.
In this comprehensive, step-by-step guide, we are going to channel our inner cardboard engineers. We will cover the anatomy of a perfect scale, the secret to calibrating your DIY beam so it rests at true zero, and an array of brilliant Montessori math games you can play once your masterpiece is complete. Grab your utility knife, plug in your hot glue gun, and let us turn that recycling pile into an heirloom-quality educational instrument!
The Anatomy of a Balancing Scale & Why Corrugated Cardboard is King
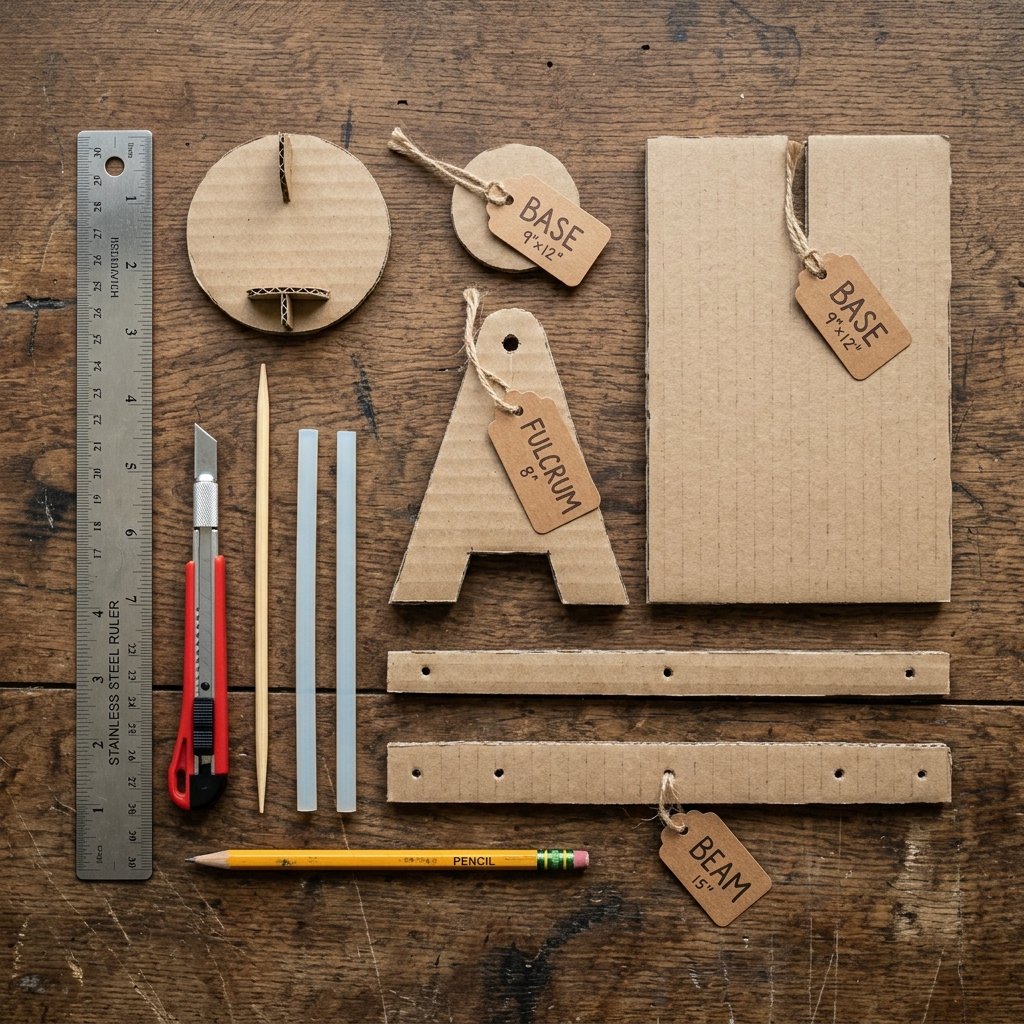
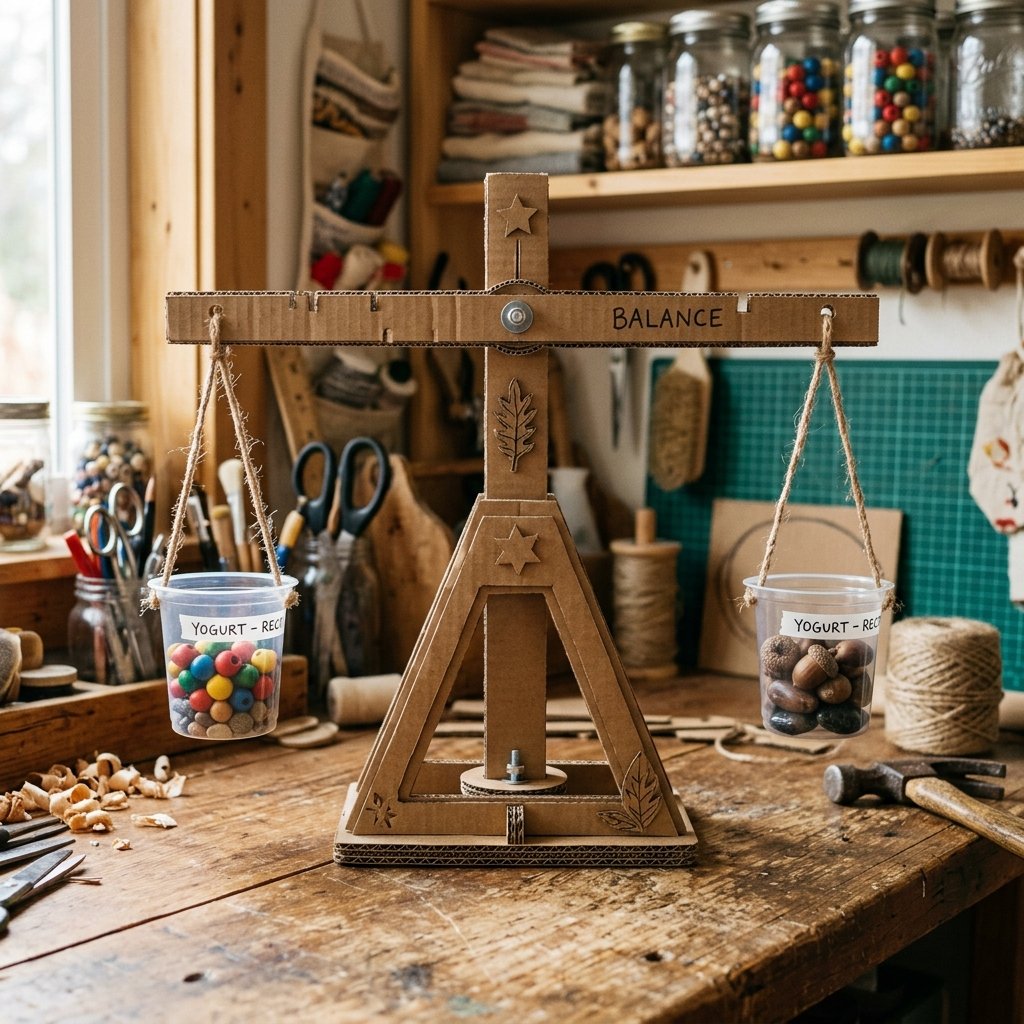
Before we start slicing into boxes, we need to understand the basic physics of what we are building. A balancing scale is essentially a first-class lever. It consists of three primary components: the fulcrum (the central pivot point), the beam (the horizontal arm that rocks back and forth), and the load (the weighing pans hanging from each end).
To achieve a scale that actually works and does not just look pretty, we need rigidity. This is why standard cereal box cardboard will not cut it. We need heavy-duty, double-walled corrugated cardboard. The flutes (the wavy paper sandwiched between the flat liners) give the material incredible structural integrity. When we glue multiple layers of corrugated cardboard together, we create a composite material that rivals the strength of plywood, but requires zero power tools to manipulate.
The Golden Rules of DIY Scale Engineering
- Symmetry is Everything: The distance from the fulcrum to the left pan must be exactly equal to the distance from the fulcrum to the right pan. Even a millimeter of difference will throw off your calibration.
- Friction is the Enemy: The pivot point must be as smooth as possible. We will use a smooth wooden skewer or a metal dowel to ensure the beam swings freely without catching.
- Center of Gravity: The pivot hole on your beam must be placed slightly above the center of mass. If you put it too low, the scale will flip upside down!
Remember: Measure twice, cut once. In cardboard engineering, precision with your craft knife is the difference between a frustrating toy and a functional scientific instrument.
Gathering Your Upcycled Arsenal: Materials & Cost Breakdown
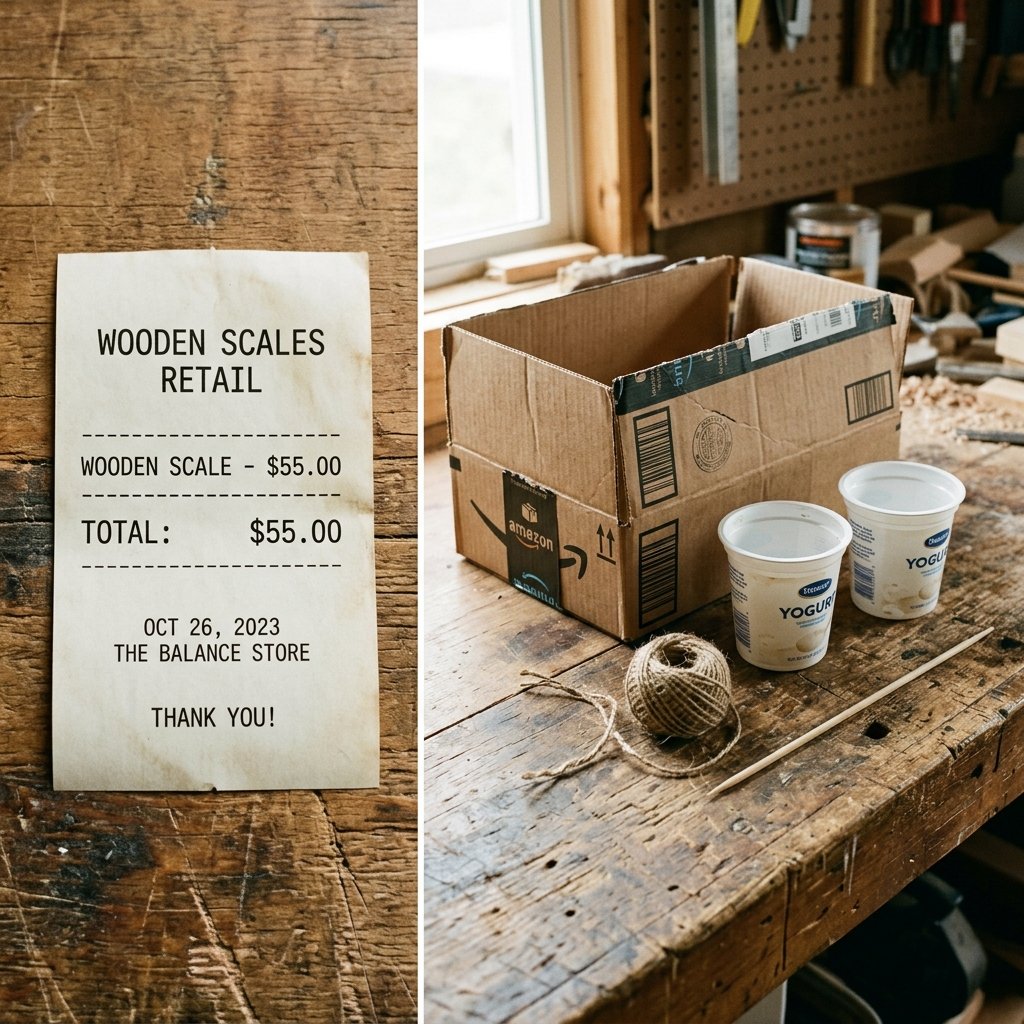
One of the most satisfying aspects of this project is the budget. We are taking everyday household waste and elevating it into a premium educational tool. You likely already have every single item needed for this build sitting in your junk drawer or recycling bin.
Tools and Materials Required
- Heavy-Duty Corrugated Cardboard: At least two large, flat panels from a shipping box. Avoid cardboard that has been crushed or bent.
- A Wooden Skewer or Bamboo Straw: This will serve as our frictionless pivot point.
- Two Identical Receptacles: Small plastic yogurt cups, paper bowls, or the bottoms of two water bottles work perfectly for the weighing pans.
- String or Jute Twine: Approximately 3 feet to hang the pans.
- Hot Glue Gun & Sticks: For rapid, rock-solid assembly.
- Sharp Utility Knife (Box Cutter): A fresh blade is crucial for clean cuts.
- Metal Ruler & Pencil: For precise measurements.
- A Hole Punch or Awl: To thread the string through the cups.
Let us look at the dramatic savings this project offers compared to buying a pre-made commercial alternative.
| Component | Store-Bought Wooden Scale | Our Zero-Budget DIY Scale |
|---|---|---|
| Base & Beam Structure | $25.00 | $0.00 (Recycled Shipping Box) |
| Weighing Pans | $10.00 | $0.00 (Washed Yogurt Cups) |
| Hardware & Pivot | $5.00 | $0.00 (Kitchen Skewer / Twine) |
| Educational Weights | $15.00 | $0.00 (Pebbles, Beans, Pennies) |
| Total Estimated Cost | $55.00 | $0.00 – $1.00 (Cost of Glue) |
Safety Note: This project requires the use of a sharp utility knife and hot glue. All cutting and gluing should be done by an adult. Once assembled, the scale is perfectly safe for children to use, but please ensure the wooden skewer is trimmed and blunted so there are no sharp points!
Step 1: Engineering the Sturdy A-Frame Base
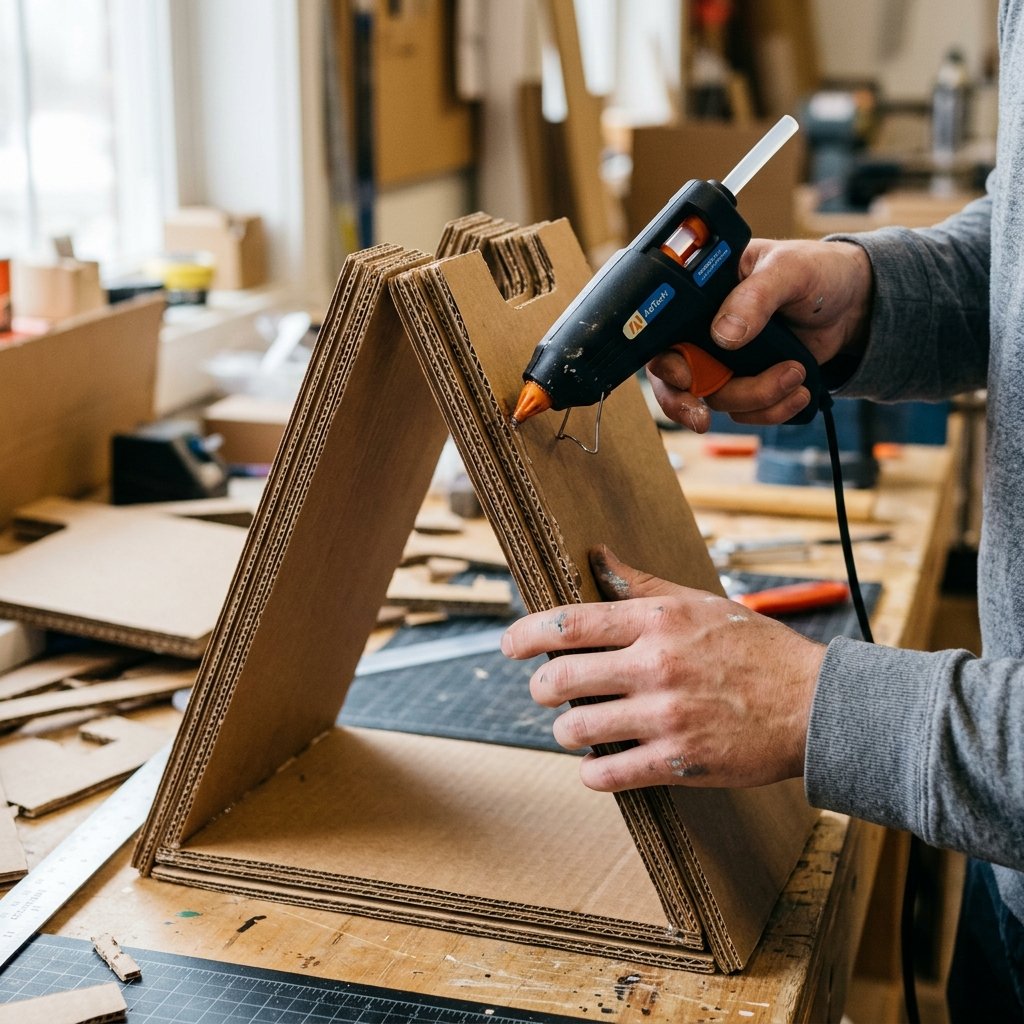
The foundation of our scale needs to be robust enough to handle the enthusiastic play of a toddler. An A-frame design provides the best stability, preventing the scale from tipping over when heavy objects are placed in just one pan.
Cutting the Base Pieces
- Measure the Uprights: Cut two identical triangles or trapezoids from your cardboard. A good size is 10 inches tall with an 8-inch wide base. These will form the front and back of your A-frame.
- Create the Pivot Notch: At the very top peak of both uprights, cut a small U-shaped notch. This notch should be just wide enough to cradle your wooden skewer. Make sure the notches on both pieces are at the exact same height.
- Cut the Support Struts: Cut three rectangular strips measuring 2 inches by 5 inches. These will act as the cross-braces that hold the two uprights together.
- Assemble the Frame: Apply a generous bead of hot glue to the edges of your support struts. Sandwich them between the two uprights—one at the bottom front, one at the bottom back, and one closer to the top. Hold firmly for 30 seconds until the glue sets.
You should now have a free-standing, highly stable cardboard tower with a perfect resting place for your fulcrum at the top. To make it even more rugged, you can reinforce the interior joints with an extra layer of hot glue, acting like caulk to stiffen the structure.
Step 2: Crafting the Balance Beam and Weighing Pans
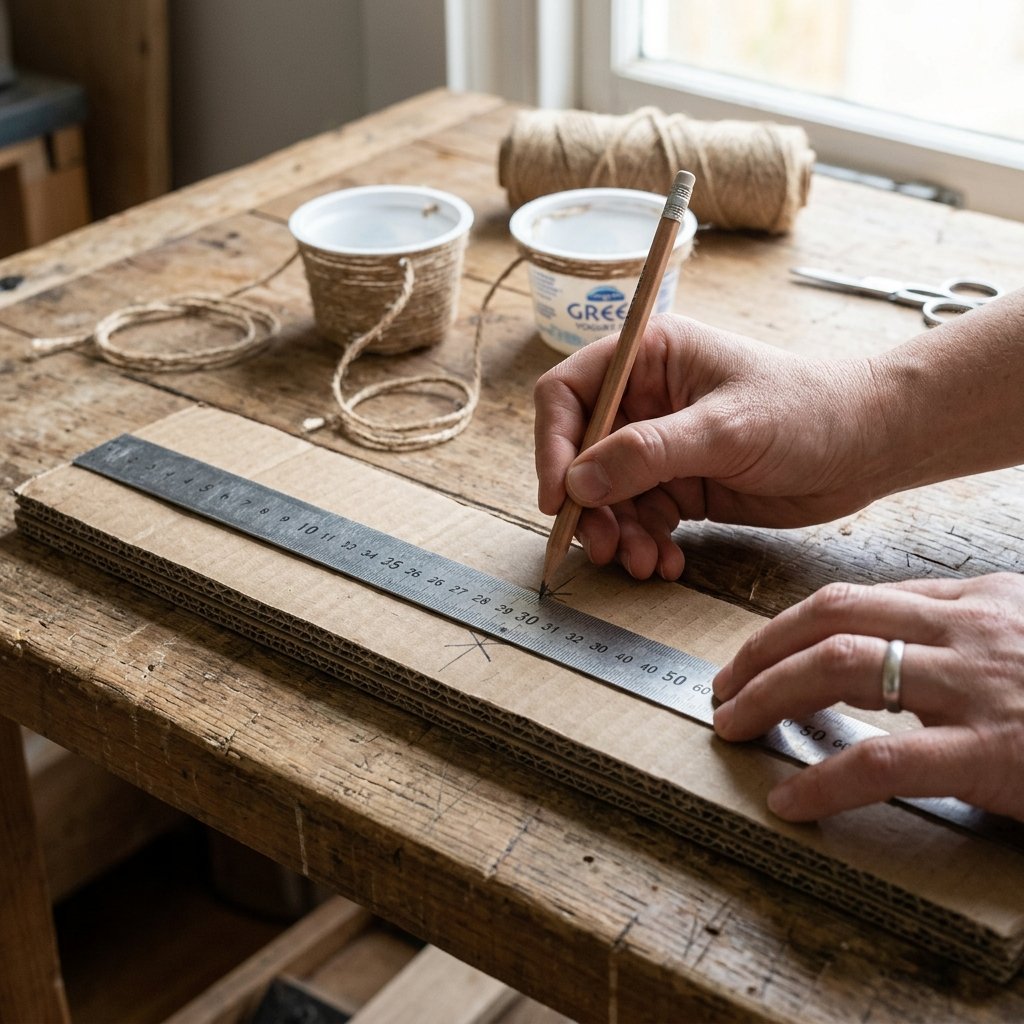
The balance beam is the heart of the instrument. It must be perfectly symmetrical. If one side is longer or heavier than the other, your scale will never balance correctly.
Constructing the Beam
- Cut the Beam: Cut a long rectangle of cardboard measuring 14 inches long and 2 inches wide. For extra strength, cut a second identical piece and glue them together, ensuring the flutes of the cardboard run lengthwise.
- Mark the Center: Use your metal ruler to find the exact center of the beam (at the 7-inch mark). Draw a vertical line.
- Create the Pivot Hole: On that center line, punch a hole about 0.5 inches from the top edge. Do not put the hole perfectly in the middle; keeping it slightly higher than the center of mass ensures the beam will naturally right itself.
- Punch the Pan Holes: Measure exactly 0.5 inches in from both the left and right ends of the beam. Punch a small hole at each mark. These must be perfectly equidistant from the center pivot hole.
Preparing the Weighing Pans
Take your two clean yogurt cups (or paper bowls). Using your hole punch, create three holes evenly spaced around the rim of each cup. Cut six lengths of twine, each exactly 10 inches long.
Thread three pieces of twine through the holes of the first cup, tying secure knots. Gather the three loose ends at the top, ensuring the cup hangs perfectly level, and tie them together into a single loop. Repeat this exact process for the second cup. Finally, attach the loops to the holes at the ends of your cardboard beam using a small S-hook made from a paperclip, or simply tie them directly through the holes.
Step 3: Assembly, Calibration, and The ‘Zeroing’ Trick
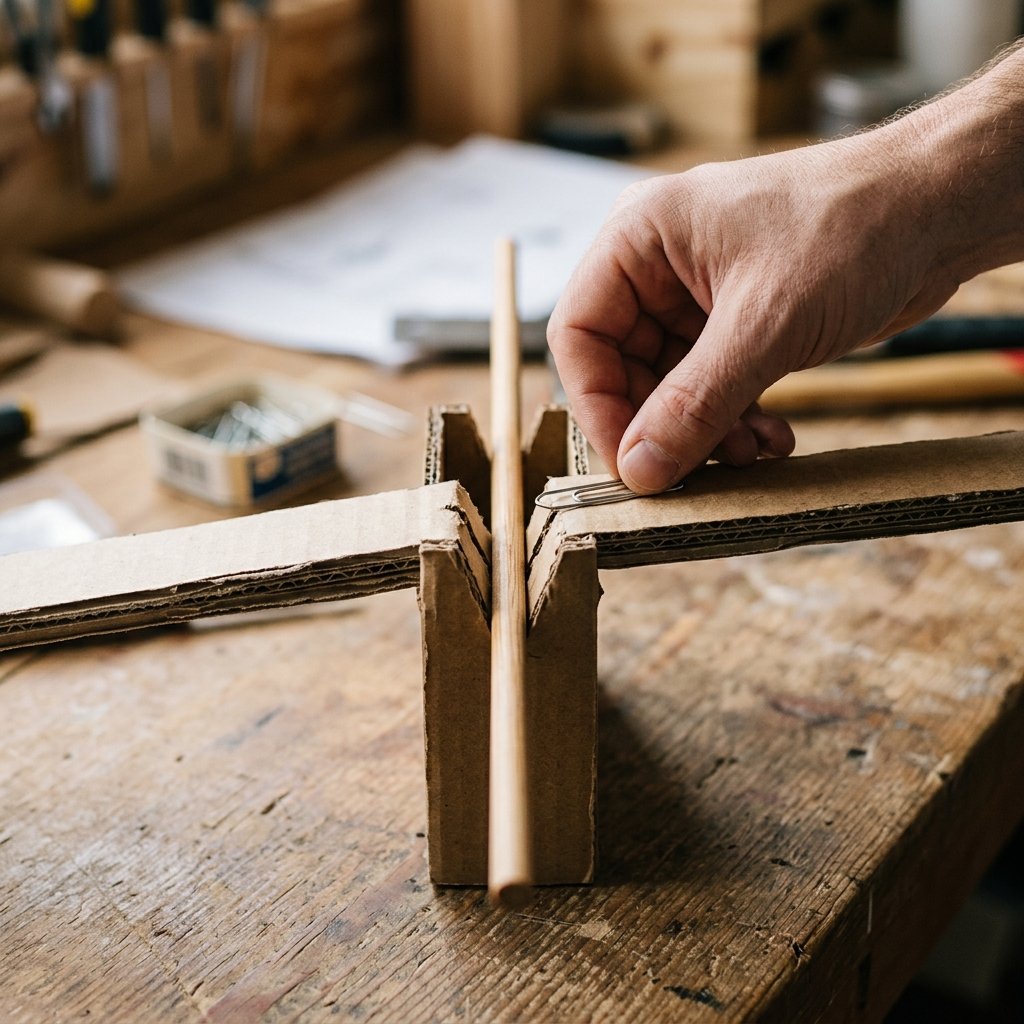
Now comes the magic moment where our individual cardboard pieces become a functional machine. It is time to assemble and calibrate.
Final Assembly
- Slide your wooden skewer through the center pivot hole of the balance beam.
- Rest the ends of the skewer in the U-shaped notches at the top of your A-frame base.
- Trim any excess length off the skewer, leaving about an inch hanging over each side. Add a dab of hot glue to the very ends of the skewer to act as a stopper, preventing it from sliding out of the notches.
The Art of Calibration
When you let go of the beam, what happens? In a perfect world, it will settle into a perfectly horizontal line. However, because we are working with upcycled materials, one side might dip slightly due to a microscopic difference in cardboard density or glue weight.
Do not panic! This is where we use a clever, budget-savvy engineering trick called “zeroing the scale.”
The Paperclip Calibration Trick: If the right side of your scale is dipping, the left side is too light. Take a standard metal paperclip and slide it onto the top edge of the beam on the left side. Slide it closer to or further away from the center fulcrum until the beam levels out perfectly. The paperclip acts as a micro-weight, allowing you to achieve absolute zero!
Once your scale is resting perfectly level, you have successfully built a precision instrument. Give the beam a gentle tap; it should rock smoothly back and forth and eventually settle right back to horizontal.
Montessori Math Play: Genius Games to Play with Your DIY Scale
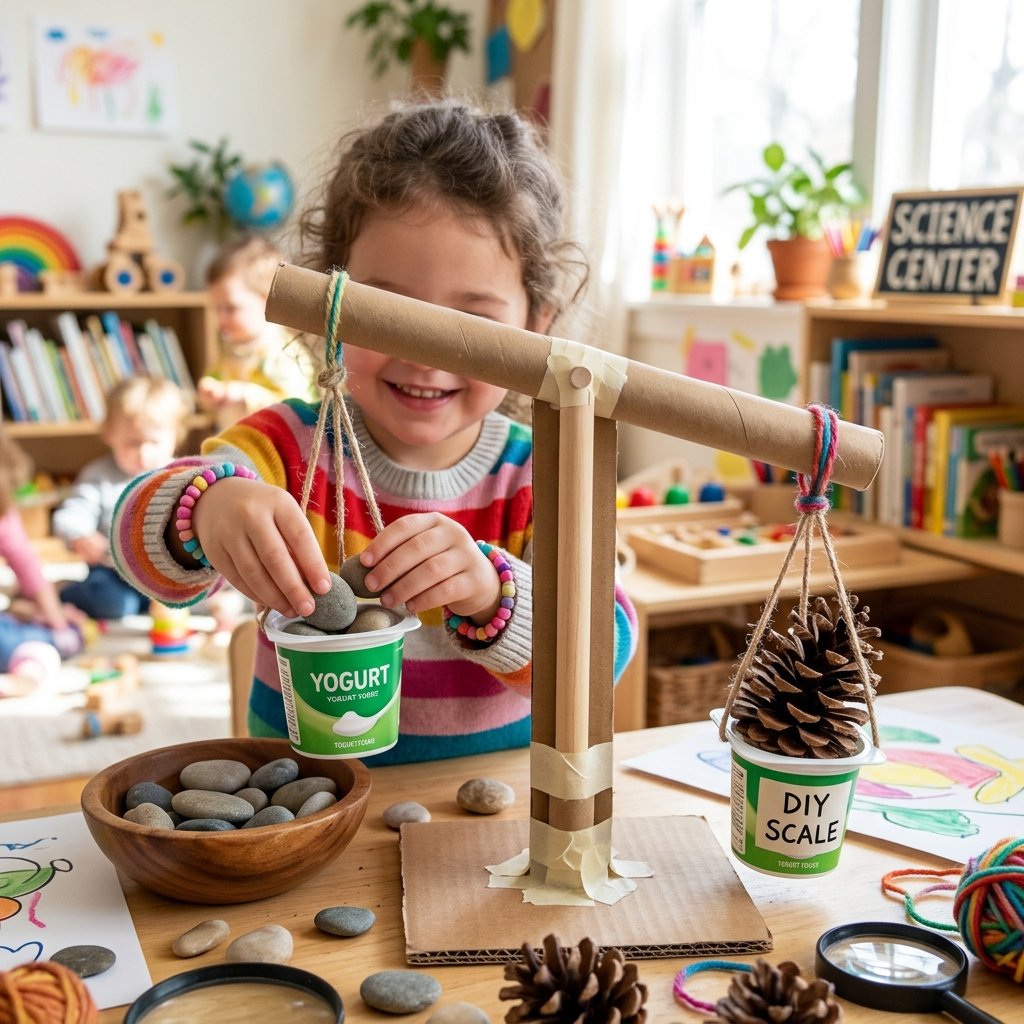
Your rugged, beautifully upcycled scale is complete. Now, it is time to put it to work. A balancing scale is a cornerstone of the Montessori math curriculum because it transforms abstract concepts (like “greater than” or “less than”) into a tangible, visual, and physical experience.
1. The “Heavier or Lighter?” Nature Hunt
Take the scale outside! Have your child gather items from the yard: pinecones, rocks, leaves, and acorns. Place a medium-sized rock in one pan. Ask your child to guess how many acorns it will take to balance the rock. This teaches estimation and weight comparison. “Look, the rock side is touching the ground. That means it is heavier. Let us add more acorns!”
2. One-to-One Correspondence with Pennies
Use standard coins (pennies work great as they are uniform in weight) to teach basic counting and algebraic thinking. Place 5 pennies in the left pan. Hand your child a pile of pennies and ask them to make the scale balance. They will learn that 5 units on one side equals 5 units on the other side. This is the foundational concept of algebraic equations (x = y).
3. The Mystery Weight Game
This is a fantastic game for older toddlers and preschoolers. Find a small, opaque bag and put a “mystery object” inside (like a toy car). Place it in one pan. Give your child a set of standard weights (like wooden building blocks or large glass gems). Have them add blocks to the other side until it balances. Then, they can confidently say, “The toy car weighs exactly four blocks!”
4. Liquid Volume vs. Weight
Because we used plastic yogurt cups for our pans, they can hold liquids! (Just make sure your hot glue holes are sealed). Pour 1/4 cup of water into the left pan. Ask your child to pour dry rice or sand into the right pan until it balances. This is a brilliant way to introduce the concept of density—showing that volume and weight are not always the same thing.
Conclusion
Who knew that a pile of discarded Amazon boxes and a couple of empty yogurt cups could yield such an incredible educational tool? By taking the time to build this DIY cardboard balancing scale, you have done more than just save $50. You have modeled resourcefulness, practical engineering, and creative problem-solving for your children.
You have proven that high-quality, Montessori-aligned education does not require a massive budget or expensive wooden boutique toys. It simply requires a bit of crafty ingenuity, a hot glue gun, and a willingness to look at household trash and see the hidden treasure within.
So, clear off the kitchen table, set up your new rugged cardboard scale, and watch your little ones discover the magic of gravity, weight, and mathematics. They will be engaged for hours, and you can take pride in knowing you built their new favorite learning tool with your own two hands. Happy crafting, and keep upcycling!

Makenzie is the founder and lead writer at MoneyHackTips.com — a personal finance blog dedicated to delivering street-smart financial wisdom for real people on real budgets. With 300+ published articles covering everything from debt management to investing fundamentals, Makenzie’s mission is to make every dollar work harder. When not writing about money hacks, Makenzie is testing frugal living strategies, optimizing side hustles, and helping readers build financial freedom from scratch.