
Luxury Stationery on a Shoestring Budget
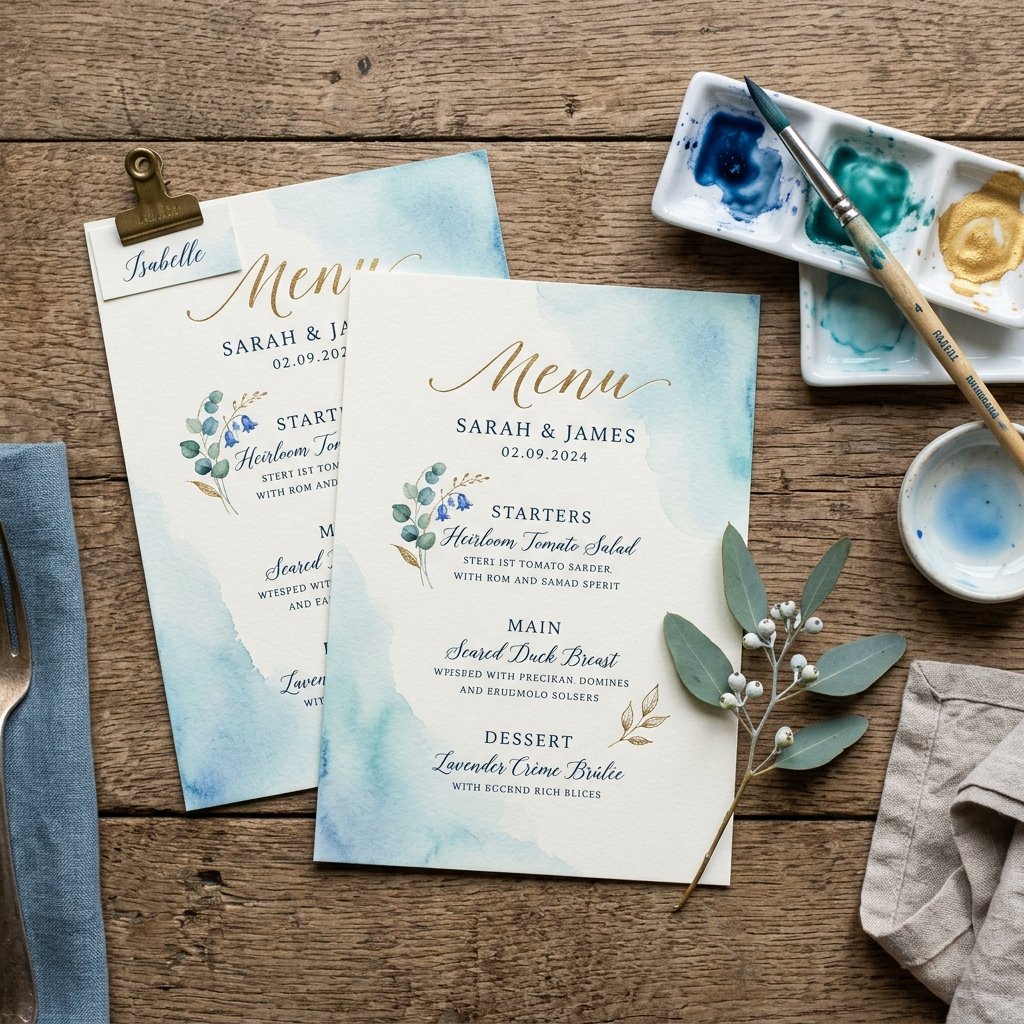
Planning a wedding often feels like a series of compromises between your vision and your bank account. However, stationery is one area where a little elbow grease and a resourceful mindset can save you hundreds of dollars. Custom-painted watercolor menus can retail for $3.00 to $5.00 per piece at high-end boutiques. For a guest list of 100, that is a staggering $500 just for paper! Today, we are going to flip the script. By leveraging the clever ‘wet-on-wet’ technique and sourcing materials with a crafty-expert eye, you can create a full set of gorgeous, bespoke menus for under $10 total. Whether you are a handy parent helping with a child’s big day or a budget bride looking for that masculine-elegant touch, this guide will show you how to achieve professional results with zero artistic experience.
The $10 Budget Breakdown & Material Sourcing
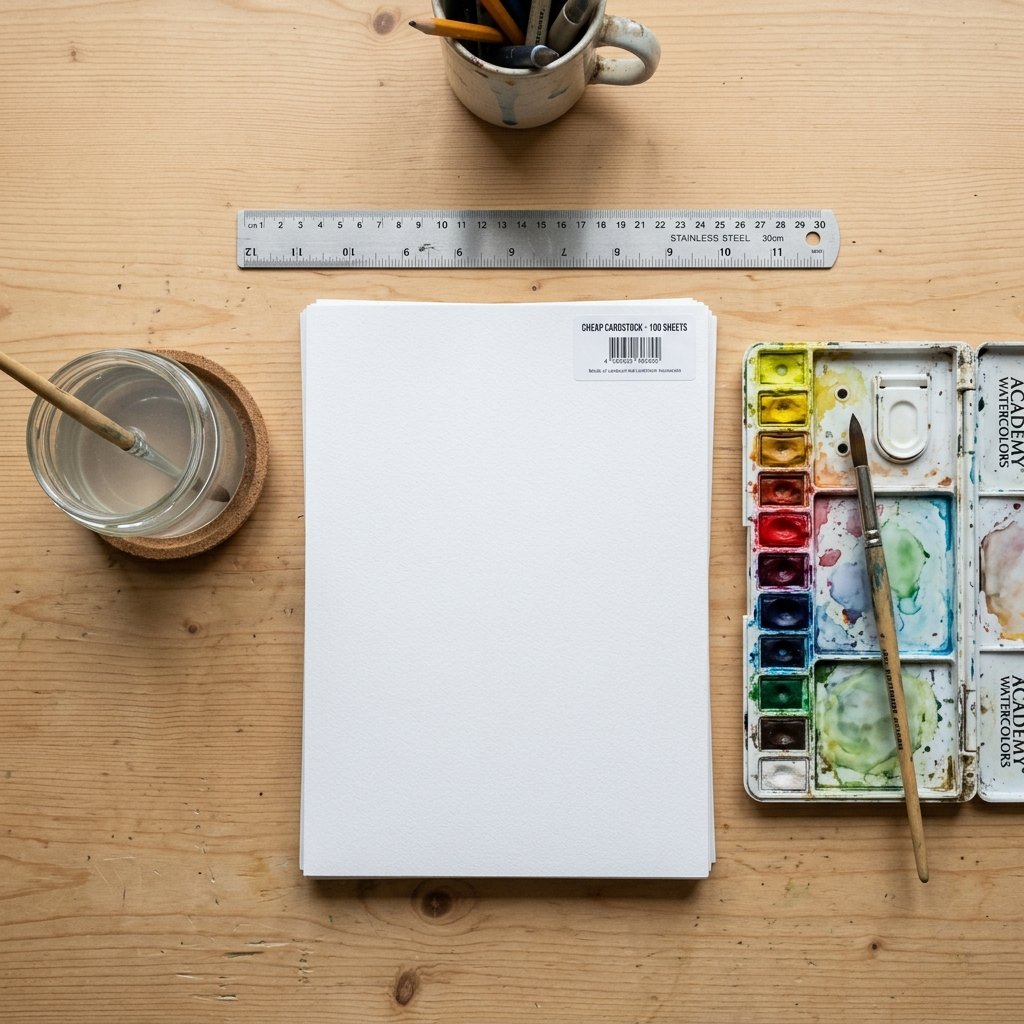
The secret to staying under the $10 mark is knowing exactly what to buy and what to repurpose. We aren’t looking for professional-grade Arches cold-press paper; we are looking for practical alternatives that hold pigment without warping. For this project, we will focus on high-yield materials found at discount stores or even in your own kitchen pantry.
| Item | Source | Estimated Cost |
|---|---|---|
| Heavyweight White Cardstock (50pk) | Dollar Tree / Sale Bin | $1.25 |
| Watercolor Paint Set (Basic 12-color) | Discount Store | $1.25 |
| Large Flat Wash Brush | Existing / Thrifted | $0.00 |
| Gold Metallic Marker or Paint | Dollar Store | $1.25 |
| Paper Trimmer or Metal Ruler/Blade | Owned / Borrowed | $0.00 |
| Natural Twine or Cotton Scraps | Upcycled | $0.00 |
| Home Printer Ink (Draft Mode) | Existing | $5.00 |
| Total Project Cost | – | $8.75 |
Budget Mantra: “Luxury isn’t about the price tag; it’s about the intentionality of the hand that crafted it.”
Prepping Your Canvas: The Art of the Perfect Cut
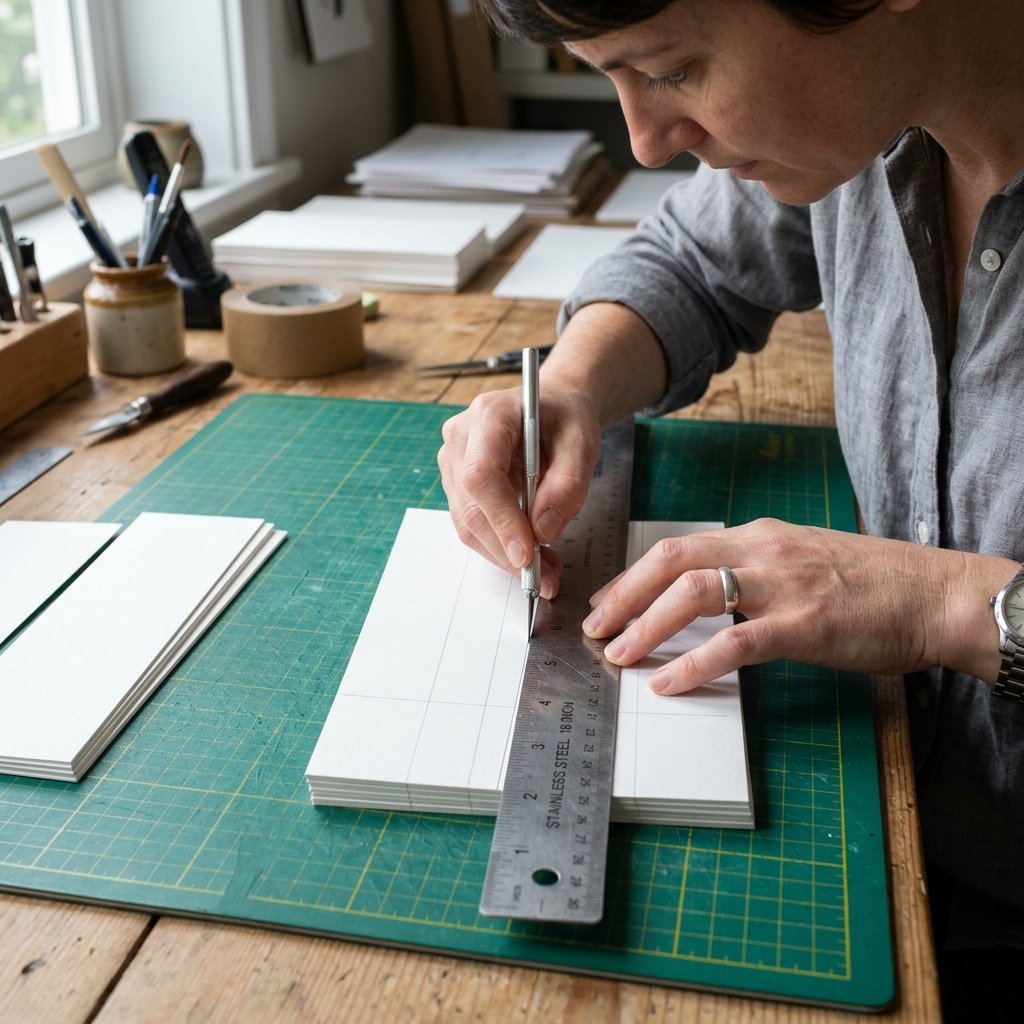
Sizing for Impact
Standard wedding menus are usually 4″ x 9″ (DL size) or 5″ x 7″. To maximize your $1.25 pack of cardstock, we recommend the 4″ x 9″ slim profile. This allows you to get two menus per sheet of 8.5″ x 11″ paper with minimal waste. Use a metal ruler and a sharp utility knife for a rugged, clean edge, or use a paper trimmer if you have one. If you want a more ‘high-end’ look, you can create deckled edges by folding the paper and tearing it against a straight edge. This adds a masculine-elegant texture that mimics expensive handmade paper.
The Layout Hack
Before painting, print your menu text. Use a minimalist serif font for a timeless look. Set your printer to ‘Draft’ or ‘Grey’ mode to save ink. Since we are applying water later, ensure your printer uses laser toner (which is waterproof) or, if using inkjet, allow the ink to dry for 24 hours before painting to prevent bleeding.
The Master Technique: The ‘Wet-on-Wet’ Watercolor Wash
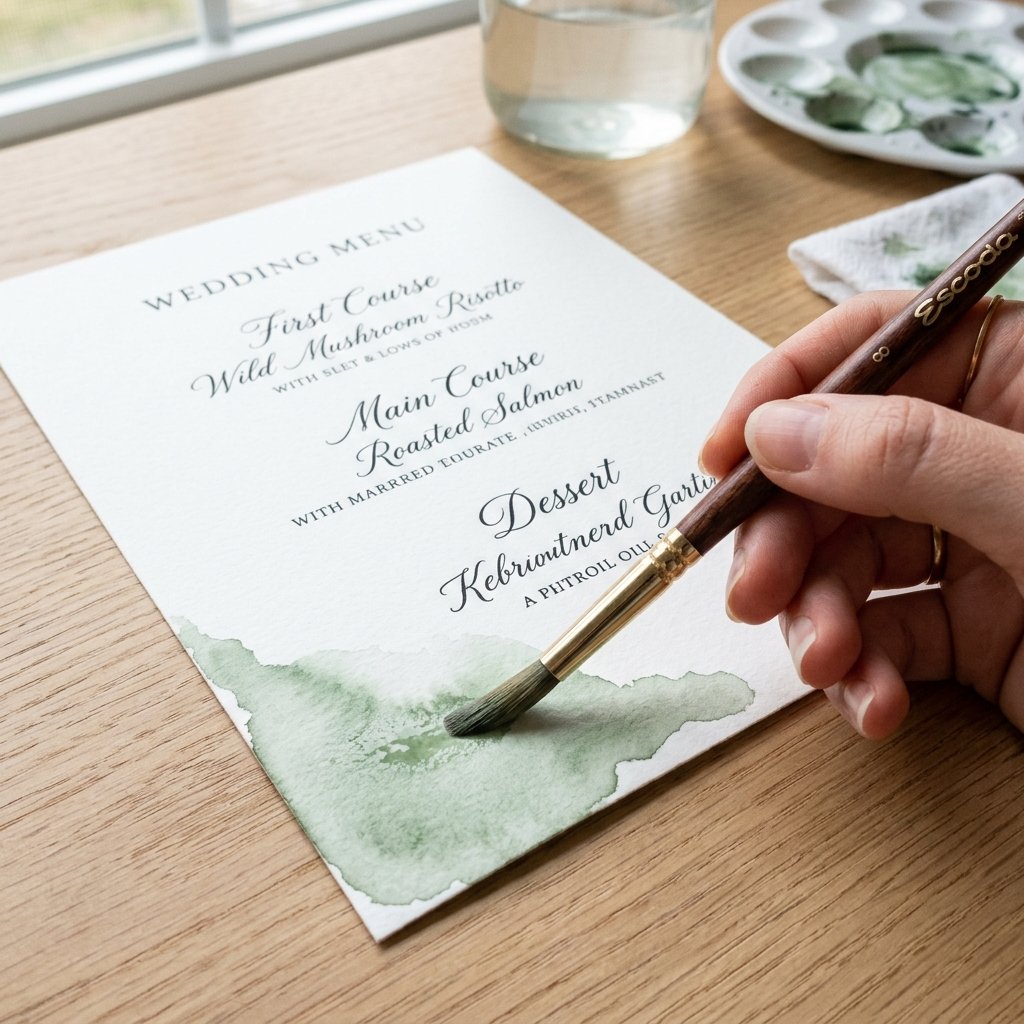
This is where the magic happens. The ‘wet-on-wet’ technique allows colors to bleed and blend naturally, creating a sophisticated ombre effect that looks like a professional watercolorist did it. Follow these steps for a consistent, crafty-expert finish:
- Hydrate the Paper: Dip your large flat brush in clean water and lightly coat the bottom third of your menu. The paper should be damp and glistening, but not forming puddles.
- Load the Pigment: Pick a color that matches your wedding theme (e.g., Dusty Blue, Sage Green, or Terracotta). Mix a small amount of paint with water on your palette until it reaches the consistency of milk.
- The First Stroke: Apply the paint to the very bottom edge of the wet paper. Watch as the color ‘climbs’ up the damp fibers.
- The Blend: Use a clean, damp brush to pull the color upwards, fading it out into the white of the paper. This creates that gorgeous gradient.
- The Splatter (Optional): For a rugged, artistic look, tap a pigment-loaded brush over the menu to create tiny dots of concentrated color.
Pro Tip: Work in batches of 10. By the time you finish the tenth menu, the first one will be ready for the next step. Total active time per menu is roughly 45 seconds.
Adding the ‘Midas Touch’ with Budget Gold Accents
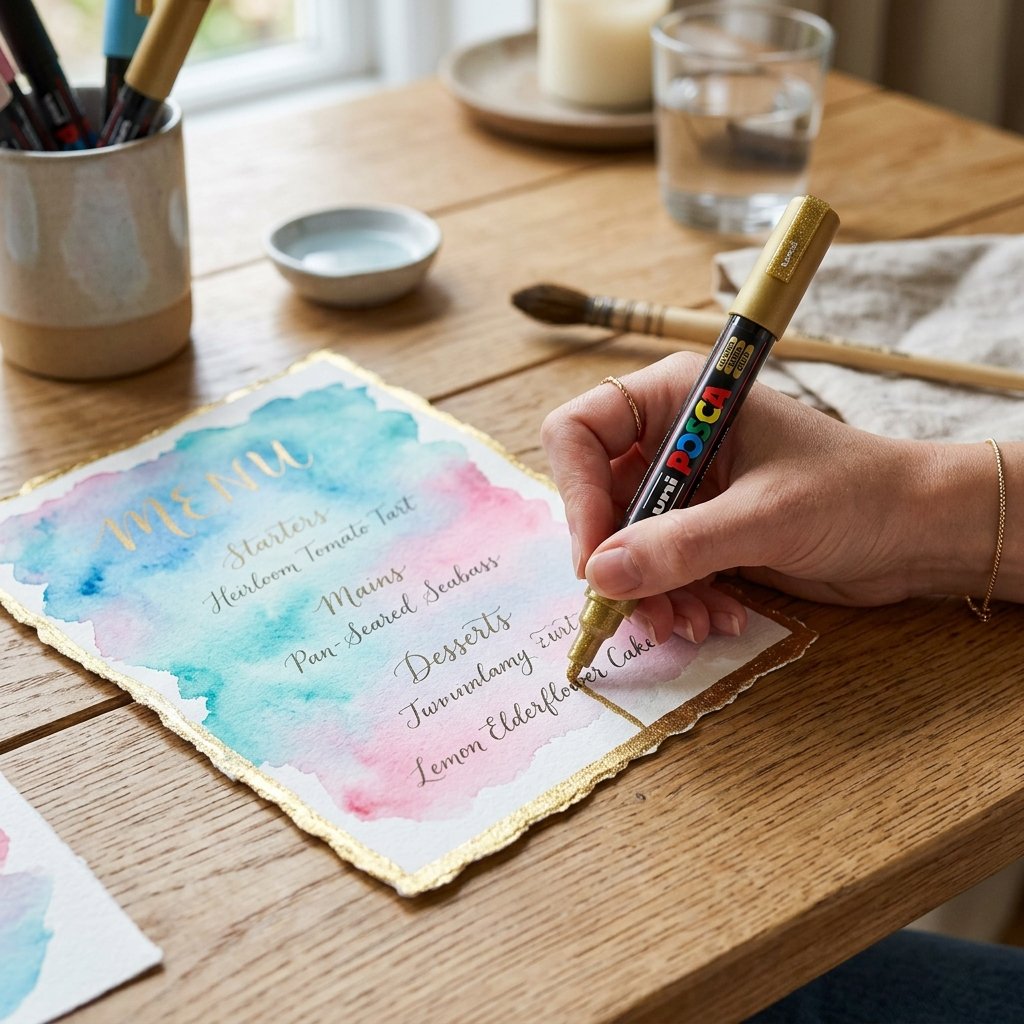
The $1.25 Gold Rim
To elevate these menus from ‘DIY’ to ‘Designer,’ we need a metallic element. High-end stationery often uses gold foil stamping, which is expensive. Our resourceful alternative? A gold metallic permanent marker or a small pot of gold acrylic paint. Simply run the side of the marker along the very edges of the paper. This creates a subtle gold frame that catches the light beautifully on a dinner table.
The Faux Wax Seal
If you have a glue gun, you can create ‘wax’ seals for pennies. Use colored glue sticks (or paint over standard clear ones with your gold marker) and press a vintage button or a flat-bottomed metal object into the cooling glue. This adds a sophisticated, tactile element that guests will love to touch.
Scaling for Success: Batch Processing 100+ Menus
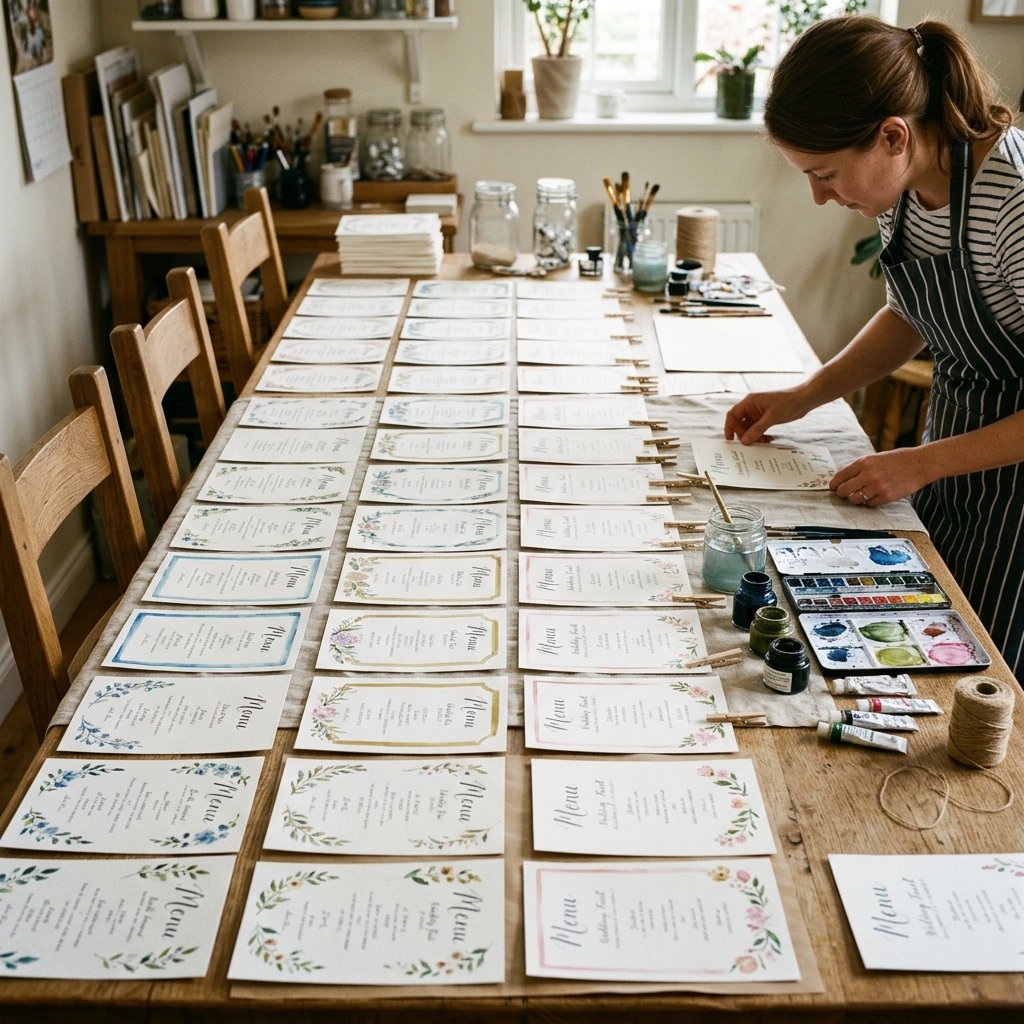
When you are a handy parent or a busy bride, efficiency is key. You don’t want to spend 20 hours on menus. Use this practical workflow to finish 100 menus in an afternoon:
- Station 1: The Cut (30 mins): Cut all cardstock to size first.
- Station 2: The Print (15 mins): Run all sheets through the printer in one go.
- Station 3: The Wash (60 mins): Lay out 20 menus at a time on a large table covered in plastic. Apply the watercolor wash rapidly.
- Station 4: The Dry (2 hours): Let them air dry. Do not use a hairdryer, as it can blow the pigment around unevenly.
- Station 5: The Finish (45 mins): Apply gold edges and any twine or ribbon once completely dry.
| Phase | Estimated Time (100 Menus) | Effort Level |
|---|---|---|
| Cutting/Printing | 45 Minutes | Low |
| Painting | 60 Minutes | Medium (Creative) |
| Finishing Touches | 45 Minutes | Low |
| Total Time | 2.5 Hours | Very Productive |
Safety and Preservation Tips
Safety Note: When using utility knives or paper trimmers, always cut away from your body and use a self-healing mat or thick cardboard to protect your table surface. If using spray fixatives to set the paint, ensure you are in a well-ventilated area.
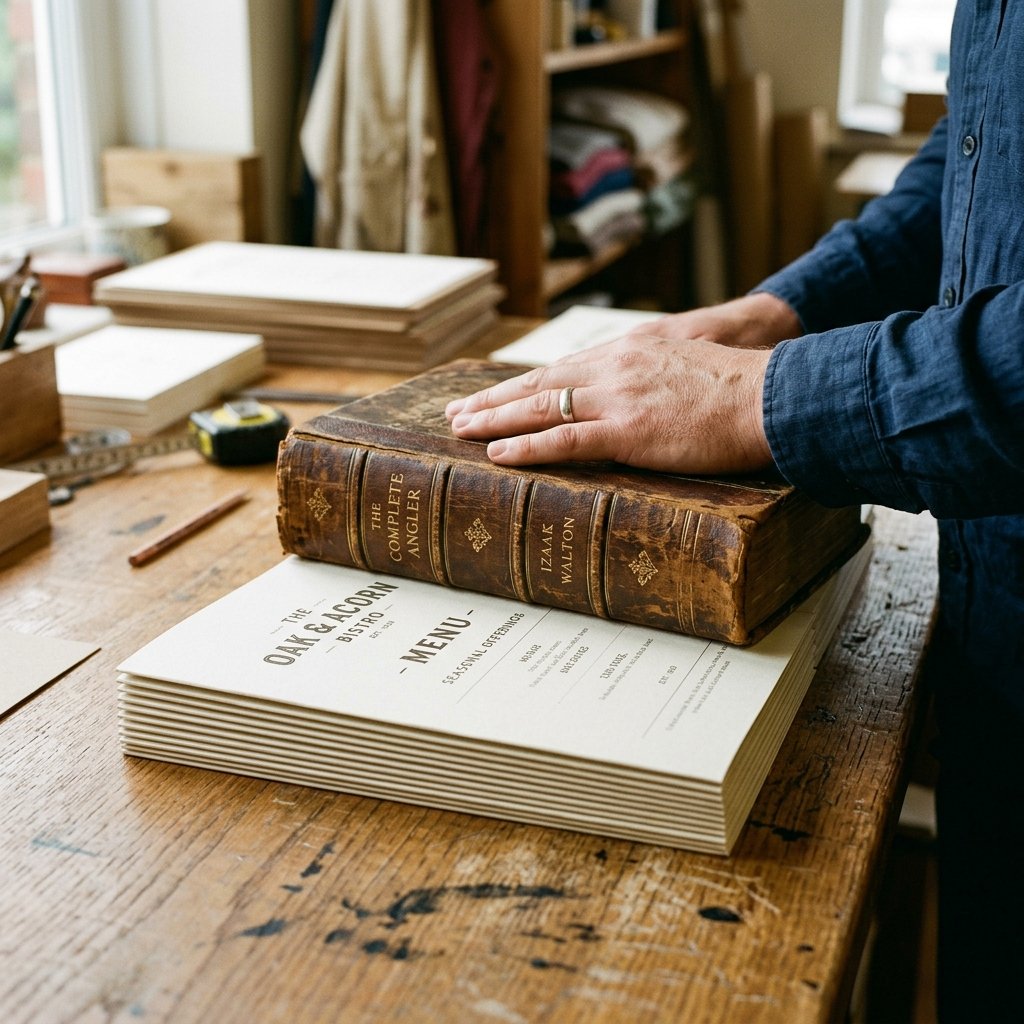
To ensure your menus stay pristine until the big day, store them flat in a cool, dry place. If the paper curls slightly from the water, place a heavy book on top of the stack once they are 100% dry to flatten them back out. Avoid stacking them while damp, or the pigment will transfer between sheets.
Conclusion
The Result: Elegant, Handmade, and Uniquely Yours
By following this budget-savvy guide, you have successfully bypassed the ‘wedding tax’ and created something truly special. These watercolor wash menus offer a masculine-elegant charm that mass-produced stationery simply cannot replicate. You’ve turned $10 worth of basic supplies into a high-end design element that will grace your wedding tables and impress your guests. Remember, the best DIY projects aren’t about perfection; they are about the resourceful spirit and the love you put into every brushstroke. Now, take that $490 you saved and put it toward your honeymoon or your first home together. Happy crafting!

Makenzie is the founder and lead writer at MoneyHackTips.com — a personal finance blog dedicated to delivering street-smart financial wisdom for real people on real budgets. With 300+ published articles covering everything from debt management to investing fundamentals, Makenzie’s mission is to make every dollar work harder. When not writing about money hacks, Makenzie is testing frugal living strategies, optimizing side hustles, and helping readers build financial freedom from scratch.