
The Hidden Potential in Your Closet
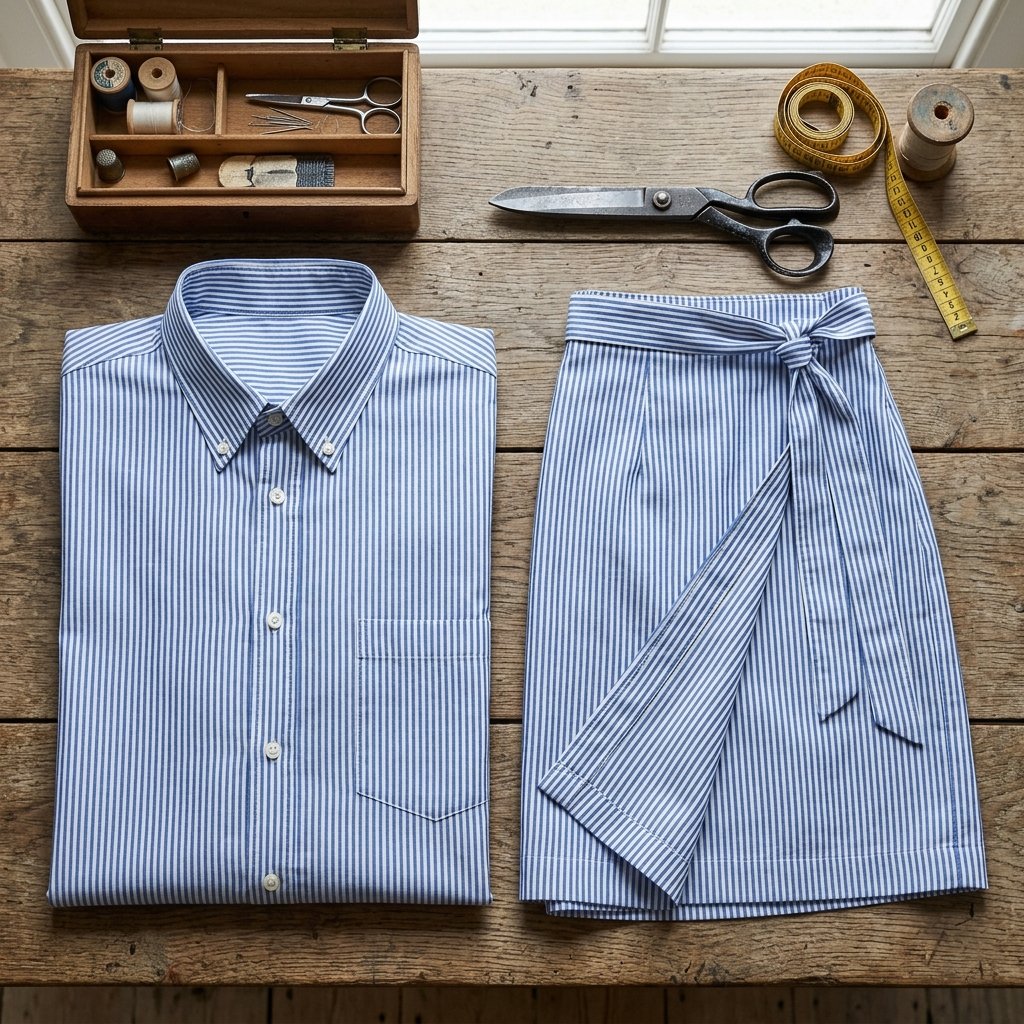
Every year, millions of tons of textiles end up in landfills, and often, the most durable garments—men’s high-quality button-down shirts—are the first to be discarded when they lose their ‘crispness’ or go out of style. As a budget-savvy upcycler, I see these not as waste, but as high-quality yardage. A men’s XL or XXL shirt provides nearly two yards of premium cotton, oxford, or linen fabric that is already pre-shrunk and perfectly patterned. In this guide, we are going to reclaim that fabric and transform it into a stunning, bespoke wrap skirt that looks like it stepped off a high-end boutique rack. Whether you are a frugal DIYer or a handy parent looking to save on back-to-school wardrobes, this project is your ticket to a $0 fashion upgrade.
Sourcing and Selection: Finding the Perfect ‘Donor’ Shirt
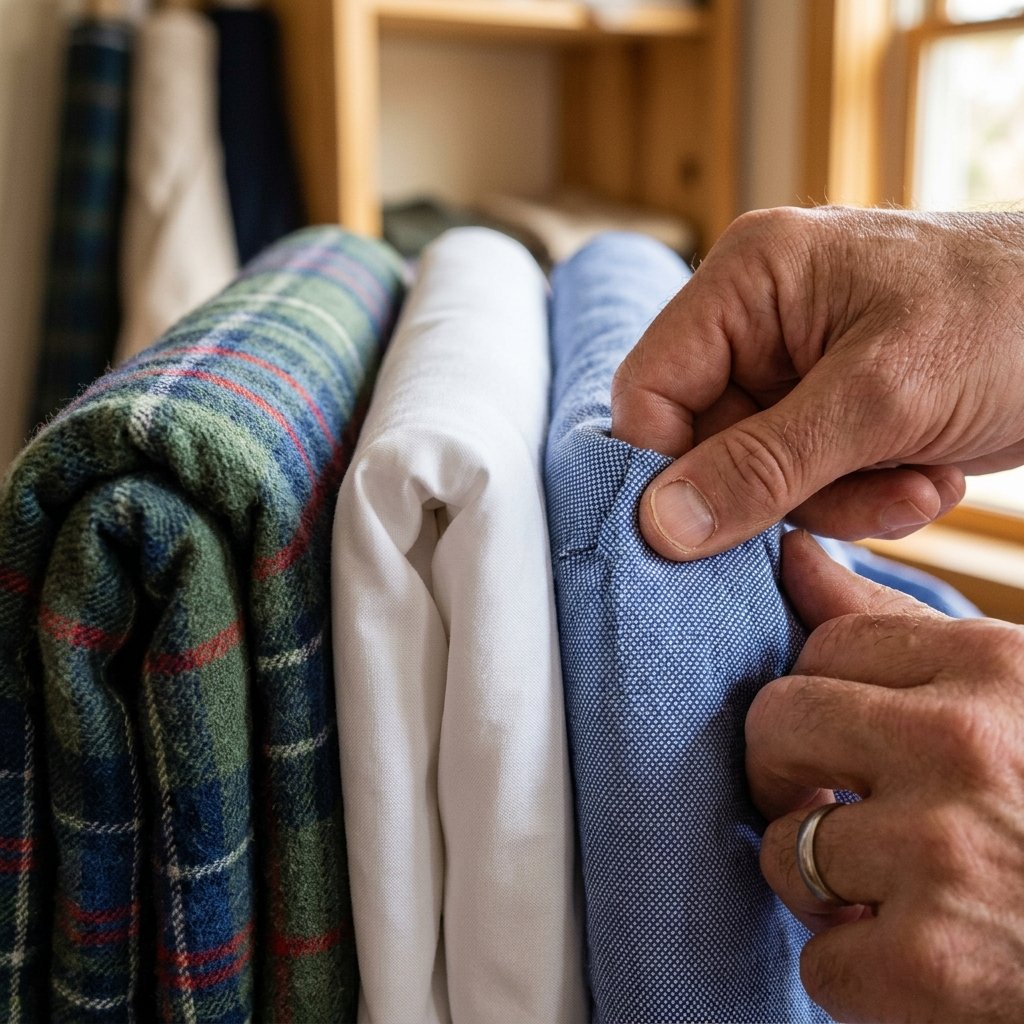
Not all shirts are created equal. When scouting for your project—whether in your own closet, a thrift store, or a ‘free’ bin—you need to look for specific structural elements that will make the transformation easier. The goal is to maximize the existing features of the shirt, such as the button placket and the finished hem, to minimize the amount of sewing you have to do.
What to Look For:
- Size Matters: Aim for a shirt that is at least 2 to 3 sizes larger than what you typically wear. This ensures you have enough ‘sweep’ (width) for the wrap to overlap securely.
- Fabric Quality: Look for 100% cotton, heavy linen, or high-quality flannel. Avoid thin, cheap polyesters that fray easily.
- The Hemline: Check if the shirt has a ‘scooped’ hem (common in dress shirts) or a flat hem. A flat hem is easier to turn into a skirt, but a scooped hem can add a unique designer flair to the side of your wrap skirt.
| Shirt Size | Potential Skirt Waist (Inches) | Estimated Yield |
|---|---|---|
| Large | 24″ – 28″ | Mini Skirt |
| XL | 30″ – 34″ | Midi Skirt |
| XXL+ | 36″+ | Full Wrap/A-Line |
Resourceful Tip: Look for shirts with ‘French Cuffs.’ The extra fabric in the cuffs and the unique buttonholes can be repurposed into beautiful belt loops or decorative pocket flaps.
The Deconstruction Phase: Cutting for Success
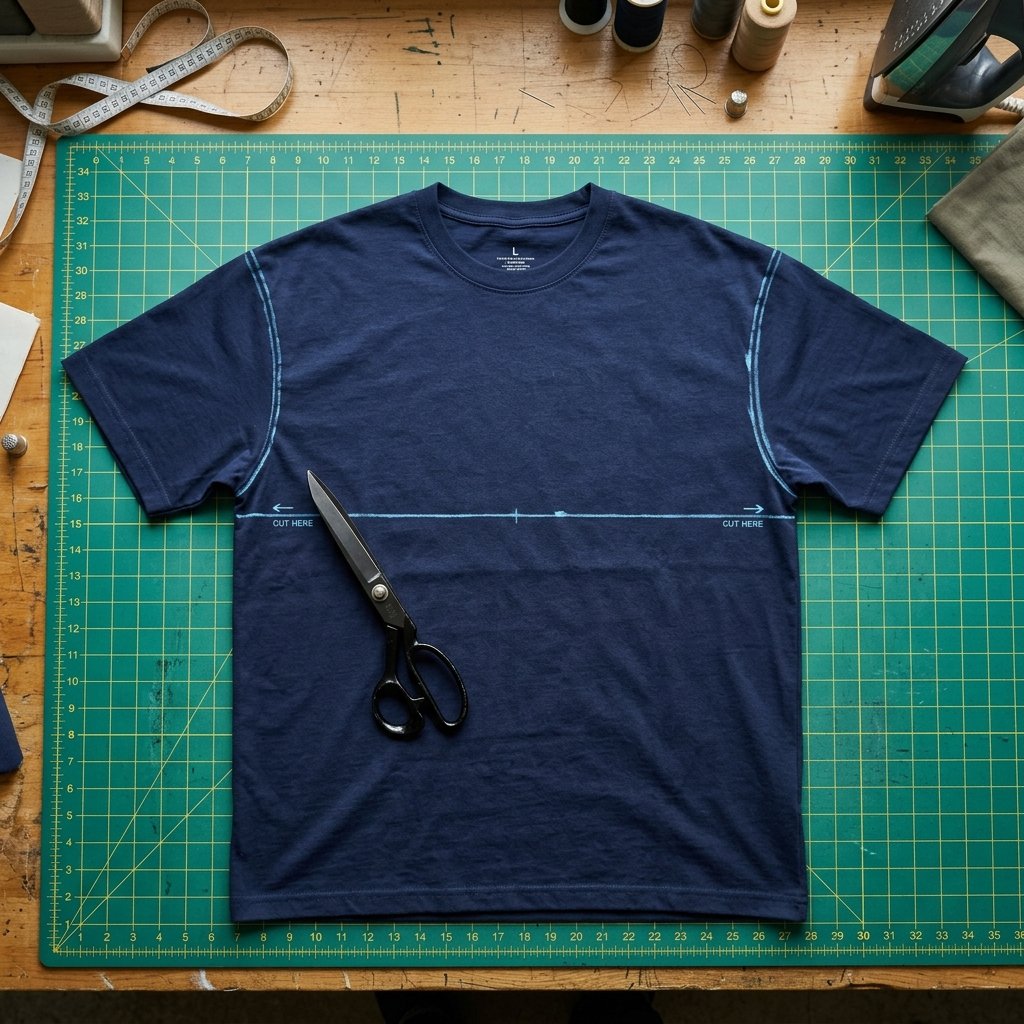
Before we sew, we must dismantle. This is where the rugged, practical side of DIY comes in. You don’t need a fancy pattern; you just need a sharp pair of shears and a steady hand. We are going to isolate the ‘body’ of the shirt to create the skirt panels and use the sleeves to create the waist ties.
Step-by-Step Cutting Guide:
- The Neckline: Cut straight across the shirt, just below the collar and the back yoke. This creates a clean, straight edge for your new waistband.
- The Sleeves: Cut the sleeves off following the armscye (the armhole seam). Do not throw these away! We will open these up to create long strips for the wrap ties.
- The Side Seams: If the shirt is excessively wide, you may want to open the side seams to taper the skirt. However, for a classic wrap, keeping the side seams intact provides structural integrity.
By utilizing the existing button placket as the center or side detail of your skirt, you save yourself the hardest part of garment construction: the closures. We will reposition the buttons to fit your waist perfectly, ensuring a custom-tailored feel for $0.
Assembly: Crafting the Wrap and Waistband
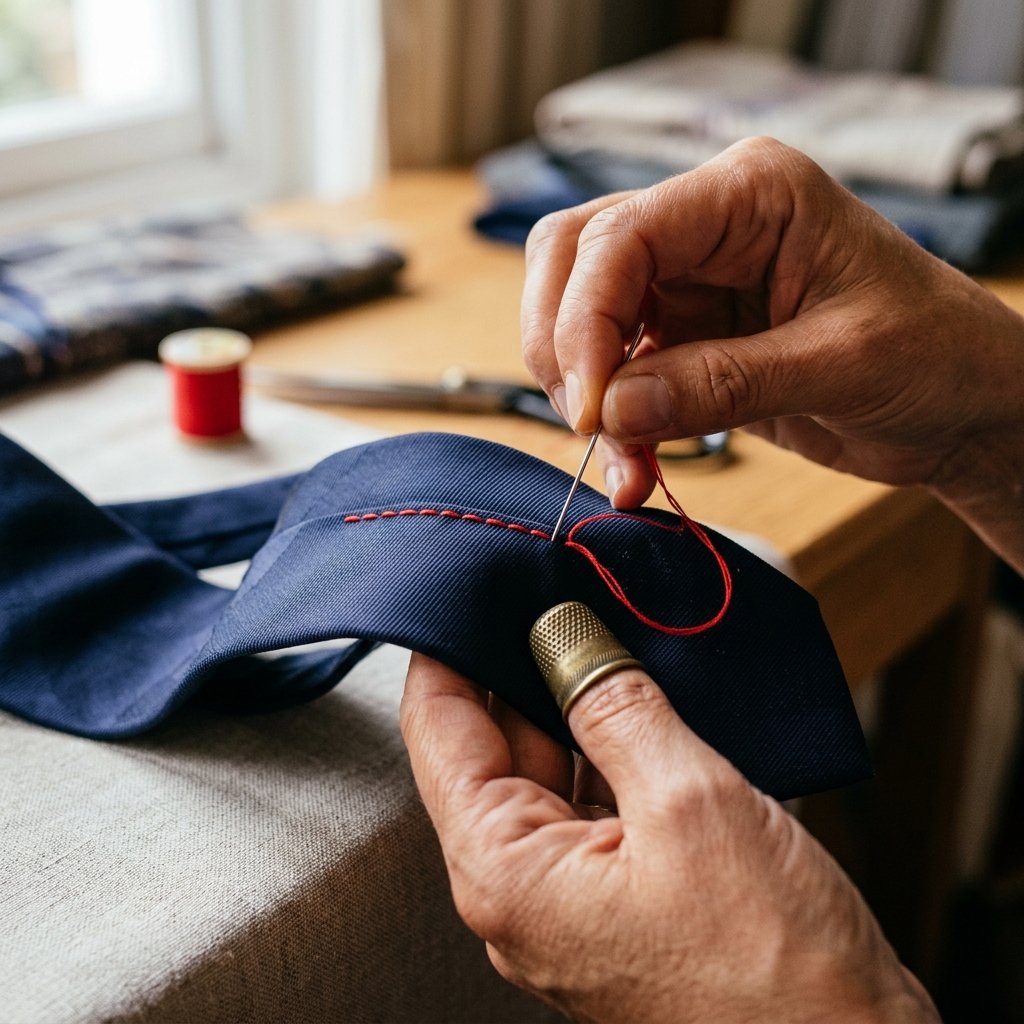
Now we bring the pieces together. The magic of a wrap skirt lies in its adjustability. We will use the fabric from the sleeves to create a sturdy, masculine-elegant sash that ties the whole look together. This is a crafty-expert trick that ensures nothing goes to waste.
Creating the Sash:
- Cut the sleeves open along the seam and flatten them out.
- Cut long 4-inch wide strips from the sleeve fabric.
- Sew the strips end-to-end to create two long ties (approximately 30-40 inches each).
- Press the seams flat to ensure a professional, high-end finish.
Attaching the Waistband:
Fold the top edge of your shirt body down by 1/2 inch and press. Fold it again by 1 inch to create a clean casing. Insert your newly made ties into the ends of this casing and stitch them securely using a reinforced backstitch. This ensures the skirt can handle the tension of being tied tightly at the waist.
| Task | Hand-Stitch Type | Machine Setting |
|---|---|---|
| Hemming | Blind Stitch | Zig-Zag or Straight |
| Securing Ties | Backstitch | Reinforced Straight |
| Darts (Optional) | Running Stitch | Straight (Length 2.5) |
The Tailor’s Secret: Adding Darts for a Flattering Fit
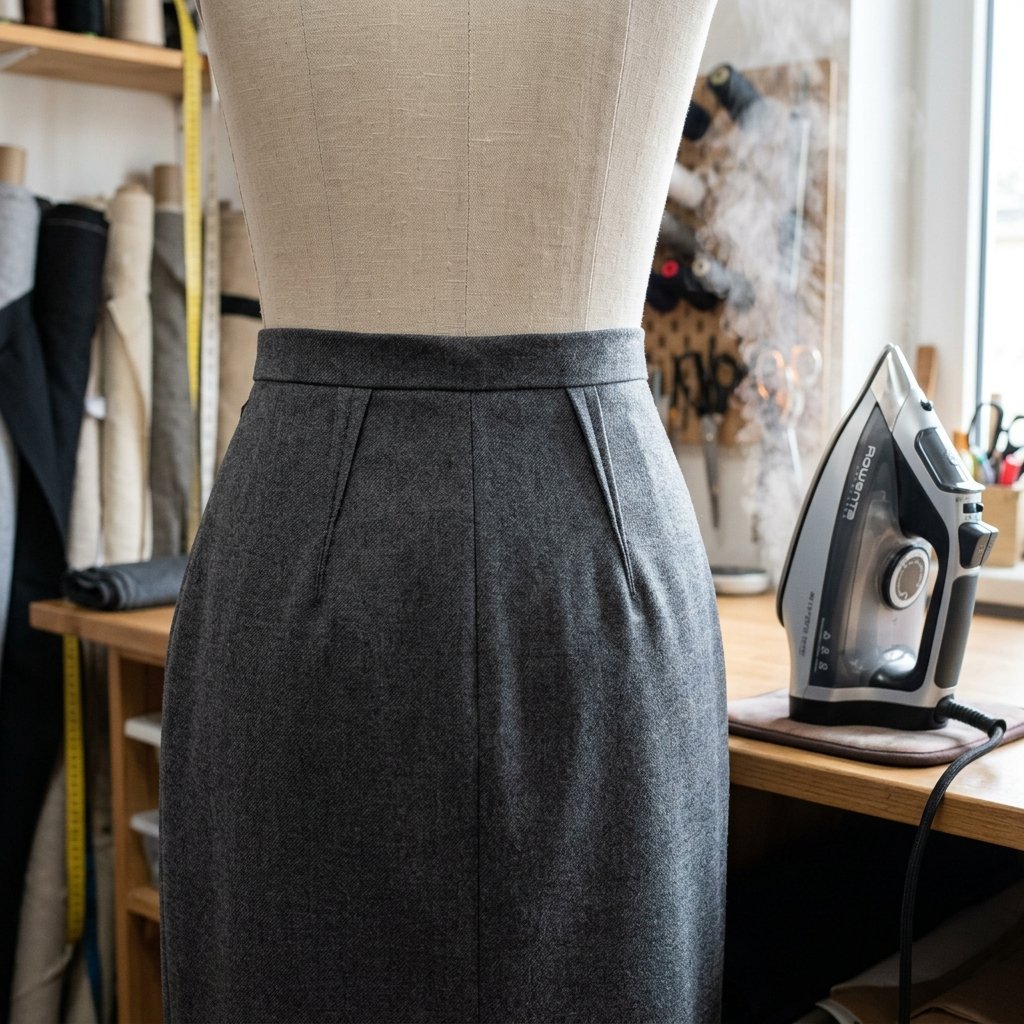
A common mistake in ‘thrift flipping’ is leaving the garment too boxy. To give your wrap skirt a stunning, high-end silhouette, we need to add darts. Darts are small, wedge-shaped folds sewn into the fabric to help it contour to the curves of the body.
How to Pin and Sew Darts:
- Put the skirt on (pin it loosely) and stand in front of a mirror.
- Pinch the excess fabric at the small of your back and over the hips.
- Pin these ‘pinches’ into triangles that point toward the fullest part of your curves.
- Sew along the pinned line, starting at the waistband and tapering to a point. Never knot the thread at the point; instead, leave long tails and tie them by hand to prevent a ‘puckered’ look.
Mantra for Success: “Measure twice, pin once, and always press your seams. A hot iron is the difference between a ‘homemade’ project and a ‘handmade’ masterpiece.”
Finishing Touches: Hems and Styling
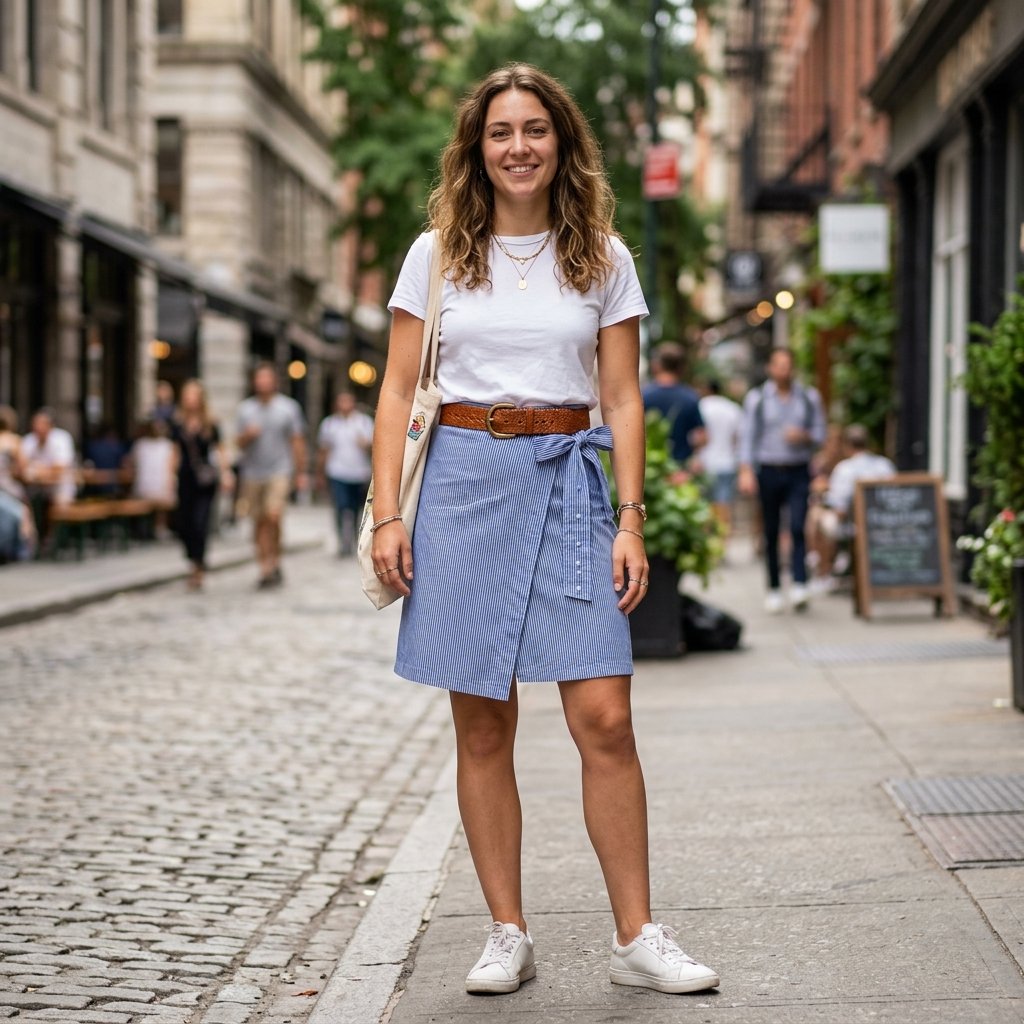
The final step is the hem. If you used the original hem of the shirt, you are already done! However, if you want a shorter ‘mini’ length, you will need to create a new hem. For a masculine-elegant aesthetic, a wide 2-inch hem provides weight and ‘swing’ to the skirt.
Styling Your Upcycled Creation:
- The Rugged Look: Pair your flannel wrap skirt with thick wool tights and leather combat boots.
- The Professional Look: Use a crisp white oxford shirt skirt with a tucked-in black turtleneck and loafers.
- The Summer Chic: A linen shirt-skirt paired with a simple tank top and rope sandals.
By following this guide, you’ve saved a garment from the trash and created a unique piece of clothing that fits you perfectly. You’ve saved approximately $40-$80 compared to buying a similar skirt at a mid-range retail store.
Conclusion
Mastering the Art of the Upcycle
Turning a discarded men’s shirt into a stunning wrap skirt is more than just a craft project; it is a statement of resourcefulness and style. You have taken a bulky, oversized item and, through clever cutting and simple tailoring, transformed it into a flattering, functional piece of art. This project proves that you don’t need a massive budget or a professional studio to create high-end fashion. All you need is a sharp pair of scissors, a bit of patience, and the willingness to see the treasure in the ‘trash.’ Now, go forth and raid those closets—your next favorite outfit is waiting to be discovered!

Makenzie is the founder and lead writer at MoneyHackTips.com — a personal finance blog dedicated to delivering street-smart financial wisdom for real people on real budgets. With 300+ published articles covering everything from debt management to investing fundamentals, Makenzie’s mission is to make every dollar work harder. When not writing about money hacks, Makenzie is testing frugal living strategies, optimizing side hustles, and helping readers build financial freedom from scratch.