
The Art of the Masculine Gift: Why ‘Bespoke’ Beats ‘Store-Bought’ Every Time
Let’s be honest: most store-bought gift baskets are a tragedy of cellophane and stale crackers. When you’re shopping for the man who appreciates the smell of charcoal and the sear of a perfect ribeye, he doesn’t want a generic wicker basket. He wants something rugged, functional, and authentic. As a frugal DIYer, you have a secret weapon: the ability to turn ‘trash’ into a high-end, custom masterpiece for a fraction of the retail price.
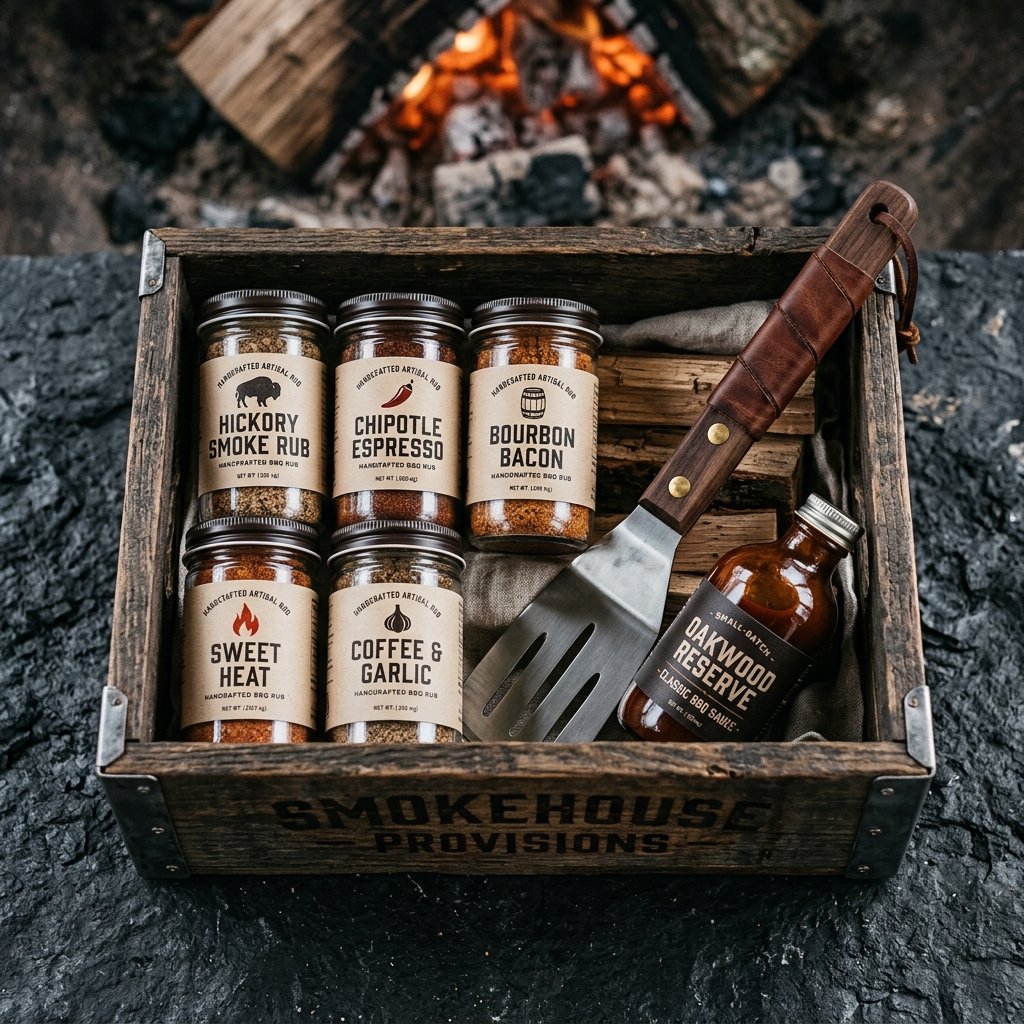
In this guide, we aren’t just throwing some sauce in a box. We are building a custom-dimensioned, reclaimed wood crate from scratch, staining it with a secret pantry formula, and filling it with ‘small-batch’ style rubs and tools that you’ve customized yourself. This project is about the $0 wood pile, the $1.25 glass jars, and the 100% heart you put into the craft. Whether it’s for Father’s Day, a birthday, or a ‘just because’ gesture for the backyard chef, this guide will show you how to execute a professional-grade gift on a shoestring budget.
The Scavenger’s Manifesto: Sourcing Premium Wood for $0
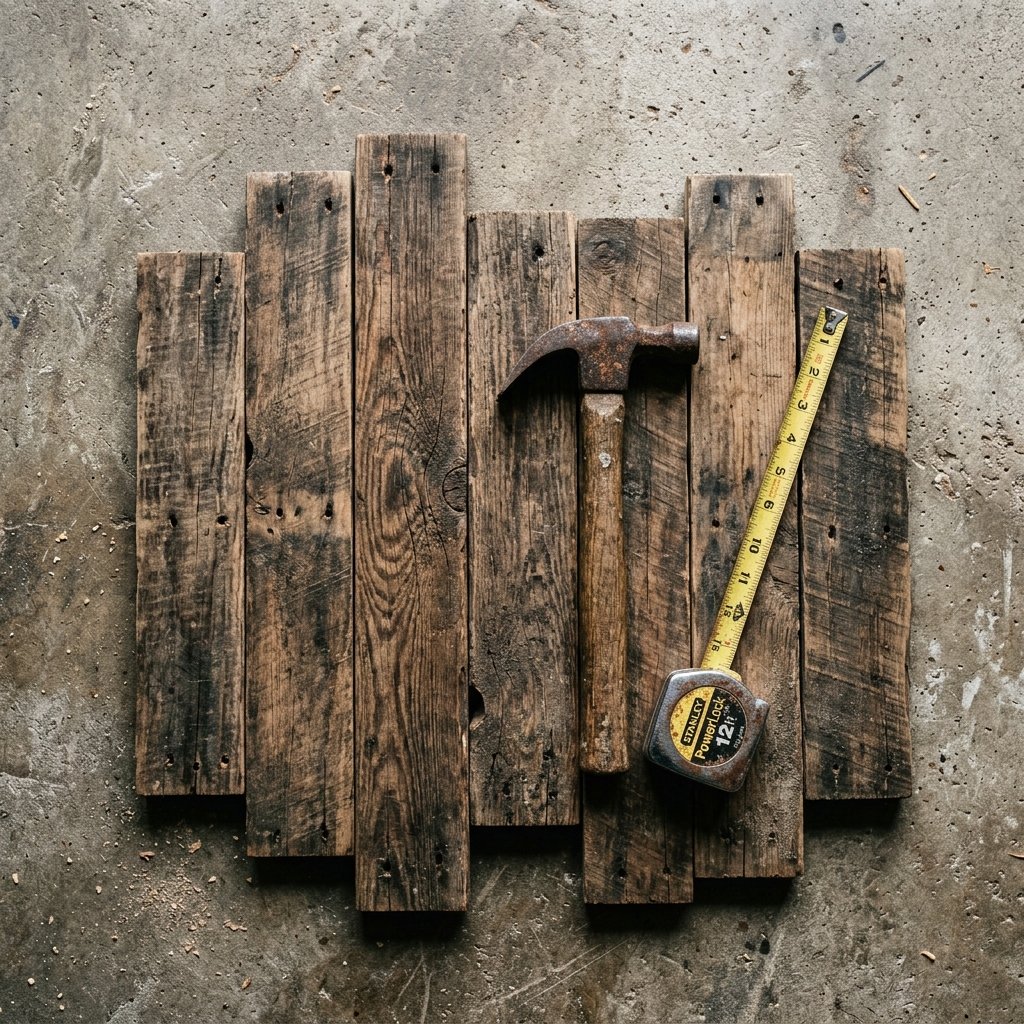
The foundation of a great ‘man-crate’ is the wood. You want something with character, grain, and a bit of history. Buying new pine at a big-box store will cost you $15 to $20, but sourcing reclaimed material is free and looks ten times better. Look for heat-treated pallets (marked with an ‘HT’ stamp), old cedar fencing, or even wine crates from local liquor stores.
Where to Find Your Materials
- Local Nurseries: They often have heavy-duty pallets that are perfect for thick, rugged crate walls.
- Facebook Marketplace: Search for ‘free scrap wood’ or ‘fence pickets.’
- Construction Sites: Always ask the foreman first, but often the ‘cut-offs’ from a new deck are exactly the lengths you need for a small gift crate.
| Material Source | Estimated Cost | Vibe/Aesthetic |
|---|---|---|
| Reclaimed Pallet Wood | $0.00 | Rough-sawn, rustic, industrial |
| Old Cedar Fencing | $0.00 | Weathered, aromatic, classic |
| Store-Bought Pine (1×4) | $12.50 | Clean, modern, needs staining |
| Wine Crates (Liquor Store) | $0 – $5 | Sophisticated, branded, smooth |
Frugal Guru Tip: When dismantling a pallet, don’t try to pry the boards off—you’ll split the wood. Use a reciprocating saw or a simple hacksaw to cut the nails between the boards. The rusted nail heads left in the wood add an authentic, ‘rugged’ patina that you can’t buy at the store.
From Scrap to Sophistication: Building the Rugged Crate
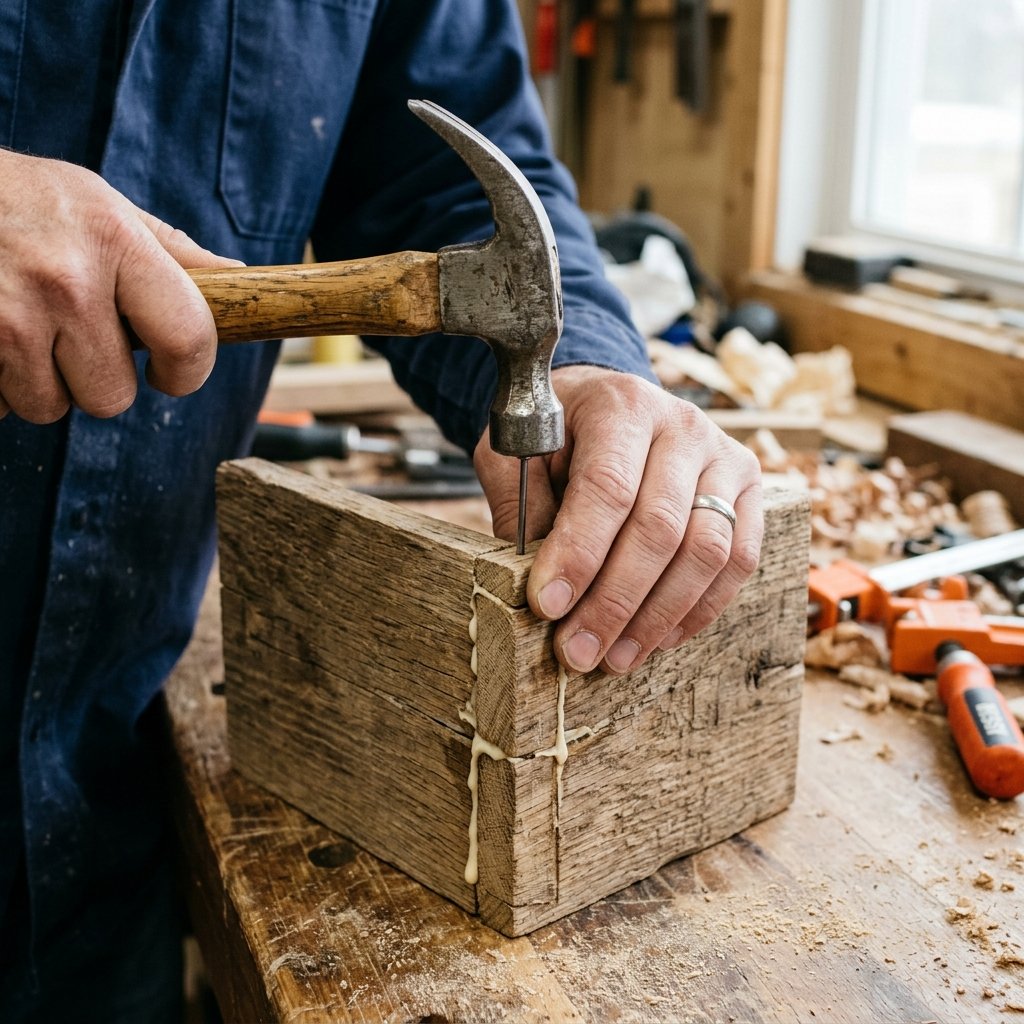
You don’t need a full woodshop to build a professional-looking crate. We are going for a classic ‘slatted’ design that is sturdy enough to hold heavy sauce bottles and cast-iron accessories. We will aim for a standard size of 12 inches long, 8 inches wide, and 6 inches deep.
Step-by-Step Construction
- Measure and Cut: Cut your boards into two 12-inch side pieces, two 8-inch end pieces, and three 10.5-inch bottom slats.
- The Frame: Align the end pieces inside the side pieces. Apply a bead of wood glue—this is crucial for a permanent bond—and secure with 1.5-inch finishing nails or a brad nailer.
- The Bottom: Flip the frame over and nail your bottom slats across the opening. Leave a 1/4-inch gap between slats for that authentic crate look.
- Sanding: Use 80-grit sandpaper to remove splinters, then finish with 120-grit. Don’t over-sand; we want to keep those saw marks and character dents.
Safety First: If using pallet wood, always wear a mask when sanding. You never know what the wood was treated with, and ‘HT’ (Heat Treated) wood is the only type you should use for indoor or food-related gifts.
The Alchemist’s Stain: Creating a Vintage Patina with Pantry Staples
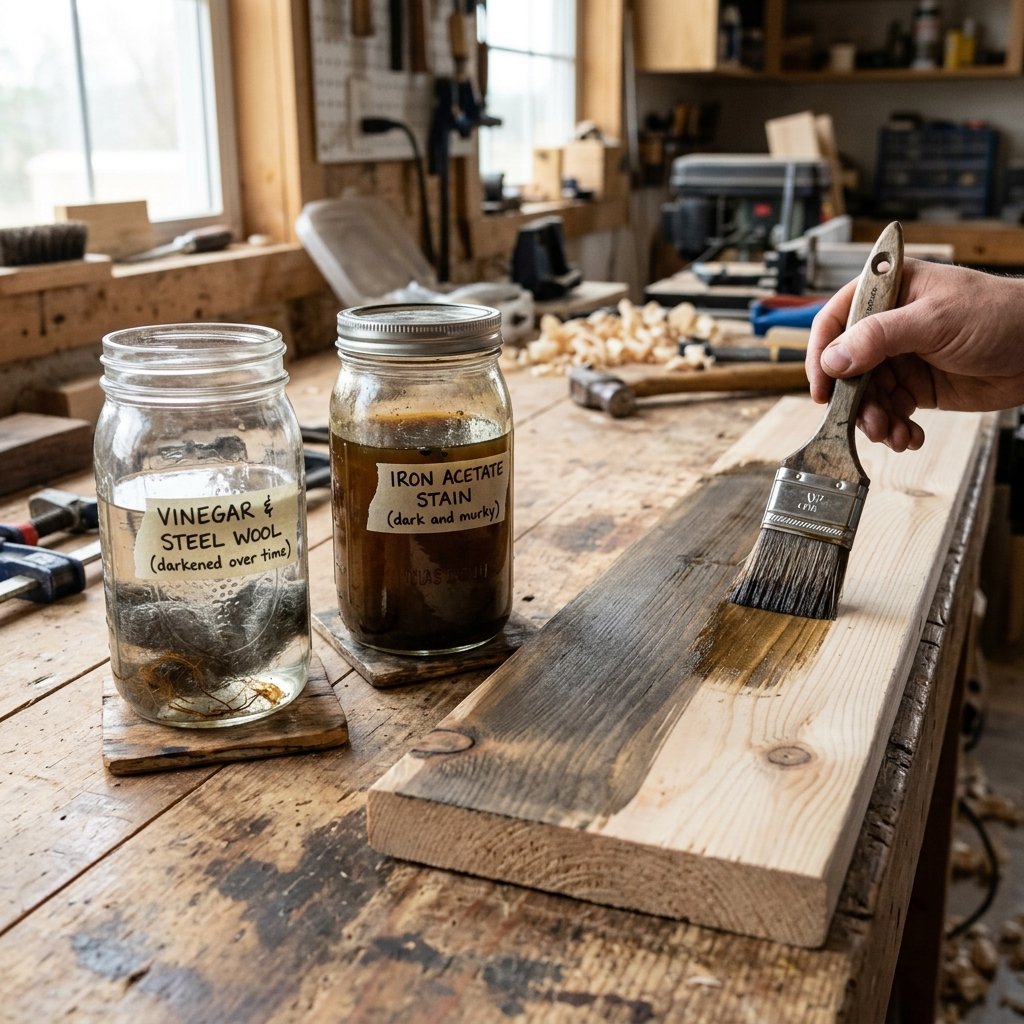
Why spend $10 on a tin of chemical-heavy stain when you can make a superior version for pennies? This ‘Steel Wool and Vinegar’ trick creates a chemical reaction with the tannins in the wood, turning new wood into a beautiful, aged silver-grey or deep espresso brown instantly.
The 24-Hour Stain Recipe
- Ingredients: One jar of white vinegar, one pad of #0000 steel wool, and a handful of old rusty nails (optional for deeper color).
- The Process: Place the steel wool in the vinegar and let it sit for 24 to 48 hours. The vinegar will dissolve the steel.
- The Application: Brush a coat of black tea onto your crate first (the tannins in the tea react with the solution). Once dry, brush on your vinegar mixture. Watch the wood change color before your eyes!
| Stain Method | Drying Time | Cost per Project |
|---|---|---|
| Steel Wool & Vinegar | 24 Hours | $0.45 |
| Strong Coffee/Tea Rub | 2 Hours | $0.10 |
| Commercial Oil Stain | 4-8 Hours | $9.00 |
Once the stain is dry, finish the wood with a simple wipe-down of olive oil or beeswax. This deepens the color and makes it food-safe and water-resistant for those messy grilling sessions.
The Pitmaster’s Arsenal: Crafting Gourmet Rubs and Infusions
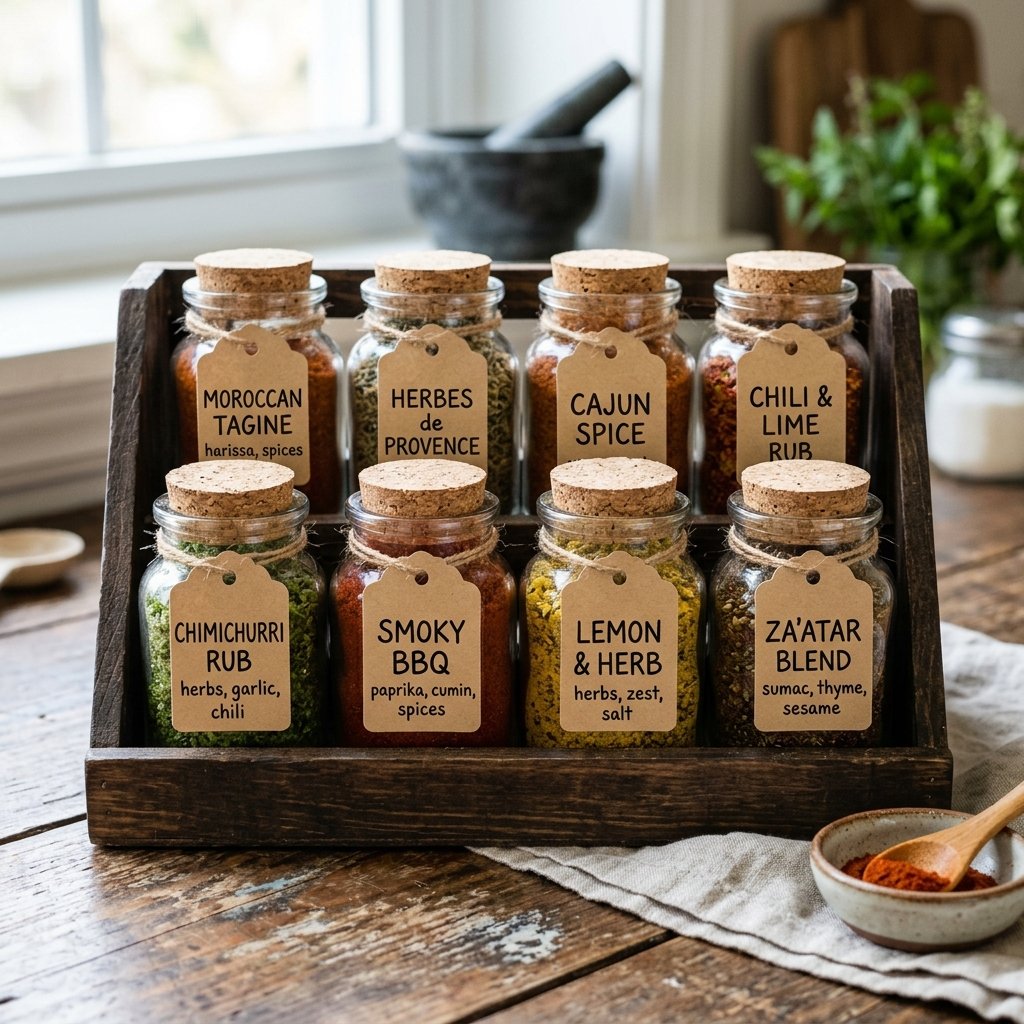
Now for the filling. Instead of buying name-brand rubs for $8 a jar, we are going to make ‘The Holy Trinity’ of BBQ seasonings. Buy your spices in the bulk aisle or at an international grocery store to save up to 80% on costs.
The ‘Midnight Smoke’ Dry Rub Formula
Mix the following in a 16 oz mason jar:
- 1/2 cup Brown Sugar (packed)
- 1/4 cup Smoked Paprika (for that deep red color)
- 2 tbsp Black Pepper
- 2 tbsp Kosher Salt
- 1 tsp Cayenne (optional for heat)
- 1 tbsp Garlic Powder
To make the presentation ‘high-end,’ use $1.25 glass jars from the dollar store and print custom labels on brown kraft paper. Use a bit of twine to tie a small wooden spoon to the side of the jar for a masculine-elegant touch.
DIY Infused Grilling Oil
Take a simple bottle of avocado or grapeseed oil and drop in three cloves of smashed garlic and a sprig of fresh rosemary. It looks beautiful in the crate and adds an instant flavor boost to any grilled steak.
The Final Flourish: Masculine Packaging and Leather Detailing
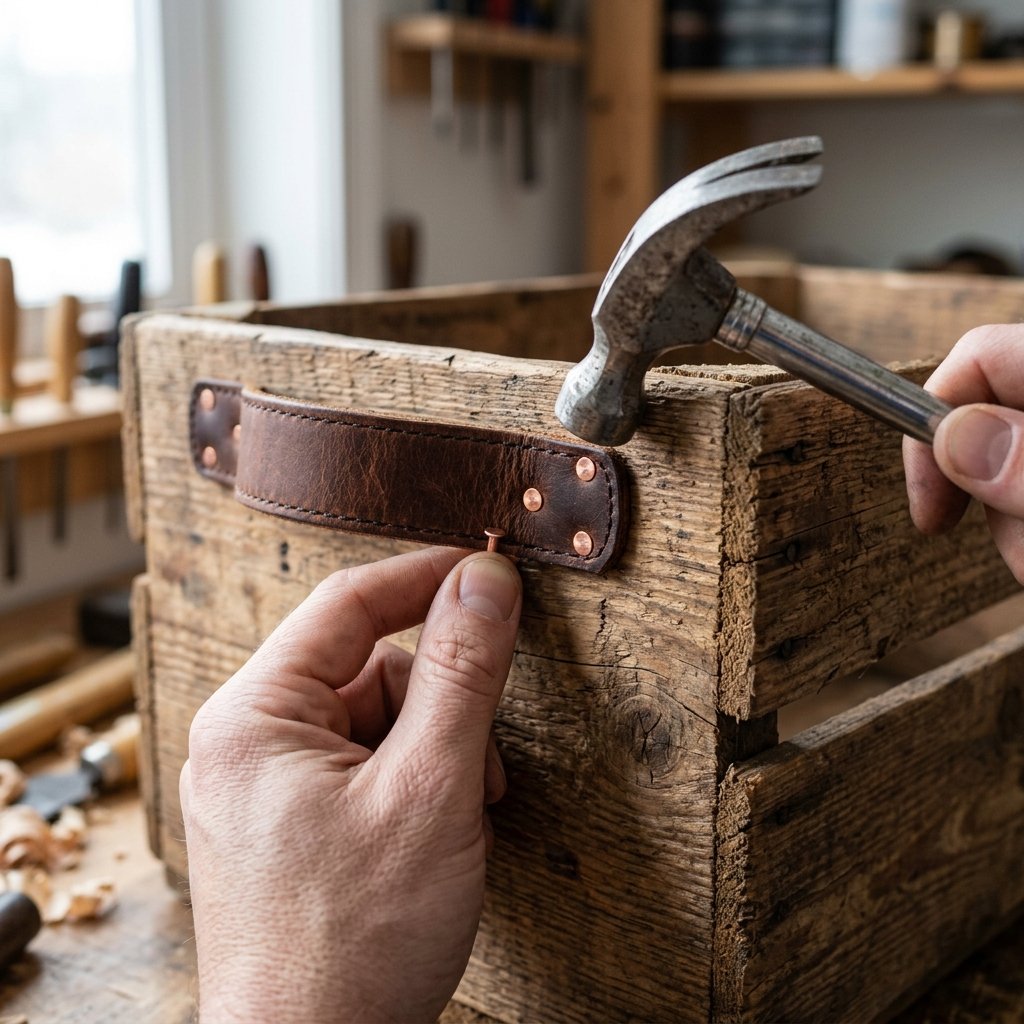
The difference between a ‘craft project’ and a ‘bespoke gift’ is in the details. We want this crate to feel like it came from a high-end boutique in a mountain town. We achieve this with texture.
Adding the Leather Touch
Go to a thrift store and buy an old leather belt for $2. Cut two 6-inch strips and nail them to the sides of your crate as handles. This $2 upgrade makes the crate look like a $100 designer item. Use copper tacks for the best visual contrast.
Packing the Crate
- Base Layer: Use wood shavings (from your workshop!) or crumpled brown butcher paper. Avoid plastic grass or colorful tissue paper.
- The Layout: Place the tallest items (sauce bottles, tongs) in the back and the smaller jars in the front.
- The Wrap: If you must wrap it, use clear cellophane but tie it off with thick jute rope or a strip of leather instead of a ribbon.
| Add-on Item | DIY/Frugal Source | Estimated Savings |
|---|---|---|
| Leather Handles | Thrifted Belt | $15.00 |
| Custom BBQ Tongs | Engraved with wood burner | $10.00 |
| Pitmaster Apron | Upcycled Canvas Dropcloth | $25.00 |
Conclusion
The Gift That Keeps on Giving
By following this guide, you’ve created more than just a gift; you’ve built a heirloom-quality tool. Total cost for this project? If you scavenged the wood and used pantry staples, you likely spent less than $15 on the jars and spices. Compare that to a $75 retail gift basket that would have been half the size and half the quality.
The best part? This crate is useful. Long after the rubs are gone, he’ll use that rugged wood crate to store his grilling tools, carry wood to the fire pit, or organize his workshop. That is the essence of frugal crafting: maximum utility, minimal waste, and undeniable style. Now, go fire up the grill—you’ve earned it!

Makenzie is the founder and lead writer at MoneyHackTips.com — a personal finance blog dedicated to delivering street-smart financial wisdom for real people on real budgets. With 300+ published articles covering everything from debt management to investing fundamentals, Makenzie’s mission is to make every dollar work harder. When not writing about money hacks, Makenzie is testing frugal living strategies, optimizing side hustles, and helping readers build financial freedom from scratch.