
The Quest for the Unbreakable Leash
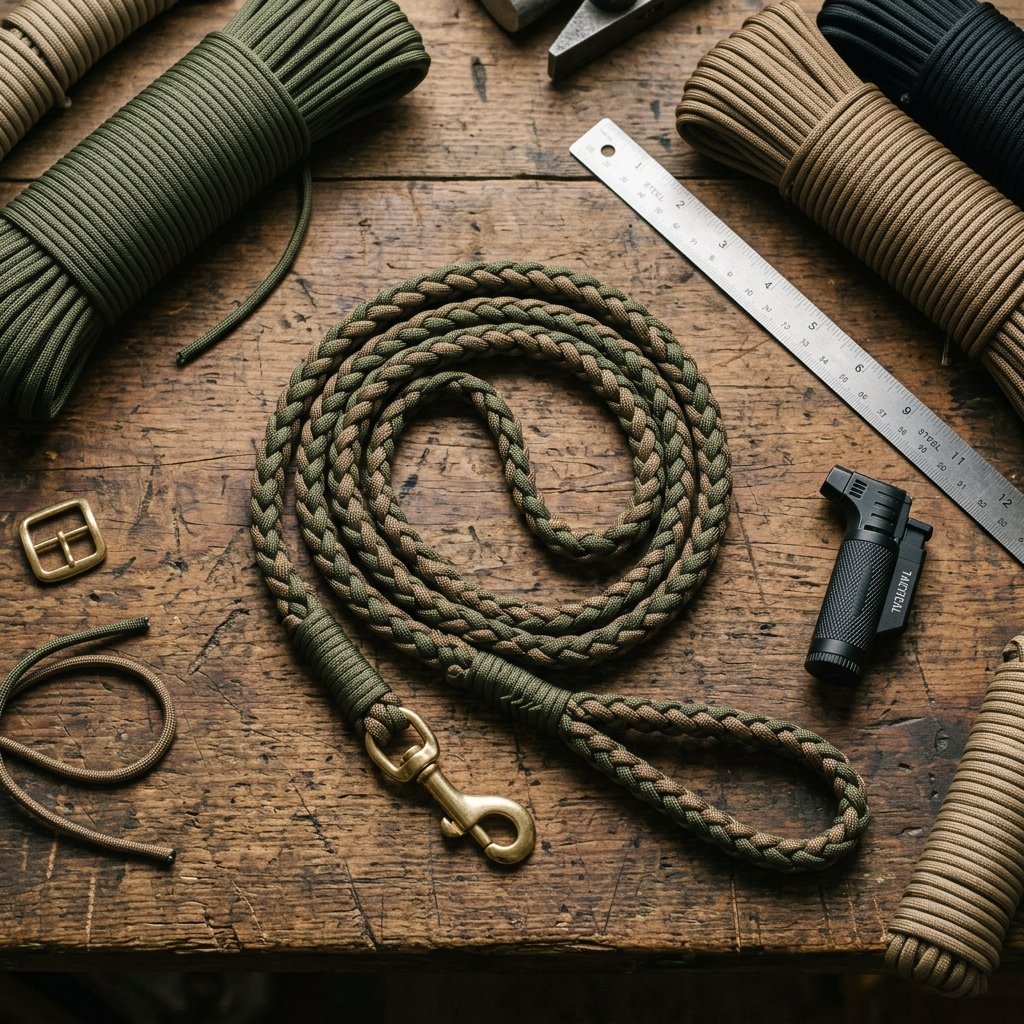
If you have ever been on the business end of a 70-pound Labrador chasing a squirrel, you know that a standard store-bought leash is often a thin ribbon of nylon standing between you and disaster. Most commercial leashes are designed for aesthetics first and durability second, retailing for anywhere between $25 and $55. As a resourceful DIYer, you know there is a better way. By utilizing 550 Paracord—the same material used in parachute suspension lines—you can create a leash that is not only virtually indestructible but also tailored to your specific grip and style. This tutorial will guide you through the process of crafting a professional-grade, tactical dog leash that looks like it belongs in a high-end outdoor boutique, all while keeping your budget firmly under $10.
Material Science: Why 550 Paracord Wins

Before we dive into the braids, let’s talk logistics. Why paracord? The ‘550’ in 550 paracord refers to its minimum breaking strength of 550 pounds. It is composed of a nylon outer sheath and seven inner strands, each of which is made of three smaller strands. This redundancy makes it the gold standard for rugged gear. It is rot-resistant, mildew-resistant, and won’t snap under the sudden tension of a pulling dog.
The Budget Breakdown
When you buy in bulk, paracord costs mere pennies per foot. Compare that to the marked-up prices at big-box pet stores, and the savings are undeniable.
| Material Item | Retail Equivalent Cost | DIY Cost (Bulk) |
|---|---|---|
| 50ft 550 Paracord | $12.00 | $3.50 |
| Heavy-Duty Swivel Snap | $8.00 | $2.00 |
| Stainless Steel D-Ring | $5.00 | $0.50 |
| Total Investment | $25.00+ | $6.00 |
“A dollar saved in the workshop is a dollar earned for the next adventure. Build it once, build it right, and never buy a replacement again.”
Preparation and Measurements
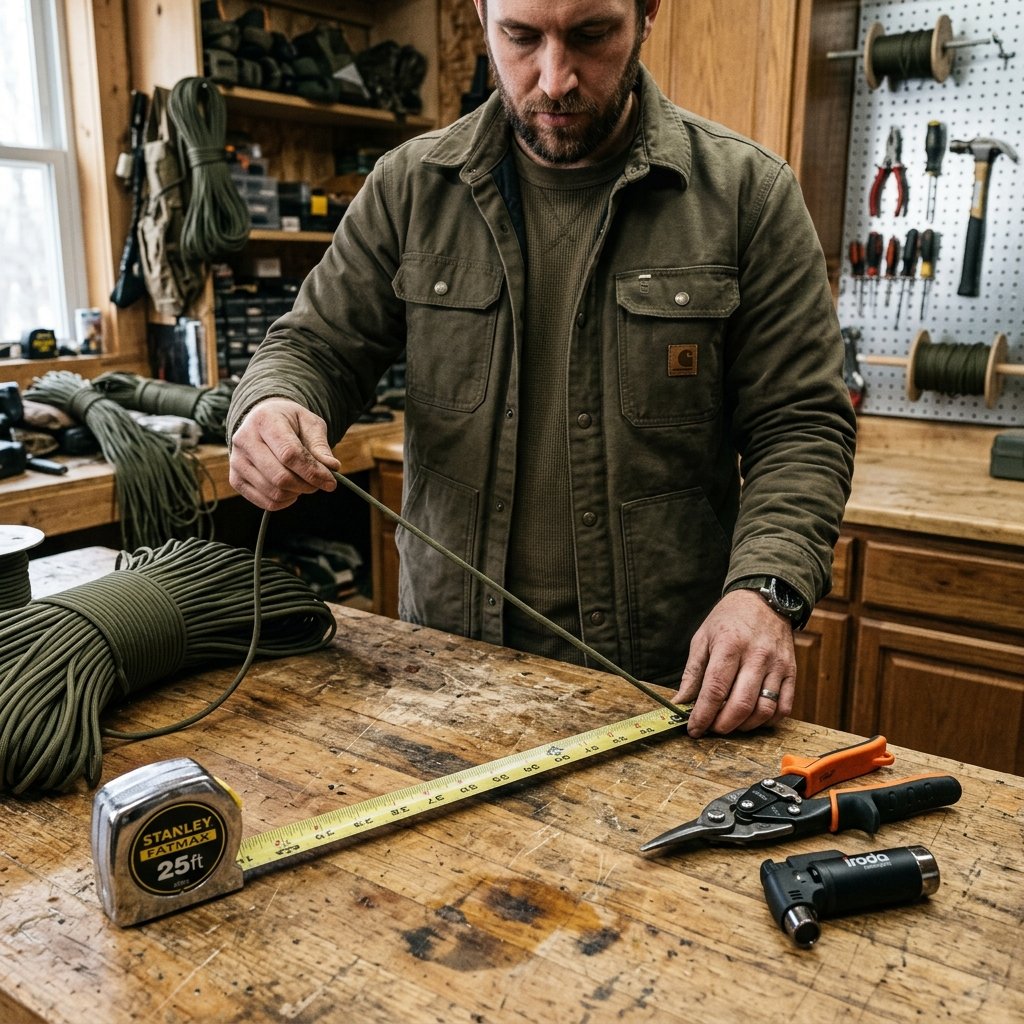
The most common mistake in paracord braiding is running out of cord three-quarters of the way through. For a standard 6-foot leash using a 4-strand round braid or a cobra weave, the general rule of thumb is 1 foot of cord for every 1 inch of finished braid. However, since we are doubling or quadrupling strands for strength, follow these precise measurements:
- Main Leash Body: You will need two lengths of 25 feet each (total 50 feet) for a standard 5-6 foot leash.
- The Handle: An additional 4 feet of a secondary color if you choose to do a ‘King Cobra’ wrap for extra grip comfort.
- Tools Needed: A sharp pair of scissors, a heavy-duty lighter (torch lighters work best), and a measuring tape.
Pro Tip: Use a ‘paracord jig’ if you have one, but a simple heavy-duty binder clip attached to a table edge works just as well to keep your tension consistent.
Step-By-Step: The 4-Strand Round Braid
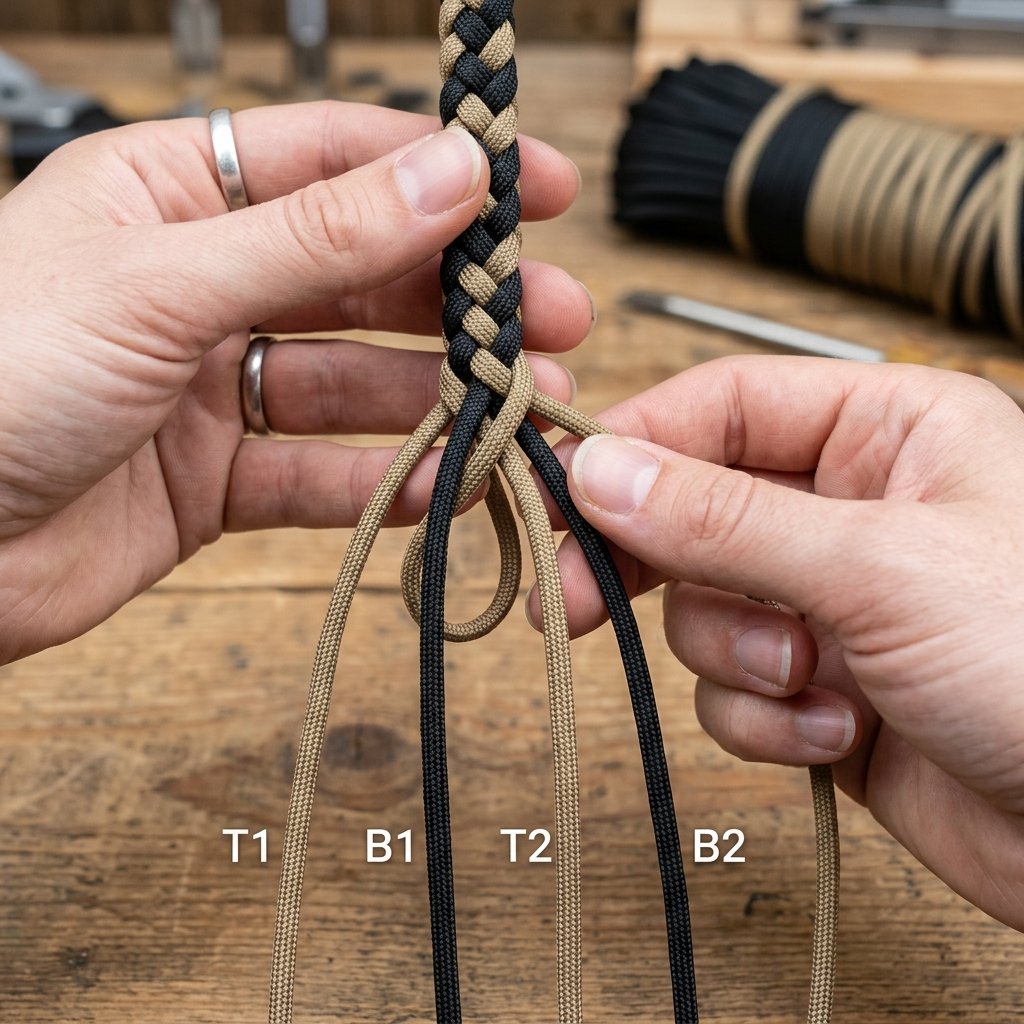
For a rugged, rope-like feel that is easy on the hands but tough on the trail, the 4-strand round braid is superior to a flat braid. It distributes the load evenly and provides a ‘tactical’ aesthetic.
- Secure the Hardware: Thread your two 25-foot strands through the eye of the swivel snap. Pull them through until the snap is at the exact midpoint. You now have four strands of 12.5 feet hanging from the snap.
- The Cross-Over: Arrange the strands so you have two on the left and two on the right. Take the far-left strand, bring it behind the middle two strands, and wrap it over the second strand from the right.
- The Mirror Move: Take the far-right strand, bring it behind the middle two, and wrap it over the second strand from the left.
- Maintain Tension: Pull all four strands tight. Repeat the process: Far-left goes behind two, over one. Far-right goes behind two, over one.
- Consistency is Key: Ensure every cross-over is pulled with the same 100% tension to prevent the leash from having soft spots or lumps.
“The secret to a professional finish isn’t the cord; it’s the tension. Consistent pressure creates a diamond-hard braid.”
Crafting the Comfort-Grip Handle
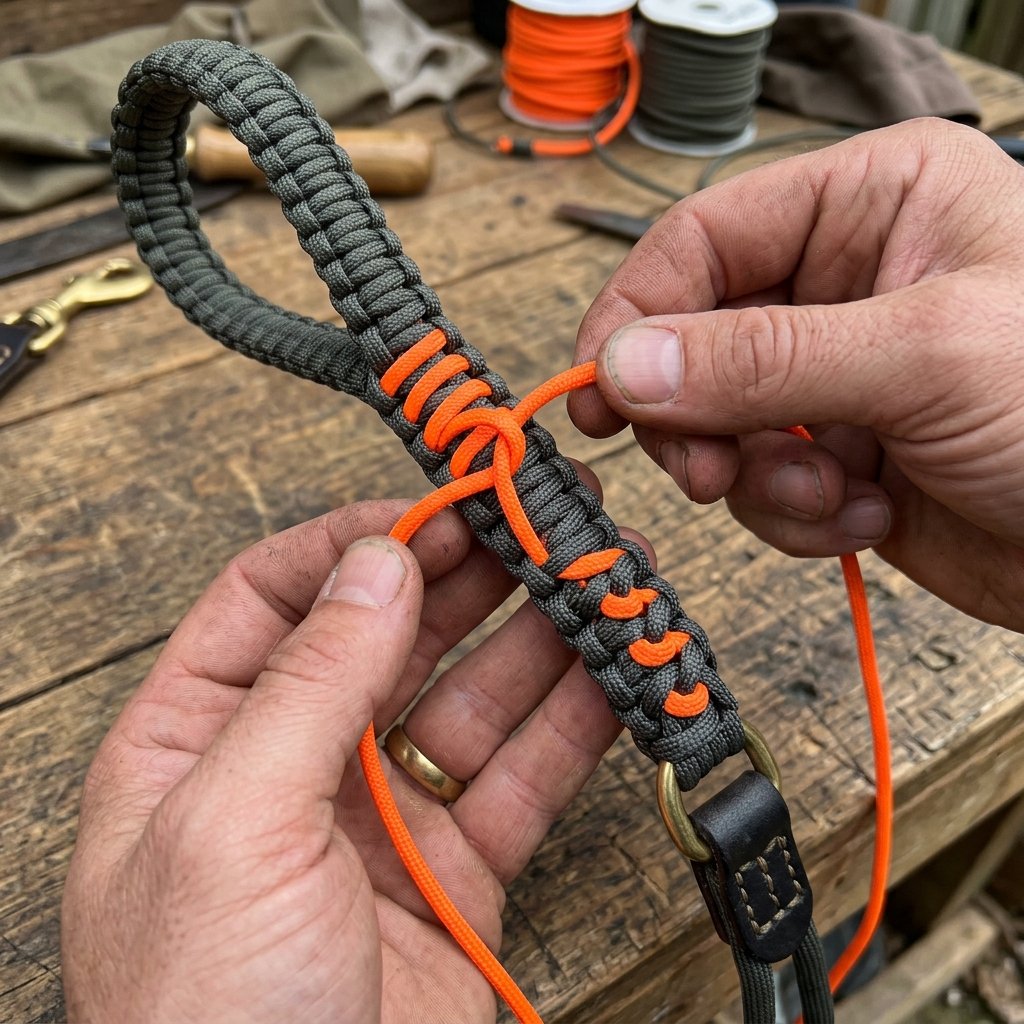
A thin leash can dig into your hand if your dog lunges. We will use the Cobra Weave (also known as the Solomon Bar) to create a wide, padded handle at the end of your round braid.
Creating the Loop
Once your round braid reaches about 5 feet in length, fold the end back onto the main body of the leash to create a 7-inch loop. Secure this loop temporarily with a rubber band or clip.
The Cobra Wrap
- Take a separate 6-foot piece of cord. Center it under the two sections of the leash where the loop meets the body.
- Cross the left cord over the top of the leash body.
- Take the right cord, place it over the left cord tail, under the leash body, and up through the loop created by the left cord.
- Pull tight. This is your first ‘knot.’
- Repeat, but start by crossing the right cord over the top first. Alternating sides is what keeps the weave flat.
Continue this for 3-4 inches to securely ‘lock’ the handle loop to the leash body. This creates a double-reinforced connection point that will never slip.
The Master’s Finish: Fusing and Tucking

The difference between a ‘craft project’ and ‘professional gear’ is how you finish the ends. We don’t use glue; we use thermal fusion.
- Trim: Cut the excess paracord strands about 1/4 inch from the final knot.
- Melt: Use your torch lighter to heat the ends until they turn into a molten liquid. Safety Note: Do not touch the molten nylon with your fingers; it will cause severe burns.
- Flatten: Use the flat side of your lighter or a metal spoon to press the molten end firmly against the surrounding braid. This ‘welds’ the cord to itself.
- Stress Test: Once cooled, give the handle and the snap a violent tug. If it’s built correctly, it should not budge an inch.
| Feature | Benefit |
|---|---|
| Fused Ends | Prevents unraveling under high tension. |
| Cobra Handle | Distributes pressure across the palm. |
| Swivel Snap | Prevents the cord from twisting during walks. |
Customization: Tactical Add-Ons
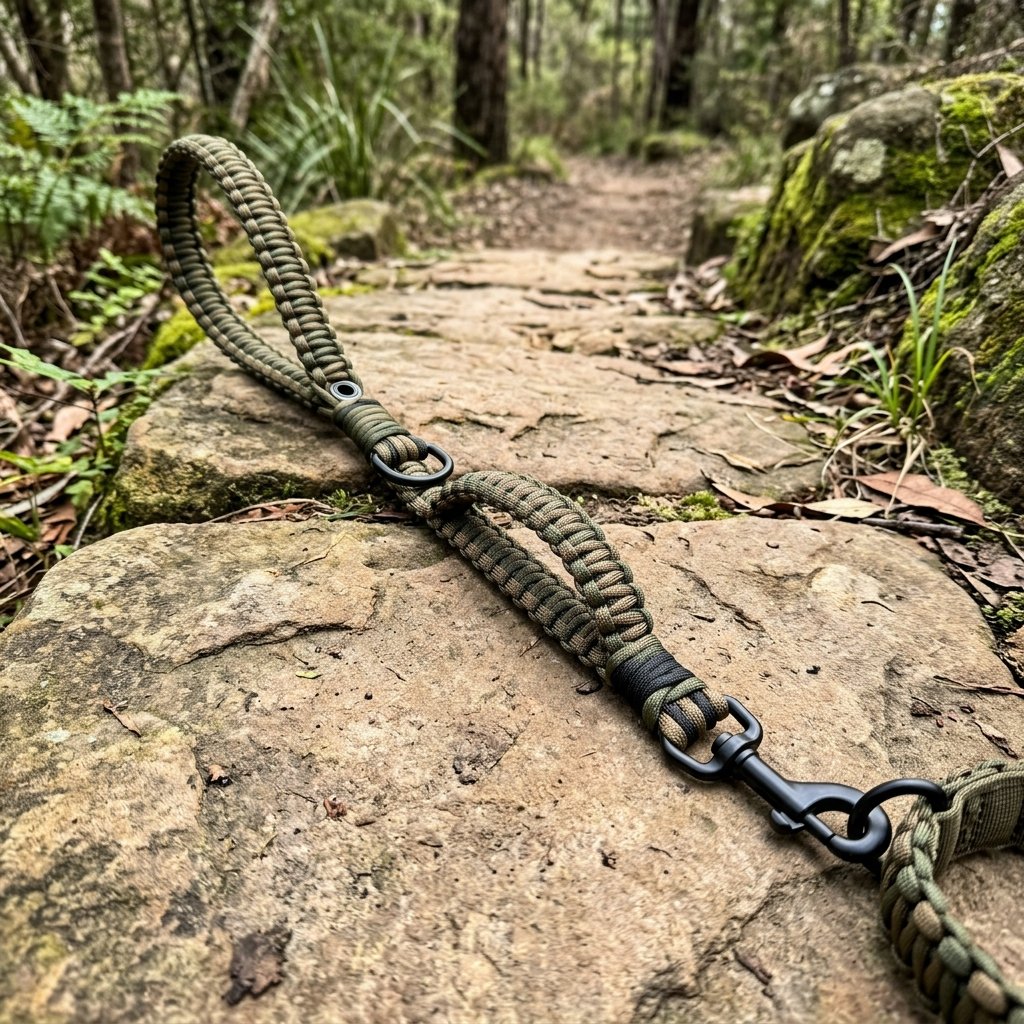
Now that you have the base leash, you can add ‘luxury’ features for pennies:
- The Poop-Bag D-Ring: Before finishing the handle, slide a $0.50 stainless steel D-ring onto the cord. Weave it into the Cobra wrap so you have a permanent place to clip bags or keys.
- Reflective Safety: Use ‘Reflective 550 Paracord’ (which has 3M tracers woven in) for one of your strands. This makes the leash glow brilliantly in car headlights during night walks.
- The Traffic Lead: Add a second, smaller loop near the swivel snap. This allows you to hold your dog close to your side (the ‘traffic’ position) when crossing busy streets.
Conclusion
The Last Leash You’ll Ever Need
By spending an hour at your workbench and utilizing less than $10 in materials, you have created a piece of equipment that outperforms almost anything found in a retail store. This leash isn’t just a tool; it’s a testament to the power of resourceful DIYing. Whether you’re hiking rugged trails or navigating city sidewalks, you can walk with the confidence that your gear is as tough as you are. Now, grab those scraps, fire up the lighter, and get braiding—your dog (and your wallet) will thank you.

Makenzie is the founder and lead writer at MoneyHackTips.com — a personal finance blog dedicated to delivering street-smart financial wisdom for real people on real budgets. With 300+ published articles covering everything from debt management to investing fundamentals, Makenzie’s mission is to make every dollar work harder. When not writing about money hacks, Makenzie is testing frugal living strategies, optimizing side hustles, and helping readers build financial freedom from scratch.