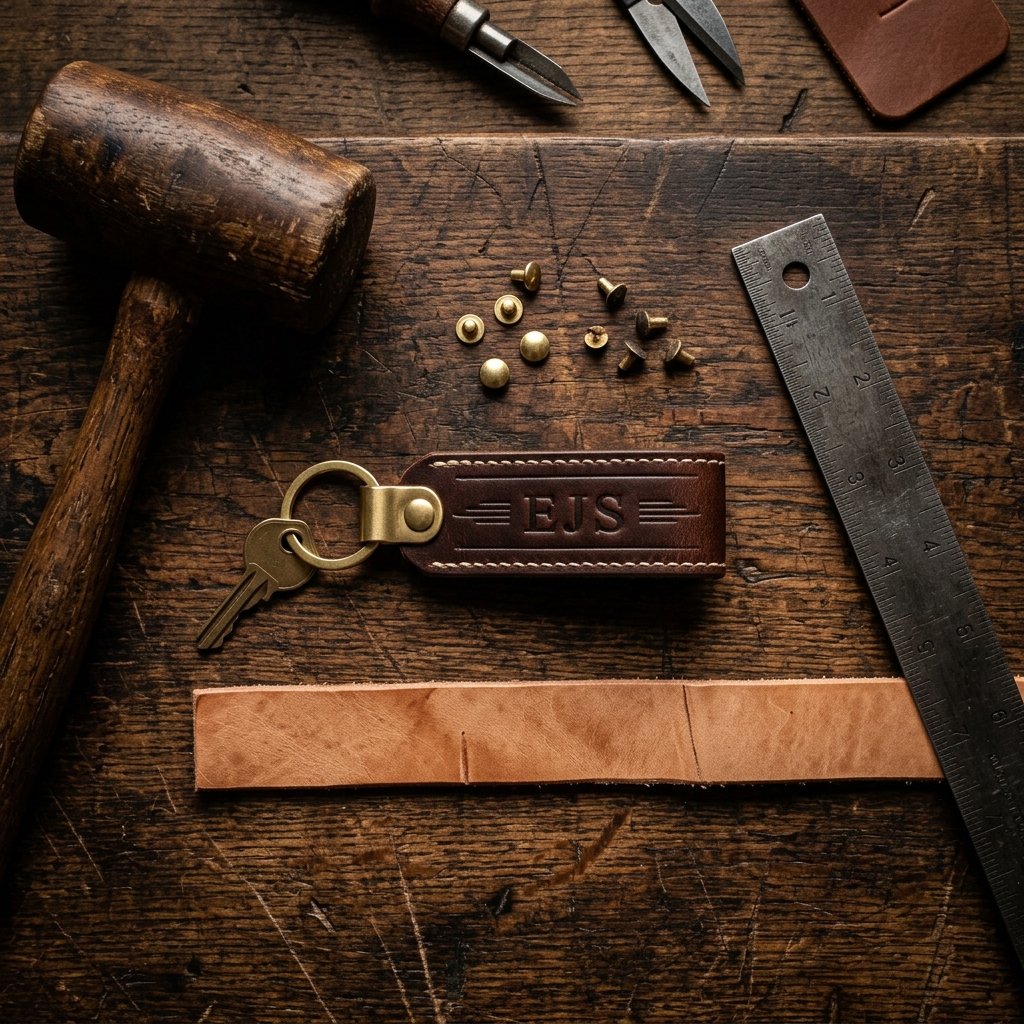

Let us address the elephant in the crafting room: making DIY gifts for men that they will actually use on a daily basis is notoriously difficult. While we love our knitted scarves and painted coffee mugs, the rugged, practical men in our lives often lean towards the minimalist aesthetic of Everyday Carry (EDC) items. They want utility, durability, and a touch of masculine elegance. Enter the ultimate frugal, functional gift: the personalized leather key fob.
If you have ever browsed high-end men’s boutiques or artisan markets, you have likely seen these custom-stamped leather keychains retailing for anywhere from $30 to $50. But as budget-savvy makers, we know a secret: working with leather does not require a massive investment or a specialized workshop. In fact, you can create a heritage-quality, custom-monogrammed leather key fob right at your kitchen table for under $3 per piece.
Whether you are a budget bride looking for the perfect rustic groomsmen proposal gift, a handy mom crafting a thoughtful Father’s Day surprise, or a frugal DIYer wanting to elevate your own keyring, this project is your golden ticket. We are going to break down the anatomy of a premium keychain, show you how to source materials for pennies on the dollar, and guide you step-by-step through the surprisingly simple process of cutting, burnishing, stamping, and riveting. Roll up your sleeves, grab your tools, and let’s turn budget scraps into rugged treasures.
The Anatomy of a Rugged Fob: Materials & Sourcing on a Budget
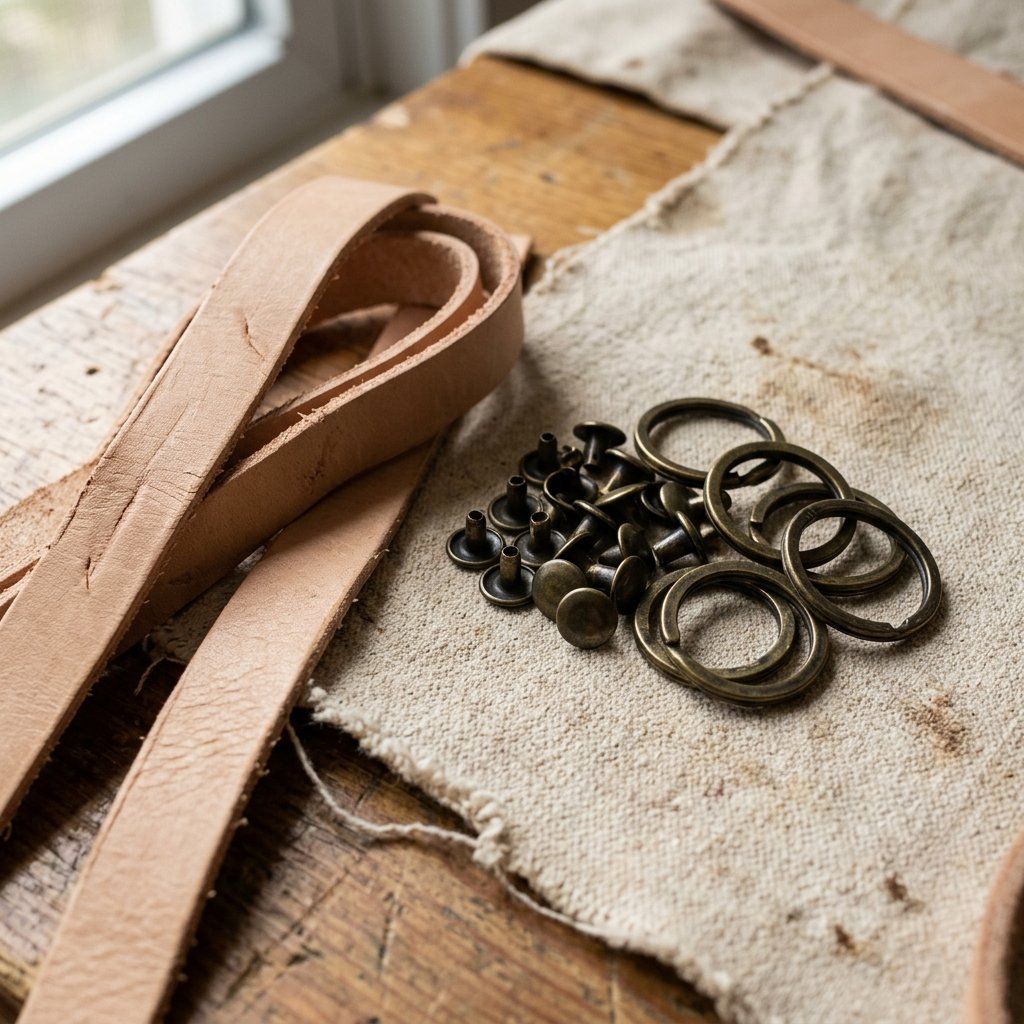
Before we make our first cut, we need to understand our materials. The beauty of a leather key fob lies in its simplicity; because there are only a few components, the quality of those components matters. However, “quality” does not have to mean “expensive.” With a little resourceful shopping, you can source premium materials for mere pocket change.
Vegetable-Tanned Leather vs. Chrome-Tanned Leather
When shopping for leather, you will encounter two main types: vegetable-tanned (veg-tan) and chrome-tanned. For this project, you must use vegetable-tanned leather. Veg-tan is processed using natural tannins found in tree bark. It is stiff, holds its shape, and most importantly, it absorbs water. This means you can wet it and stamp it with metal letters, and the impression will stay forever. Chrome-tanned leather (often found in soft garments or upholstery) will bounce back and will not hold a stamp.
“To keep costs incredibly low, do not buy a whole hide. Search online marketplaces or local craft stores for ‘veg-tan scrap bags’ or ‘leather belly scraps.’ You can often get a massive bag of usable strips for under $10, yielding dozens of key fobs.”
Sourcing Heavy-Duty Hardware
A rugged keychain needs rugged hardware. You will need a metal key ring (split ring) and a fastener to hold the folded leather together. While you can sew it, using a metal rivet gives it that industrial, masculine-elegant look that men love. Double-cap rivets are the easiest to use and look finished on both sides. Solid brass or antique bronze finishes offer the best vintage aesthetic.
| Component | High-End Retail Price | Our Frugal DIY Cost |
|---|---|---|
| Veg-Tan Leather Strip | $15.00+ (pre-cut blank) | $0.80 (from scrap bundle) |
| Brass Split Ring | $3.00+ | $0.50 (bought in bulk) |
| Double-Cap Rivet | $2.00+ | $0.20 (bought in bulk) |
| Custom Monogramming | $15.00+ (surcharge) | $0.00 (DIY stamped) |
| Total Estimated Cost | $35.00 – $50.00 | $1.50 – $3.00 |
The Crafter’s Toolkit: Essential Gear and Clever MacGyver Hacks
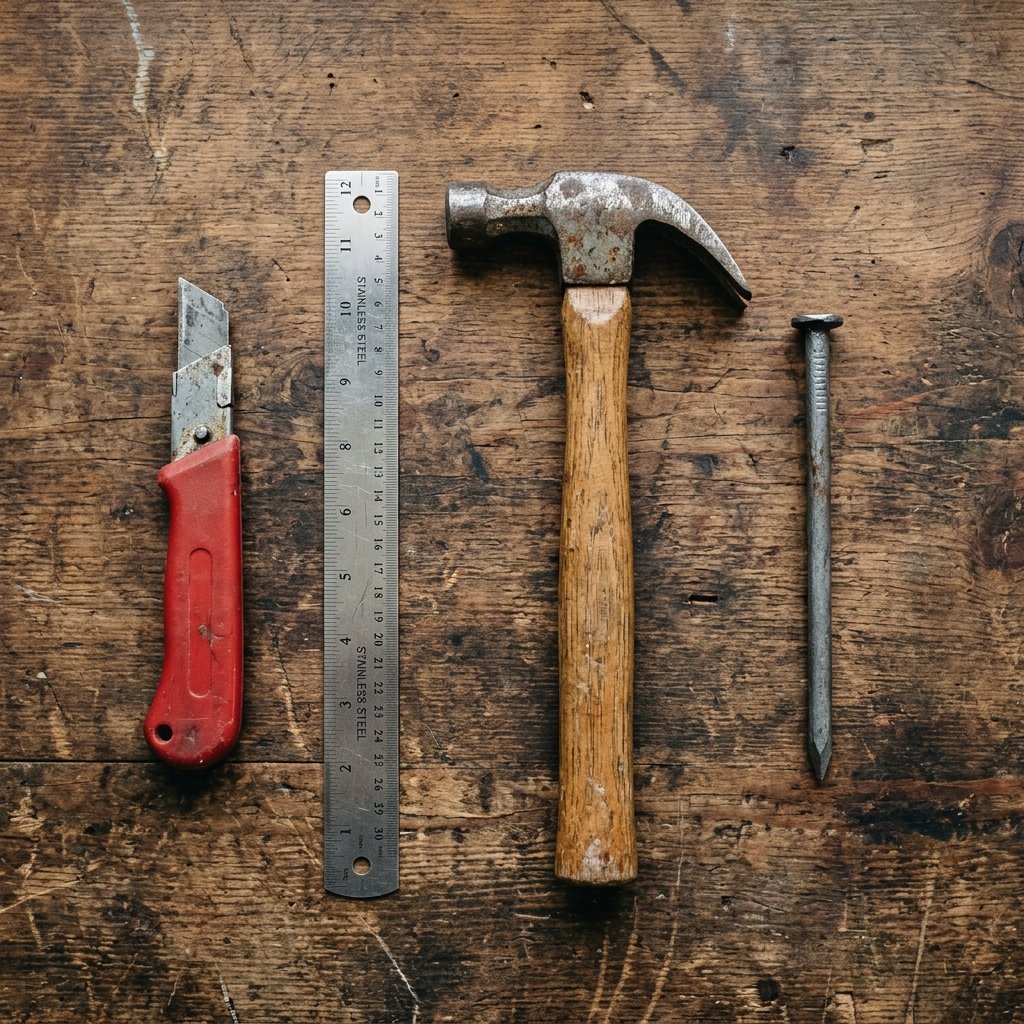
You do not need to drop hundreds of dollars at a specialty leathercraft store to make a beautiful key fob. Many of the tools required are likely already in your garage, craft room, or toolbox. Let’s look at the ideal tools and their frugal household alternatives.
Cutting & Measuring Tools
- Ideal: A rotary cutter, a self-healing cutting mat, and a heavy metal cork-backed ruler.
- Frugal Hack: A sharp box cutter (utility knife) and a standard metal ruler. Always use a fresh blade to ensure clean edges without fraying.
Hole Punching Tools
- Ideal: A rotary leather hole punch or a specialized drive punch.
- Frugal Hack: An electric drill with a small drill bit (work slowly over a piece of scrap wood), or a standard hammer and a large, sharp nail to pierce the leather.
Setting the Rivets
- Ideal: A specialized rivet setter and a mini anvil.
- Frugal Hack: A standard hammer and a hard, flat surface (like a piece of scrap metal or the flat back of a heavy cast-iron skillet). Note: A flat hammer will slightly flatten the rounded cap of the rivet, but this often adds to the rugged, distressed charm!
Safety First: Whenever you are using sharp utility blades or hammers, protect your work surface and your fingers. Always cut away from your body, and never try to force a dull blade through thick leather. A dull blade is a dangerous blade.
Step 1: Measuring, Cutting, and the Secret to Expensive-Looking Edges
Now that our materials and tools are assembled, it is time to build. The standard, comfortable size for a leather key fob loop allows a man to slip two or three fingers through it, or easily fish it out of a deep denim pocket.
Measuring and Slicing
- Lay your veg-tan leather scrap flat on your cutting mat.
- Using your metal ruler and utility knife, cut a clean, straight strip that measures exactly 3/4 inch wide by 8 inches long.
- Make multiple passes with your knife rather than trying to push through thick leather all at once. This ensures a perfectly vertical, clean edge.
- For a polished look, use scissors to gently round the four sharp corners of your leather strip, or cut them at a 45-degree angle for a modern, geometric tip.
The Magic of Burnishing (Edge Finishing)
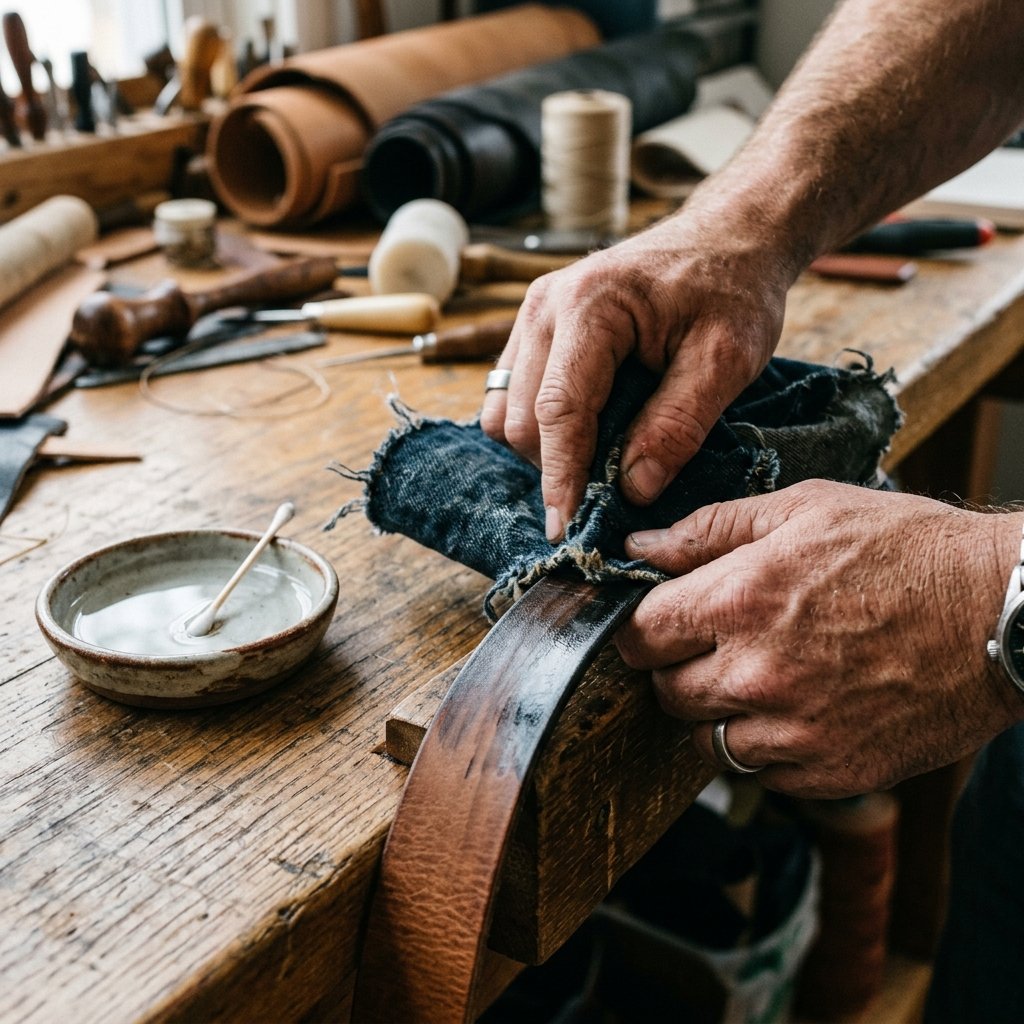
If you look at a cheap, mass-produced leather item, the edges are often fuzzy, raw, or painted over with thick plastic edge paint. If you look at a high-end, handmade leather good, the edges are smooth, glossy, and beautifully darkened. This process is called burnishing, and it costs absolutely nothing to do.
“The difference between a craft project that looks homemade and one that looks handmade is entirely in the finishing of the edges.”
To burnish your edges on a budget, simply dab a little bit of tap water onto the raw cut edge of your leather strip using your finger. Then, take a scrap of heavy canvas (like an old tote bag) or an old piece of denim, and rub it vigorously back and forth along the wet edge. The friction creates heat, which melts the natural fibers and collagen in the leather, resulting in a slick, sealed, professional edge. Spend about 5 minutes doing this on all sides of your strip. It is a labor of love that elevates the piece immensely.
Step 2: Personalization: Stamping and Monogramming Like a Pro
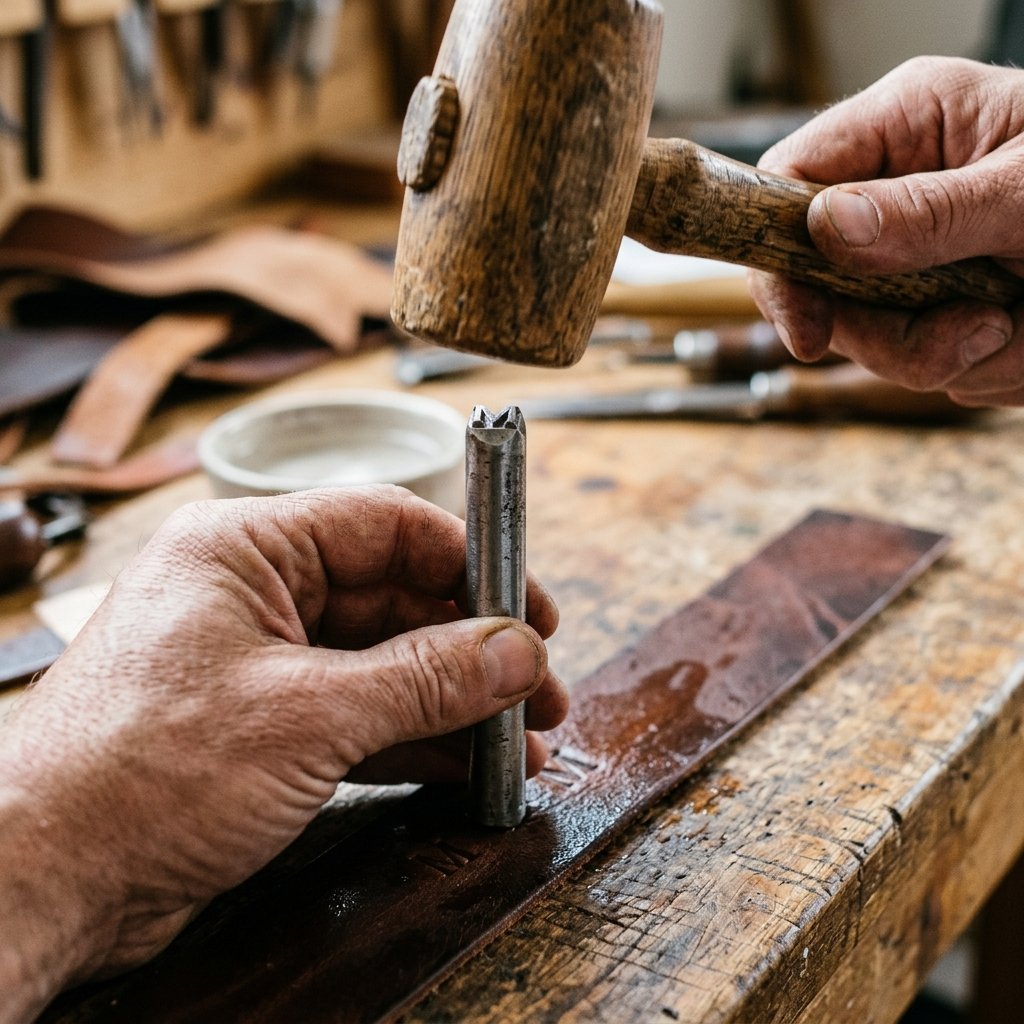
Here is where the magic happens. Adding his initials, a significant date (like an anniversary or the birth year of a child), or a short, rugged coordinate makes this $3 piece of leather invaluable. To do this, you will need a set of metal letter stamps, which can be picked up at any craft store or online for around $10 to $15 (a one-time investment that you will use for countless future projects).
Casing the Leather
You cannot stamp dry leather; the impression will be faint and will eventually fade. You must “case” the leather by adding moisture. Take a damp sponge and lightly wet the top surface of the leather where you plan to stamp. You want the leather to be cool to the touch and slightly darkened, but not soaking wet or squishy. Wait about 60 seconds for the water to absorb evenly.
Striking the Stamp
- Determine the placement. Usually, the monogram looks best centered on the bottom half of the fob, so it sits neatly below the rivet once folded.
- Place your leather on a rock-solid surface. A kitchen counter over a support beam, a concrete garage floor, or a solid wood stump works best. A bouncy table will absorb the impact of your hammer, ruining the stamp.
- Hold the metal stamp perfectly vertical. Do not tilt it.
- Strike the top of the stamp firmly with your mallet or hammer one time. A single, solid thwack is better than multiple taps, which can cause the stamp to bounce and create a blurry, double-letter effect.
If you want the letters to pop, you can take a tiny drop of dark shoe polish, antique leather paste, or even a permanent marker, dab it into the recessed stamped letter, and quickly wipe away the excess from the surface. The dark color will remain in the impression, making the monogram highly visible.
Step 3: Hardware Installation: Setting Rivets for a Lifetime Hold
With our leather cut, edged, and beautifully monogrammed, it is time to assemble the final product. This step transforms the flat strip into a functional loop.
Folding and Punching
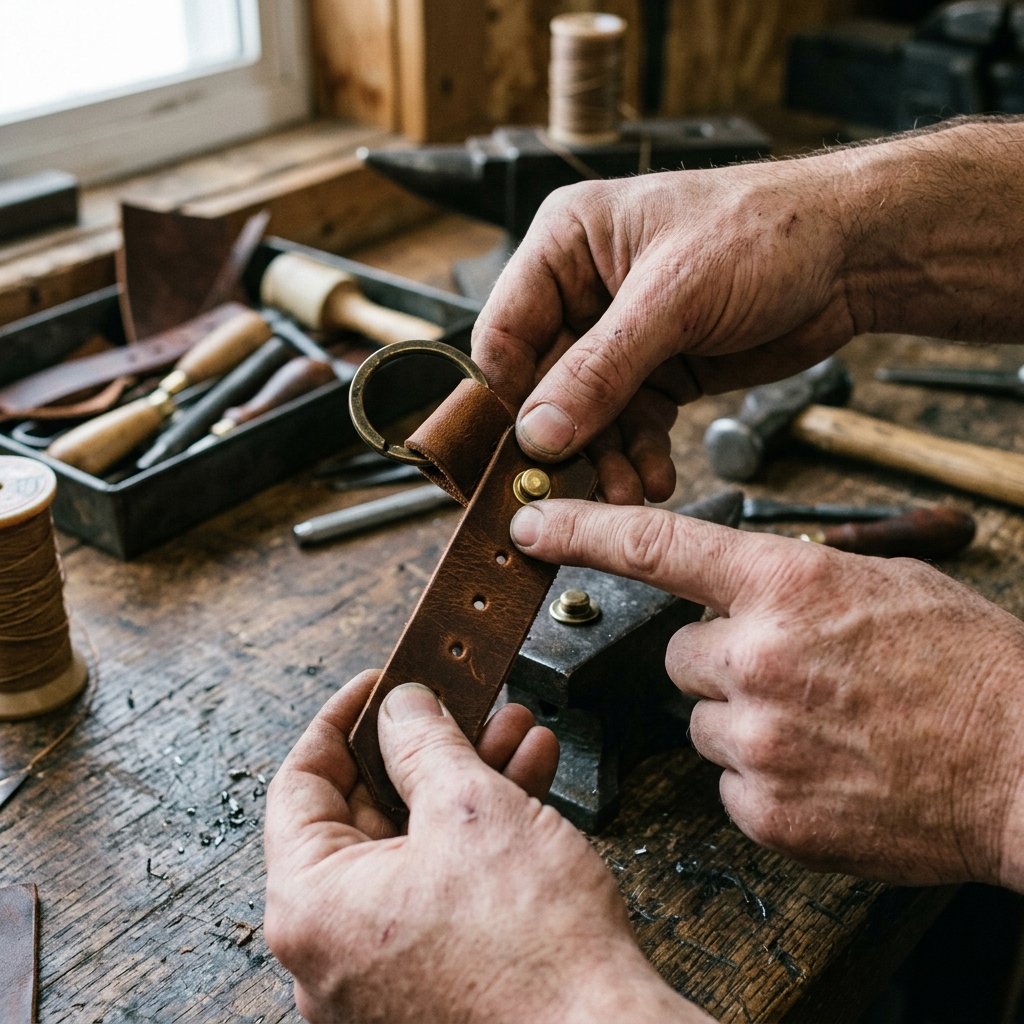
Thread your metal split ring onto the leather strip. Fold the leather strip in half so the two ends meet perfectly. The split ring should be resting at the top of the loop. Decide where you want your rivet to sit. Typically, placing the rivet about 1 inch down from the top fold creates a nice, tight enclosure for the ring so it doesn’t flop around.
Pinch the leather tightly together at your chosen spot. Using your leather punch (or your drill/nail hack), punch a hole directly through both layers of leather at the same time. This guarantees that your holes will line up perfectly.
Setting the Double-Cap Rivet
- Take the longer piece of the rivet (the post) and push it up through the bottom hole of your leather.
- Thread it through the top hole so the post is sticking out.
- Take the cap piece of the rivet and snap it onto the exposed post. You should hear or feel a tiny click.
- Place the rivet onto your hard, solid surface.
- Using your rivet setter and mallet (or your hammer), strike the cap firmly. The impact will mushroom the metal post inside the cap, locking the two pieces together permanently.
Give the leather a good tug to ensure the rivet is set securely. If it wiggles, give it one more solid tap with the hammer. Your key fob is now structurally complete and ready to withstand years of being tossed onto entry tables and shoved into pockets.
Next-Level Upgrades: Oils, Trigger Snaps, and Upcycling Hacks
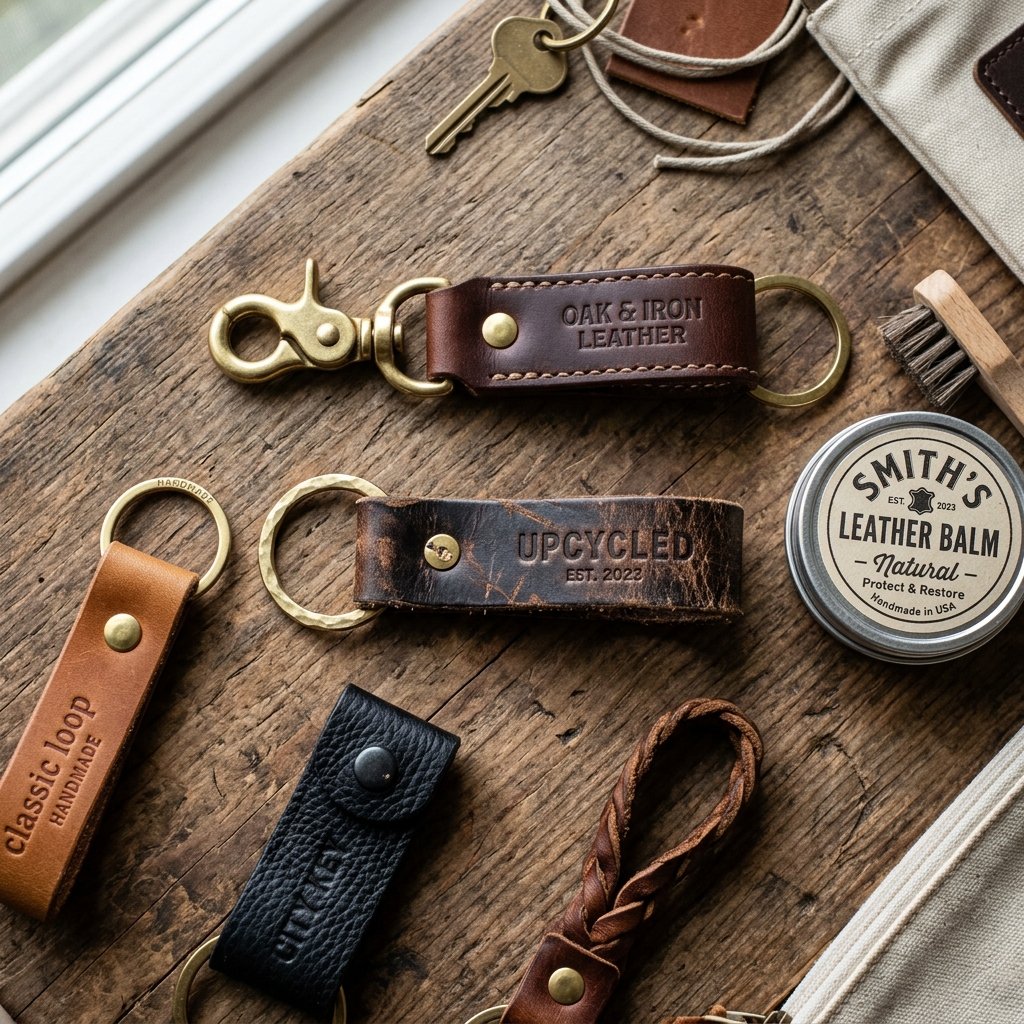
The basic monogrammed fob is a classic, but as a crafty expert, you might want to add some extra flair or utilize materials you already have lying around the house. Here are a few budget-savvy ways to customize this project even further.
Conditioning for a Luxurious Finish
Raw veg-tan leather is beautiful, but it can be a bit stiff and susceptible to water stains. To give it that supple, broken-in, high-end feel, rub a small amount of leather conditioner, mink oil, or even a tiny dab of extra virgin olive oil from your kitchen into the finished fob. The oil will dramatically darken the leather, bringing out the rich, natural grain and providing a layer of weather resistance.
Hardware Upgrades: The Trigger Snap
Instead of a standard split ring, consider using a brass trigger snap or a carabiner clip. This allows him to clip his keys directly to his belt loop or the outside of a backpack—a highly requested feature for men who work outdoors, ride motorcycles, or carry a lot of gear. You can buy multi-packs of heavy-duty trigger snaps online, keeping the cost per fob well under $4.
The Ultimate Frugal Hack: Upcycling Old Belts
Don’t want to buy new leather scraps? Head to your local thrift store or raid your husband’s closet for old, genuine leather belts that no longer fit. A single thrifted leather belt (which usually costs around $2) can yield up to 10 key fobs!
“When upcycling a belt, look for the words ‘Genuine Leather’ or ‘Full Grain Leather’ stamped on the back. Avoid belts marked ‘Bonded Leather,’ as these are just leather dust glued together and will peel and fall apart when cut and folded.”
Simply cut the belt into 8-inch sections, punch your holes, add the hardware, and you have instantly created a rugged, distressed key fob with incredible character and zero break-in time required.
Conclusion
There you have it—a masterclass in creating a high-end, deeply personal, and incredibly rugged gift that any man would be proud to carry, all for less than the cost of a cup of coffee. By utilizing basic upcycling skills, understanding the nature of vegetable-tanned leather, and employing a little elbow grease, you have bypassed the expensive boutique markups and crafted something with true heirloom potential.
These DIY leather key fobs are highly addictive to make. Once you master the simple rhythm of cutting, burnishing, stamping, and riveting, you can easily churn out a batch of ten in under an hour. They make phenomenal, budget-savvy groomsmen gifts, thoughtful Father’s Day presents, excellent craft fair bestsellers, or even customized stocking stuffers for the whole family. So grab your hammer, wet your leather, and start stamping your way to the ultimate practical gift!

Makenzie is the founder and lead writer at MoneyHackTips.com — a personal finance blog dedicated to delivering street-smart financial wisdom for real people on real budgets. With 300+ published articles covering everything from debt management to investing fundamentals, Makenzie’s mission is to make every dollar work harder. When not writing about money hacks, Makenzie is testing frugal living strategies, optimizing side hustles, and helping readers build financial freedom from scratch.