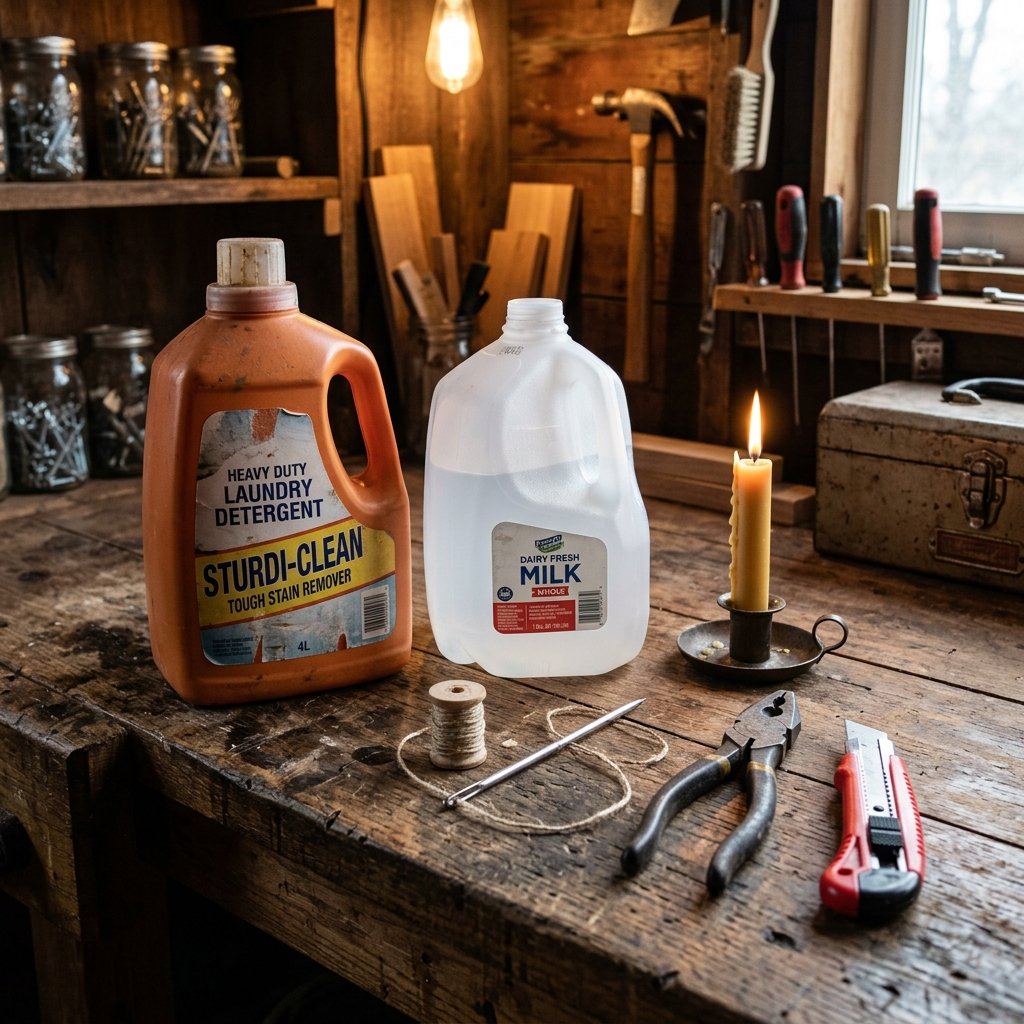

Welcome, fellow frugal DIYers, resourceful upcyclers, and backyard homesteaders. If you have ever walked through the pristine, brightly lit aisles of a big-box home improvement store, you have likely felt the magnetic pull of the gardening section. The shiny new tools, the ergonomically designed gadgets, and the beautifully colored watering cans practically beg you to open your wallet. But let us take a step back and look at the reality of the situation. You are being asked to pay $15, $25, or even upwards of $40 for a molded piece of plastic whose sole purpose is to carry water from a spigot to a plant. When you look at it through the lens of a clever, budget-savvy maker, buying a plastic watering can is an absolute waste of your hard-earned cash.
As handy parents and crafty experts, we know that true resourcefulness lies in seeing the hidden potential in everyday items. The very materials you toss into your recycling bin week after week—milk jugs, heavy-duty laundry detergent bottles, and large juice containers—are engineered from incredibly durable, high-density polyethylene (HDPE). These vessels are designed to withstand heavy loads, resist chemical degradation, and survive cross-country shipping. Why on earth would we throw away such rugged, utilitarian masterpieces only to drive to the store and buy inferior plastic at a premium?
Today, we are putting an end to the cycle of unnecessary spending. We are going to dive deep into the incredibly satisfying, highly practical art of crafting an upcycled plastic bottle watering can for 100% free. This is not just a cheap hack; it is a masterclass in functional upcycling. By the time you finish this guide, you will have a custom-flow watering tool tailored exactly to your garden’s needs, and you will never look at your household trash the same way again.
The Economics of Upcycling: Why We Must Stop Paying for Plastic
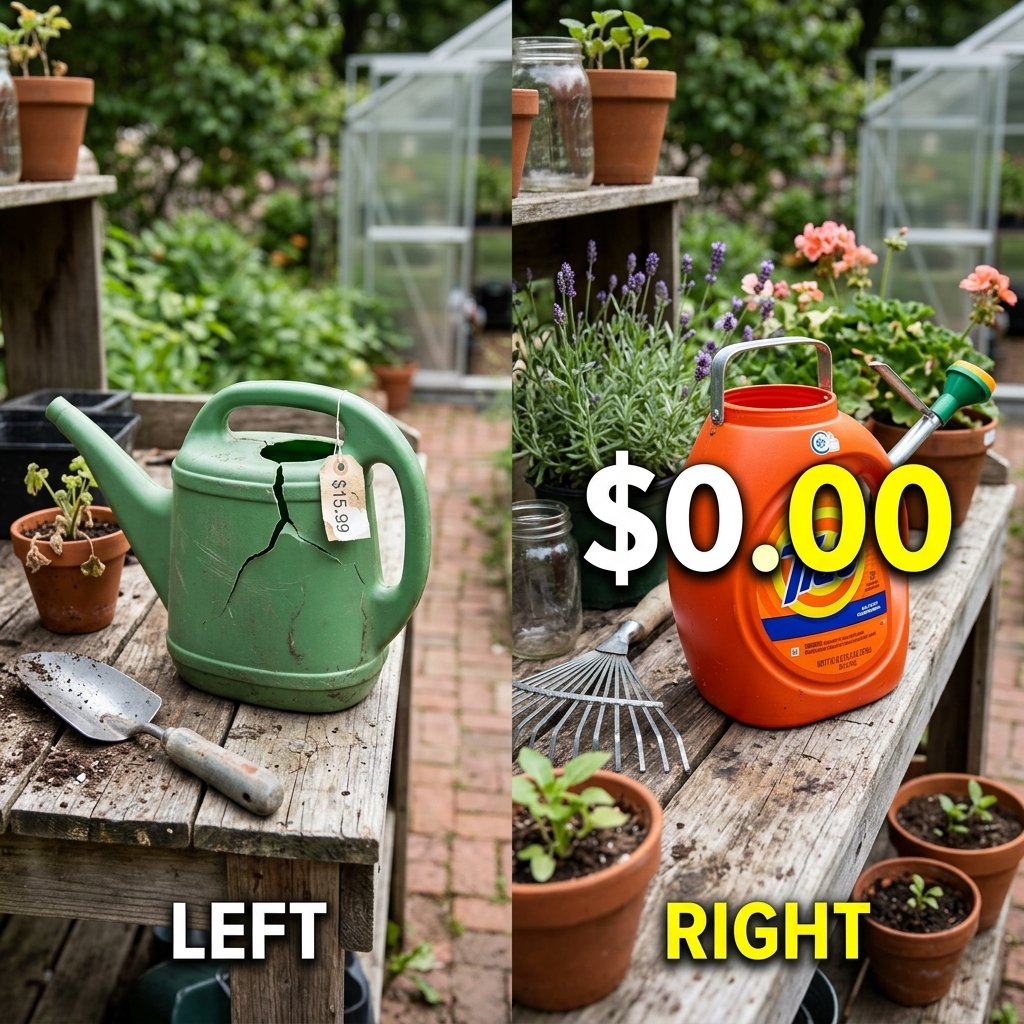
Before we get our hands dirty with the fabrication process, we need to address the frugal philosophy that drives this project. The modern consumer market thrives on convenience, convincing us that every specific task requires a highly specialized, store-bought tool. But the resourceful upcycler knows that functionality always trumps flashy marketing. When you purchase a watering can, you are not paying for innovation; you are paying for manufacturing, shipping, branding, and retail markup.
The True Cost of Gardening Convenience
Let us break down the budget. A standard, entry-level plastic watering can at a local garden center will run you about $12.99. If you want something with a larger capacity or a dual-handle design, you are looking at $24.99. If you fall into the trap of buying a trendy, boutique metal or faux-vintage can, you could easily spend $45.00 or more. Now, consider how often these store-bought plastic cans crack after a single season in the harsh summer sun, forcing you to buy a replacement the following spring.
| Watering Can Type | Average Store Cost | Lifespan / Durability | DIY Upcycled Cost |
|---|---|---|---|
| Basic Thin Plastic (1 Gallon) | $12.99 | 1-2 Seasons (Prone to sun-cracking) | $0.00 |
| Heavy-Duty Ergonomic (2 Gallon) | $24.99 | 3-5 Seasons | $0.00 |
| Boutique / Decorative Metal | $45.00+ | Long-lasting but prone to rust | $0.00 |
| Upcycled Laundry Detergent Bottle | $0.00 | Virtually Indestructible (Thick HDPE) | $0.00 |
By choosing to upcycle, you are not just saving $15 to $25; you are reclaiming your independence from the retail cycle. You are keeping indestructible plastics out of landfills and giving them a rugged second life.
Remember the frugal maker’s mantra: Use it up, wear it out, make it do, or do without. In this case, we are making it do, and doing it brilliantly.
Scavenging Your Supplies: Choosing the Perfect Plastic Vessel
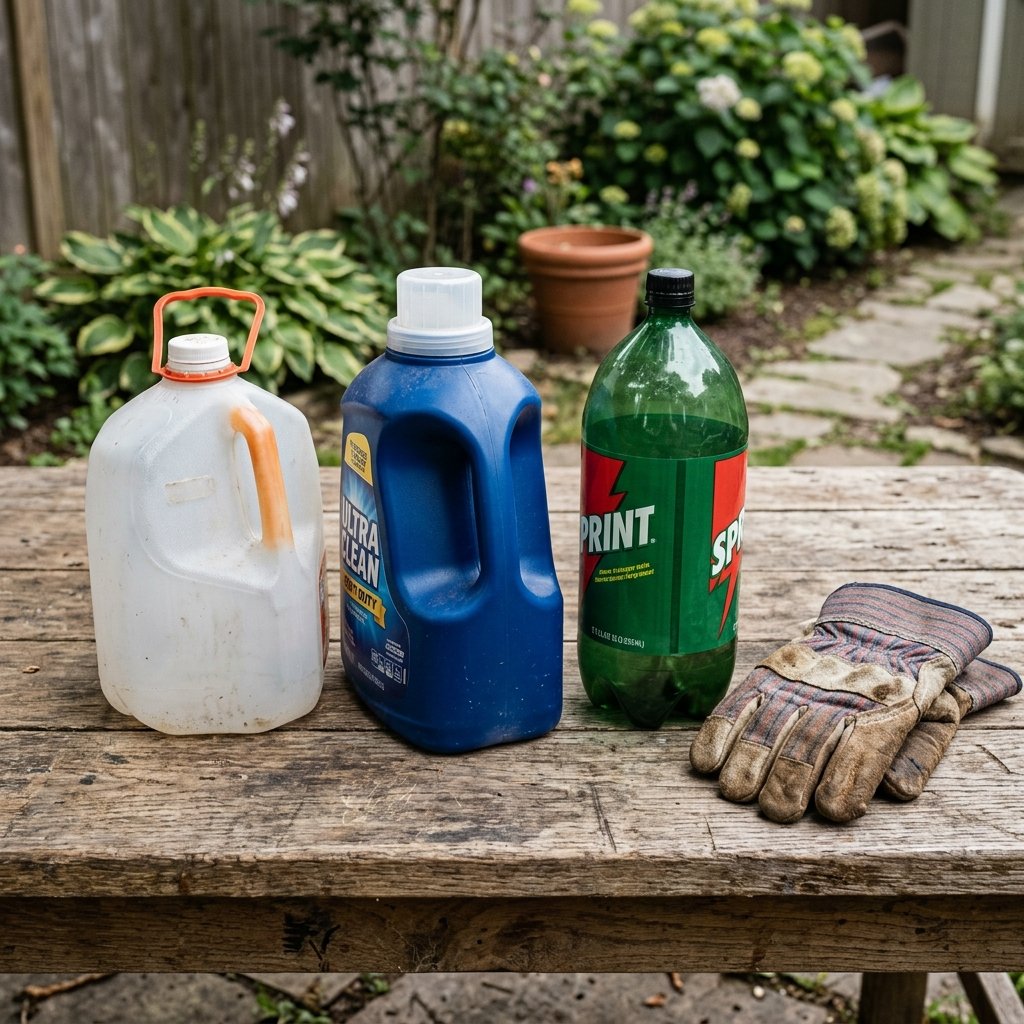
Not all trash is created equal. To build a truly functional, masculine-elegant, and reliable watering can, you need to select the right base material. The beauty of this project is that you can customize the size and ergonomics of your watering can based on the type of bottle you salvage. Let us explore the top contenders found in almost every family’s recycling bin.
The Classic Milk Jug (1 Gallon)
The standard one-gallon milk or water jug is the quintessential entry-level upcycling vessel. It is lightweight, holds a perfect 8.34 pounds of water (which is manageable for most handy moms, dads, and kids), and features a built-in handle.
- Pros: Plentiful, easy to puncture, translucent so you can see the water level.
- Cons: The plastic is relatively thin. It will not survive being left out in freezing winter temperatures, and the handle ergonomics are basic.
- Best For: Indoor houseplants, delicate seedlings, and teaching kids about zero-waste gardening.
The Heavy-Duty Laundry Detergent Bottle (100-150 oz)
This is the holy grail of frugal garden upcycling. Laundry detergent bottles are molded from incredibly thick, rugged plastic designed to hold dense liquids. They feature thick, comfortable, ergonomic handles that make carrying heavy loads a breeze. Furthermore, their caps are massive, providing a fantastic canvas for creating a wide-spray watering rose.
- Pros: Indestructible, highly ergonomic, large capacity, rugged aesthetic.
- Cons: Requires thorough cleaning to remove soap residue. The plastic is thick, requiring a bit more effort to puncture.
- Best For: Heavy outdoor garden watering, soaking deep vegetable beds, and aggressive daily use.
The 2-Liter Soda Bottle
While lacking a handle, the 2-liter soda bottle is a sleek, highly pressurized vessel that is perfect for precision watering. By modifying the cap, you can create a targeted stream that gets right to the roots of dense potted plants without wetting the foliage.
- Pros: High-pressure flow potential, incredibly common, easy to handle with one hand.
- Cons: No handle, smaller capacity.
- Best For: Hanging baskets, precision root watering, and DIY drip irrigation systems.
The Master Crafter’s Tool Kit for Plastic Upcycling

To transform these vessels into high-functioning garden tools, we need to apply some basic, practical craftsmanship. We are not just stabbing holes in plastic with a kitchen knife; we are engineering a precise water delivery system. To do this safely and cleanly, you need a few basic tools from your workbench.
Materials and Tools Required
| Item | Purpose | Estimated Cost |
|---|---|---|
| Empty Plastic Bottle with Cap | The main vessel and spout | $0.00 (Upcycled) |
| Thick Sewing Needle or Awl | To puncture the water holes | $0.00 (Owned) |
| Pliers or Vice Grips | To hold the needle safely while heating | $0.00 (Owned) |
| Candle or Lighter | To heat the needle for clean melting | $0.00 (Owned) |
| Dish Soap & Warm Water | To clean the vessel thoroughly | $0.00 (Owned) |
Safety Disclaimer: This project involves heat and sharp objects. When heating needles or awls, the metal will become scalding hot. Always use heavy-duty pliers to hold the metal, work in a well-ventilated area to avoid inhaling melting plastic fumes, and keep hot tools away from children.
The secret to a professional-grade upcycle is the Heated Needle Technique. If you try to force a cold needle or drill bit through thin plastic, the plastic will tear, splinter, or crack, resulting in jagged holes that spray water in unpredictable directions. By heating the needle, you melt a perfectly round, smooth hole that creates a uniform, gentle shower stream for your plants.
Step-by-Step Fabrication: Engineering the Perfect Rain Shower Spout
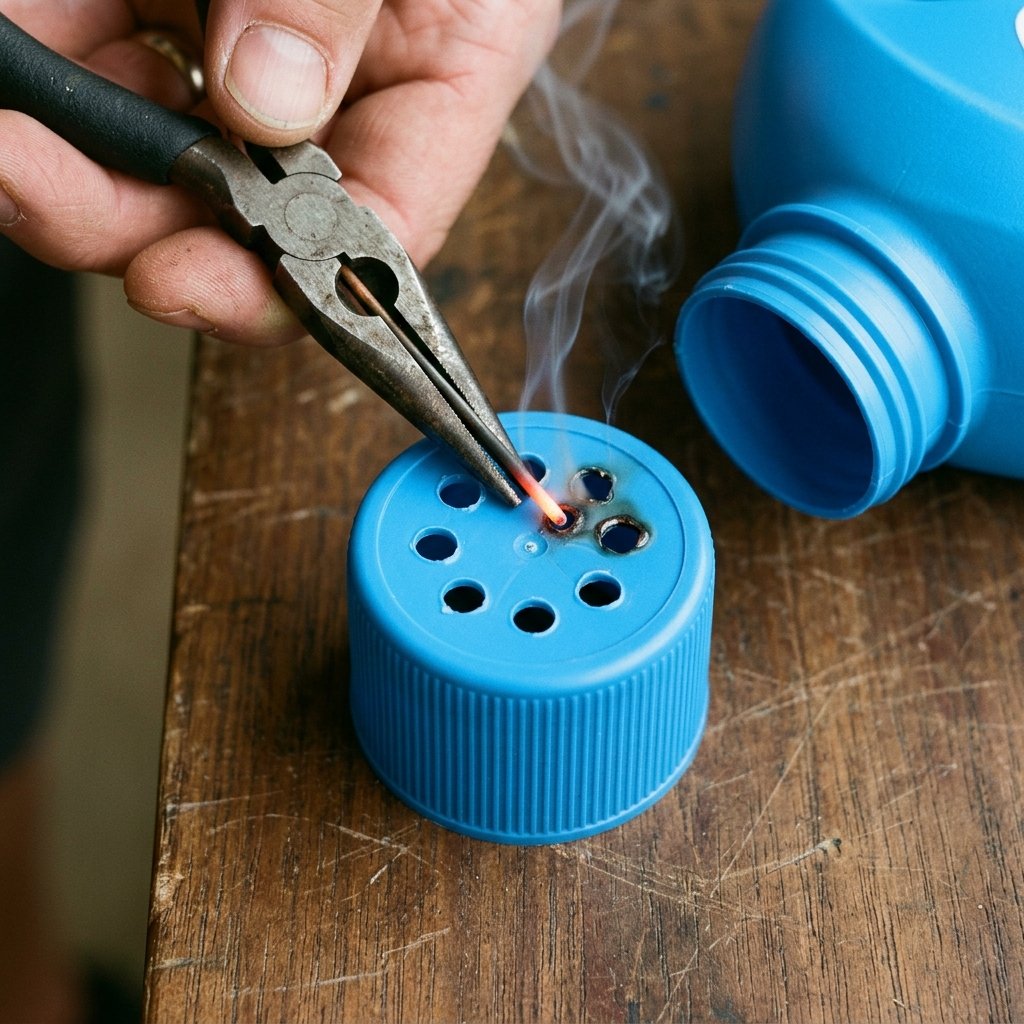
Now comes the practical, hands-on magic. Clear your workbench, gather your tools, and let us engineer a watering can that rivals the expensive store-bought brands. Follow these steps meticulously for the best results.
Step 1: The Deep Clean
If you are using a milk jug, a simple rinse will suffice. However, if you chose the rugged laundry detergent bottle, you must remove all soap residue. Add a squirt of dish soap, fill the bottle halfway with warm water, cap it, and shake vigorously for 60 seconds. Dump the suds and repeat until the water runs completely clear. Residual laundry detergent can alter the pH of your soil and harm delicate seedlings.
Step 2: Prepping the Heating Station
Light your candle and set it securely on your workbench. Take your thick sewing needle, safety pin, or awl, and grip the dull end firmly with your pliers. You want about an inch of the sharp metal exposed.
Step 3: Heating and Piercing the Cap
Remove the cap from your cleaned bottle. Hold the tip of your needle in the candle flame for about 5 to 10 seconds until it is hot. Press the hot needle gently into the top of the plastic cap. It should melt through instantly with zero resistance. Pull it out quickly to leave a clean, round hole.
- For a Gentle Seedling Shower: Heat a smaller needle and poke 15 to 20 tiny holes tightly clustered in the center of the cap. This mimics a delicate rain shower, perfect for fragile sprouts.
- For a Heavy Soaker Flow: Use a thicker awl or a large nail. Poke 5 to 8 larger holes. This will deliver a higher volume of water quickly to mature shrubs and large vegetable beds.
Step 4: The Crucial Physics Hack – The Air Hole
This is the step that separates the amateurs from the crafty experts. If you fill your bottle, screw on the punctured cap, and tip it over, the water will glug, sputter, and stop flowing. This is due to a vacuum forming inside the rigid plastic bottle. To achieve a smooth, continuous, professional flow, you must introduce airflow.
Using your hot needle or a craft knife, carefully melt or cut a single hole at the very top of the bottle’s handle, or near the highest point of the bottle’s base (opposite the cap). This air intake hole allows air to replace the water as it pours, ensuring a flawless, uninterrupted stream. Do not skip this step!
Advanced Upgrades: Customizing Flow Rates and Ergonomics
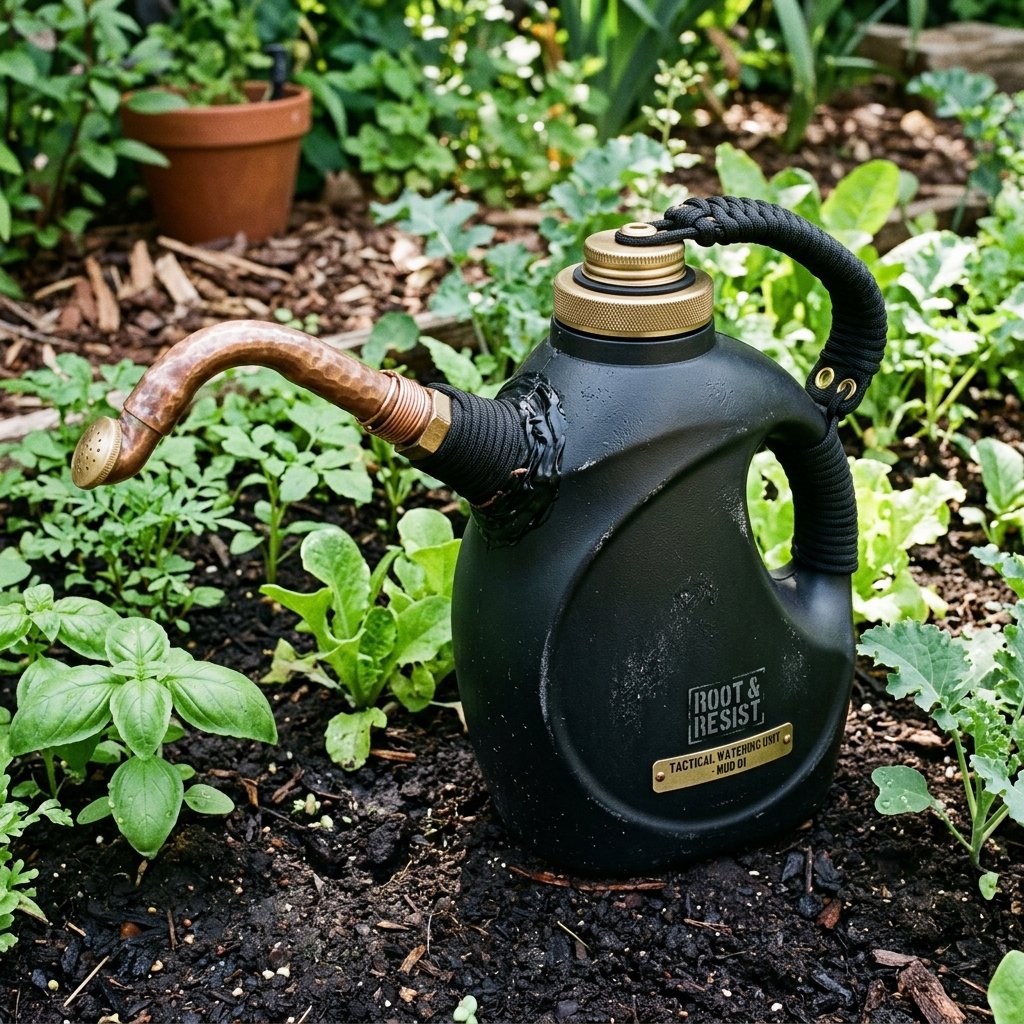
The basic upcycled watering can is a marvel of frugal engineering, but as handy DIYers, we rarely settle for basic. Let us explore some rugged, practical upgrades to take your trash-to-treasure creation to the next level.
The Interchangeable Spout System
If you used a standard milk jug or a 2-liter soda bottle, the caps are universally sized (standard 28mm PCO thread). This means you can save multiple caps from different bottles and create an interchangeable spout system. Puncture one cap with tiny holes for seeds, one cap with large holes for soaking, and leave one cap completely unpunctured for transporting water in your car without spilling. Swap them out as your gardening needs dictate!
The Extended Reach Spout
Do you have deep garden beds or hanging baskets that are hard to reach? You can extend the reach of your upcycled can using a piece of scrap PVC pipe or an old section of garden hose. Simply find a piece of rigid tubing that fits snugly inside the mouth of your bottle. Apply a bead of waterproof silicone or hot glue around the rim to seal it. Now you have a long-reach watering wand that cost you absolutely nothing.
Masculine-Elegant Aesthetics: De-Uglifying the Bottle
While we love the zero-budget aspect, we do not necessarily want our garden looking like a recycling center. To give your watering can a rugged, high-end look, consider removing all commercial labels. Use a hairdryer to soften the adhesive, peel the label off, and use a rag soaked in rubbing alcohol or cooking oil to remove any sticky residue. For a truly custom look, you can scuff the plastic with light sandpaper and hit it with a coat of matte black or olive drab plastic-bonding spray paint. Suddenly, your old detergent bottle looks like a piece of tactical gardening gear.
Maintenance, Cleaning, and the Zero-Waste Lifecycle
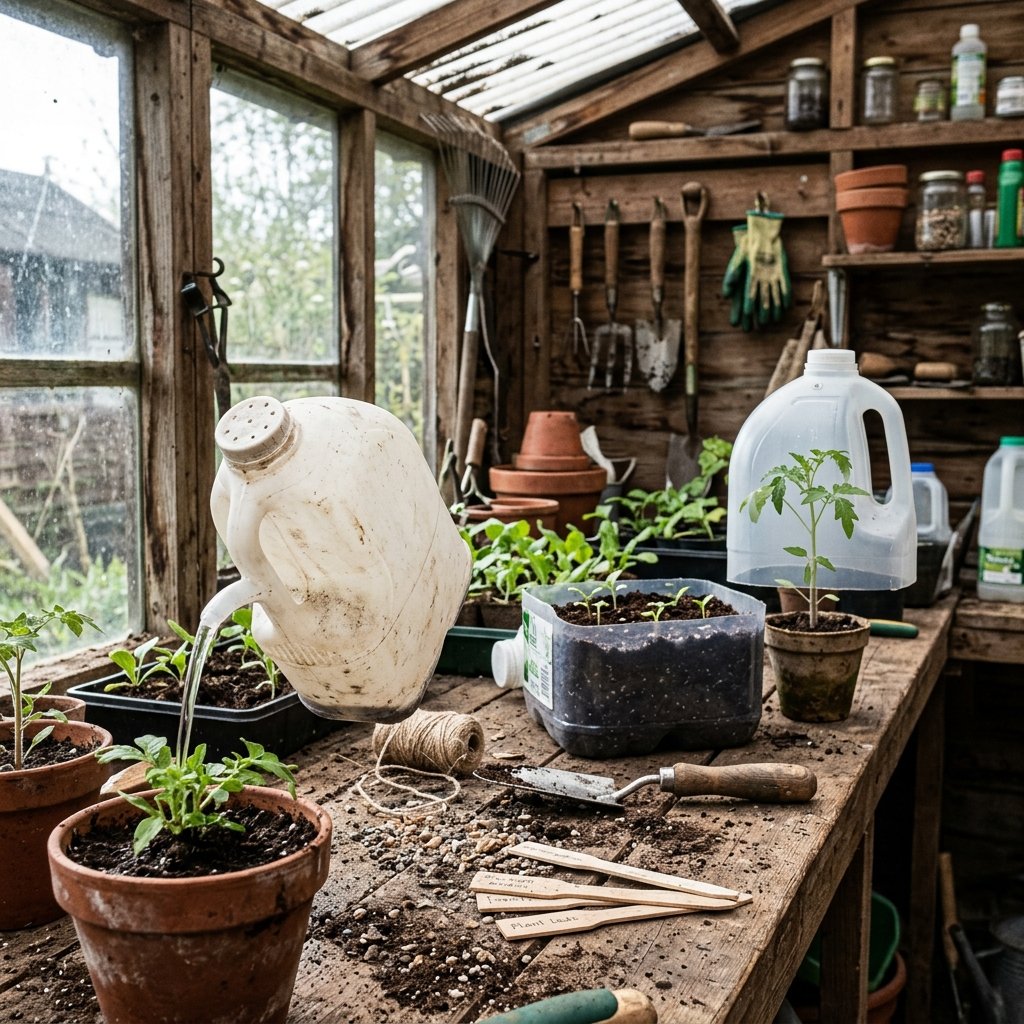
One of the greatest joys of frugal DIY projects is that they require very little precious maintenance, and when they do eventually fail, the replacement cost is zero. However, to get the maximum lifespan out of your upcycled watering can, a little practical care goes a long way.
Combatting Algae Growth
If you chose a translucent vessel like a milk jug and you leave it sitting in the sun full of water, algae will eventually bloom inside. The green sludge can clog your carefully pierced spout holes. To clean it, simply add a handful of coarse gravel or dry rice into the bottle along with a cup of warm water and a splash of white vinegar. Shake it vigorously. The rice or gravel acts as an abrasive, scouring the algae off the interior walls. Rinse it out, and it is as good as new.
Winterizing Your Gear
While high-density polyethylene (HDPE) is tough, water expanding into ice can crack even the thickest plastic. When the first frost hits, empty your upcycled watering cans completely. Because they cost you $0.00, you do not need to take up precious garage shelf space storing them. If one gets crushed or cracks over the winter, simply toss it into the recycling bin and pull a fresh bottle from your kitchen in the spring. The lifecycle of this tool is entirely in your control.
Beyond the Watering Can: The Upcycling Gateway
Once you realize how easy it is to manipulate plastic bottles, an entire world of zero-budget garden supplies opens up to you. That same milk jug can be cut in half: the bottom becomes a free seed-starting tray or a waterproof saucer for potted plants, while the top half (with the cap removed) becomes a protective cloche to shield delicate seedlings from late spring frosts. You can cut detergent bottles at an angle to create heavy-duty soil scoops. The possibilities are limited only by your creativity and your willingness to look at trash as raw material.
By embracing these clever, budget-savvy techniques, you are doing more than just saving a few dollars. You are cultivating a mindset of self-reliance, teaching your family the value of resourcefulness, and proving that the best tools are often the ones we make with our own two hands.
Conclusion
And there you have it—a masterclass in turning everyday household waste into a rugged, highly functional, and perfectly engineered garden tool. By taking 10 minutes out of your day and applying a little bit of heat and ingenuity, you have successfully bypassed the retail markup and created a custom watering can for exactly $0.00.
This project is the perfect weekend activity for handy parents looking to teach their kids about recycling, or for the frugal homesteader determined to stretch every penny. The next time you find yourself wandering the aisles of a garden center, tempted by rows of overpriced plastic gadgets, remember the power of your own recycling bin. You possess the skills, the tools, and the resourceful mindset to make what you need. So go ahead, rescue that detergent bottle, fire up a candle, and start pouring life into your garden with your very own trash-to-treasure masterpiece. Happy upcycling, and happy gardening!

Makenzie is the founder and lead writer at MoneyHackTips.com — a personal finance blog dedicated to delivering street-smart financial wisdom for real people on real budgets. With 300+ published articles covering everything from debt management to investing fundamentals, Makenzie’s mission is to make every dollar work harder. When not writing about money hacks, Makenzie is testing frugal living strategies, optimizing side hustles, and helping readers build financial freedom from scratch.