
Listen up, fellow frugal DIYers, upcycling mavericks, and budget-savvy crafters! Summer is here, and the retail world is practically begging you to drop an absurd amount of cash on boutique sun hats. You know the ones—flimsy straw contraptions that cost upwards of $60 to $120 and unravel the second they catch a stiff ocean breeze. It is time to put your wallet away, raid your closet (or your spouse’s donation pile), and unleash your inner crafty expert.
Today, we are diving deep into the ultimate trash-to-treasure project. We are going to transform those stained, stretched-out, or unworn cotton t-shirts taking up space in your dresser into a chic, durable, and highly functional wide-brimmed sun hat. And the best part? Thanks to the chunky nature of t-shirt yarn (affectionately known in the maker community as ‘tarn’), you can hook this entire project up in a single afternoon.
Whether you are a handy parent looking for a rugged, packable hat that can survive being crushed in a beach bag, or a creative gift-giver wanting to craft something uniquely tailored for a loved one, this project checks every single box. It is zero-waste, environmentally friendly, infinitely customizable, and practically indestructible. Grab your heavy-duty scissors and your largest crochet hook—we are about to turn literal rags into rugged, masculine-elegant, and undeniably stylish riches.
The Economics of Upcycling: Why T-Shirt Yarn is a Budget-Savvy Game Changer
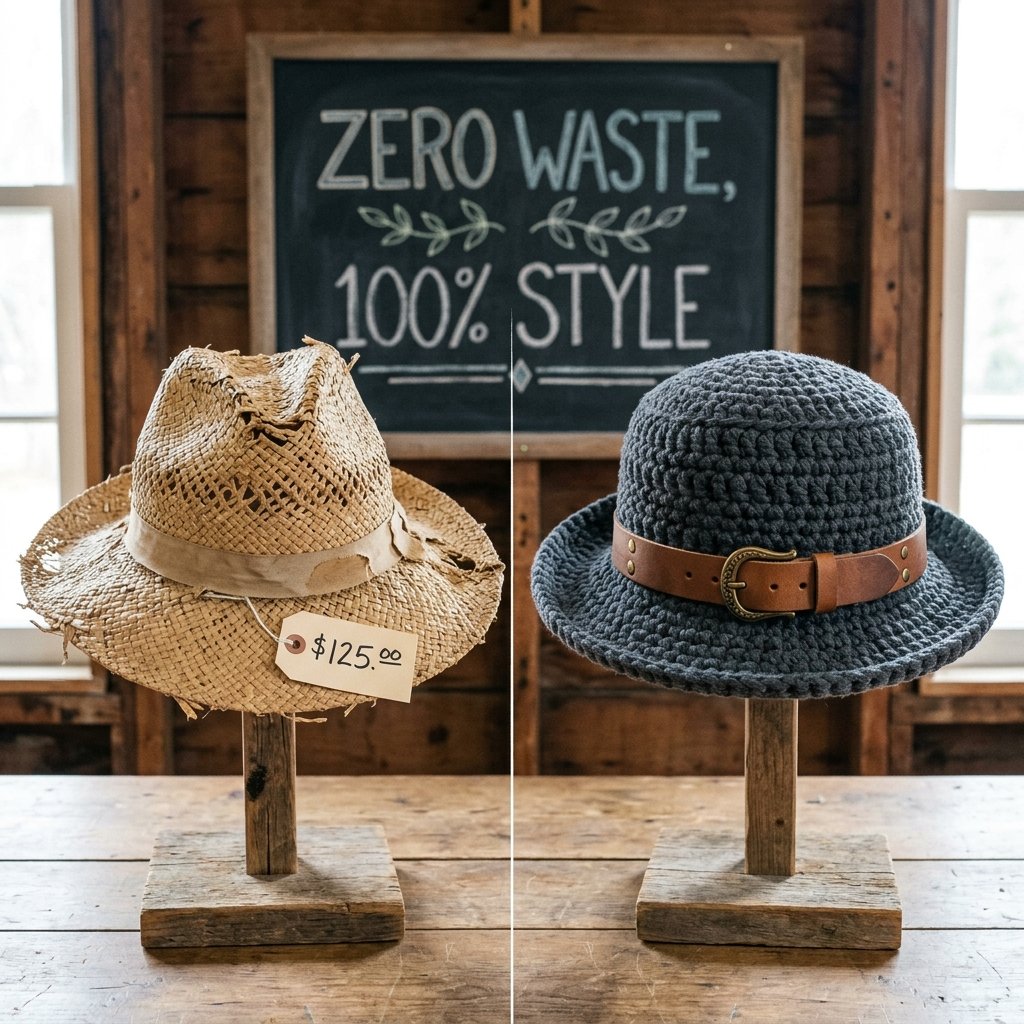
Before we start slicing up old garments, let us talk numbers. As resourcefully-creative makers, we do not just craft for the fun of it; we craft to keep our hard-earned dollars right where they belong. Traditional raffia, straw, or even specialized cotton yarns designed for hat-making can eat through a budget faster than you can say ‘slip stitch.’ T-shirt yarn, on the other hand, is the holy grail of frugal crafting.
When you upcycle old shirts, you are not just saving money on materials; you are creating a textile that is infinitely more durable than store-bought alternatives. T-shirt yarn is thick, washable, and structural. If your DIY hat gets covered in mud at the farmer’s market or soaked in saltwater, you simply toss it in the washing machine. Try doing that with a $80 designer straw fedora.
| Expense Category | Boutique Store-Bought Hat | Zero-Budget DIY Tarn Hat |
|---|---|---|
| Base Material | $45.00 – $90.00 (Straw/Raffia) | $0.00 (Upcycled closet tees) |
| Hat Band/Accents | $15.00 – $30.00 (Faux Leather) | $0.00 – $2.00 (Thrifted old belt) |
| Durability/Lifespan | 1-2 Seasons (Prone to cracking) | 10+ Years (Machine washable) |
| Total Estimated Cost | $60.00 – $120.00+ | $0.00 – $2.00 maximum |
By investing just 3 to 4 hours of your time, you are retaining an incredible amount of value. Plus, there is an unmatched sense of rugged pride that comes from answering the question, ‘Where did you get that hat?’ with a smirk and the words, ‘I made it out of my old band tees.’
Sourcing and Slicing: Crafting Your Own Continuous T-Shirt Yarn
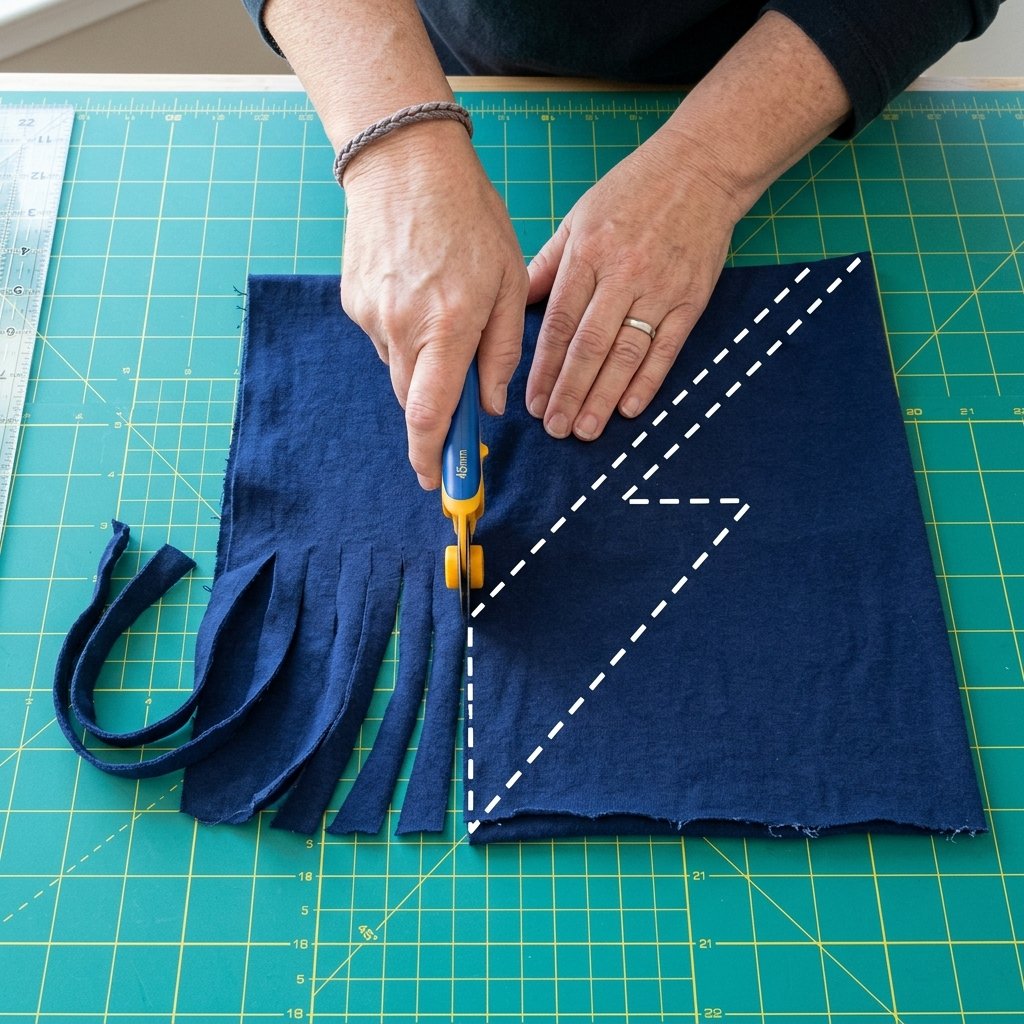
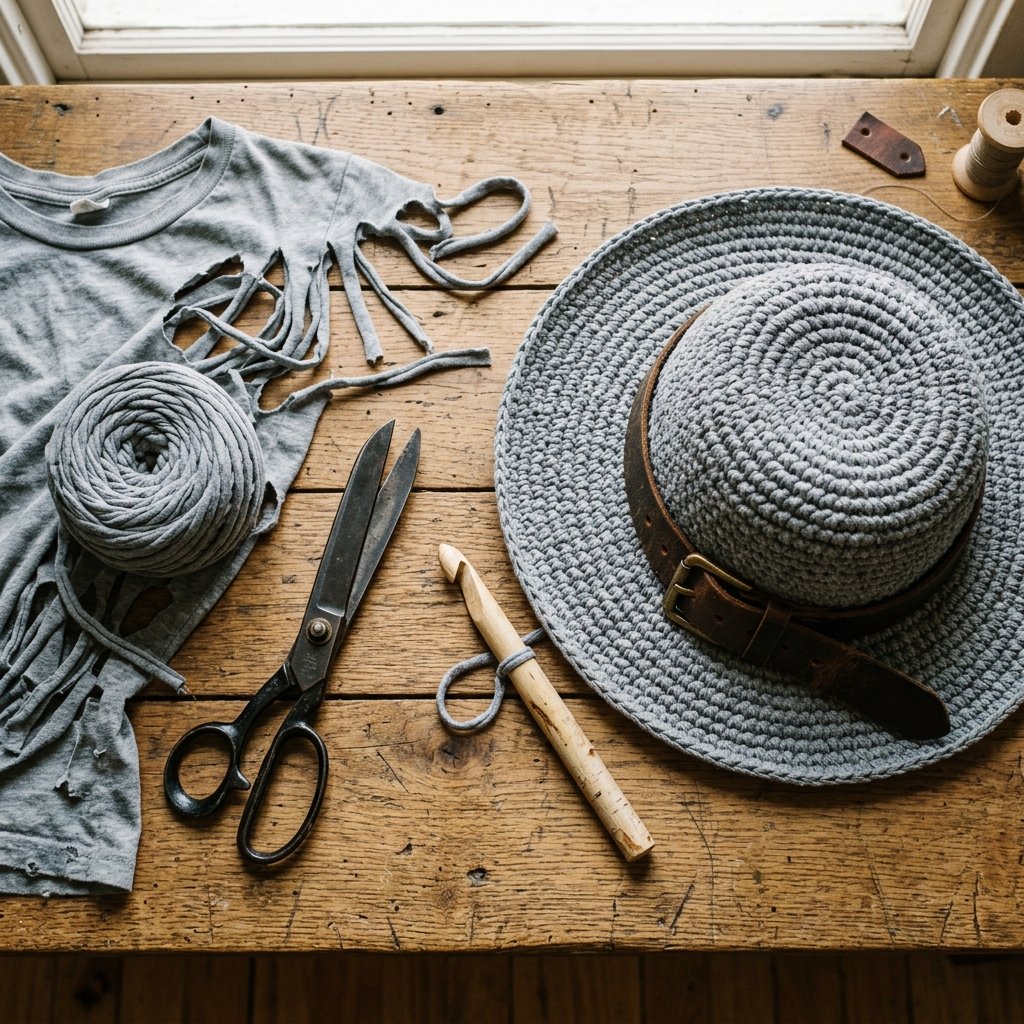
The secret to a flawless t-shirt yarn hat lies in the preparation. You cannot just hack a shirt to pieces and hope for the best. We need a continuous, unbroken strand of yarn to ensure our hat has structural integrity and minimal knots. For a wide-brimmed adult sun hat, you will need approximately 3 to 4 large adult t-shirts.
Selecting the Right Shirts
Look for 100% cotton or cotton-blend shirts. The most critical factor is finding shirts that have a seamless body (tubular construction). If the shirt has side seams, you can still use it, but you will have slight bulky spots in your yarn. Men’s XL or XXL undershirts are the absolute goldmine for this project.
The Continuous Cut Technique
Clear off your workbench or dining table. Lay the shirt completely flat and smooth out any wrinkles.
- Using heavy-duty fabric scissors or a rotary cutter, cut off the bottom hem of the shirt and discard it (or save it for tying up garden tomatoes!).
- Cut straight across the shirt just below the armpits. You are now left with a large tube of fabric.
- Fold one side of the tube toward the other, but leave a 1-inch gap at the top edge. This uncut margin is crucial.
- Starting from the bottom fold, cut strips about 1 to 1.5 inches wide, cutting upward toward the top margin. Stop your cut before you slice through that 1-inch gap.
- Once the entire tube is fringed, open up that uncut margin so it lays flat on your arm or a cardboard tube.
- Look at the uncut section. You will make diagonal cuts to connect the strips. Cut from the outside edge diagonally to the first slit. Then cut from the first slit diagonally to the second slit. Continue this pattern.
The Upcycler’s Mantra: ‘Never cut straight across the spine! Diagonal cuts create the continuous spiral. Once cut, stretch the fabric firmly between your hands. The raw edges will curl inward, hiding the cuts and creating a perfect, rounded tube of yarn.’
Roll your newly minted tarn into a tight ball. You just saved yourself $15 per skein of bulky craft yarn!
Gathering Your Arsenal: Tools of the Frugal Crocheter
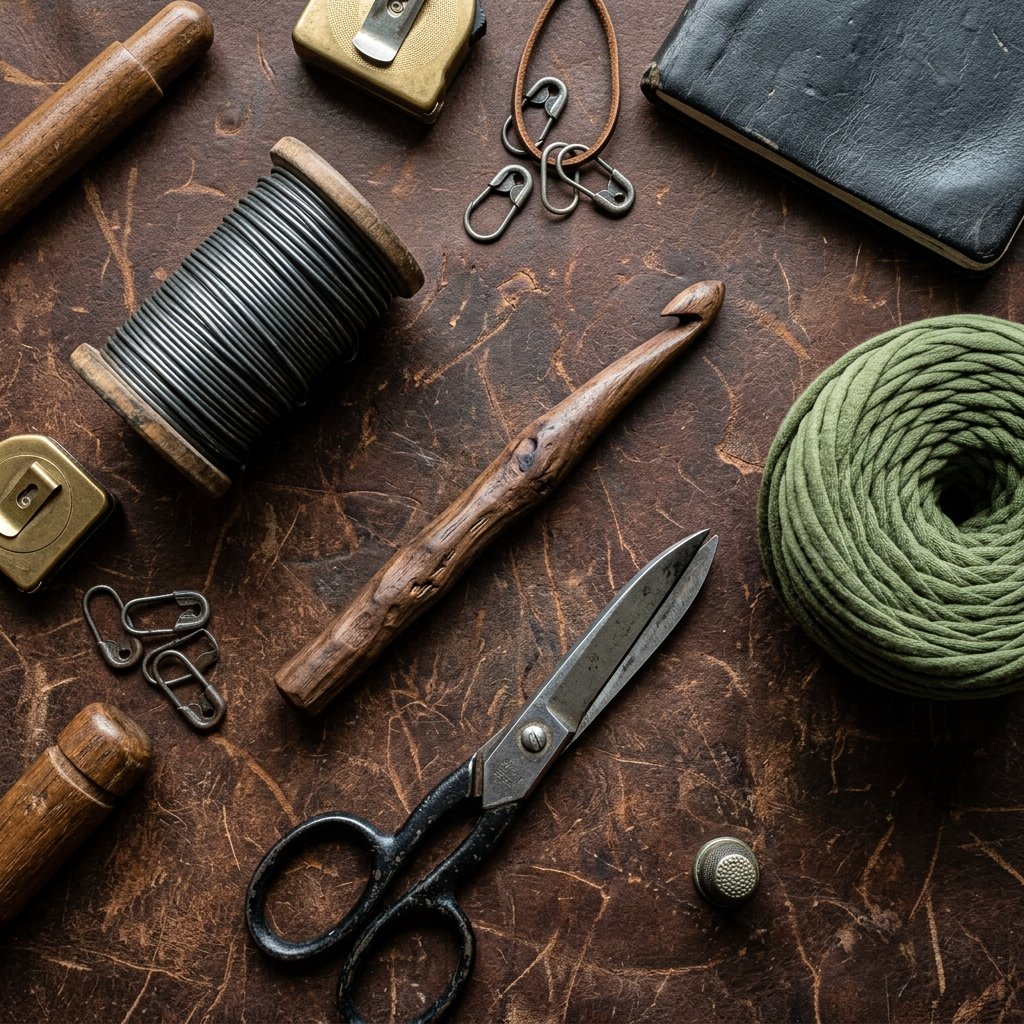
Unlike delicate lacework, working with t-shirt yarn is a heavy-duty endeavor. It requires tools that can handle tension and bulk. If you do not have these lying around, check your local thrift store’s craft bin before buying new.
- A Massive Crochet Hook: You will need a size P (11.5mm), N (10.0mm), or even a 15.0mm hook, depending on how thick you cut your strips. Rugged Tip: If you cannot find one, buy a cheap wooden dowel from the hardware store for $1.00 and whittle the end into a hook shape with a pocket knife!
- Stitch Markers: Do not buy plastic markers. Use contrasting scrap yarn, safety pins, or even paperclips. We are keeping this budget at zero.
- Galvanized Wire or Heavy-Duty Fishing Line: (Optional but highly recommended). To give your wide brim that stiff, expensive-looking snap, we will crochet over wire in the final round. A spool of 1.5mm wire from the hardware store costs about $4.00 and will last for dozens of hats.
- Heavy-Duty Scissors: Essential for cutting the shirts cleanly.
Safety Note: Cutting through multiple layers of jersey cotton requires sharp scissors or rotary blades. Always cut away from your body, use a self-healing mat if using a rotary cutter, and take breaks to avoid hand fatigue.
Step-by-Step Pattern: Crocheting the Crown and Body
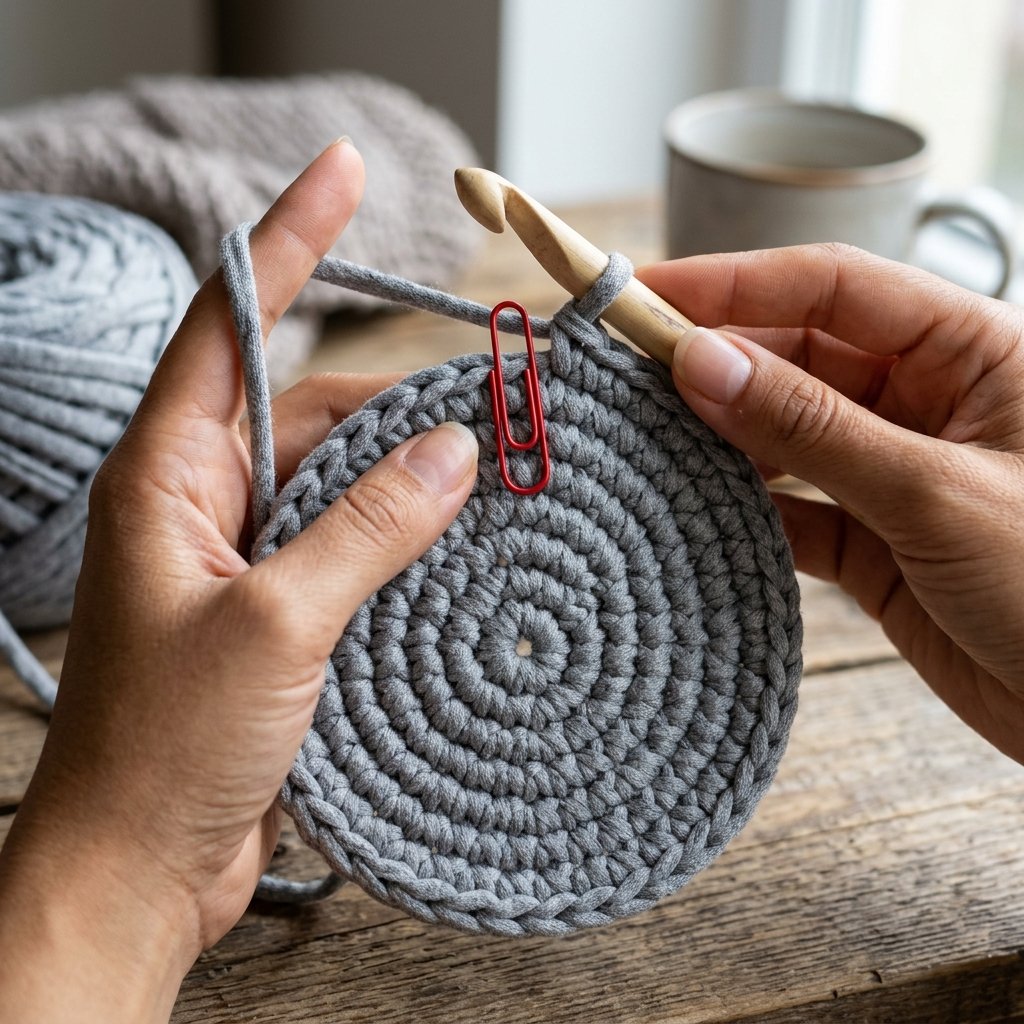
Now for the main event. This hat is crocheted in a continuous spiral, meaning we will not join rounds with a slip stitch. This prevents an ugly seam running down the back of your hat. Use your paperclip or scrap yarn to mark the first stitch of every round. We are using standard US crochet terms (sc = single crochet, inc = increase by placing 2 sc in the same stitch).
Phase 1: The Magic Ring and Crown
The crown is a flat circle. Because t-shirt yarn is so thick, we only increase by 6 stitches each round.
- Round 1: Create a magic ring (or chain 2 and crochet into the first chain). Work 6 sc into the ring. Pull tight. (6 stitches total).
- Round 2: Work 2 sc (inc) into every stitch around. (12 stitches).
- Round 3: *1 sc in the next stitch, inc in the next stitch.* Repeat from * to * around. (18 stitches).
- Round 4: *1 sc in the next 2 stitches, inc in the next.* Repeat around. (24 stitches).
- Round 5: *1 sc in the next 3 stitches, inc in the next.* Repeat around. (30 stitches).
- Round 6: *1 sc in the next 4 stitches, inc in the next.* Repeat around. (36 stitches).
Stop and measure! The flat circle should be about 6.5 to 7 inches in diameter for an average adult head. If it is too small, add another increase round. If it is too big, frog (unravel) a round.
Phase 2: The Body (Depth)
Now we stop increasing to allow the hat to curve downward and form the bucket shape.
- Rounds 7 to 14: Work 1 sc in every stitch around. (36 stitches per round).
Try the hat on after round 14. It should sit comfortably just above your ears. If you have a deeper head, add one or two more rounds of single crochet here. This process takes roughly 45 minutes once you get into a rhythm!
Shaping the Perfect Wide Brim (And Making It Stiff!)

A floppy hat is fine for lounging, but if you want that crisp, masculine-elegant fedora or structured sun hat look, you need a stiff brim. We achieve this by re-introducing increases and utilizing our secret weapon: hardware wire.
Phase 3: The Brim Increases
- Round 15: We want the brim to flare out sharply. Work this entire round in the Front Loops Only (FLO). *1 sc in the next 5 stitches, inc in the next.* Repeat around. (42 stitches).
- Round 16: Working in both loops normally again. *1 sc in the next 6 stitches, inc in the next.* Repeat around. (48 stitches).
- Round 17: *1 sc in the next 7 stitches, inc in the next.* Repeat around. (54 stitches).
- Round 18: *1 sc in the next 8 stitches, inc in the next.* Repeat around. (60 stitches).
You can continue adding increase rounds if you want a massive, dramatic beach brim. For a standard, rugged sun hat, 4 rounds are usually perfect.
Phase 4: The Wire Finish
This is where the magic happens. Measure a piece of your galvanized wire or heavy weed-whacker line so it is slightly longer than the circumference of your brim.
- Lay the wire flat along the top edge of your final round of stitches.
- Insert your hook into the next stitch, making sure your hook goes under the wire.
- Yarn over and complete your single crochet stitch, effectively trapping the wire inside the stitch.
- Continue this all the way around the brim. When you reach the end, overlap the wire ends by about 2 inches, tape them tightly together with a tiny piece of duct tape, and crochet over the overlap.
- Slip stitch into the final stitch, cut your yarn leaving a 6-inch tail, and weave it in invisibly.
Bend and shape the wire. You can snap it down in the front and up in the back for an outback-style look, or keep it perfectly flat for a classic boater silhouette. You just built structural integrity for pennies!
Customizing Your Craft: Leather Bands, Beads, and Masculine-Elegant Touches
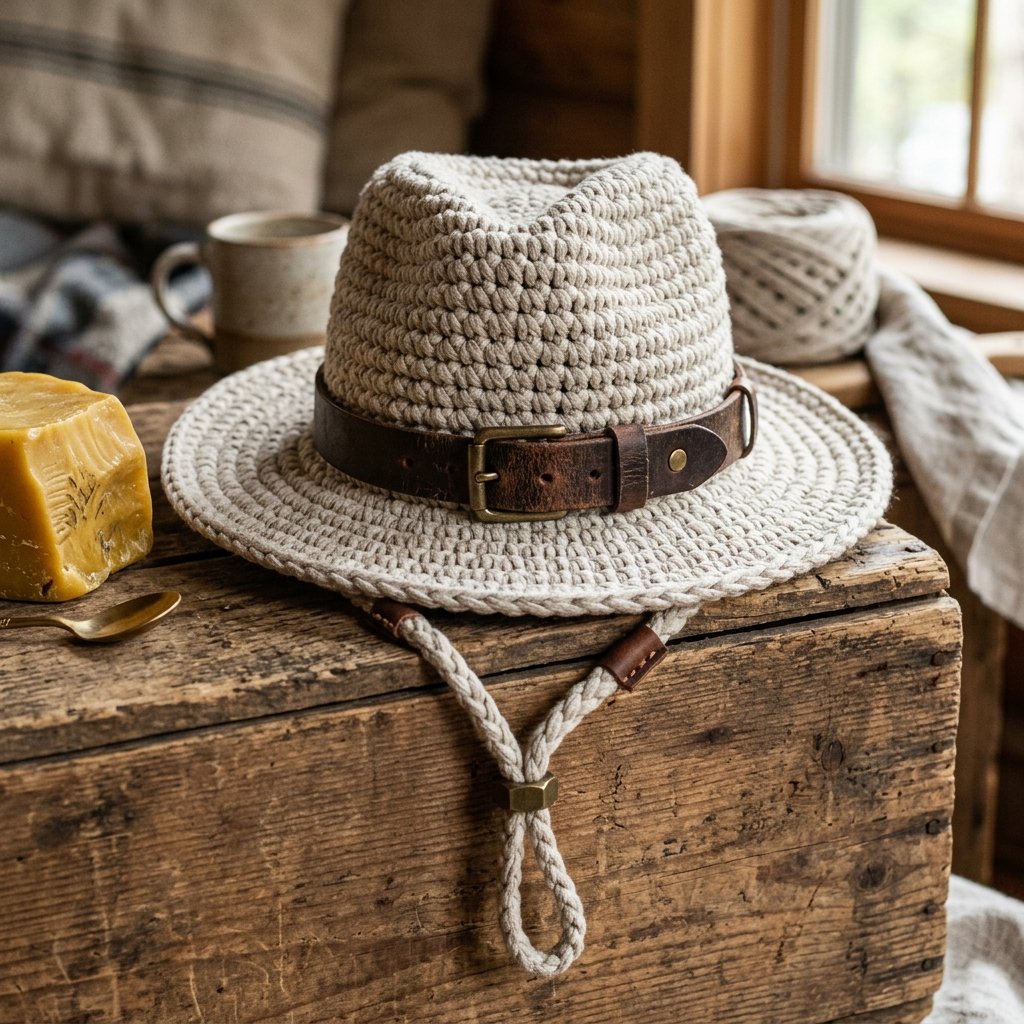
Your hat is structurally complete, but to elevate it from a ‘craft project’ to a ‘high-end boutique dupe,’ we need to talk styling. This is where your resourceful upcycling skills truly shine.
The Thrifted Leather Hatband
Do not buy expensive leather strips. Go to your local thrift store or check your closet for an old, worn-out leather belt. Skinny belts work beautifully. Simply wrap the belt around the base of the crown, buckle it, and you instantly have a rugged, masculine-elegant accent that looks like it came from a high-end outdoor outfitter.
Adding a Wind Lanyard (Chin Strap)
If you plan on wearing this on a boat or during a windy hike, a chin strap is highly practical.
- Take two scrap pieces of t-shirt yarn, about 24 inches long.
- Thread them through the inside of the hat, right at the base of the crown on either side of your ears.
- Knot them securely on the inside.
- Slide a wooden craft bead or a metal hex nut (yes, hardware store chic!) up both strings to act as an adjustable toggle.
Weatherproofing
While cotton is highly washable, it does absorb water. If you want to make your hat slightly water-resistant, you can rub a natural beeswax bar over the exterior of the hat and melt it in with a hairdryer. This gives the t-shirt yarn a waxed-canvas aesthetic that is incredibly rugged and repels light rain.
By utilizing these clever finishing touches, you have completely transformed discarded t-shirts into a bespoke, custom-fitted accessory. You saved money, you learned a practical skill, and you created something genuinely useful. Now put that hat on, step out into the sun, and wear your frugal victory with pride!
Conclusion
Who knew that the path to high-end summer fashion started in the bottom drawer of your dresser? By learning how to crochet this stylish t-shirt yarn sun hat, you have officially bypassed the overpriced retail trap. You took materials destined for the landfill, applied a bit of elbow grease, and utilized centuries-old hand-crafting techniques to yield a functional, rugged, and beautiful accessory.
The beauty of this project lies in its infinite adaptability. Make a tiny one in bright pinks for your toddler using their outgrown onesies. Craft a wide-brimmed, olive-drab version with a leather strap for your weekend fishing trips. The skills you learned today—creating continuous yarn, crocheting in the round, and adding structural wire—are foundational techniques that will serve you in countless future DIY endeavors.
So, keep those old t-shirts out of the trash, keep your hard-earned cash in the bank, and never stop looking at everyday items and asking, ‘What else could this be?’ Happy hooking, budget crafters!
Frequently Asked Questions (FAQ)
- Can I use shirts with graphics on them? Yes! The printed graphics will create interesting, slightly stiffer flecks of color throughout your yarn. It adds to the rustic, upcycled charm.
- My hat looks like a ruffled bowl, what did I do wrong? You likely added too many increase stitches in the crown, or your tension is too tight. Frog it back a few rounds and ensure you are strictly following the increase math.
- How do I wash a wired hat? Hand wash it in the sink with mild detergent. The galvanized wire will not rust easily, but it is best to avoid the violent tumbling of a washing machine to keep the wire from bending out of shape. Reshape it and let it air dry in the sun.

Makenzie is the founder and lead writer at MoneyHackTips.com — a personal finance blog dedicated to delivering street-smart financial wisdom for real people on real budgets. With 300+ published articles covering everything from debt management to investing fundamentals, Makenzie’s mission is to make every dollar work harder. When not writing about money hacks, Makenzie is testing frugal living strategies, optimizing side hustles, and helping readers build financial freedom from scratch.