
The Magic of the Cardboard Box
In a world of flashing lights and plastic batteries, there is a quiet, rugged power in the humble shipping box. To the average person, it is trash; to the Resourceful DIYer, it is the raw material for a masterpiece. Today, we are going to transform that stack of Amazon deliveries into a fully functional, high-end DIY Cardboard Post Office Sorting Game. This isn’t just a toy; it is a literacy-building, fine-motor-developing, imagination-sparking logistics center. We are talking about hours of creative play for the cost of exactly $0.00. By following this guide, you will learn how to engineer a durable sorting station that looks like a bespoke piece of playroom furniture while teaching your children the value of upcycling and the joy of ‘snail mail.’ Let’s grab our utility knives and get to work on this masterclass in cardboard engineering.
The Postmaster’s Inventory: Gathering Your Upcycled Gold

Before we make the first cut, we need to gather our materials. The goal is to spend zero dollars. We are hunting for high-quality, double-walled corrugated cardboard for the main structure and thinner, cereal-box style cardstock for the accessories. This project is about being clever and budget-savvy, using what you already have in your pantry and recycling bin.
The Essential Supply List
- 1 Large Shipping Box: This will be our main sorting console (approx. 18x18x24 inches).
- 3-4 Medium Boxes: For internal shelves and dividers.
- Cereal or Snack Boxes: Perfect for crafting ‘postcards’ and ‘stamps.’
- Utility Knife or Box Cutter: For those precision structural cuts.
- Heavy-Duty Packing Tape: To ensure the architectural integrity of the unit.
- Hot Glue Gun: For the ‘finer’ details and trim.
- Markers or Paint: To add that professional ‘Post Office’ aesthetic.
| Item Name | DIY Upcycled Cost | Store-Bought Equivalent |
|---|---|---|
| Main Sorting Unit | $0.00 | $45.00 – $85.00 |
| Play Mail & Envelopes | $0.00 | $12.00 |
| Postmaster Signage | $0.00 | $8.00 |
| Total Investment | $0.00 | $65.00 – $105.00 |
“The best toys aren’t bought; they are engineered from the debris of a creative life. Your recycling bin is a treasure chest of possibilities.”
Structural Engineering: Building the Multi-Slot Sorting Station
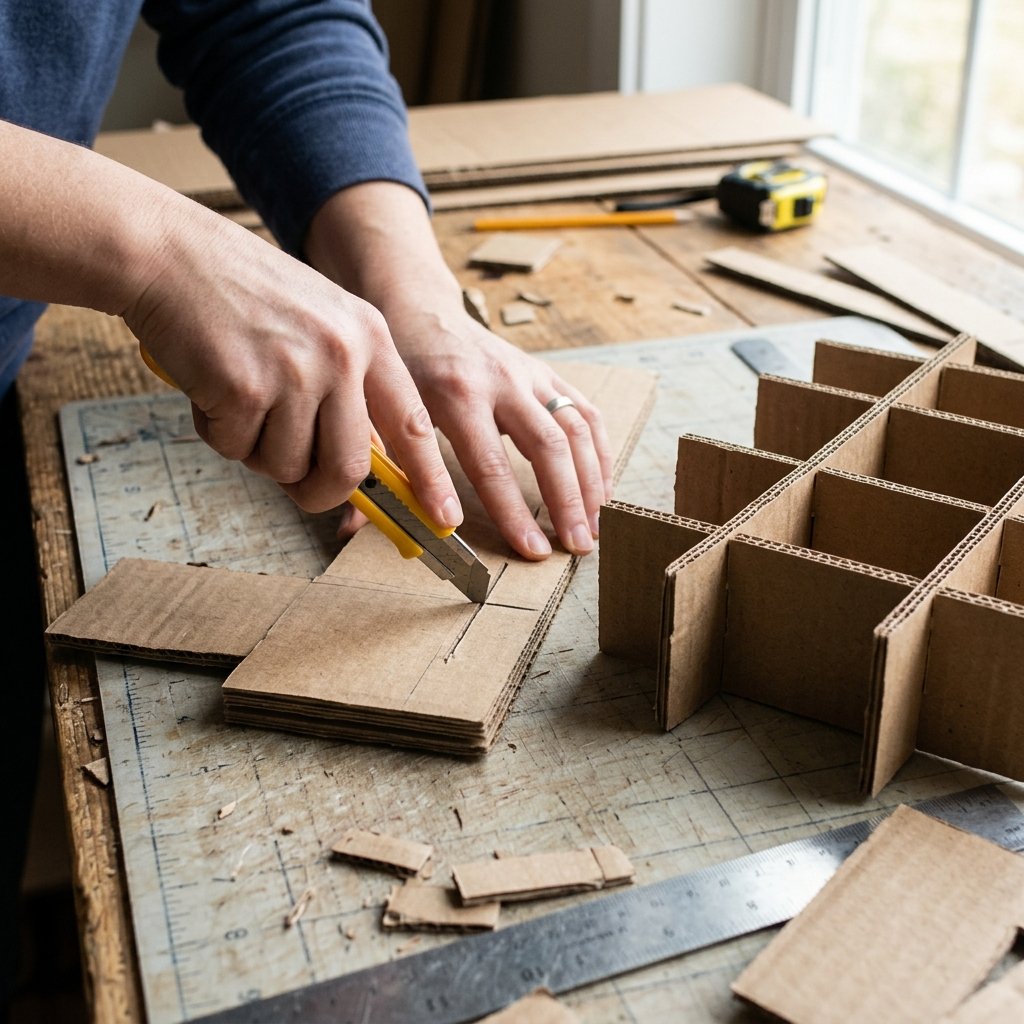
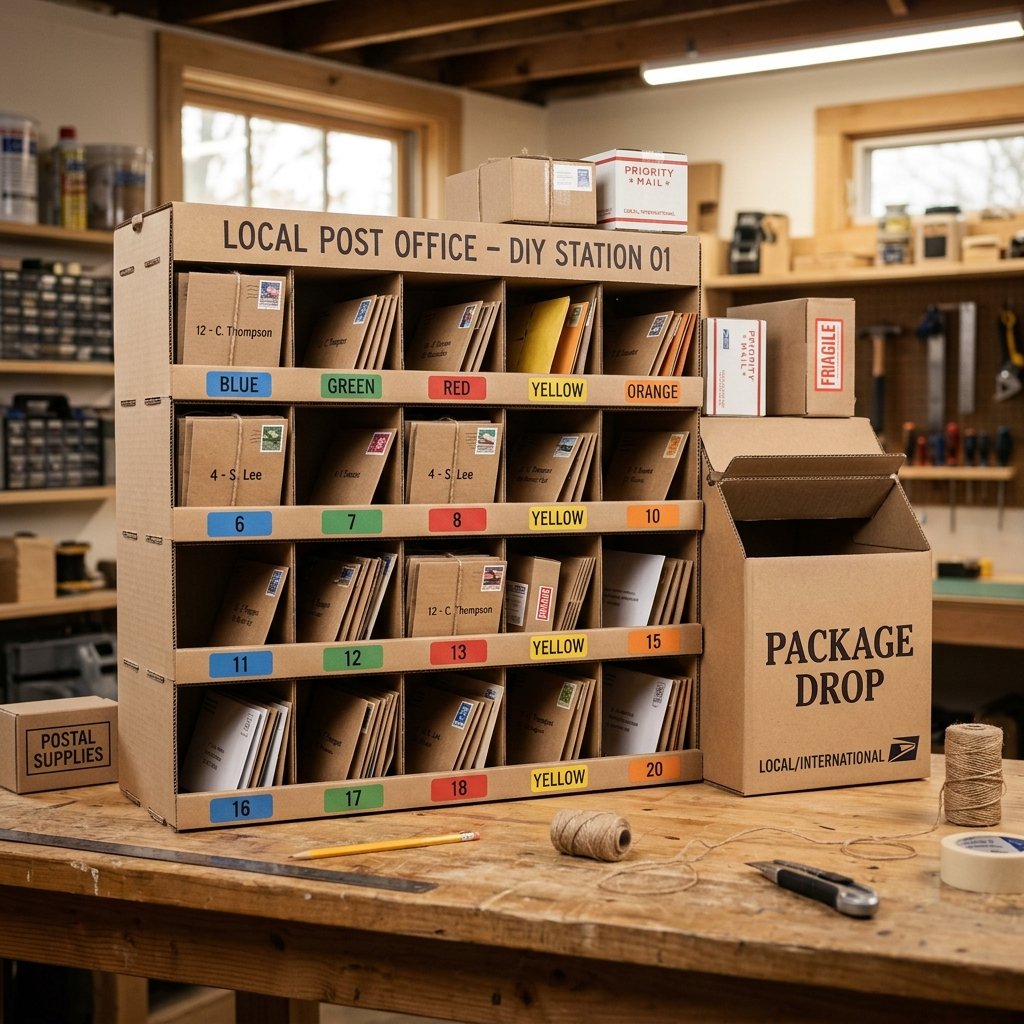
Now we move into the construction phase. We want this sorting station to survive the ‘rugged’ play of active kids. We will focus on a 9-slot grid system that allows for sorting by number, color, or letter. This step requires a steady hand and a bit of crafty-expert precision.
Step-by-Step Construction
- Prep the Base: Take your largest box and tape the bottom flaps securely. Cut off the top four flaps entirely—keep these! We will use them for the internal shelves.
- Measure the Grid: Inside the box, measure and mark lines for three horizontal shelves. Ensure they are spaced at least 5 inches apart to allow room for packages.
- The Slot Technique: Using your utility knife, cut long, thin slits halfway through your horizontal shelf pieces and halfway through your vertical dividers. This ‘egg-crate’ interlocking method provides maximum stability without needing excessive glue.
- Installation: Slide the interlocking pieces together and fit the entire grid into the main box. Secure the edges with a bead of hot glue.
- The Package Drop: On the side of the main unit, cut a large rectangular hole (approx. 8×10 inches). This is for ‘Overnight Delivery’ parcels, adding a secondary level of play.
Safety Note: Always cut away from your body and keep fingers clear of the blade path. If children are helping, let them handle the ‘taping’ and ‘design’ phases while you handle the sharp tools.
The Details Matter: Crafting Authentic Letters, Parcels, and Stamps
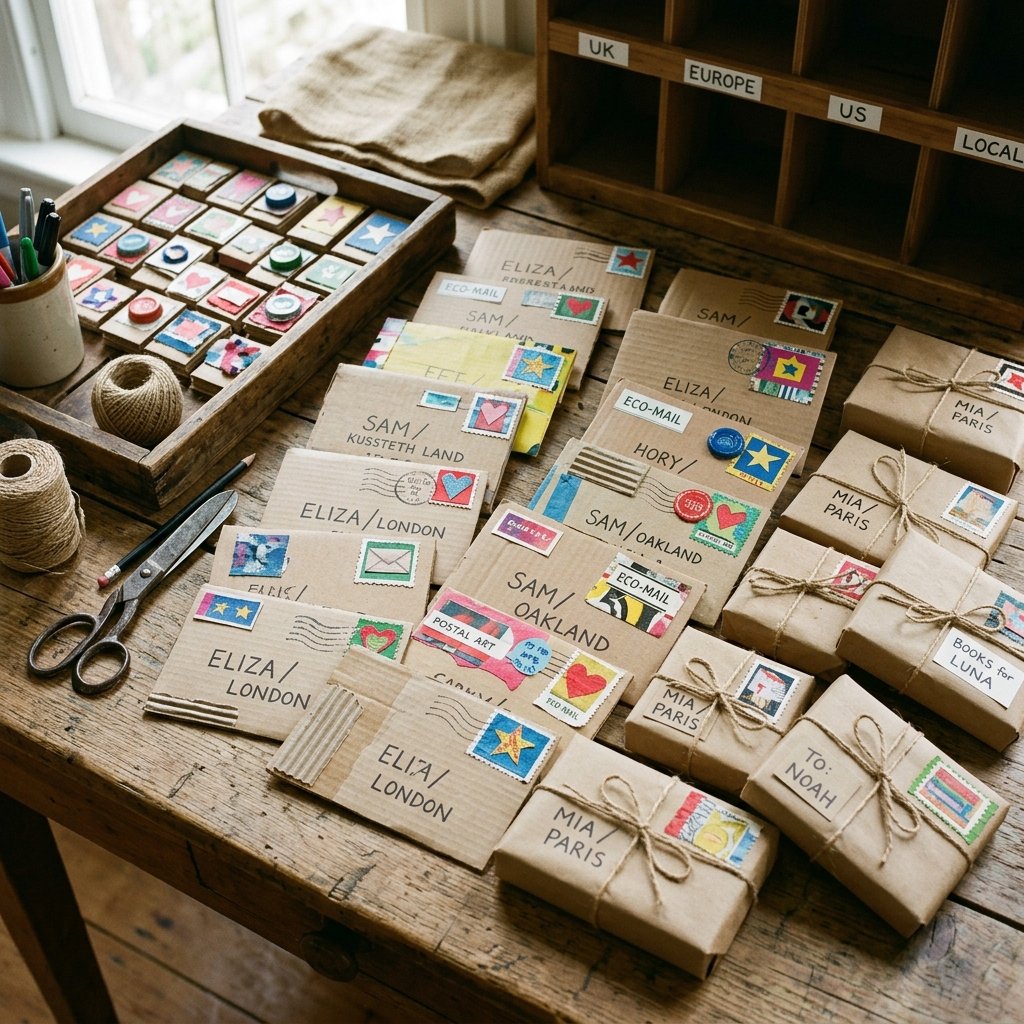
A post office is nothing without the mail. This is where we get resourcefully-creative. Instead of buying play mail, we are going to manufacture a ‘bespoke’ collection of envelopes and parcels that feel authentic to the touch.
Creating the ‘Postie’ Inventory
- The Envelopes: Use old junk mail envelopes as a template. Trace them onto the inside of cereal boxes, cut, and fold. This gives them a rugged, durable feel that paper envelopes lack.
- The Stamps: Cut 1-inch squares from colorful magazine pages or old gift wrap. Use a decorative edge scissor (if you have one) or just cut small notches to mimic the perforated edges.
- The Parcels: Take small spice boxes or tea boxes, wrap them in brown paper bags, and secure them with twine. These ‘heavy’ packages are the favorite of any young mail carrier.
- Cancellation Stamps: Use the cap of a marker or a carved potato to ‘stamp’ the mail once it has been processed.
By creating various sizes and weights, you introduce a sensory element to the game. Pro-Tip: Laminate a few ‘postcards’ with clear packing tape so they can be written on and erased with dry-erase markers, making them 100% reusable.
The Uniform & Gear: Creating a Professional Postie Aesthetic
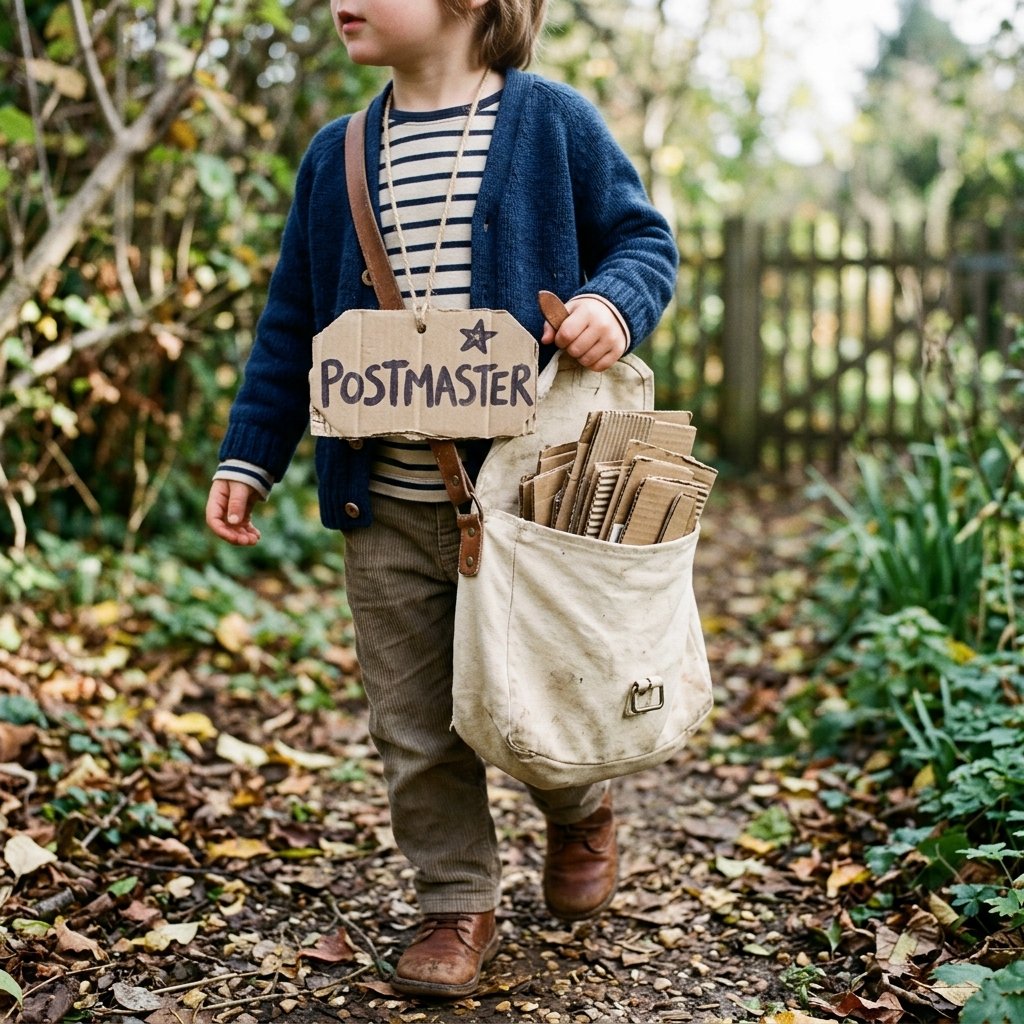
To truly unlock hours of play, the child needs to ‘feel’ the part. We don’t need a polyester costume; we need practical, masculine-elegant gear that looks the part. We are going to upcycle an old tote bag or a small cardboard box into a delivery satchel.
The DIY Delivery Satchel
Find an old canvas tote bag or even a large brown paper grocery bag. If using a bag, shorten the straps so it sits at hip height. If you are feeling extra crafty, you can build a ‘hard-shell’ satchel out of a thin box and a strip of old fabric or webbing for the strap.
The Official Badge
- Cut a 3-inch circle of cardboard.
- Paint it gold or silver, or cover it in aluminum foil for a metallic finish.
- Write ‘OFFICIAL POSTMASTER’ in bold, black letters.
- Safety-pin it to a shirt or glue a clothespin to the back for an easy-on, easy-off attachment.
This simple addition transforms the activity from ‘playing with boxes’ to a professional role-playing experience. It encourages the child to take the ‘job’ seriously, which leads to longer periods of focused, independent play.
Logistics & Learning: Turning Playtime into a Literacy Masterclass
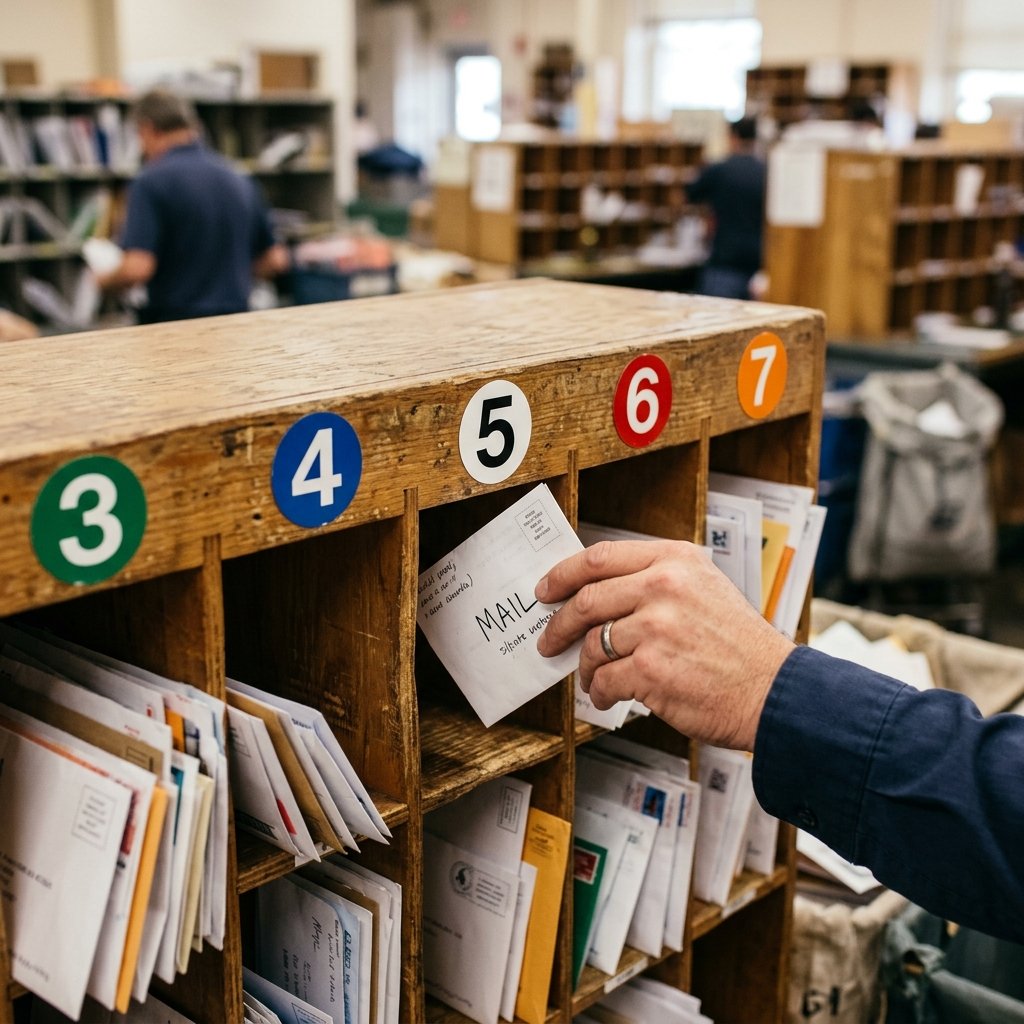
As a handy parent, you know that the best games are stealthily educational. The Post Office Sorting Game is a powerhouse for STEM and Literacy. By organizing the sorting slots, you can tailor the difficulty to your child’s age.
Educational Sorting Variations
| Age Group | Sorting Metric | Skill Developed |
|---|---|---|
| Toddlers (2-3) | Colors & Shapes | Visual Discrimination |
| Preschool (4-5) | Numbers (1-9) | Number Recognition |
| School Age (6+) | Alphabetical/Zip Codes | Literacy & Geography |
Encourage your ‘Postmaster’ to look at the ‘address’ on each envelope. For older kids, you can create a simple map of the house with ‘Delivery Zones’ (e.g., The Kitchen is Zone 1, The Living Room is Zone 2). This adds a rugged, tactical element to the game as they navigate their ‘route’ to deliver the mail to family members.
“Play is the highest form of research.” – Albert Einstein. In this case, research involves understanding how a community stays connected through communication.
The Longevity Protocol: Reinforcing and Repairing Your Cardboard Creation
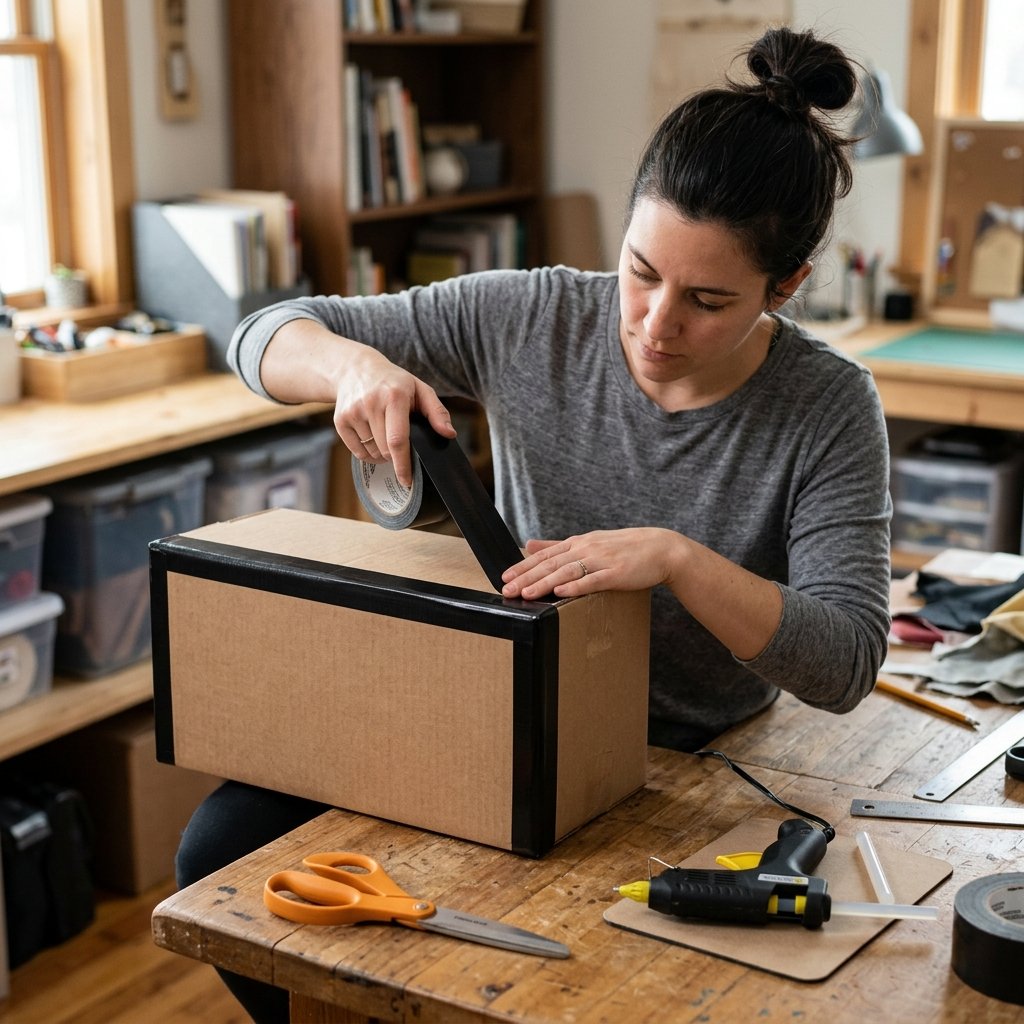
Cardboard is tough, but kids can be tougher. To ensure this project lasts for months rather than days, we need to apply some pro-level mending and reinforcement techniques. Think of this as ‘preventative maintenance’ for your upcycled masterpiece.
Durability Hacks
- The ‘Duct Tape’ Edge: Run a strip of high-quality duct tape (black or silver looks best) along every exposed cardboard edge. This prevents the ‘peeling’ that happens with heavy use and gives it a finished, masculine-elegant look.
- The Base Weight: Glue a few flat stones or a heavy piece of scrap wood to the bottom interior of the main unit. This prevents the ‘Post Office’ from tipping over when a heavy ‘package’ is dropped in.
- Waterproofing: If you want to get really fancy, a quick coat of clear spray sealer or even a layer of clear packing tape over the ‘signage’ will protect it from spills and sticky fingers.
If a slot gets crushed or a shelf sags, don’t throw it out! This is the perfect time to teach your child about mending and repair. A little extra hot glue and a ‘patch’ of cardboard make it as good as new. It builds a resourceful mindset that things can be fixed, not just replaced.
Conclusion
A Masterpiece from the Bin
Building a DIY Cardboard Post Office is more than just a rainy-day activity; it is a statement of resourcefulness and creativity. You have taken items destined for the landfill and engineered a high-value educational tool that provides hours of creative play. This project proves that you don’t need a massive budget to provide a rich, engaging childhood experience. You just need a bit of clever thinking, a sharp blade, and the willingness to see the potential in a plain brown box. So, clear off the workbench, call the kids over, and start building your own neighborhood postal hub today. Your ‘Postmaster’ is waiting for their first shift!

Makenzie is the founder and lead writer at MoneyHackTips.com — a personal finance blog dedicated to delivering street-smart financial wisdom for real people on real budgets. With 300+ published articles covering everything from debt management to investing fundamentals, Makenzie’s mission is to make every dollar work harder. When not writing about money hacks, Makenzie is testing frugal living strategies, optimizing side hustles, and helping readers build financial freedom from scratch.